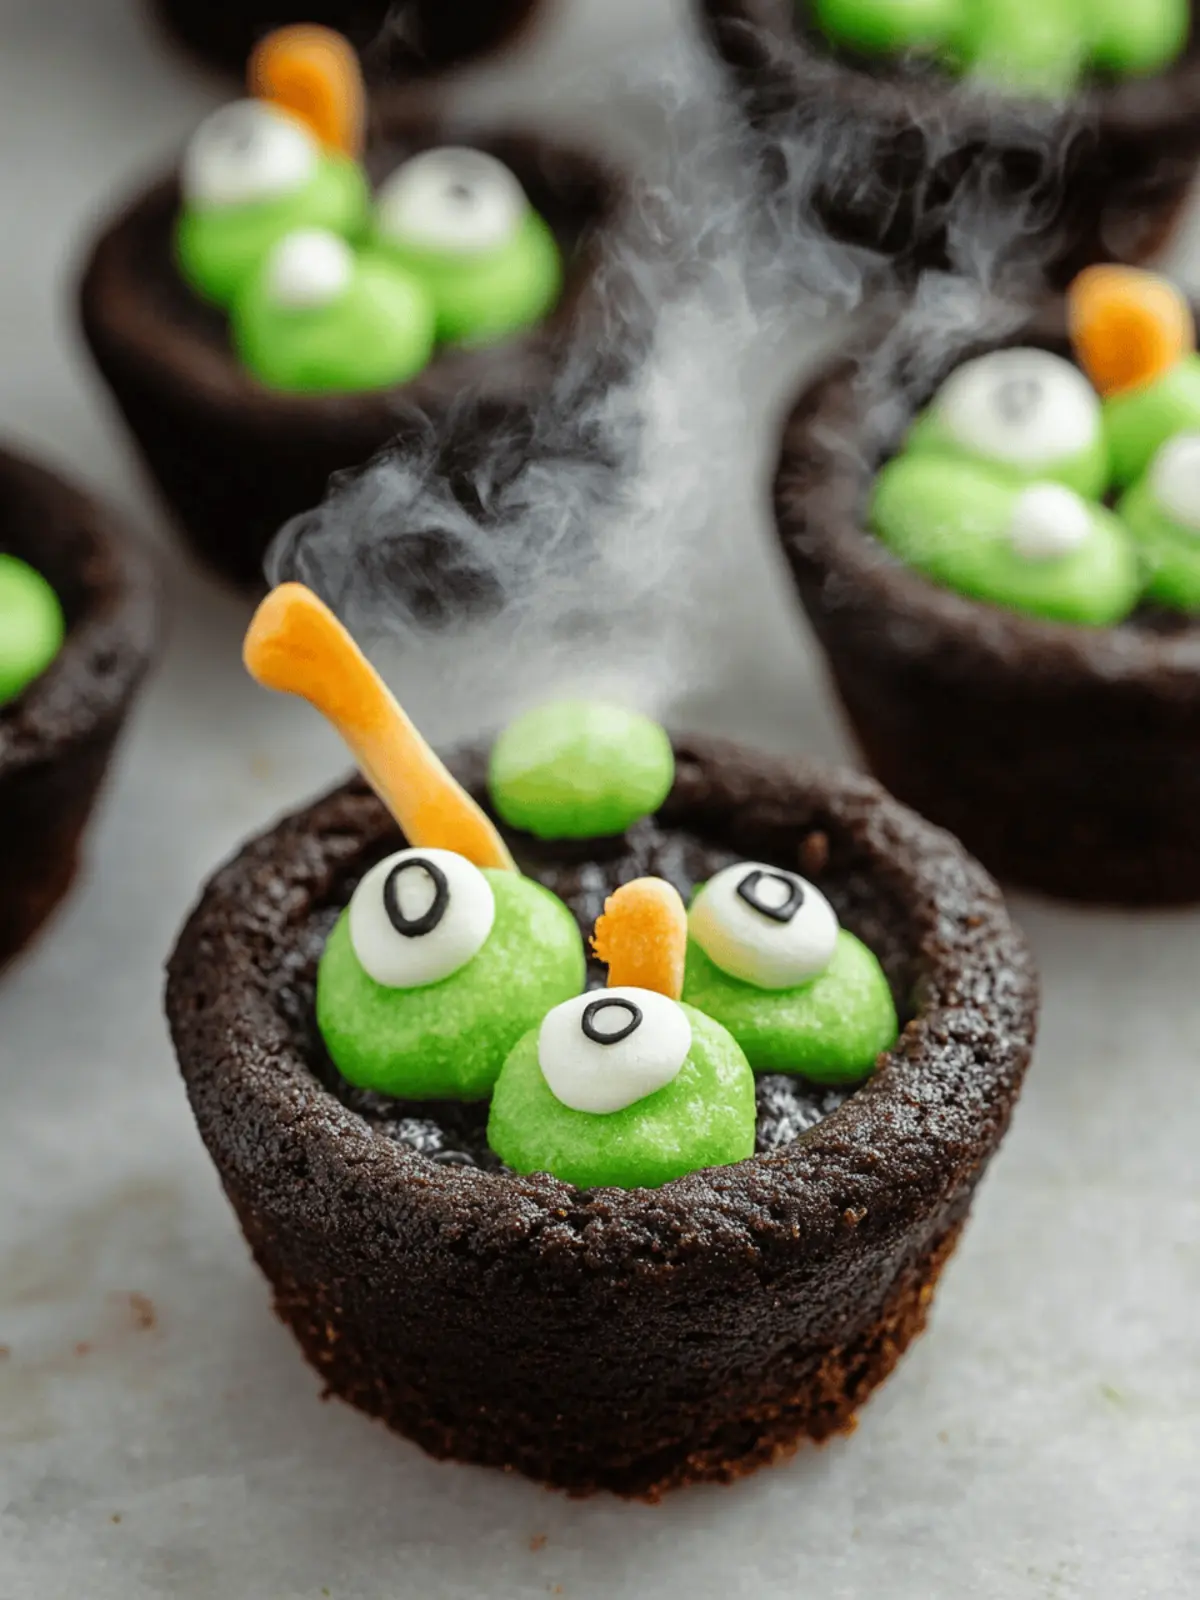
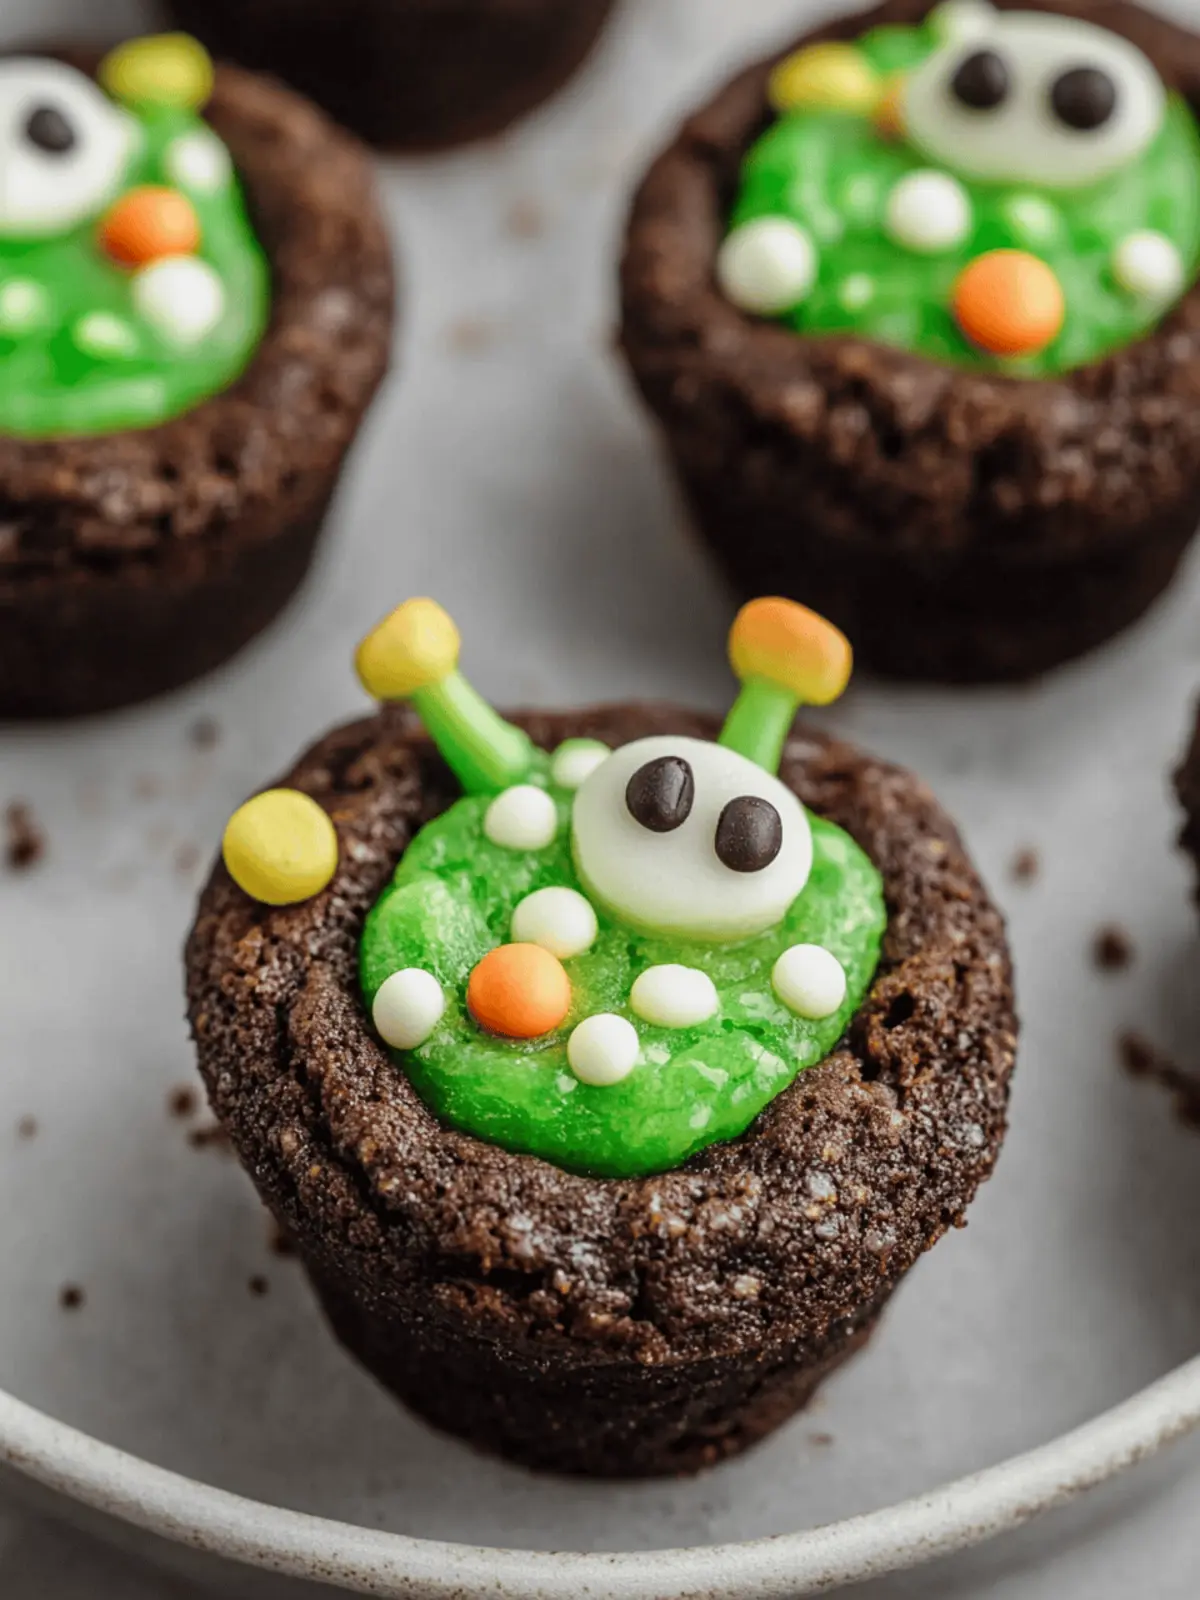
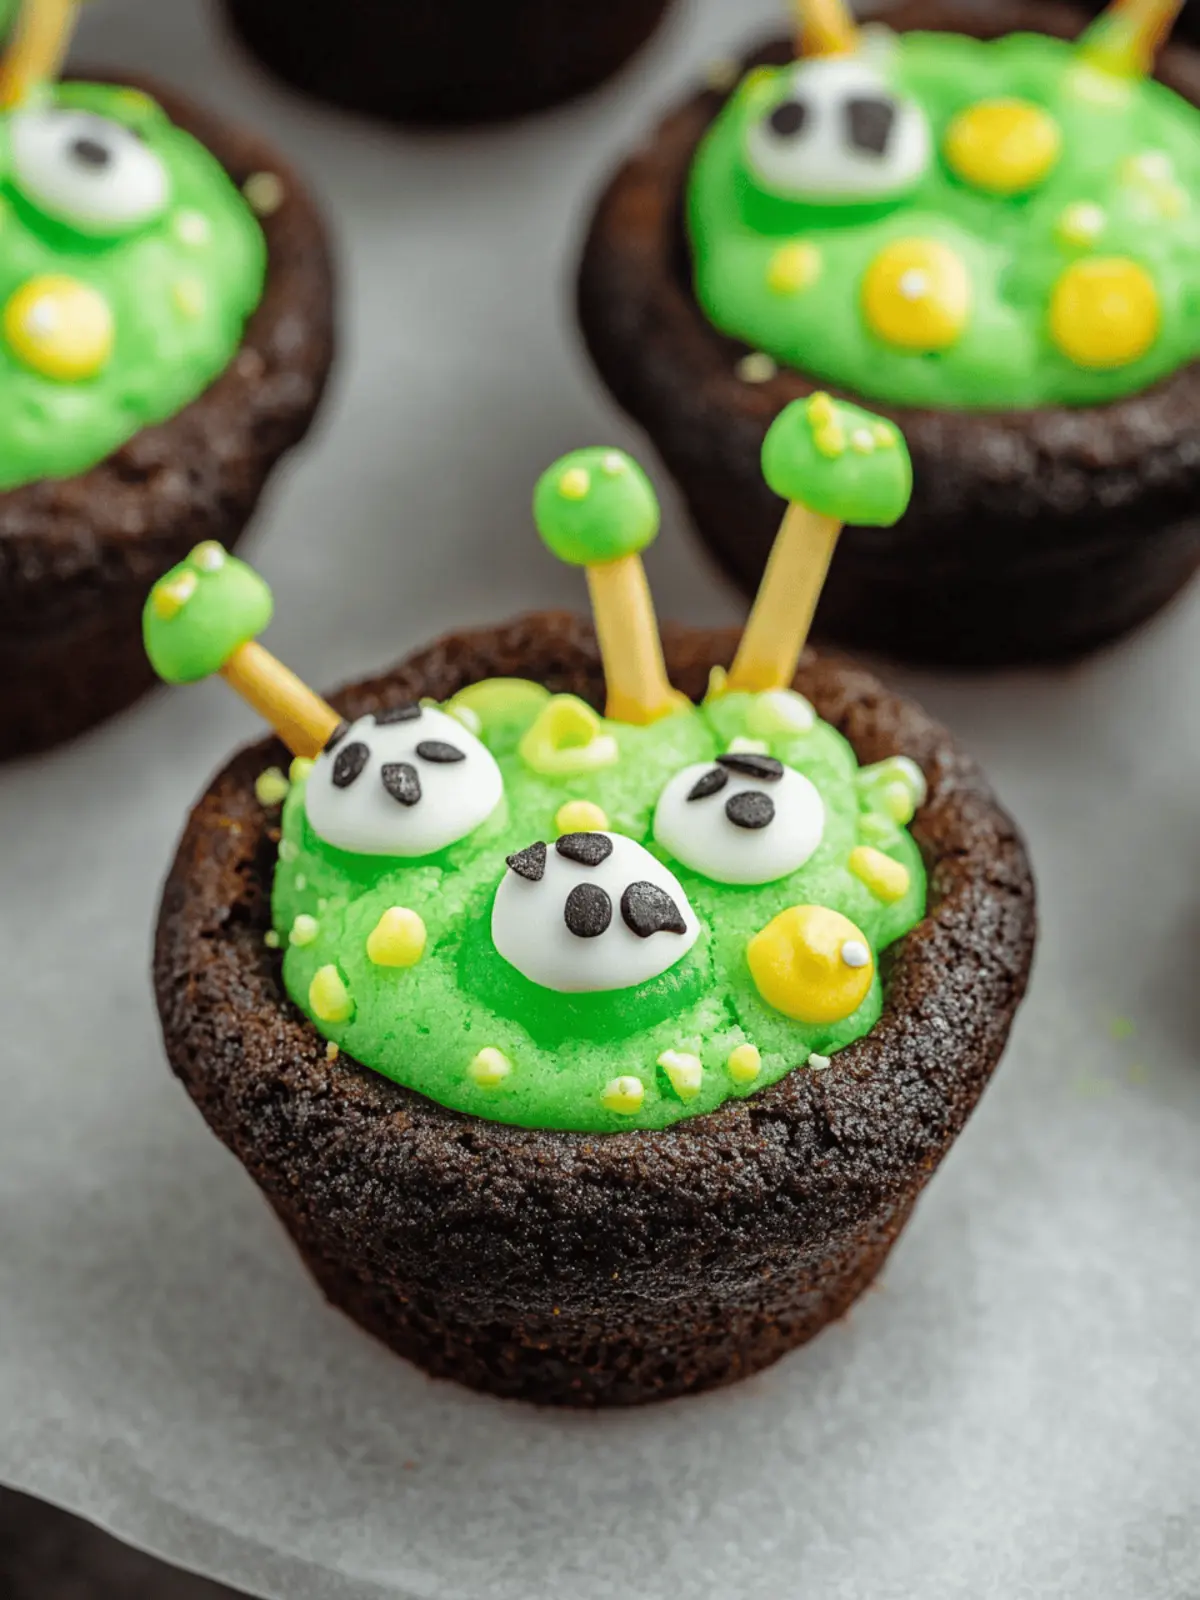
As Halloween approaches, I find myself excitedly diving into my pantry, eager to whip up something festive and fun. That’s when these Easy Cauldron Cookies caught my eye—an enchanting treat that perfectly marries rich chocolate flavor with whimsical décor. Picture soft, chewy cookie cups filled with vibrant green buttercream that resembles boiling potions. They’re not just a feast for the taste buds; they become a delightful project to tackle with kids, bringing out our inner witches and wizards.
With just a few simple ingredients, they come together quickly—ideal for gatherings or simply indulging your sweet tooth. Plus, you can customize the flavors and decorations to suit your Halloween vibe! Whether it’s a gathering of ghouls or a cozy night in, these cookies will surely charm everyone around your table. Join me in baking up these delightful little cauldrons of joy!
Why are Cauldron Cookies a Must-Try?
Festive Fun: Transform your Halloween gatherings with these charming Cauldron Cookies that double as a delicious dessert and a fun activity for all ages.
Easy to Make: With just a handful of ingredients and a straightforward process, these cookies come together in no time, making them perfect for busy schedules.
Customizable Delight: From rich chocolate cookie cups to vibrant frosting colors, you can easily adjust the recipe to match your Halloween theme or personal taste.
Kid-Friendly Activity: Involve your little chefs in the kitchen; piping the frosting and decorating the cookies is a great way to create lasting memories!
Crowd-Pleasing Treat: Whether at a party or just for family, these cookies are sure to wow and satisfy everyone’s sweet cravings. Enjoy even more festive ideas with my guide on Halloween treats.
Cauldron Cookies Ingredients
For the Cookie Cups
• Devil’s Food Cake Mix – The base that provides sweetness and rich chocolate flavor; any chocolate cake mix works as a substitute.
• Eggs (2 large) – Essential for moisture and structure in the cookies; no substitutions are recommended for this role.
• Canola or Vegetable Oil (1/2 cup) – Adds moisture and richness; melted butter can be used if you’re after a richer taste.
• Black Food Coloring (optional) – Enhances the visual appeal, giving the cookie cups a spooky dark hue; omit if desired.
For the Buttercream Frosting
• Unsalted Butter (1 cup, softened) – The key ingredient for creamy frosting; margarine can be swapped if needed.
• Powdered Sugar (3 cups) – Sweetens the frosting and helps achieve the perfect consistency; granulated sugar can be used if blended to a powder.
• Vanilla Extract (1 teaspoon) – Adds depth of flavor to the frosting; no substitutions for optimal taste.
• Salt (1/2 teaspoon) – Balances the sweetness of the frosting; can be omitted for salt-free diets.
• Milk (1-3 tablespoons) – Thins the buttercream for a pipeable consistency; any milk (dairy or non-dairy) can be used.
• Green Food Coloring – Perfect for enhancing the spooky theme of your frosting; feel free to use any color of your choosing for a fun twist.
For Decorations
• Round Green Sprinkles – Add a festive touch to your cauldron cookies; any Halloween-themed sprinkles can be used as well.
• Candy Eyeballs – Perfect to create an eerie look; get creative with any candy that fits your theme.
• Pretzel Sticks – Great for adding detail like bubbling potion effects; use any fun candy or sprinkles that inspire your creativity.
How to Make Cauldron Cookies
-
Preheat: Start by preheating your oven to 350°F (175°C) and greasing three 12-count mini muffin pans well to prevent sticking.
-
Mix Ingredients: In a large bowl, combine the devil’s food cake mix, eggs, canola oil, and optional black food coloring. Mix until everything is well incorporated and smooth.
-
Scoop Dough: Using a 1/2 tablespoon measure, scoop dollops of dough into the mini muffin pans, gently flattening each one to ensure a nice cookie cup shape.
-
Bake: Place the filled muffin pans in the preheated oven and bake for 8-10 minutes. The edges should be set, but the centers will remain soft.
-
Indent: Once baked, immediately press a small indentation into the center of each warm cookie using your thumb or a spoon. This creates the perfect little cauldron shape.
-
Cool Down: Allow the cookie cups to cool completely in the pans before attempting to remove them. This is crucial for maintaining their shape!
-
Prepare Frosting: For the buttercream frosting, beat the softened butter until it’s fluffy. Gradually add powdered sugar, vanilla extract, salt, and milk, mixing until smooth and creamy.
-
Color Frosting: Mix in the green food coloring until you achieve a vibrant, spooky shade.
-
Pipe Frosting: Once the cookie cups are cool, pipe the green buttercream into the indentations, generously filling each cauldron cup.
-
Decorate: Get creative! Decorate your cookies with green sprinkles, candy eyeballs, and pretzel sticks to resemble bubbling potions and eerie touches.
Optional: Serve with a side of Halloween-themed treats for an extra festive display!
Exact quantities are listed in the recipe card below.
Cauldron Cookies Variations
Feel free to get creative and make these delightful cookies your own with these fun twist ideas!
-
Brownie Base: Swap the cookie cups for a brownie base for an extra fudgy treat that chocolate lovers will adore.
-
Cream Cheese Frosting: Use cream cheese frosting instead for a tangy twist that perfectly complements the chocolate flavor. A little zest can elevate these cookies to new levels.
-
Store-Bought Frosting: In a rush? Substitute store-bought vanilla frosting, adding food coloring to match your spooky themes for a quick and easy solution.
-
Spiced Pumpkin Filling: For a seasonal change, fill the cookie cups with a creamy pumpkin cheesecake mix for a delightful autumnal flavor.
-
White Chocolate Ganache: Drizzle some silky white chocolate ganache inside the cookie cups for a rich and elegant touch that pairs well with decorations.
-
Nutty Surprise: Add crushed nuts, like walnuts or pecans, to the cookie dough for a delightful crunch that complements the soft, chewy textures.
-
Mallow Magic: Add a dollop of marshmallow fluff inside before frosting for a surprise “witch’s brew” effect that will keep everyone guessing!
-
Gluten-Free Option: Use a gluten-free chocolate cake mix to make these cauldron cookies accessible for those with dietary restrictions without sacrificing flavor.
Make Ahead Options
These Easy Cauldron Cookies are perfect for busy home cooks looking to save time during Halloween preparations! You can make the cookie cups up to 24 hours in advance; simply bake them, allow them to cool completely, and store them in an airtight container at room temperature. The buttercream frosting can be prepared ahead as well and stored in the refrigerator for up to 3 days. When ready to serve, simply bring the frosting to room temperature and re-whip until fluffy, then pipe it into the cooled cookie cups. This way, you maintain all the delightful flavors, and your cookies will still be just as festive and fun when it’s time to impress your guests!
Expert Tips for Cauldron Cookies
-
Cool Completely: Make sure the cookie cups are fully cooled before frosting. This prevents the buttercream from melting and losing its shape.
-
Rotate Pans: To ensure even baking, rotate the pans halfway through. This will help achieve perfectly baked cauldron cookies every time.
-
Gentle Indentation: When pressing your thumb into the warm cookies, do it gently to maintain the integrity of the cookie. Too much pressure can cause them to break.
-
Proper Storage: Store your decorated cauldron cookies in an airtight container at room temperature for 3-4 days. If freezing, remember that decorations might bleed when thawed.
-
Mix Colors: Don’t hesitate to mix food coloring for unique effects in your frosting. This allows you to customize the look of your cauldron cookies for any occasion!
What to Serve with Cauldron Cookies?
As your oven fills the air with the delightful scent of baking, it’s time to think about what to pair with these whimsical treats.
-
Chilled Apple Cider: The sweet, crisp flavor of apple cider enhances the rich chocolate of the cookies, making it a festive fall beverage.
-
Pumpkin Spice Latte: A warm drink featuring cozy spices that beautifully complement the chocolatey goodness of your cauldron cookies, perfect for autumn gatherings.
-
Spiced Whipped Cream: A dollop of this lightly sweetened, spiced cream on top adds richness and a festive touch—ideal for pairing with these cookies.
-
Chocolate-Dipped Fruit: Fresh strawberries or banana slices, dipped in dark chocolate, offer a refreshing contrast to the sweet richness of the cookies.
-
Decorative Halloween Platter: Arrange the cauldron cookies alongside themed treats, like ghost-shaped marshmallows or pumpkin candies, for an eye-catching dessert spread.
-
Caramel Sauce: Serve warm caramel for drizzling over your cauldron cookies, enhancing their flavor with a luscious sweetness that everyone will love.
-
Candy Corn Medley: A colorful side of candy corn mixed with nuts provides a crunchy texture and festive flair to your dessert table.
-
Chocolate Milk: This classic pairing makes for a delightful combo, softening the intensity of the chocolate while being a hit with kids and adults alike.
These ideas will take your dessert experience to the next level, bringing joy and festivity to every bite!
How to Store and Freeze Cauldron Cookies
Room Temperature: Store your decorated Cauldron Cookies in an airtight container at room temperature for up to 3-4 days to maintain their freshness and softness.
Fridge: If you want to keep them a bit longer, refrigerate the cookies for up to one week. Make sure they’re in a sealed container to avoid any fridge odors.
Freezer: For longer storage, freeze the undecorated cookie cups for up to three months. Wrap them well in plastic wrap and place in a freezer bag for best results.
Reheating: When you’re ready to enjoy your frozen cookie cups, thaw them in the fridge overnight, then allow them to come to room temperature before frosting and decorating.
Cauldron Cookies Recipe FAQs
What type of cake mix should I use for Cauldron Cookies?
You can use any chocolate cake mix as the base for your Cauldron Cookies. I personally love using Devil’s Food Cake Mix for its rich flavor, but feel free to swap it with your favorite chocolate mix for a slightly different taste.
How should I store my Cauldron Cookies?
To keep your decorated Cauldron Cookies fresh, store them in an airtight container at room temperature for up to 3-4 days. If you want them to last longer, they can be refrigerated for about a week. Just ensure they are well-covered to avoid absorbing any fridge odors.
Can I freeze Cauldron Cookies?
Absolutely! For longer storage, freeze the undecorated cookie cups for up to three months. To do this, wrap them well in plastic wrap and place them in a freezer bag. When you’re ready to enjoy them, simply thaw them in the fridge overnight and allow them to reach room temperature before frosting and decorating them.
What should I do if my frosting is too thick?
If you find your buttercream frosting is too thick to pipe, don’t worry! Gradually add more milk, one teaspoon at a time, until it reaches the desired pipeable consistency. Just be careful not to make it too runny!
Can I make these cookies gluten-free?
Certainly! You can substitute the chocolate cake mix with a gluten-free cake mix. Just ensure that the rest of your ingredients, especially the powdered sugar and any decorations, are also gluten-free. These adjustments will allow everyone to enjoy the festive fun!
Are there any allergy concerns with Cauldron Cookies?
Yes, please be mindful of common allergens! These cookies contain eggs, dairy, and gluten. You can swap out the butter for a dairy-free alternative and use egg substitutes specifically designed for baking to make them suitable for those with dairy or egg allergies. Always double-check the labels to ensure safety for those with specific dietary concerns.
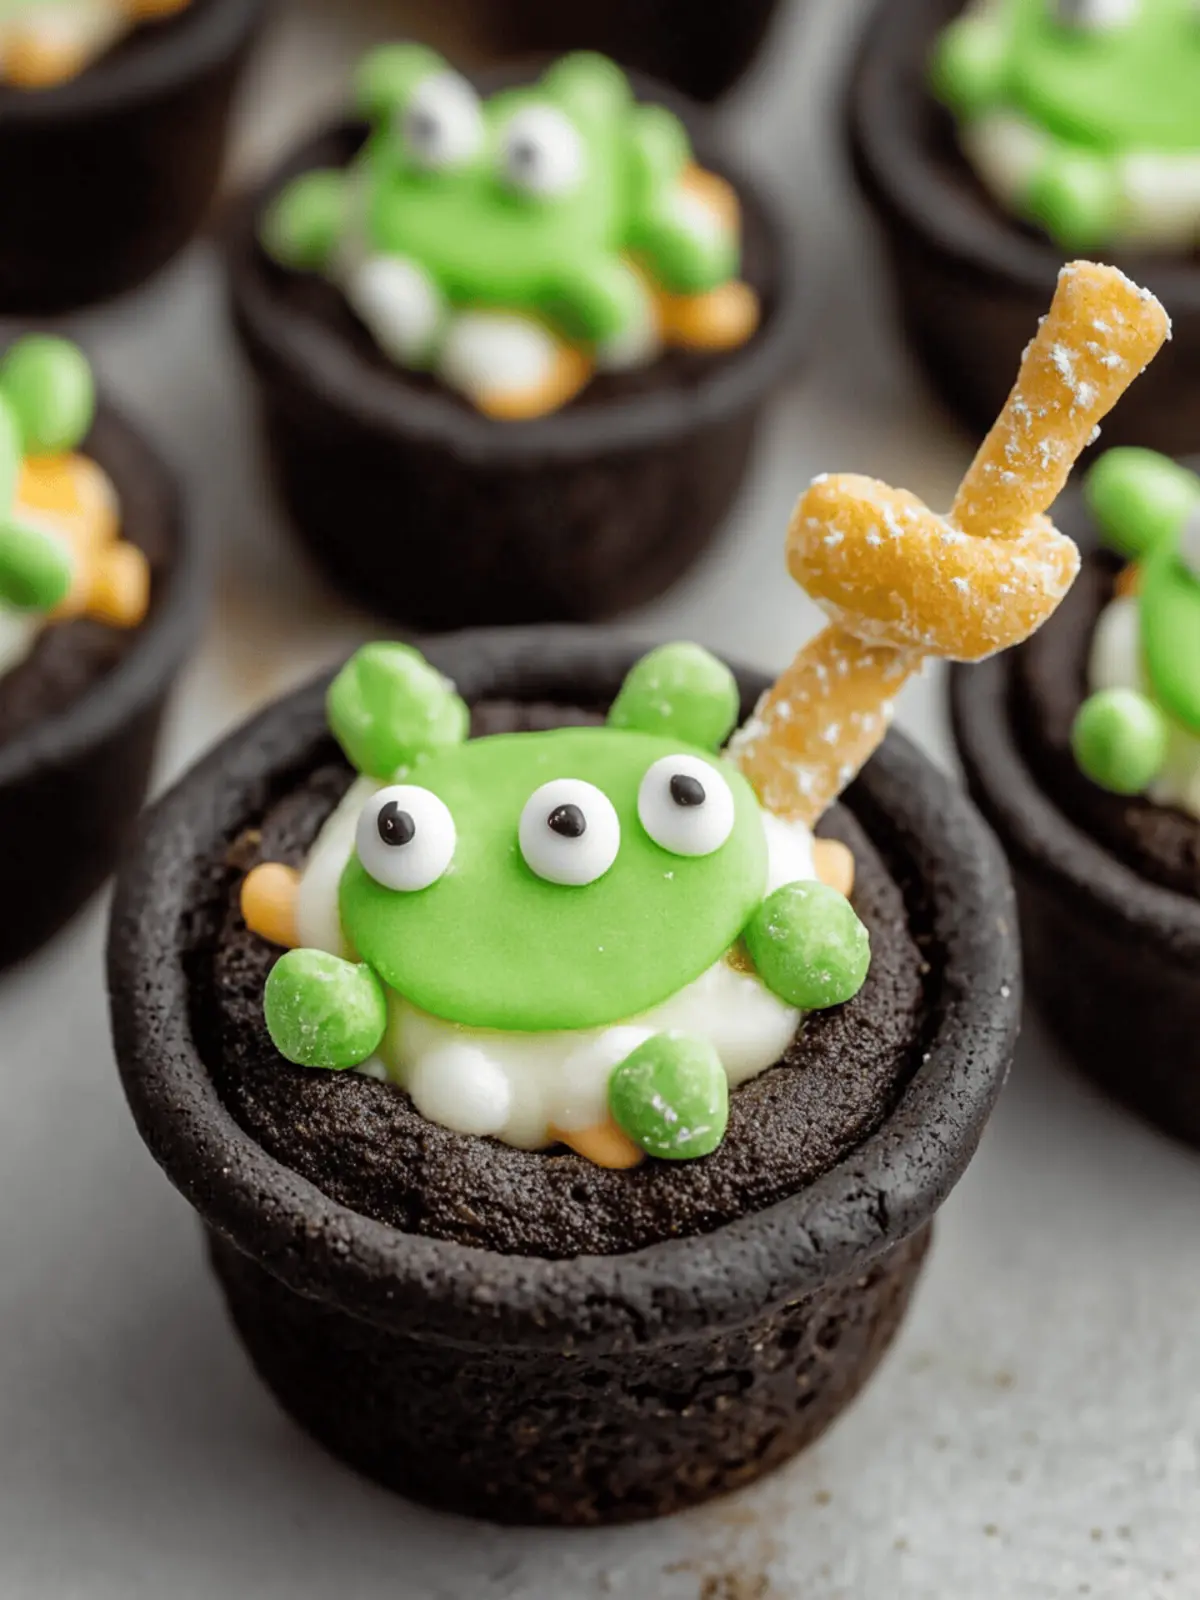
Delicious Cauldron Cookies for a Spooktacular Halloween Treat
Ingredients
Equipment
Method
- Preheat your oven to 350°F (175°C) and grease three 12-count mini muffin pans well.
- In a large bowl, combine the devil's food cake mix, eggs, canola oil, and optional black food coloring. Mix until smooth.
- Using a 1/2 tablespoon measure, scoop dollops of dough into the mini muffin pans, gently flattening each one.
- Place the filled muffin pans in the preheated oven and bake for 8-10 minutes.
- Immediately press a small indentation into the center of each warm cookie using your thumb.
- Allow the cookie cups to cool completely in the pans before removing them.
- For the frosting, beat the softened butter until fluffy. Gradually add powdered sugar, vanilla extract, salt, and milk until smooth.
- Mix in the green food coloring until you achieve a vibrant shade.
- Once the cookie cups are cool, pipe the green buttercream into the indentations.
- Decorate your cookies with green sprinkles, candy eyeballs, and pretzel sticks.
