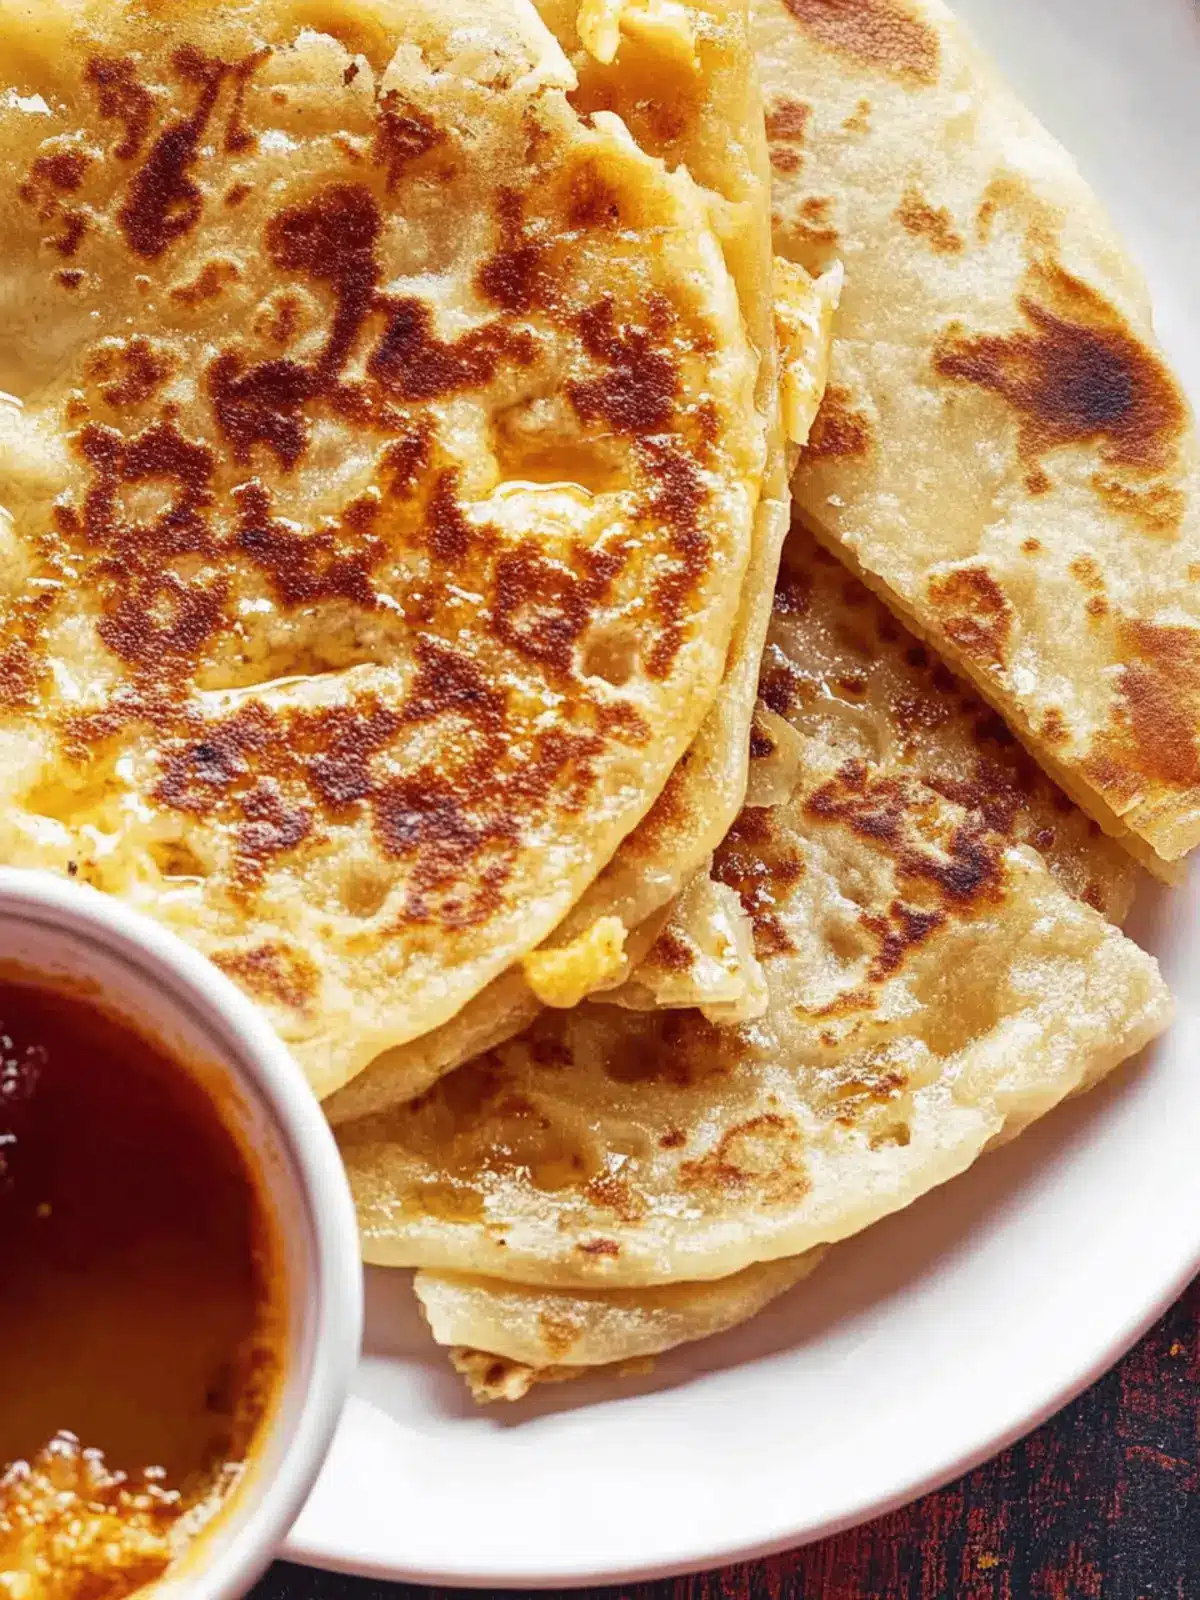
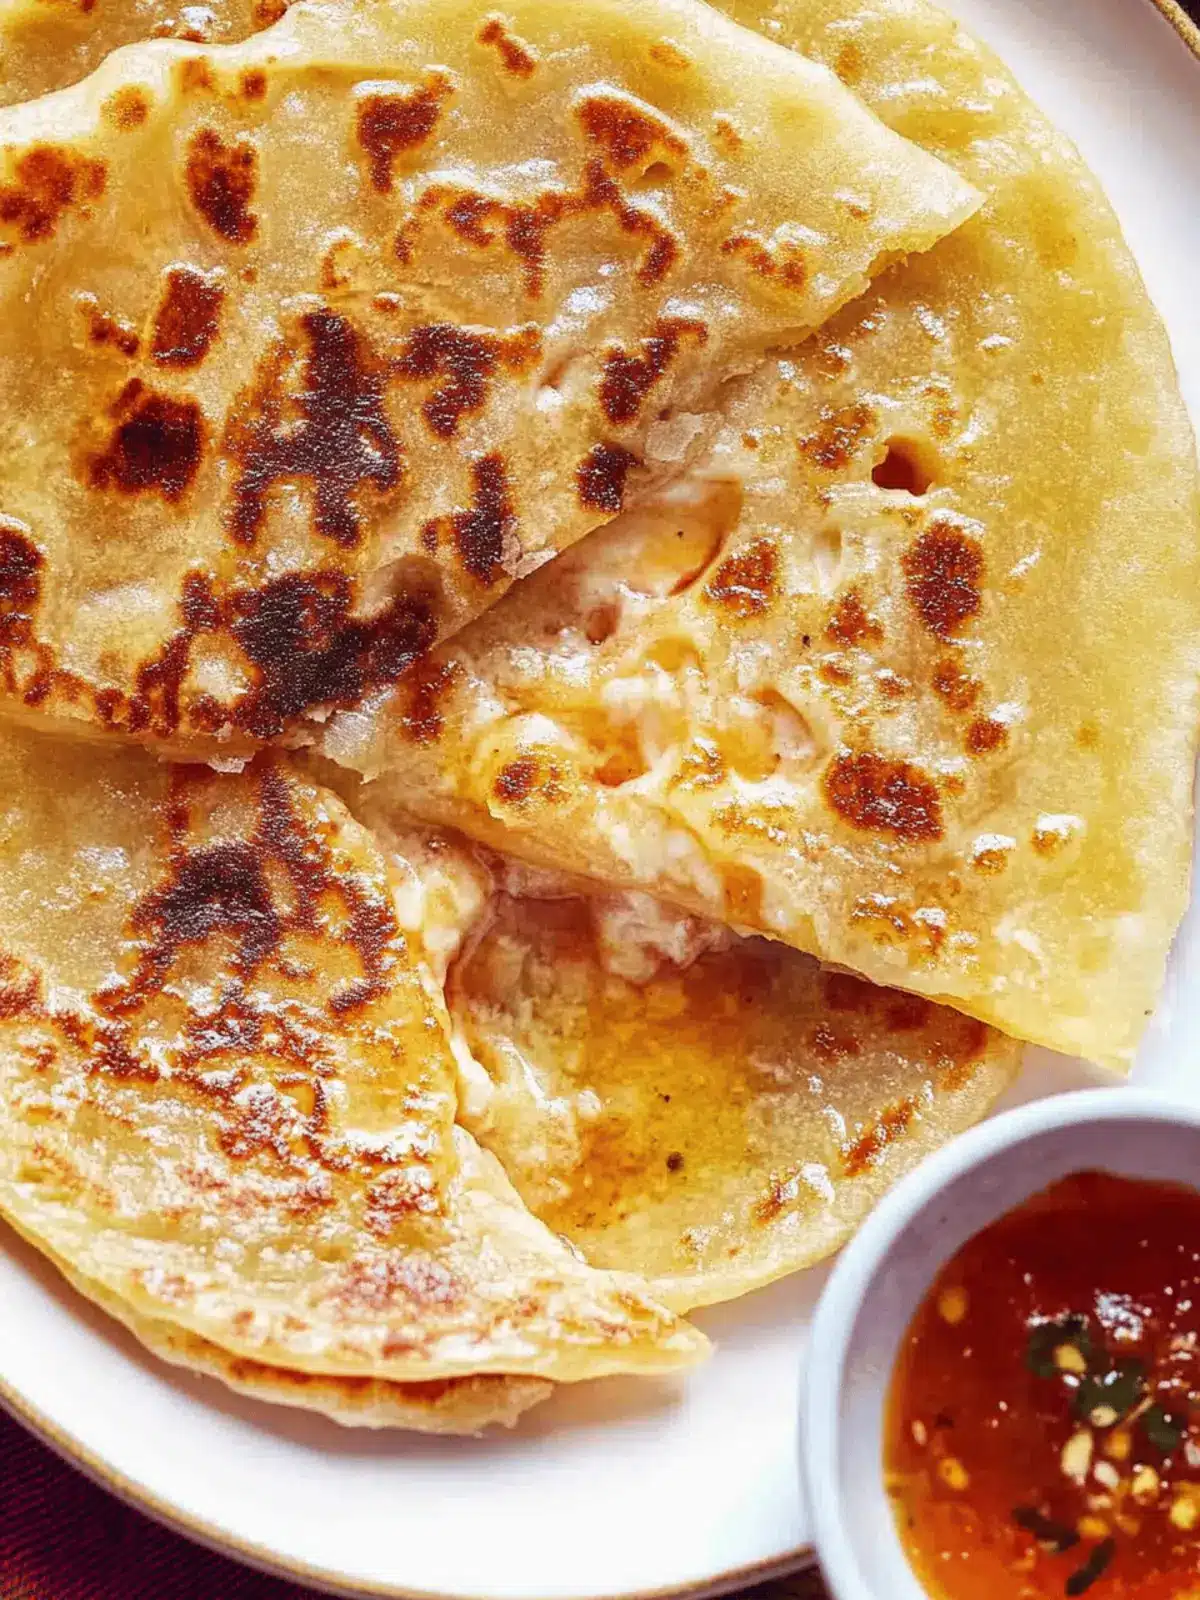
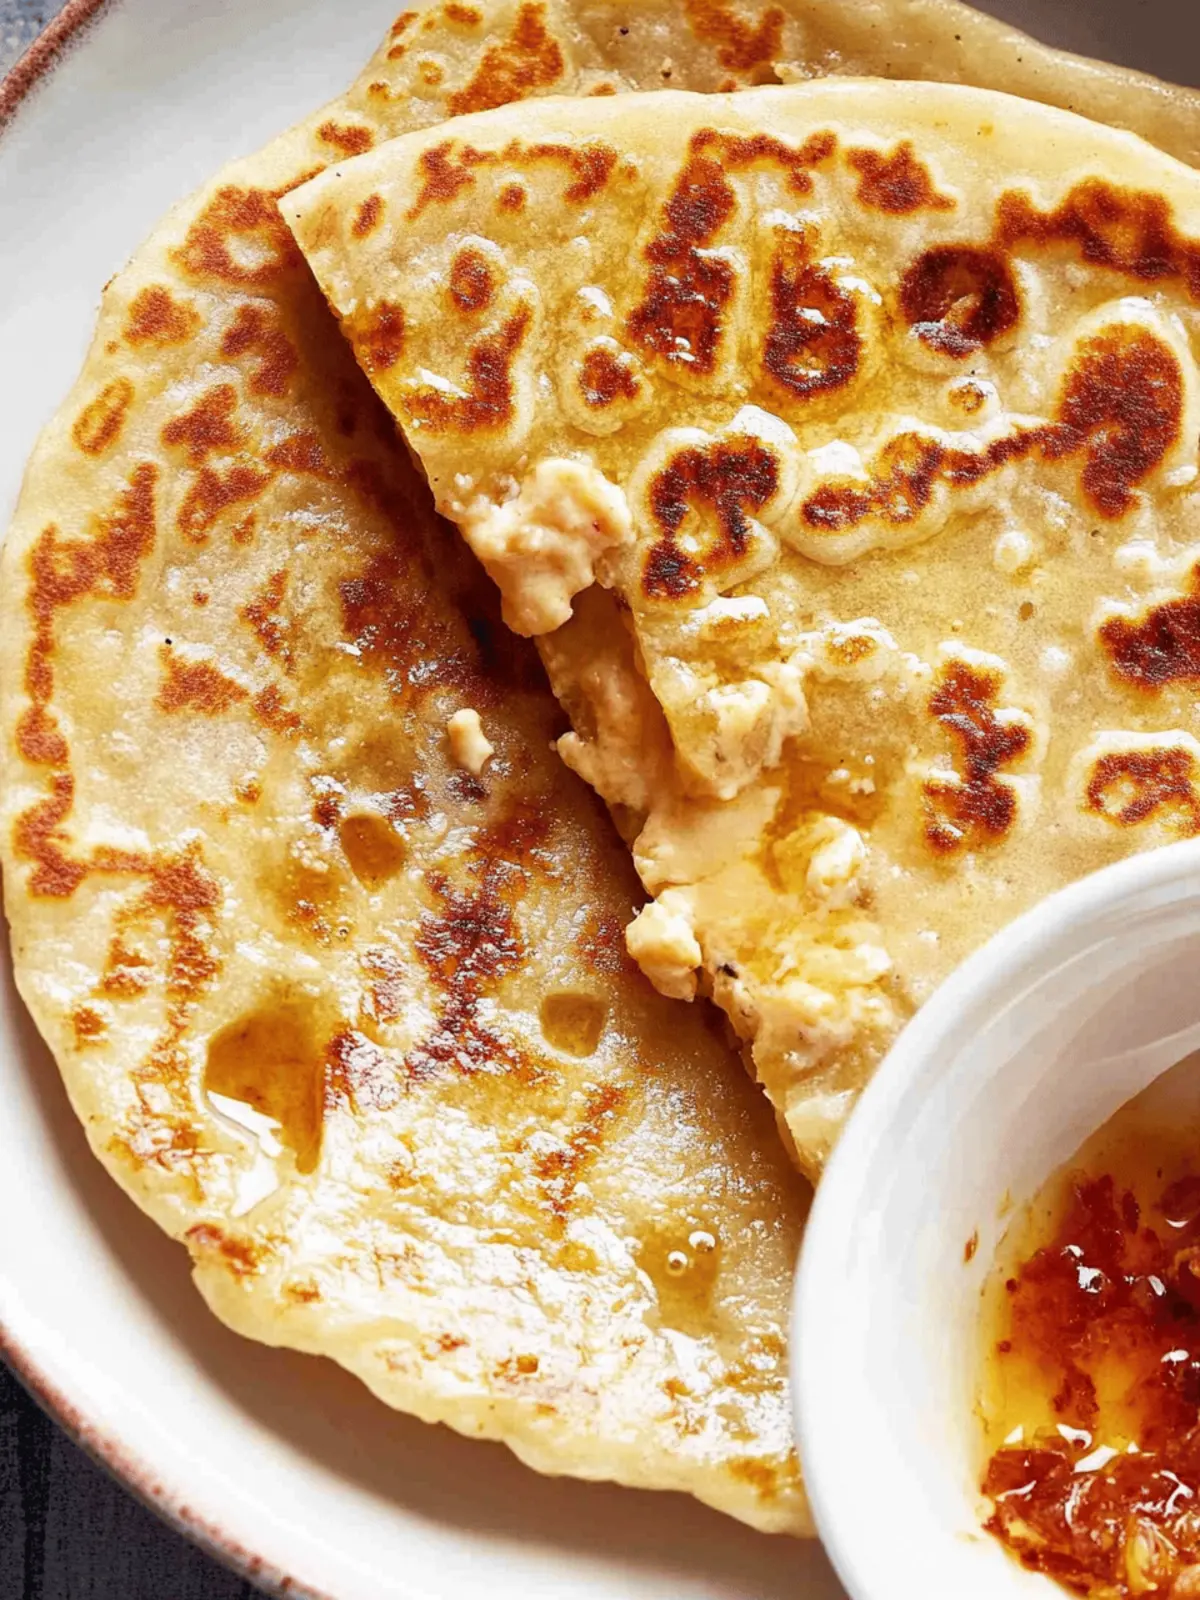
Every now and then, I find myself craving something comforting yet exciting, and that’s exactly when I whip up these heavenly Cheese Parathas. Picture this: the comforting warmth of freshly made dough melding with the gooey richness of cheddar cheese, all wrapped up with a sprinkle of chili flakes for a delightful kick. It’s a little nod to nostalgia while keeping my taste buds dancing with joy.
I stumbled upon this simple yet indulgent recipe during a late-night snack search, and let’s just say, my freezer has never looked the same since! These cheesy delights are not only easy to make, but they also transform any meal into a crowd-pleaser, perfect for cozy evenings or quick lunches. The magic lies in how quickly they come together, turning everyday ingredients into something truly special. So, grab your rolling pin and let’s dive into this cheesy adventure that will have everyone coming back for seconds!
Why is Cheese Paratha a Must-Try?
Quick and Easy: Whipping up these Cheese Parathas takes just a few minutes, making them perfect for anyone craving homemade goodness without the fuss.
Decadent Flavor: The melty cheddar cheese combined with chili flakes creates a rich and savory experience that elevates any meal.
Family-Friendly: Everyone loves cheese! This recipe is no exception, making it a crowd-pleaser that’s sure to satisfy both kids and adults alike.
Versatile Delights: Serve them as a snack, side, or main dish; these parathas adapt beautifully to any occasion.
Freezer-Friendly: Make a batch and freeze them for quick meals later—a great option for busy days!
Satisfy your craving for comforting food with these delightful Cheese Parathas, and consider pairing them with your favorite dipping sauces for an added burst of flavor!
Cheese Paratha Ingredients
For the Dough
- Wheat Flour – a pantry staple, this forms the perfect base for your Cheese Paratha.
For the Filling
- Cheddar Cheese – the star of the show; its meltiness adds a rich, gooey texture to each bite, making these Cheese Parathas irresistible!
- Chili Flakes – sprinkle these in for an added kick; they elevate the flavors beautifully and bring warmth to the dish.
For Cooking
- Oil – essential for frying; use your favorite oil or ghee to achieve that deliciously crispy golden-brown exterior.
Get ready to indulge in the delightful flavors of Cheese Paratha, which simple ingredients transform into a comfort food masterpiece!
How to Make Cheese Paratha
-
Mix: In a large mixing bowl, combine your wheat flour with enough water to create a soft, pliable dough. Knead gently for about 5-7 minutes until smooth.
-
Divide: Pinch off portions of the dough and roll them into small balls, roughly the size of a golf ball. This will help you create uniform parathas.
-
Roll: Dust your work surface with a little flour, and roll each ball into a flat circle about 6 inches in diameter. Aim for even thickness, so they cook evenly.
-
Add Filling: Place a generous amount of cheddar cheese and a sprinkle of chili flakes in the center of each circle. Be careful not to overfill, or they may burst while cooking!
-
Seal: Gently fold the edges of the dough over the filling, pinching them together to create a sealed pocket. Roll this filled dough lightly to ensure it holds its shape.
-
Fry: Heat oil or ghee in a pan over medium heat. Once hot, add your paratha and cook until golden brown, about 2-3 minutes on each side. You want that perfect crispy crust!
Optional: Serve with yogurt or a zesty chutney for a delightful dip!
Exact quantities are listed in the recipe card below.
Expert Tips for Cheese Paratha
-
Perfect Dough: Use warm water to knead the dough; it ensures a soft and pliable texture that’s easy to roll out.
-
Filling Perfection: Avoid overstuffing your parathas to prevent them from bursting during frying; aim for a generous yet manageable amount of cheddar cheese.
-
Even Cooking: Roll the parathas evenly for uniform cooking; thicker spots may remain raw while thinner areas could burn.
-
Fry Smart: Maintain medium heat while frying to achieve that golden brown crisp; too high heat can lead to burnt outsides and raw insides.
-
Store Wisely: For the best Cheese Paratha experience, freeze uncooked parathas in a single layer, separated by parchment paper, to enjoy later!
Cheese Paratha Variations
Don’t be afraid to get creative! You can customize these Cheese Parathas to suit your taste and dietary needs.
-
Vegan: Substitute cheddar cheese with vegan cheese or nutritional yeast for a dairy-free delight that still packs flavor.
-
Spicy Kick: Add finely chopped jalapeños or green chilies to the cheese filling for an extra layer of heat that spice lovers will adore.
-
Herb Infusion: Mix in fresh chopped herbs like cilantro or mint with the cheese for a refreshing twist that brightens each bite.
-
Whole Wheat: Swap white flour for whole wheat flour for a heartier, nutty flavor that’s also more nutritious—perfect for health conscious eaters!
-
Stuffed Variations: Experiment with fillings like mashed potatoes, sautéed spinach, or even sweet options like chocolate spread tucked inside for a fun dessert version.
-
Cheesy Blend: Use a mix of different cheeses such as mozzarella and gouda for a rich, melty cheese experience that takes your parathas to the next level.
-
Seeded Surprise: Sprinkle sesame seeds or poppy seeds on the outside before frying for added texture and crunch that will surprise your guests.
-
Savory Breakfast: Pack your Cheese Paratha with scrambled eggs and sautéed vegetables for a delicious breakfast option that fuels your day.
What to Serve with Cheese Paratha?
Transform your delightful Cheese Paratha into a full meal that tantalizes the taste buds and warms the heart.
- Mint Yogurt Dip: Creamy and refreshing, this dip adds a cool contrast to the spicy flavors of the paratha.
- Spicy Tomato Chutney: The tangy kick of this chutney enhances the cheesy filling perfectly, making each bite a flavor explosion.
- Crispy Green Salad: A fresh mix of crunchy greens and zesty dressing balances the richness of the paratha, adding a refreshing crunch.
- Cucumber Raita: The coolness of this yogurt-based dish provides a soothing counterpart to the heat, making it a lovely pairing.
- Butter Chicken: Scrumptious and fragrant, this rich curry complements the paratha’s versatility, making every mouthful a delight.
- Pickled Onions: Tangy and slightly sweet, pickled onions bring a burst of flavor that cuts through the cheese’s richness beautifully.
- Masala Chai: This spiced tea offers warmth and robust flavors, perfectly complementing the cheesy indulgence of your paratha.
- Lemon Sorbet: For dessert, a sweet yet tart sorbet cleanses the palate, providing a refreshing ending to your meal.
Make Ahead Options
These Cheese Parathas are a fantastic choice for meal prep, making your busy weeknights so much easier! You can prepare the dough and fill it with cheddar cheese and chili flakes up to 24 hours in advance—just be sure to cover them tightly with plastic wrap to prevent drying out. If you’re looking to store them longer, you can freeze the assembled parathas (make sure they are fully sealed) for up to 3 months. When you’re ready to enjoy, simply fry your frozen Cheese Parathas directly from the freezer without defrosting, adding a minute or so to the cooking time until they’re golden brown and delicious. This way, you’ll have homemade comfort food ready in no time!
How to Store and Freeze Cheese Paratha
-
Room Temperature: Cheese Parathas are best enjoyed fresh, but you can keep them at room temperature for up to 2 hours wrapped in a clean towel to maintain warmth.
-
Fridge: Store leftover Cheese Parathas in an airtight container in the fridge for up to 3 days. Reheat in a skillet for a few minutes to regain that crispy texture.
-
Freezer: For long-term storage, freeze uncooked parathas separated by parchment paper in a zip-top bag, and they’ll keep well for up to 2 months.
-
Reheating: To reheat frozen Cheese Parathas, cook them straight from the freezer in a hot skillet with a bit of oil until golden brown, about 4-5 minutes on each side.
Cheese Paratha Recipe FAQs
How do I select the best cheddar cheese for my Cheese Paratha?
Absolutely! When choosing cheddar cheese, look for a block that has a rich color and a smooth texture. If you see any dark spots or excessive cracks, it may not be fresh. For a melty consistency, I recommend using a medium to sharp cheddar, as it provides a great flavor without becoming too oily when cooked.
What’s the best way to store leftover Cheese Parathas?
Very! To keep your leftover Cheese Parathas nice and fresh, place them in an airtight container and store them in the fridge. They’ll stay good for up to 3 days. Simply reheat them in a skillet over low to medium heat for about 2-3 minutes on each side to restore their crispy texture.
Can I freeze Cheese Parathas? If so, how?
Definitely! Freezing Cheese Parathas is a fantastic way to meal prep. To do this, place uncooked parathas in a single layer on a baking sheet lined with parchment paper. Freeze until solid, then transfer them to a zip-top bag, separating layers with parchment. They’ll stay fresh for up to 2 months. When you’re ready to enjoy, cook them straight from the freezer on medium heat for about 4-5 minutes on each side until golden brown.
What should I do if my parathas burst while cooking?
Oh no! If your Cheese Parathas are bursting, it typically means they were overfilled. For the next batch, make sure to use just enough cheddar cheese and chili flakes to fill, but not overflow. Also, gently rolling them after sealing can help maintain their shape. If the burst happens during cooking, you can still enjoy them—just be careful when flipping!
Are Cheese Parathas safe for my pet?
Very! Cheese can be safe for pets in small amounts, but be cautious with how much you give. The chili flakes in the recipe are not suitable for pets, so it’s best to remove any filling if you want to share with your furry friend. Always consult with your vet if you’re unsure whether certain foods are safe for your specific pet.
Can I use gluten-free flour for my Cheese Parathas?
Absolutely! If you need a gluten-free alternative, you can use a gluten-free all-purpose flour blend. Just keep in mind that you may need to adjust the liquid slightly, as gluten-free flours can absorb moisture differently. Follow the same steps, and you should still achieve deliciously cheesy results!
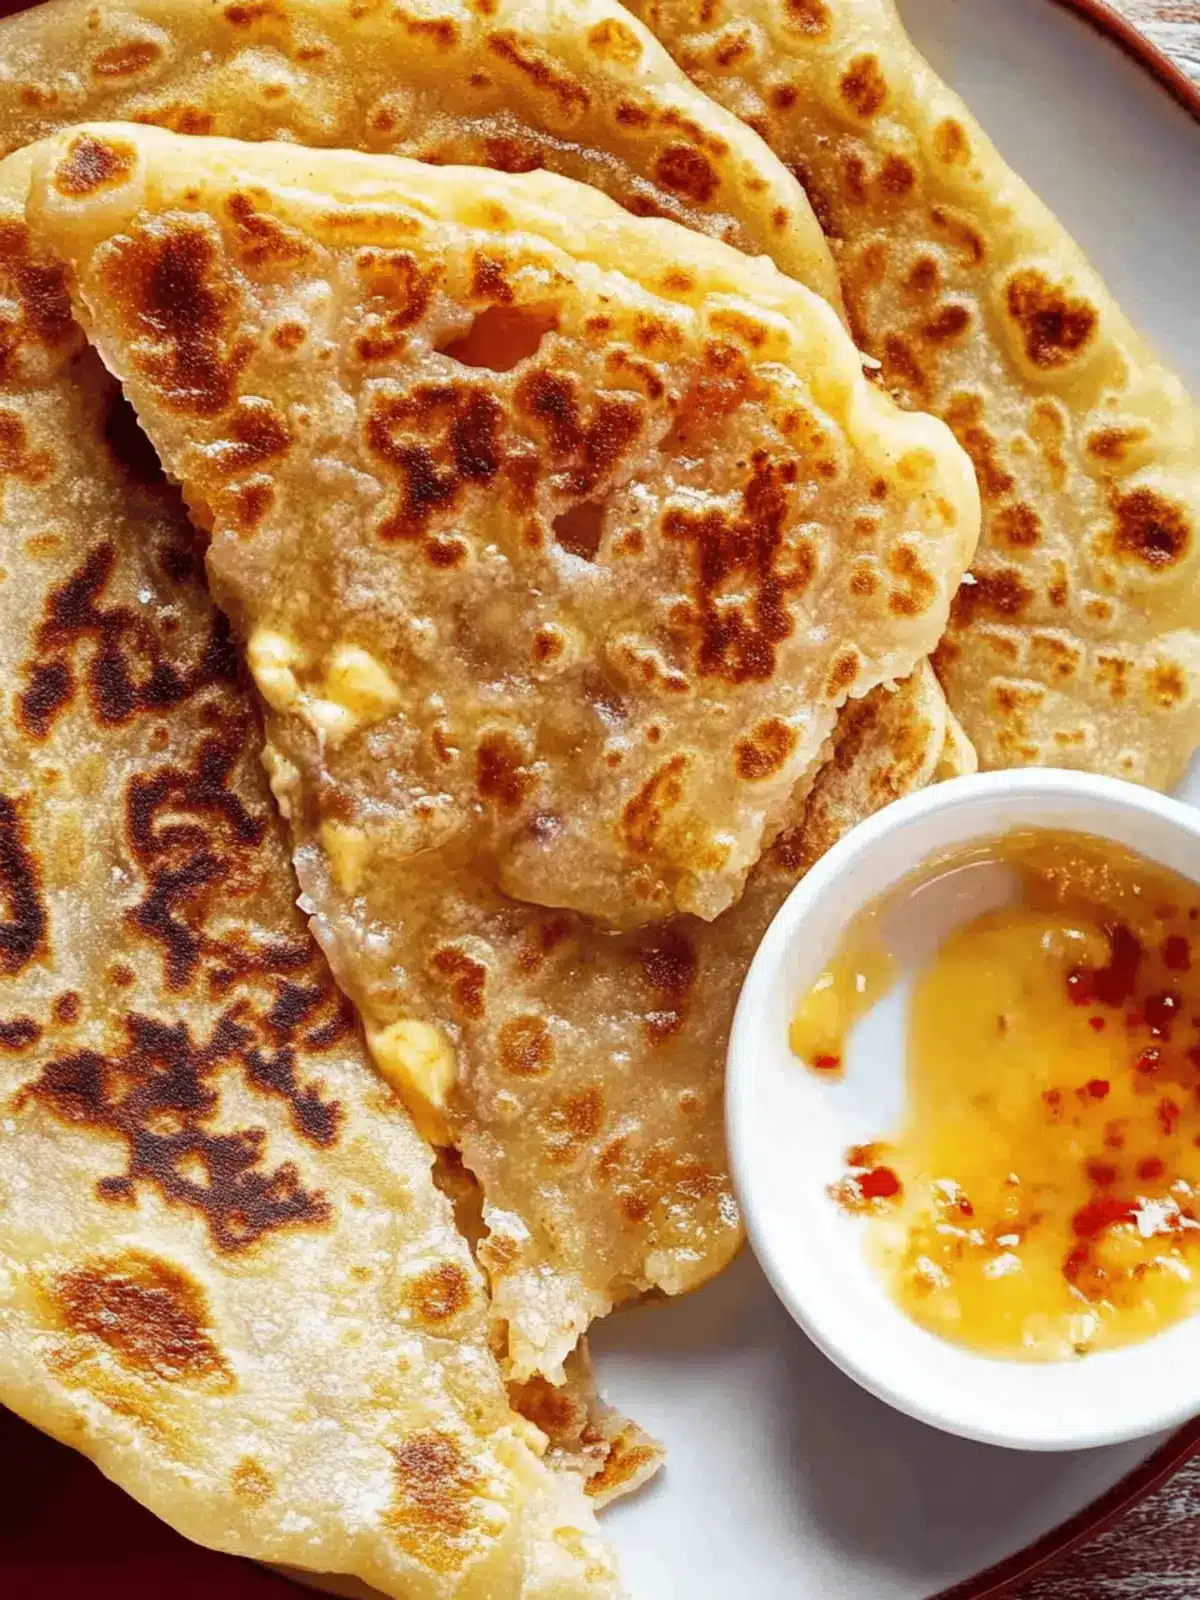
Melt-in-Your-Mouth Cheese Paratha for Ultimate Comfort Food
Ingredients
Equipment
Method
- In a large mixing bowl, combine your wheat flour with enough water to create a soft, pliable dough. Knead gently for about 5-7 minutes until smooth.
- Pinch off portions of the dough and roll them into small balls, roughly the size of a golf ball.
- Dust your work surface with a little flour, and roll each ball into a flat circle about 6 inches in diameter.
- Place a generous amount of cheddar cheese and a sprinkle of chili flakes in the center of each circle.
- Gently fold the edges of the dough over the filling, pinching them together to create a sealed pocket.
- Heat oil or ghee in a pan over medium heat. Add your paratha and cook until golden brown, about 2-3 minutes on each side.
