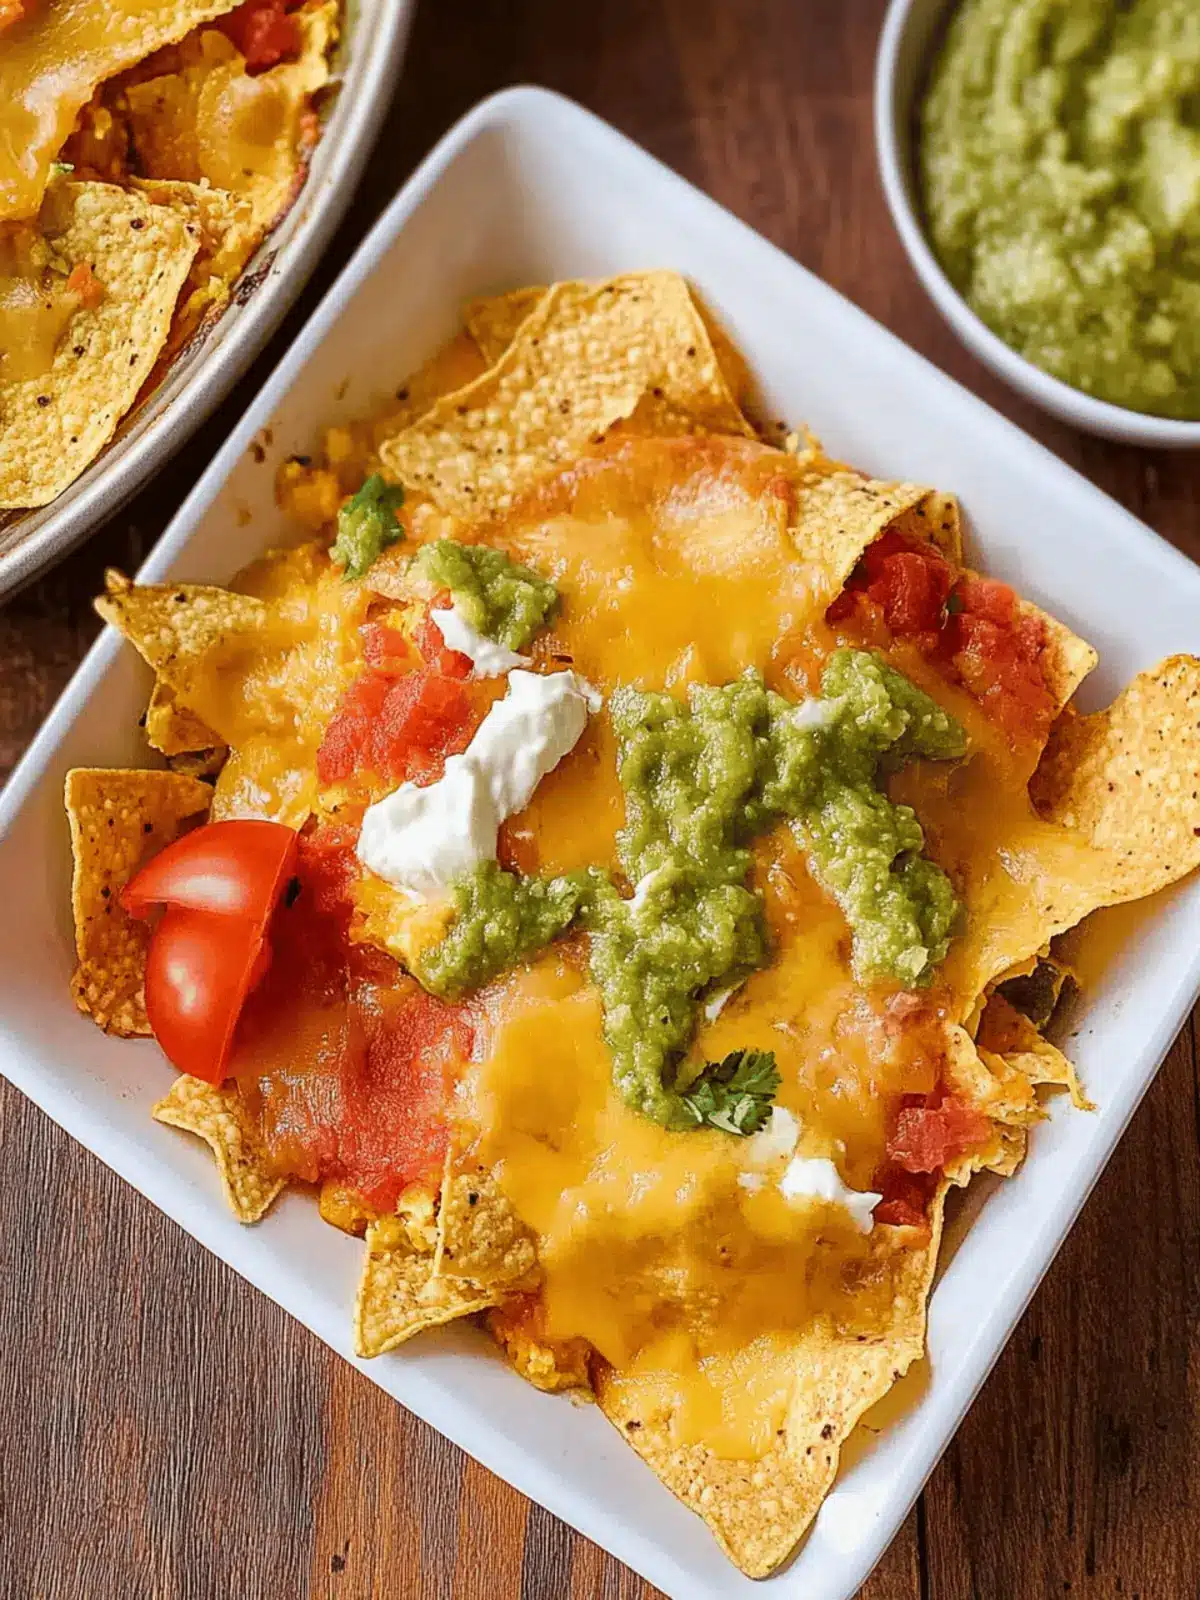
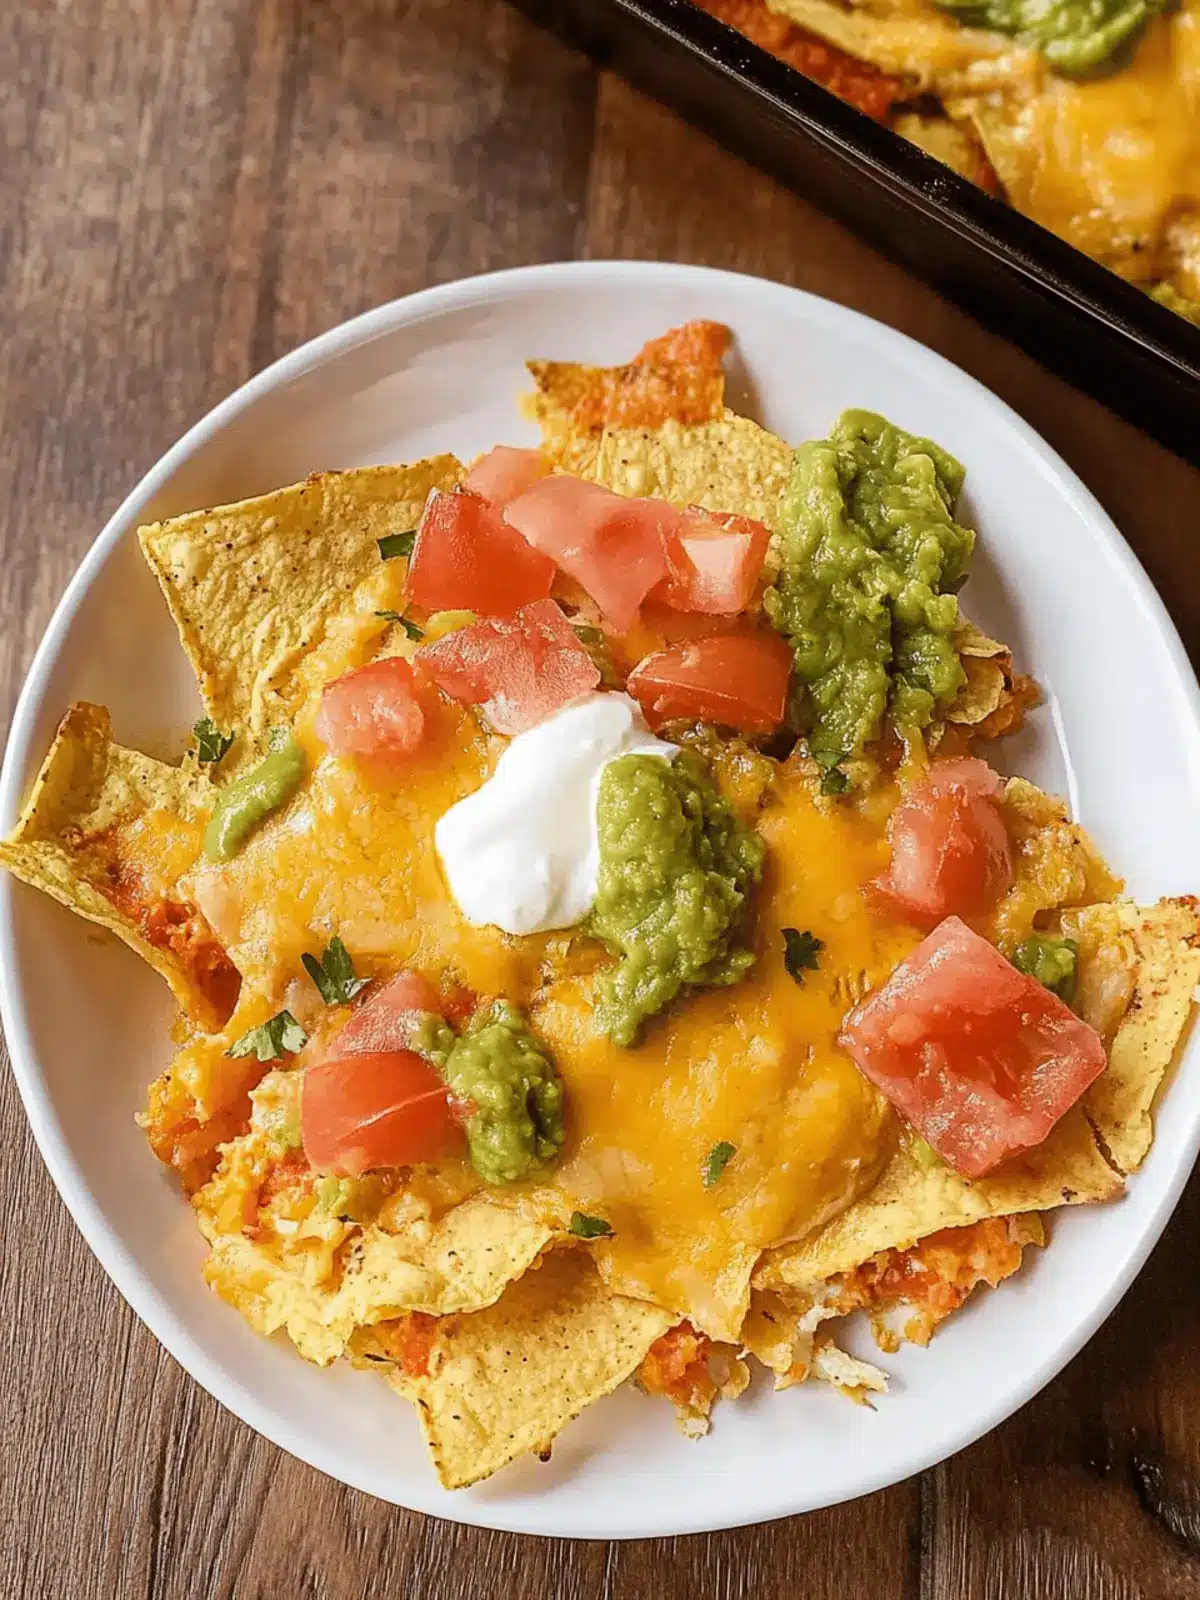
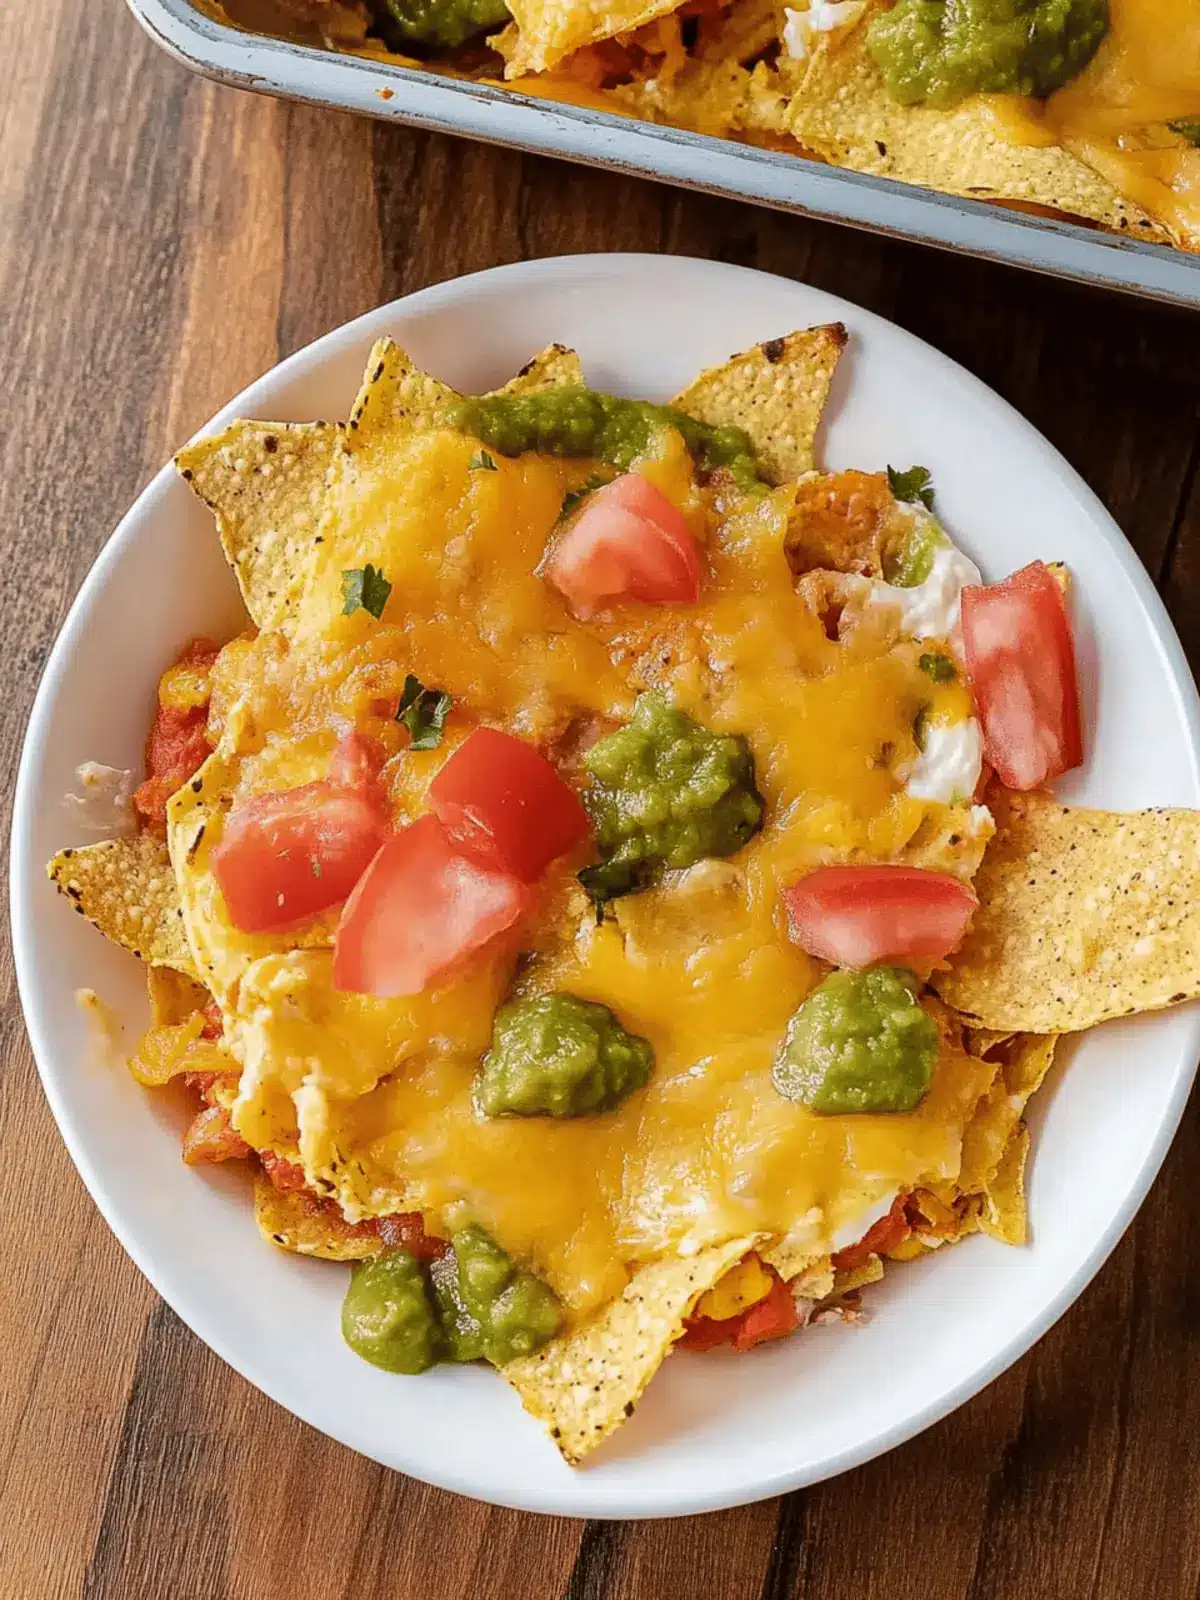
When the sun rises and the house is still quiet, there’s nothing better than the delicious aroma of cheesy goodness wafting through the kitchen. I first experimented with this Cheesy Baked Chilaquiles recipe during one of those lazy Sunday mornings when I wanted to celebrate the weekend with a hearty breakfast. The crispiness of tortilla chips combined with fluffy eggs and melted cheddar cheese creates a dish that feels like a warm hug on a plate.
Imagine being able to savor a dish that’s not only easy to whip up but also a total crowd-pleaser! This recipe is perfect for cozy family brunches or gatherings with friends, all while being a refreshing change from your go-to fast food. In just about half an hour, you can elevate your breakfast game and enjoy an indulgent meal that sings with flavor. Grab your apron and let’s dive into the wonderful world of Cheesy Baked Chilaquiles!
Why will you love Cheesy Baked Chilaquiles?
Comforting, this recipe delivers the satisfaction of a home-cooked meal that warms your soul. Flavorful layers of crispy tortilla chips, fluffy eggs, and gooey melted cheddar cheese create a delightful breakfast experience. Quick to make, it comes together in under 30 minutes, perfect for busy mornings. Versatile enough for any occasion, serve it up for brunch or enjoy a cozy night in. Crowd-pleasing appeal means everyone – from family to friends – will be coming back for seconds!
Cheesy Baked Chilaquiles Ingredients
Get ready to bring the flavors of breakfast to life!
For the Base
- Unsalted butter – 1/4 cup – adds richness and helps create a deliciously crispy bottom layer.
- Large eggs – 24 eggs – the stars of the dish, creating a fluffy and satisfying texture.
- Kosher salt – 2 teaspoons – enhances the flavors of all your other ingredients.
- Coarse ground black pepper – 1/4 teaspoon – adds a subtle kick to your casserole.
- Whole milk – 2 cups – keeps the eggs creamy and tender.
For the Toppings
- Tortilla chips – 3 cups – provides that delightful crunch and a perfect base for your cheesy baked chilaquiles.
- Fresh salsa – 1 cup – adds a burst of fresh flavor and a hint of spice.
- Cheddar cheese – 1 1/2 cups – the gooey goodness that melts right over everything, making this breakfast irresistible.
How to Make Cheesy Baked Chilaquiles
-
Preheat the oven to 350°F. Start by melting the unsalted butter and pouring it into the bottom of a 9×13 baking pan, ensuring a rich flavor and a crispy base for your chilaquiles.
-
Whisk together the large eggs, kosher salt, coarse ground black pepper, and whole milk in a large bowl. This creates a fluffy, creamy mixture that will form the base of your dish.
-
Pour the egg mixture carefully into the buttered baking pan. Place it in the oven and bake uncovered for 12-15 minutes, just until it begins to firm up around the edges.
-
Stir gently. After the initial bake, take it out and give the mixture a light stir. This helps to ensure even cooking throughout.
-
Layer the tortilla chips evenly over the partially baked eggs, following with fresh salsa and then the generous sprinkling of cheddar cheese on top.
-
Bake for an additional 15 minutes, or until the eggs are fully set and the cheese is beautifully melted and bubbly. The aroma will be irresistible!
Optional: Garnish with fresh cilantro for an extra pop of flavor.
Exact quantities are listed in the recipe card below.
Helpful Tricks for Cheesy Baked Chilaquiles
-
Perfect Egg Texture: Always whisk the eggs with milk until well combined. This helps achieve that fluffy texture that makes Cheesy Baked Chilaquiles irresistible.
-
Layering Wisely: For the best crunch, layer half of the tortilla chips before adding the eggs and then the rest on top. This prevents them from getting soggy.
-
Even Baking: Stir the egg mixture midway through baking to ensure even cooking. It also helps avoid any undercooked spots – a common mistake!
-
Add Your Twist: Feel free to customize with your favorite toppings like jalapeños or bell peppers for an added kick.
-
Cheese Overflow: Keep an eye on the melting cheese! Use the full quantity but remember to spread it evenly to avoid overflowing while baking.
Cheesy Baked Chilaquiles Variations
Feel free to get creative and give this recipe your personal touch!
-
Vegetarian: Swap out the eggs for a tofu scramble to keep it plant-based and packed with protein.
-
Spicy Kick: Add diced jalapeños or your favorite hot sauce to the egg mixture for a flavorful zing that elevates each bite.
-
Meaty Goodness: Incorporate cooked chorizo or bacon for a hearty addition that will make each serving a meaty delight.
-
Creamy Twist: Use cream cheese instead of half of the cheddar for a rich, velvety texture that hugs every chip.
-
Herb Infusion: Sprinkle fresh herbs like cilantro or green onions on top before serving for a refreshing burst of flavor that livens up each bite.
-
Cheese Variety: Experiment with different cheeses like pepper jack for a hint of spice or mozzarella for an ooey-gooey stretch.
-
Low-Carb Option: Replace tortilla chips with cauliflower chips for a lighter version that still delivers on flavor and crunch.
-
Luscious Layers: Add sautéed vegetables such as bell peppers and onions between layers or on top for added sweetness and nutrition.
Make Ahead Options
These Cheesy Baked Chilaquiles are perfect for meal prep enthusiasts! You can prepare the egg mixture up to 24 hours in advance by whisking together the eggs, salt, pepper, and milk, then refrigerating it in an airtight container to maintain freshness. Additionally, you can also layer the tortilla chips, salsa, and shredded cheese in your baking pan, covering it tightly with plastic wrap to keep it from drying out. When you’re ready to serve, simply pour the chilled egg mixture over the layered ingredients and bake according to the instructions—this way, you’ll achieve restaurant-quality results with minimal effort and have more time to enjoy your morning!
What to Serve with Cheesy Baked Chilaquiles?
Picture a delightful brunch table, brimming with satisfying flavors and textures that perfectly complement your cozy breakfast casserole.
- Fresh Avocado Slices: Creamy avocado slices add richness and a refreshing contrast to the cheesy, hearty chilaquiles.
- Crispy Bacon: Savory, crispy bacon brings a delightful crunch and a salty kick to balance the dish’s creaminess.
- Garden Salad: A light, tangy garden salad brightens the meal and introduces a fresh, vibrant element to the table.
- Homemade Guacamole: This creamy dip enriches every bite, adding a layer of flavor that enhances the entire breakfast experience.
- Mimosa: A classic brunch drink, the bubbly citrus in a mimosa pairs beautifully with the richness of chilaquiles.
- Cilantro Lime Rice: Fluffy rice infused with zesty lime and fresh cilantro complements the chilaquiles, making every forkful a celebration.
- Churros: For a sweet touch, serve crispy churros with a dusting of powdered sugar and a side of chocolate sauce for dipping.
- Mexican Hot Chocolate: Rich and velvety, this warm beverage rounds off the meal, wrapping you in a cozy hug.
- Sautéed Bell Peppers: Vibrant bell peppers sautéed with spices add sweetness and crunch, creating a texture contrast that’s delightful.
How to Store and Freeze Cheesy Baked Chilaquiles
-
Room Temperature: Serve warm for the best experience! Cheesy Baked Chilaquiles can sit out for up to 2 hours before they should be refrigerated.
-
Fridge: Store any leftovers in an airtight container in the fridge for up to 3 days. Reheat in the microwave or oven until warmed through.
-
Freezer: For longer storage, freeze chilaquiles in individual portions wrapped tightly in plastic wrap and placed in a freezer-safe container for up to 3 months.
-
Reheating: When ready to enjoy, thaw overnight in the fridge. Reheat in the microwave or oven, baking at 350°F until hot and bubbly, keeping the cheesy goodness intact!
Cheesy Baked Chilaquiles Recipe FAQs
What kind of tortilla chips work best for Cheesy Baked Chilaquiles?
I recommend using sturdy tortilla chips to withstand the moisture of the egg mixture. Look for thick, restaurant-style chips; their crunch factor adds so much to the dish. Avoid thin chips, as they might get soggy during baking!
How do I store leftover Cheesy Baked Chilaquiles?
Absolutely! Store leftovers in an airtight container in the fridge for up to 3 days. When you’re ready to enjoy, you can reheat them in the microwave or the oven until heated through. This keeps the flavors intact and provides that warm, comforting experience again!
Can I freeze Cheesy Baked Chilaquiles?
Definitely! To freeze, cut them into individual portions and wrap each tightly in plastic wrap. Place the wrapped portions in a freezer-safe container, and they’ll stay fresh for up to 3 months. When you’re ready to enjoy, thaw overnight in the fridge and reheat in the oven at 350°F until heated through and bubbly!
Why is my Cheesy Baked Chilaquiles soggy?
Very good question! A common culprit for sogginess is using too many tortilla chips or allowing them to sit too long before baking. To prevent this, be sure to layer them wisely—place half under the egg mixture and half on top. This technique ensures they retain that delightful crunch!
Are Cheesy Baked Chilaquiles suitable for kids?
Absolutely! This dish is a fantastic choice for family breakfasts! Keep an eye on the spice level in the salsa you choose—it might be wise to opt for a mild fresh salsa for younger palates. You can even involve the kids in adding toppings, making it a fun family activity!
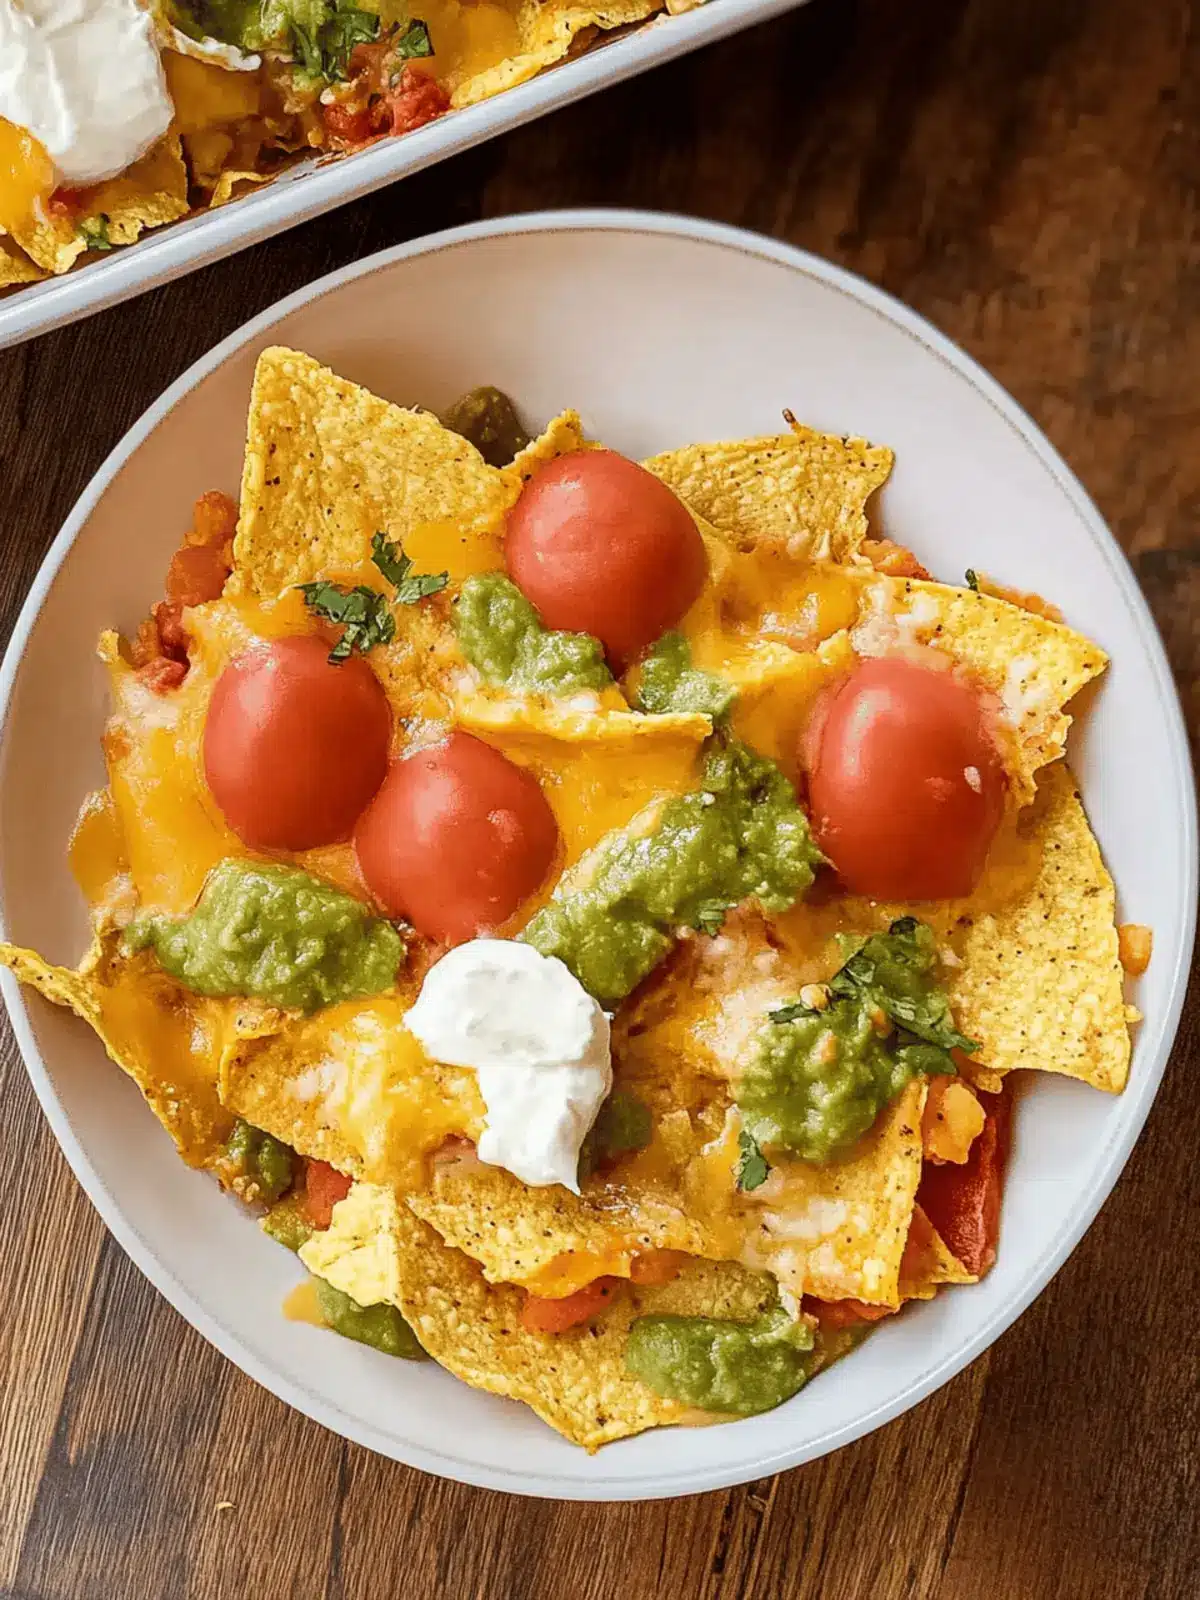
Cheesy Baked Chilaquiles for a Cozy Breakfast Bliss
Ingredients
Equipment
Method
- Preheat the oven to 350°F. Start by melting the unsalted butter and pouring it into the bottom of a 9x13 baking pan, ensuring a rich flavor and a crispy base for your chilaquiles.
- Whisk together the large eggs, kosher salt, coarse ground black pepper, and whole milk in a large bowl. This creates a fluffy, creamy mixture that will form the base of your dish.
- Pour the egg mixture carefully into the buttered baking pan. Place it in the oven and bake uncovered for 12-15 minutes, just until it begins to firm up around the edges.
- Stir gently. After the initial bake, take it out and give the mixture a light stir. This helps to ensure even cooking throughout.
- Layer the tortilla chips evenly over the partially baked eggs, following with fresh salsa and then the generous sprinkling of cheddar cheese on top.
- Bake for an additional 15 minutes, or until the eggs are fully set and the cheese is beautifully melted and bubbly. The aroma will be irresistible!
