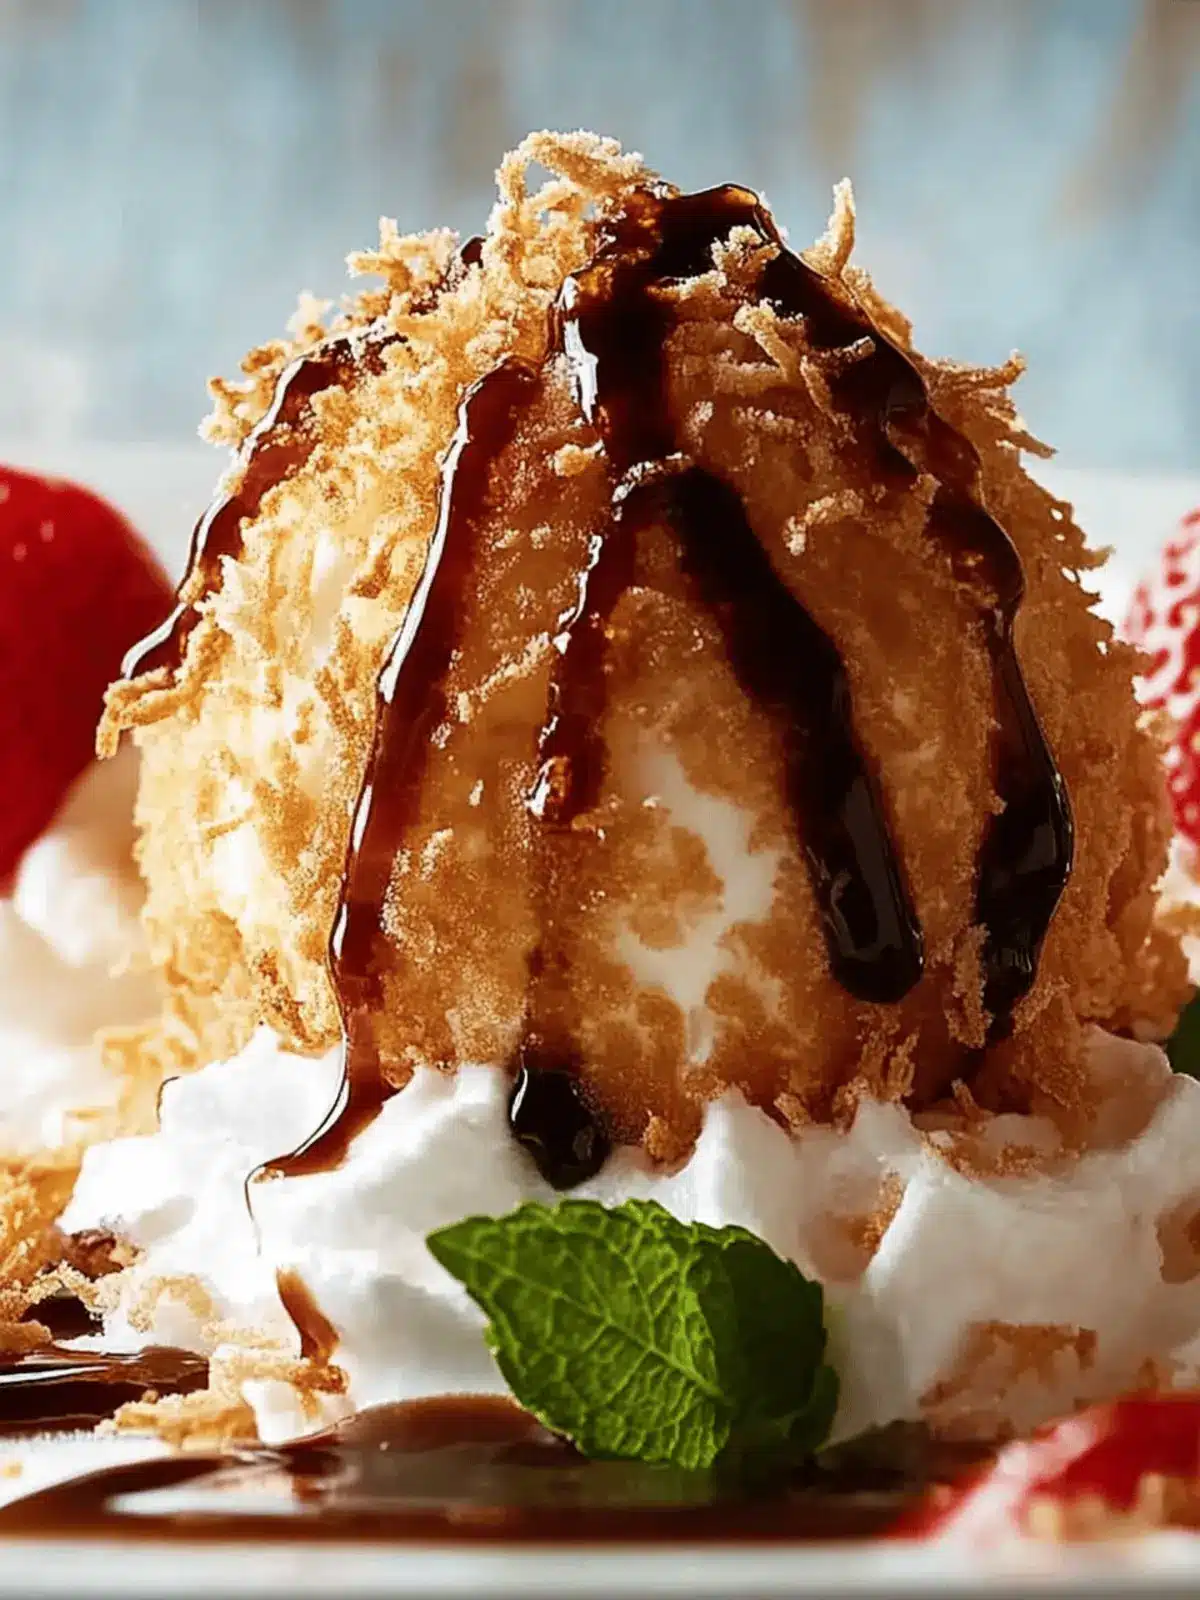
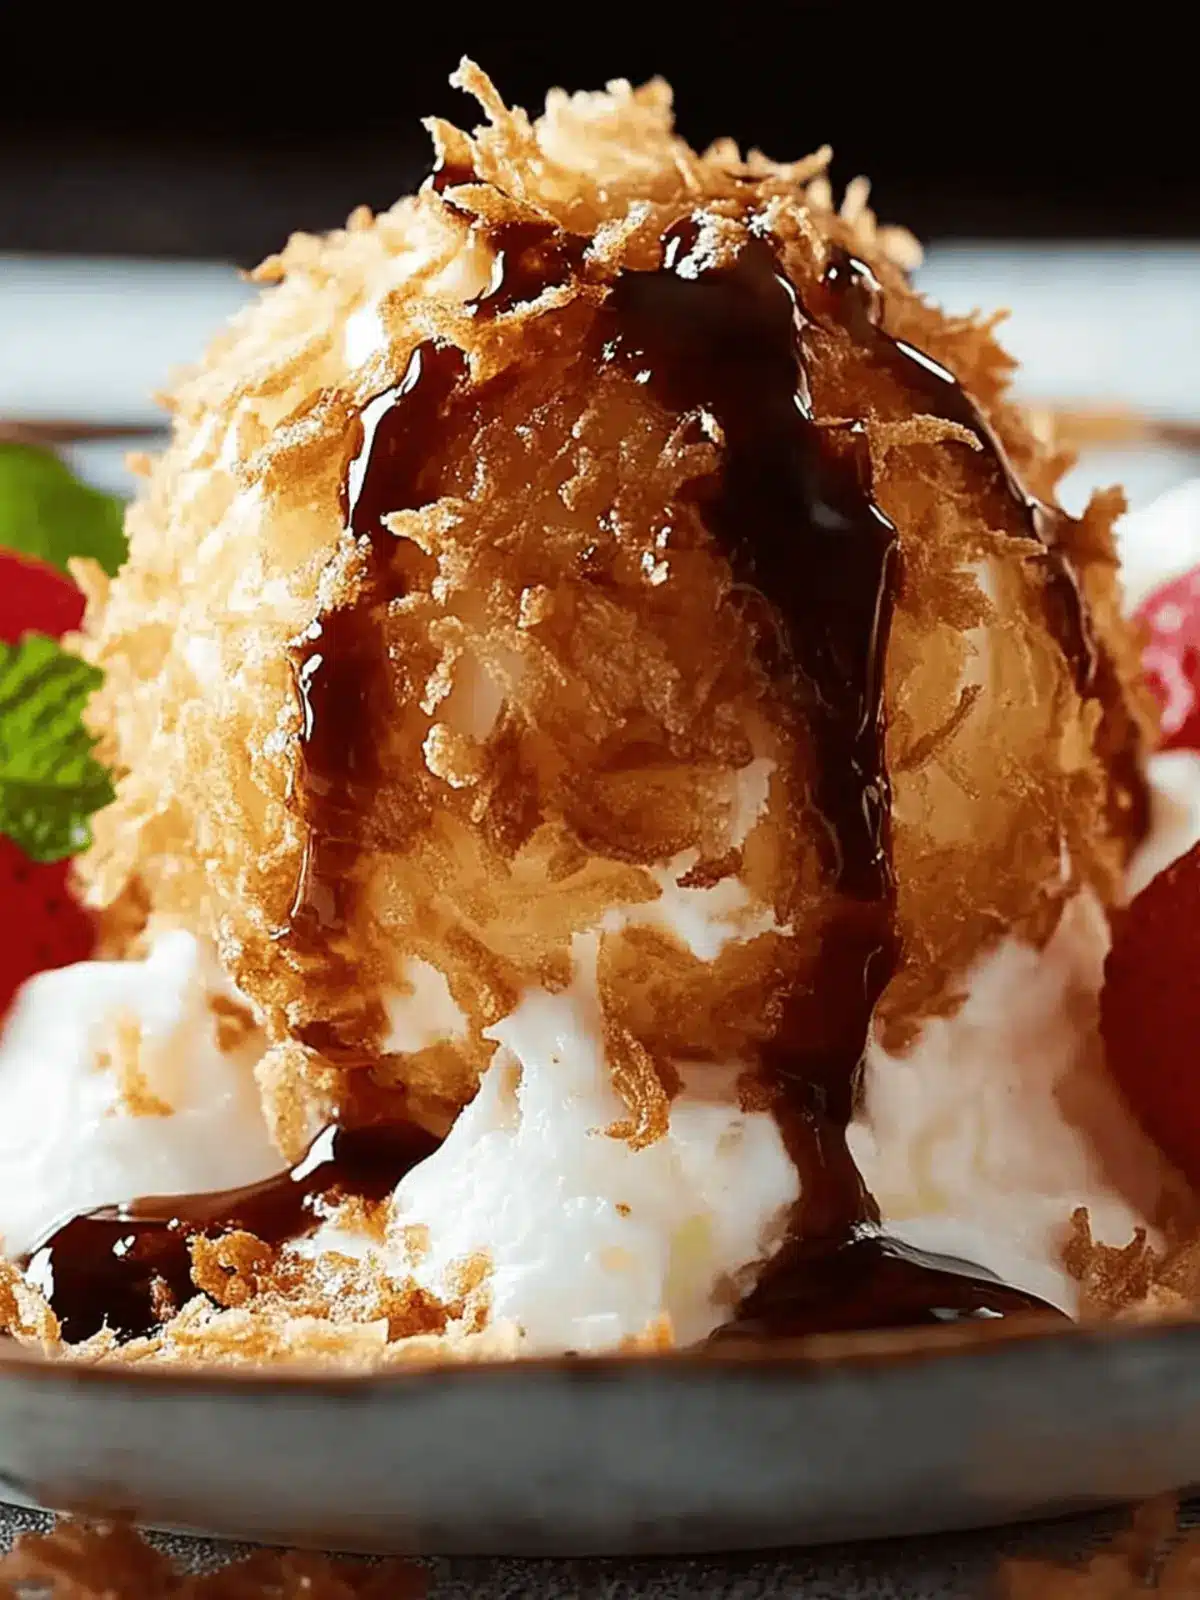
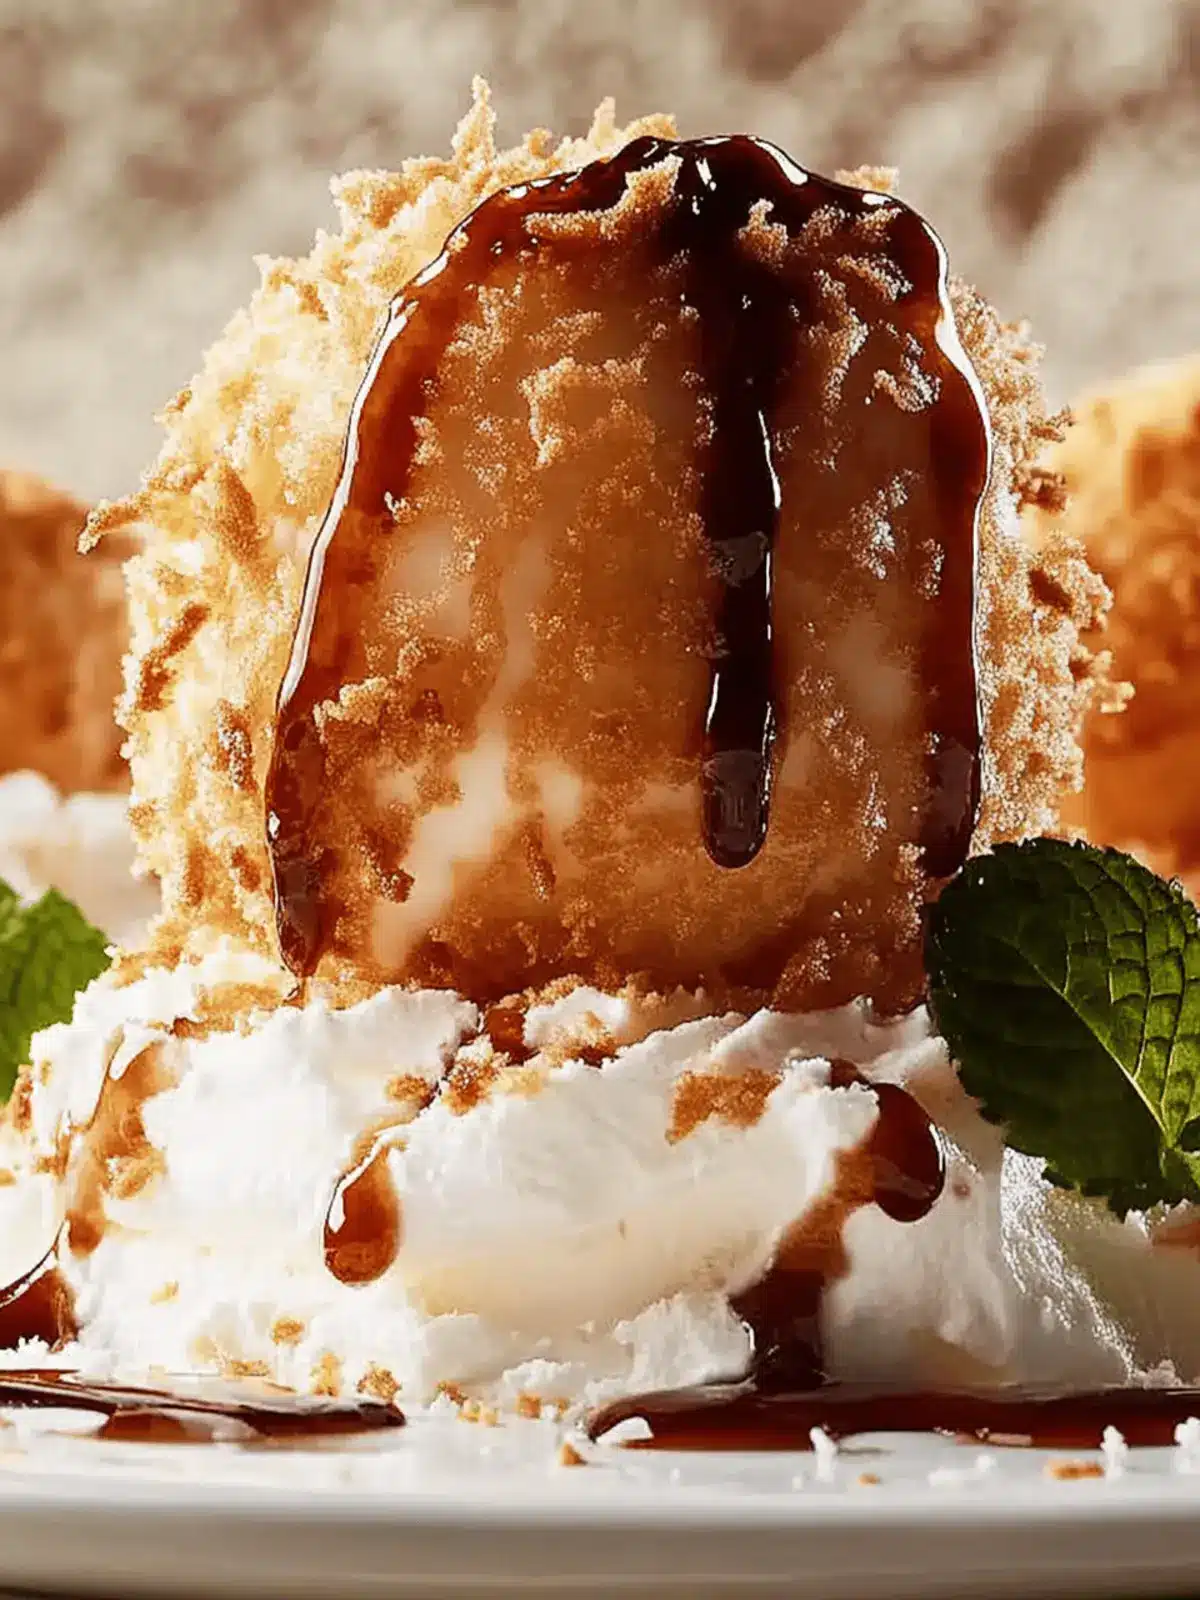
There’s something truly enchanting about the first bite of Fried Ice Cream; the unexpected combination of a warm, crunchy shell giving way to a cold, creamy center creates a dessert experience unlike any other. I first discovered this delightful treat at a local fair, where the thrill of watching it being fried right before my eyes was almost as rewarding as the taste itself. From that moment, I knew I had to recreate this culinary magic in my own kitchen.
This recipe not only brings the joy of Fried Ice Cream to your home but also invites endless customization. Imagine swapping out classic vanilla for rich chocolate or experimenting with vibrant seasonal flavors like pumpkin spice! Perfect for dinner parties or a cozy family treat, this dessert is bound to impress and delight guests of all ages.
So, roll up your sleeves and prepare for a fun culinary adventure! With a few simple steps, you can elevate your dessert game and enjoy this show-stopping treat that feels fancy but is surprisingly easy to make. Get ready to serve up smiles and satisfaction with every bite!
Why will you love Fried Ice Cream?
Delightful Texture: The contrast of a warm, crispy exterior and a cold, creamy center makes each bite of Fried Ice Cream a thrilling experience.
Endless Customization: Experiment with various flavors like chocolate, strawberry, or even seasonal treats, transforming this classic dessert into your own masterpiece.
Easy to Make: Despite its impressive appearance, the process is simple and requires just a few basic steps, making it perfect for home cooks of all skill levels.
Crowd-Pleasing Treat: Ideal for gatherings, Fried Ice Cream is sure to be a hit with family and friends, sparking joy at any occasion.
Get ready for a fun kitchen adventure that creates fabulous memories! If you’re looking for more twist on classic desserts, check out my other fabulous dessert recipes!
Fried Ice Cream Ingredients
For the Ice Cream
• Vanilla Ice Cream – The hero of this dessert; feel free to swap for chocolate or strawberry for a twist!
For the Coating
• Cornflakes, crushed – Provides that satisfying crunch; substitutions can include crushed Oreos for a sweeter profile.
• Ground Cinnamon – Adds a lovely warmth; you can adjust or omit based on your spice preference.
• Granulated Sugar – Enhances the sweetness of the coating; use a sugar alternative to tailor to your taste.
• Eggs – Help bind the coating; for a vegan version, try a plant-based egg substitute.
For Frying
• Oil for frying – Essential for the crispy exterior; opt for a high smoke point oil like canola or vegetable oil.
For Garnishing (Optional)
• Whipped Cream – Elevates the dessert’s appearance and taste; consider adding a sprinkle of cocoa for extra flair.
• Chocolate Syrup – Drizzle on top for a decadent touch; experiment with caramel for a different twist.
• Maraschino Cherries – Classic topping that adds visual appeal; or substitute with fresh fruit for a refreshing finish.
Enjoy the magic of making Fried Ice Cream at home, where endless variations await your creativity!
How to Make Fried Ice Cream
-
Prep Ice Cream: Start by scooping vanilla ice cream into equal-sized balls and place them on a baking sheet. Freeze them for at least 2 hours to ensure they are firm and hold their shape.
-
Make Coating: In a mixing bowl, combine crushed cornflakes, ground cinnamon, and granulated sugar. In another bowl, beat the eggs until frothy; this will help the coating stick to the ice cream.
-
Coat Ice Cream: One by one, dip each frozen ice cream ball into the beaten eggs, ensuring it’s fully coated. Then roll it in the cornflake mixture. For an extra thick coating, repeat the dipping and rolling, then freeze again for 1 hour.
-
Fry Ice Cream: Heat oil in a deep pot to 375°F (190°C). Carefully drop each ball into the hot oil and fry for 10-15 seconds until they’re golden brown. Be cautious; they can fry very quickly!
-
Serve: Remove the fried ice cream from the oil and drain on paper towels. Serve immediately with optional garnishes like whipped cream, chocolate syrup, or maraschino cherries for a special touch.
Optional: Add fresh fruits or caramel drizzle for an exciting twist.
Exact quantities are listed in the recipe card below.
What to Serve with Fried Ice Cream?
Looking to create an unforgettable meal that perfectly complements the delightful indulgence of fried ice cream?
- Fresh Berries: The tartness of strawberries or blueberries balances the sweetness and adds a refreshing touch.
- Chocolate Sauce: A rich drizzle enhances the dessert, offering a luscious contrast to the crispy ice cream.
- Creamy Whipped Topping: Adds lightness and a touch of sweetness that heightens the overall dessert experience.
- Coconut Flake Topping: Toasted coconut brings a delightful crunch and flavor variety to your fried ice cream.
- Ice Cream Sundae Bar: Set up a fun station with various toppings so guests can customize their dessert, creating a playful atmosphere.
- Light Fruit Salad: Fresh melons and citrus brighten the meal, providing a zesty counterpoint to the richness of the fried ice cream.
- Warm Chocolate Cake: Serve as a rich companion, allowing your guests to savor every bite of this decadent duo.
- Coffee or Espresso: A warm beverage can elevate the dessert experience, providing a pleasing balance to the sweet and cold treat.
- Sparkling Water: A refreshing drink that cleanses the palate, making each bite of fried ice cream feel just as satisfying as the first.
- Cinnamon Sugar Churros: Serve alongside for a fun texture clash that sings a sweet chorus of flavors with every bite!
With these delightful pairings, you can craft a menu that delights the senses and ensures a memorable dining experience.
Storage Tips for Fried Ice Cream
-
Freezer: Store un-fried, coated ice cream balls in an airtight container, separated by parchment paper, for up to 2 weeks to maintain texture and flavor.
-
Fridge: If you’ve leftover fried ice cream, it should be eaten immediately for the best taste. Refrigeration isn’t recommended, as the crispy coating will become soggy.
-
Reheating: For any fried ice cream leftover, reheat them in a hot oven for a few minutes to revive some crispiness. However, be aware that the cold center may begin to melt.
-
Preparation Ahead: If you’re entertaining and want to save time, you can prepare the coated ice cream balls in advance and keep them frozen until you are ready to fry.
Expert Tips for Fried Ice Cream
-
Firm Ice Cream: Ensure your ice cream balls are extremely firm before frying; this prevents melting during the frying process.
-
Double Coating: For that perfect crunch, double-coat with cornflakes. This helps protect the ice cream and adds extra texture.
-
Watch the Oil: Keep the frying oil at the right temperature to avoid soggy coating. Fry in small batches for best results.
-
Alternative Options: If frying feels intimidating, consider oven-baking or air-frying your coated ice cream for a lighter, yet crispy, experience.
-
Experiment and Enjoy: Don’t hesitate to swap out flavors and toppings! Fried Ice Cream is customizable, allowing you to create the ideal dessert that suits your taste.
Variations & Substitutions for Fried Ice Cream
Feel free to spin this recipe into your own unique masterpiece with countless delightful options!
- Gluten-Free: Use gluten-free cornflakes or crushed nuts as a coating for a crunchy, satisfying crunch that everyone can enjoy.
- Vegan: Swap regular ice cream for coconut or almond milk ice cream and use a plant-based egg substitute for coating.
- Flavor Twists: Try different ice cream flavors like mango, cookies and cream, or lavender for a refreshing twist on the classic.
- Coating Options: Experiment with crushed pretzels, cinnamon sugar, or even crushed potato chips for an unexpected yet delicious crunch.
- Spicy Kick: For a bold twist, sprinkle a pinch of cayenne or chili powder into the cornflake mixture for a sweet and spicy flavor profile.
- Nutty Delight: Add chopped nuts into the coating mix for a crunchy texture and nutty flavor—almonds, walnuts, or pecans work beautifully!
- Fruity Fun: Swap traditional toppings for fresh, diced fruit like strawberries, bananas, or berries to brighten each serving.
- Caramel Sauce: Instead of chocolate syrup, drizzle with homemade or store-bought caramel sauce for a rich, decadent finish that compliments the fried ice cream perfectly.
Let your culinary imagination roam free, and have fun making this dish truly yours!
Make Ahead Options
Fried Ice Cream is perfect for busy home cooks looking to save time! You can prepare the coated ice cream balls up to 24 hours in advance. Simply scoop the ice cream into balls (about 1.5 inches in diameter) and place them on a baking sheet. Freeze them for at least 2 hours until firm, then dip in the egg wash and roll in the cornflake mixture. For added protection against melting, freeze again for 1 hour after coating. When you’re ready to fry, heat your oil to 375°F (190°C) and fry the ice cream balls for 10-15 seconds until golden brown. This way, you’ll achieve the same delicious results with minimal effort!
Fried Ice Cream Recipe FAQs
What kind of ice cream works best for Fried Ice Cream?
Absolutely! Vanilla ice cream is the classic choice, but feel free to experiment with other flavors like chocolate, strawberry, or seasonal picks like pumpkin spice. Just ensure you choose a solid, creamy ice cream for the best texture.
How should I store Fried Ice Cream?
If you haven’t fried your ice cream yet, store the coated ice cream balls in an airtight container, separated with parchment paper, in the freezer for up to 2 weeks. This will help maintain their texture and flavor. However, once fried, enjoy them immediately for the best experience!
Can I freeze Fried Ice Cream after frying?
It’s best to serve Fried Ice Cream right after frying for the ultimate crunch. If you have leftovers, briefly reheat them in a hot oven for a few minutes, but be cautious as the cold center may start to melt.
What if my coating isn’t sticking to the ice cream?
Very common! Ensure your ice cream balls are thoroughly frozen and firm. If the coating isn’t adhering well, try double-coating: dip the ice cream in the egg, then in the cornflake mixture, freeze for an hour, and repeat this step for a thicker, more secure coating.
Can I make Fried Ice Cream gluten-free?
Absolutely! You can substitute traditional cornflakes with gluten-free cereal or crushed nuts to create that satisfying crunch. Just ensure all ingredients used, including the ice cream, are labeled gluten-free.
Is Fried Ice Cream safe for pets?
While it’s a delightful treat for us, Fried Ice Cream contains sugar and dairy, which aren’t great for pets. It’s best to avoid sharing this indulgent dessert with them but consider giving them a little frozen pet-safe treat instead!
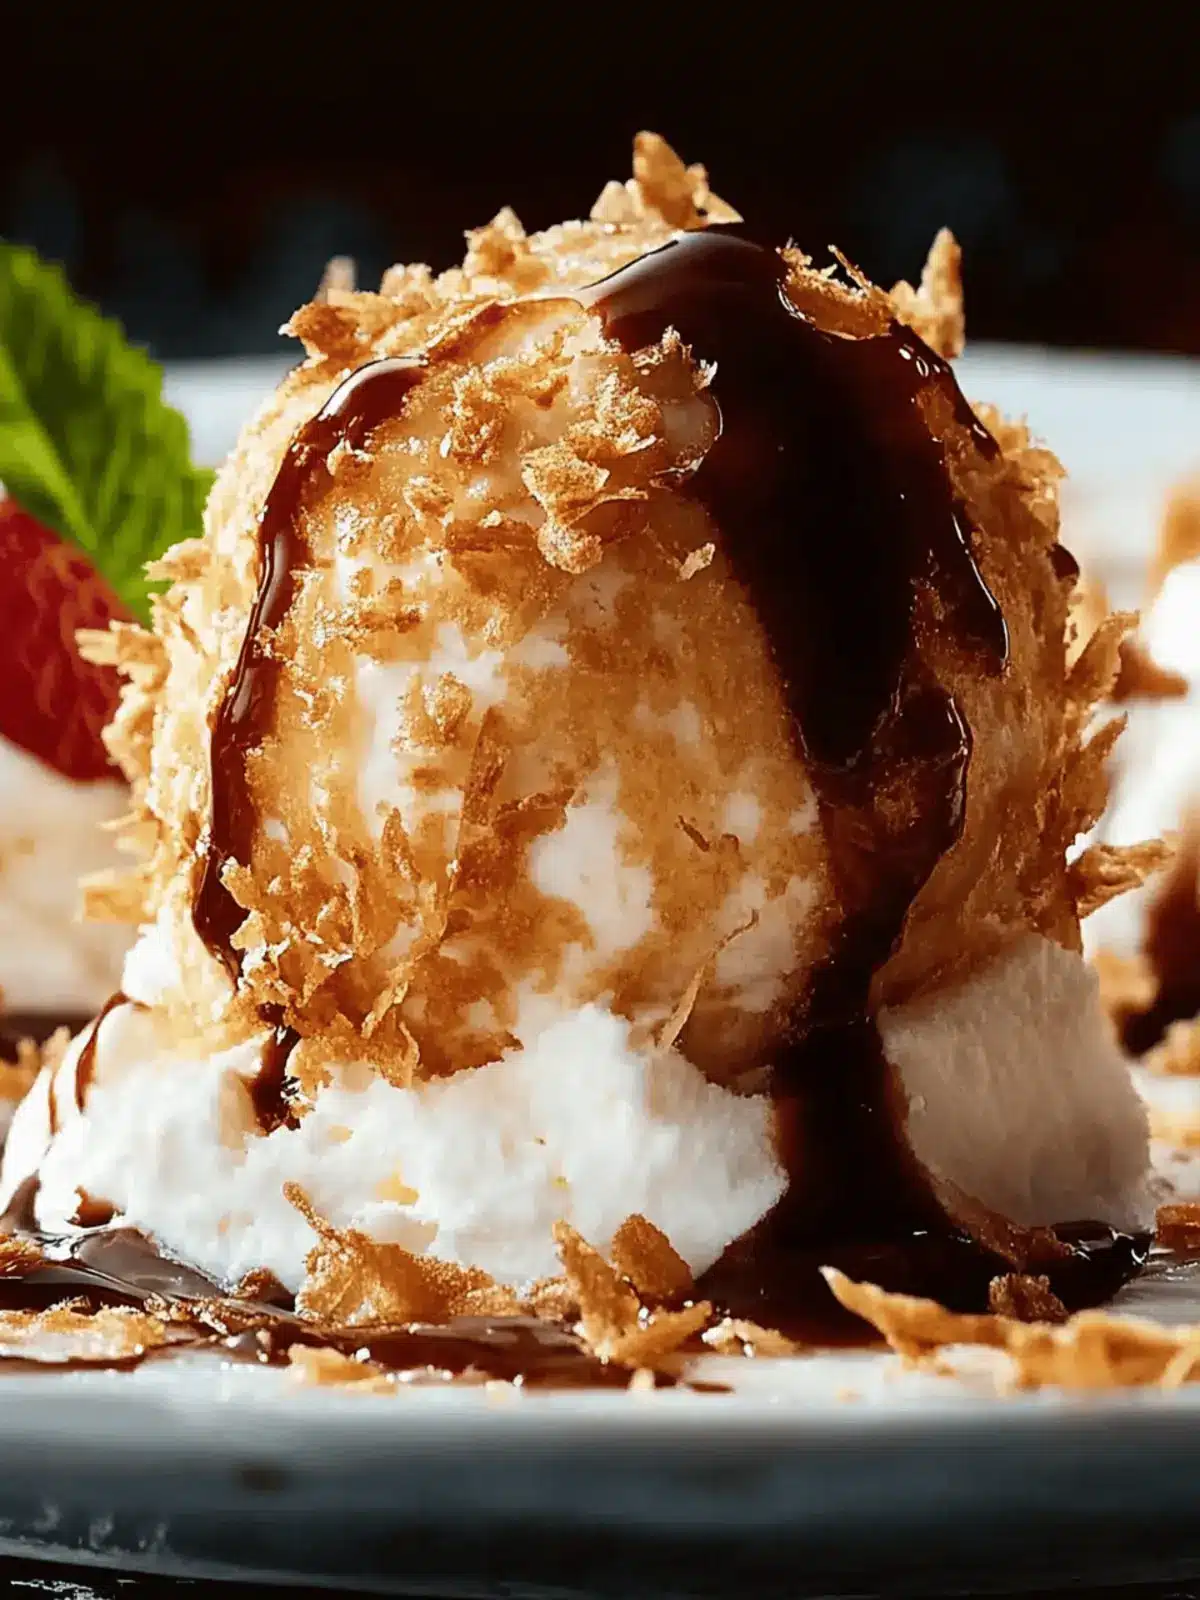
Fried Ice Cream: Your Ultimate Guide to Irresistible Delight
Ingredients
Equipment
Method
- Start by scooping vanilla ice cream into equal-sized balls and place them on a baking sheet. Freeze them for at least 2 hours to ensure they are firm and hold their shape.
- In a mixing bowl, combine crushed cornflakes, ground cinnamon, and granulated sugar. In another bowl, beat the eggs until frothy.
- Dip each frozen ice cream ball into the beaten eggs, ensuring it's fully coated. Roll it in the cornflake mixture. For thick coating, repeat this process and freeze again for 1 hour.
- Heat oil in a deep pot to 375°F (190°C). Carefully drop each ball into the hot oil and fry for 10-15 seconds until golden brown.
- Remove the fried ice cream from the oil and drain on paper towels. Serve immediately with optional garnishes.
