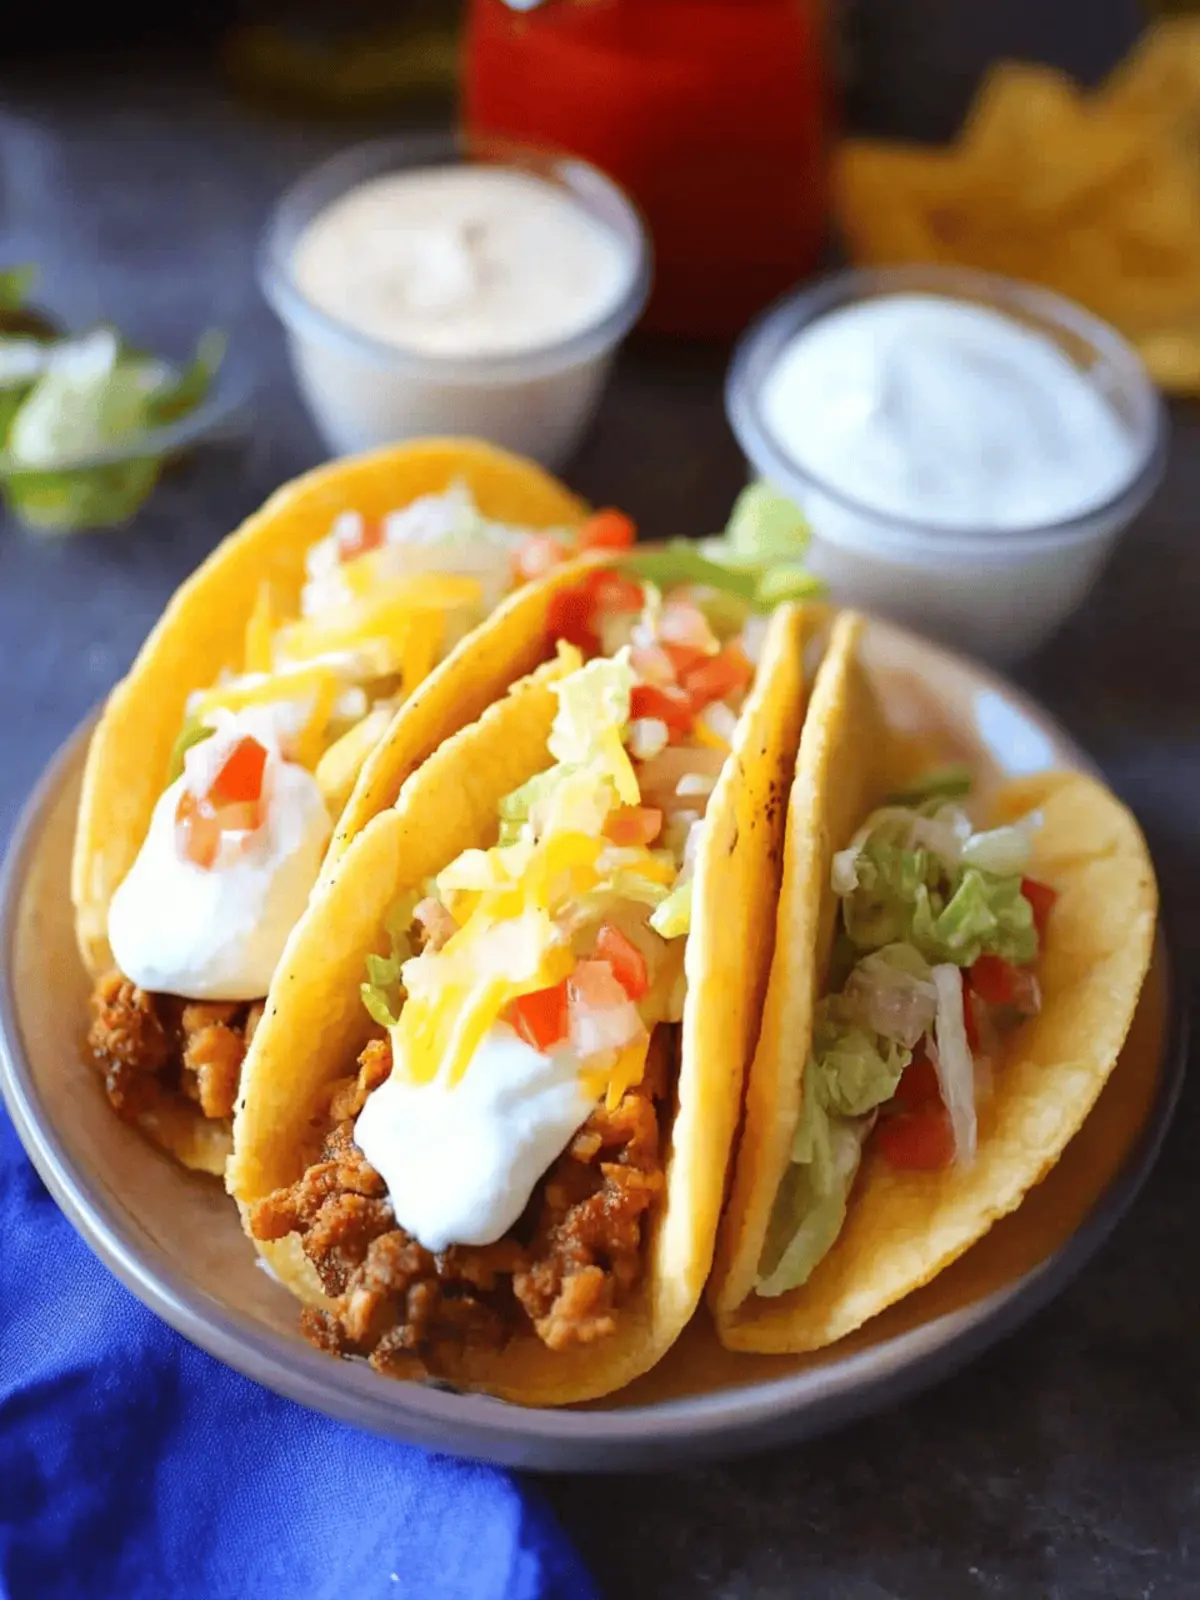
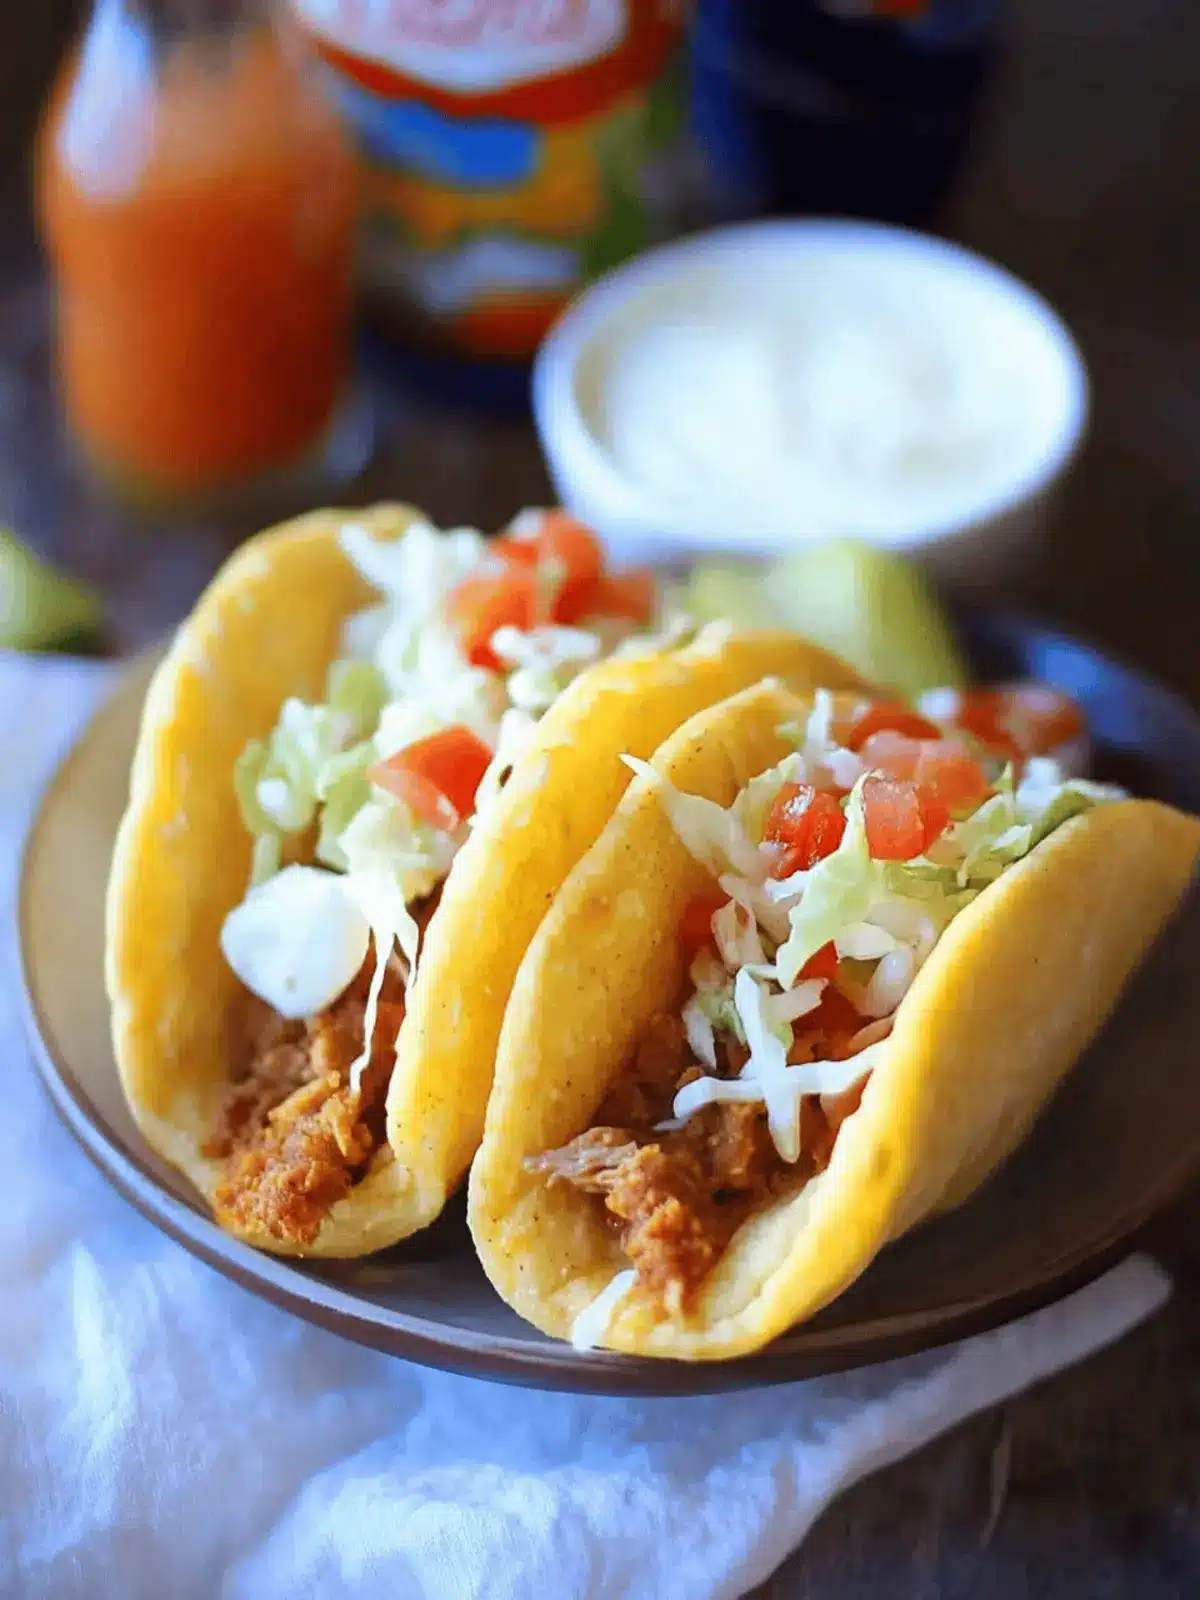
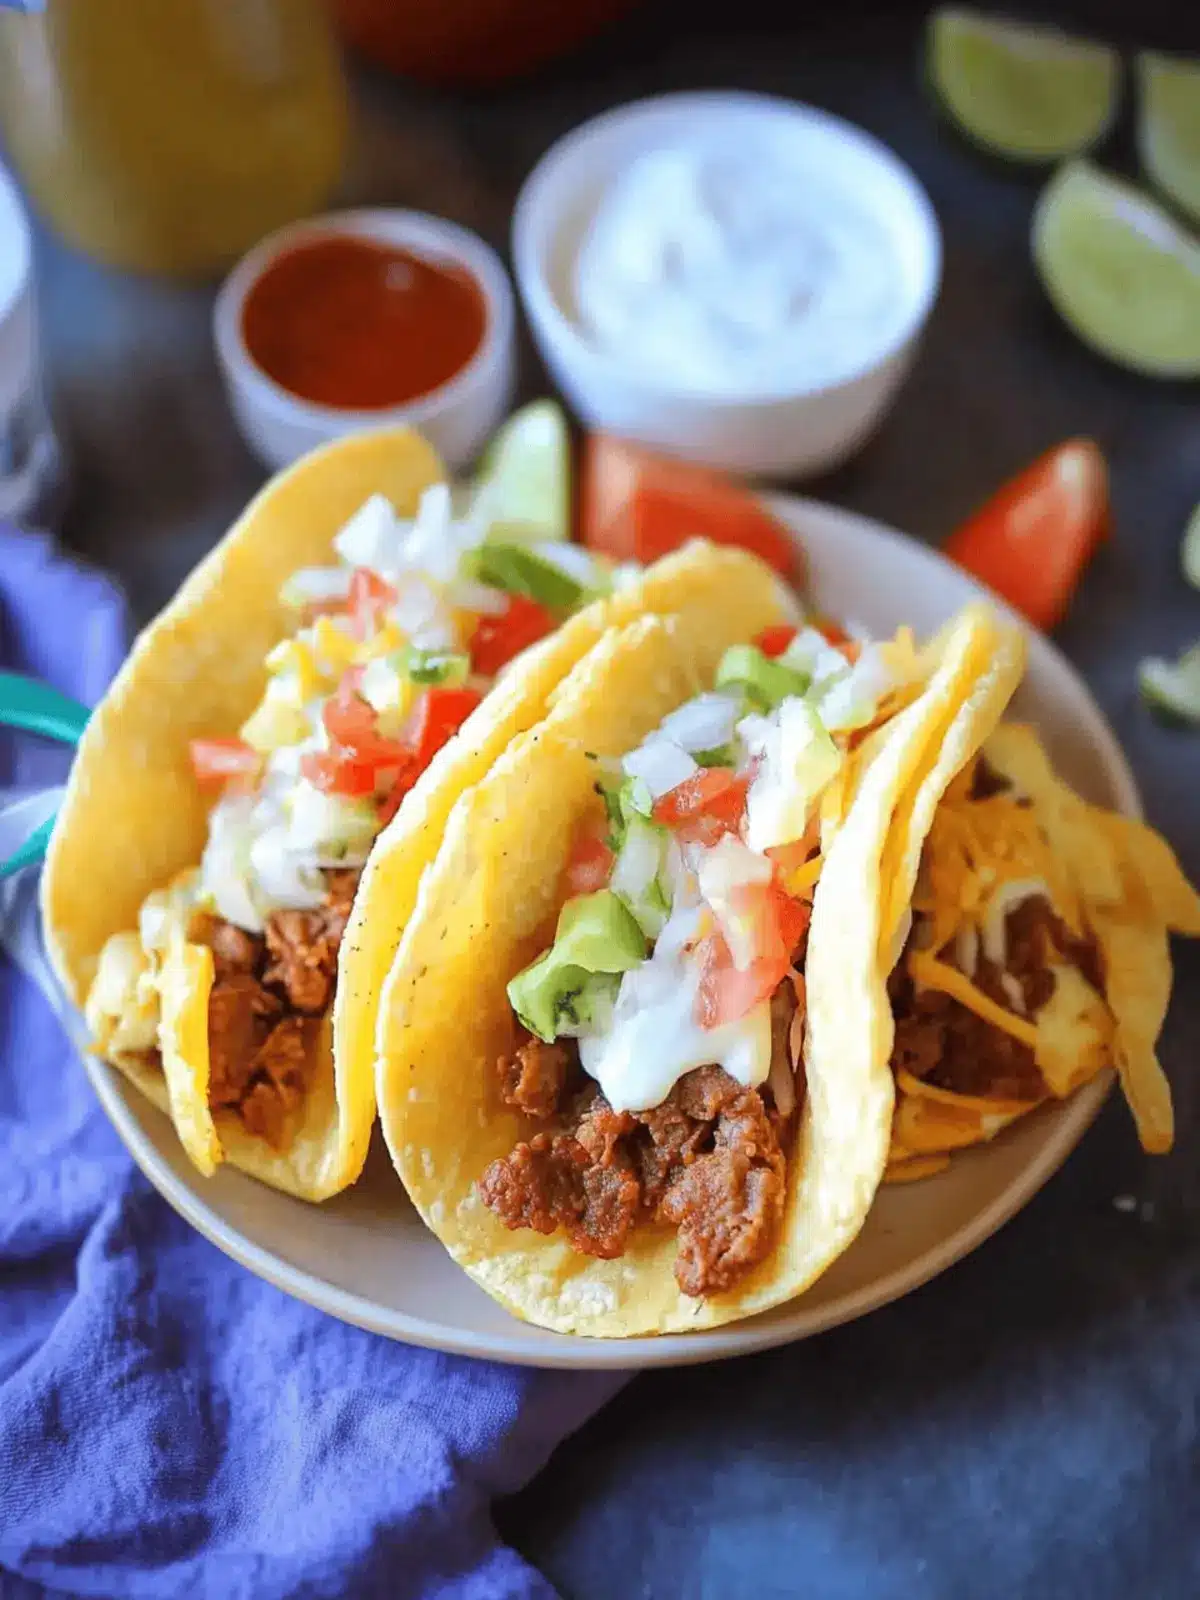
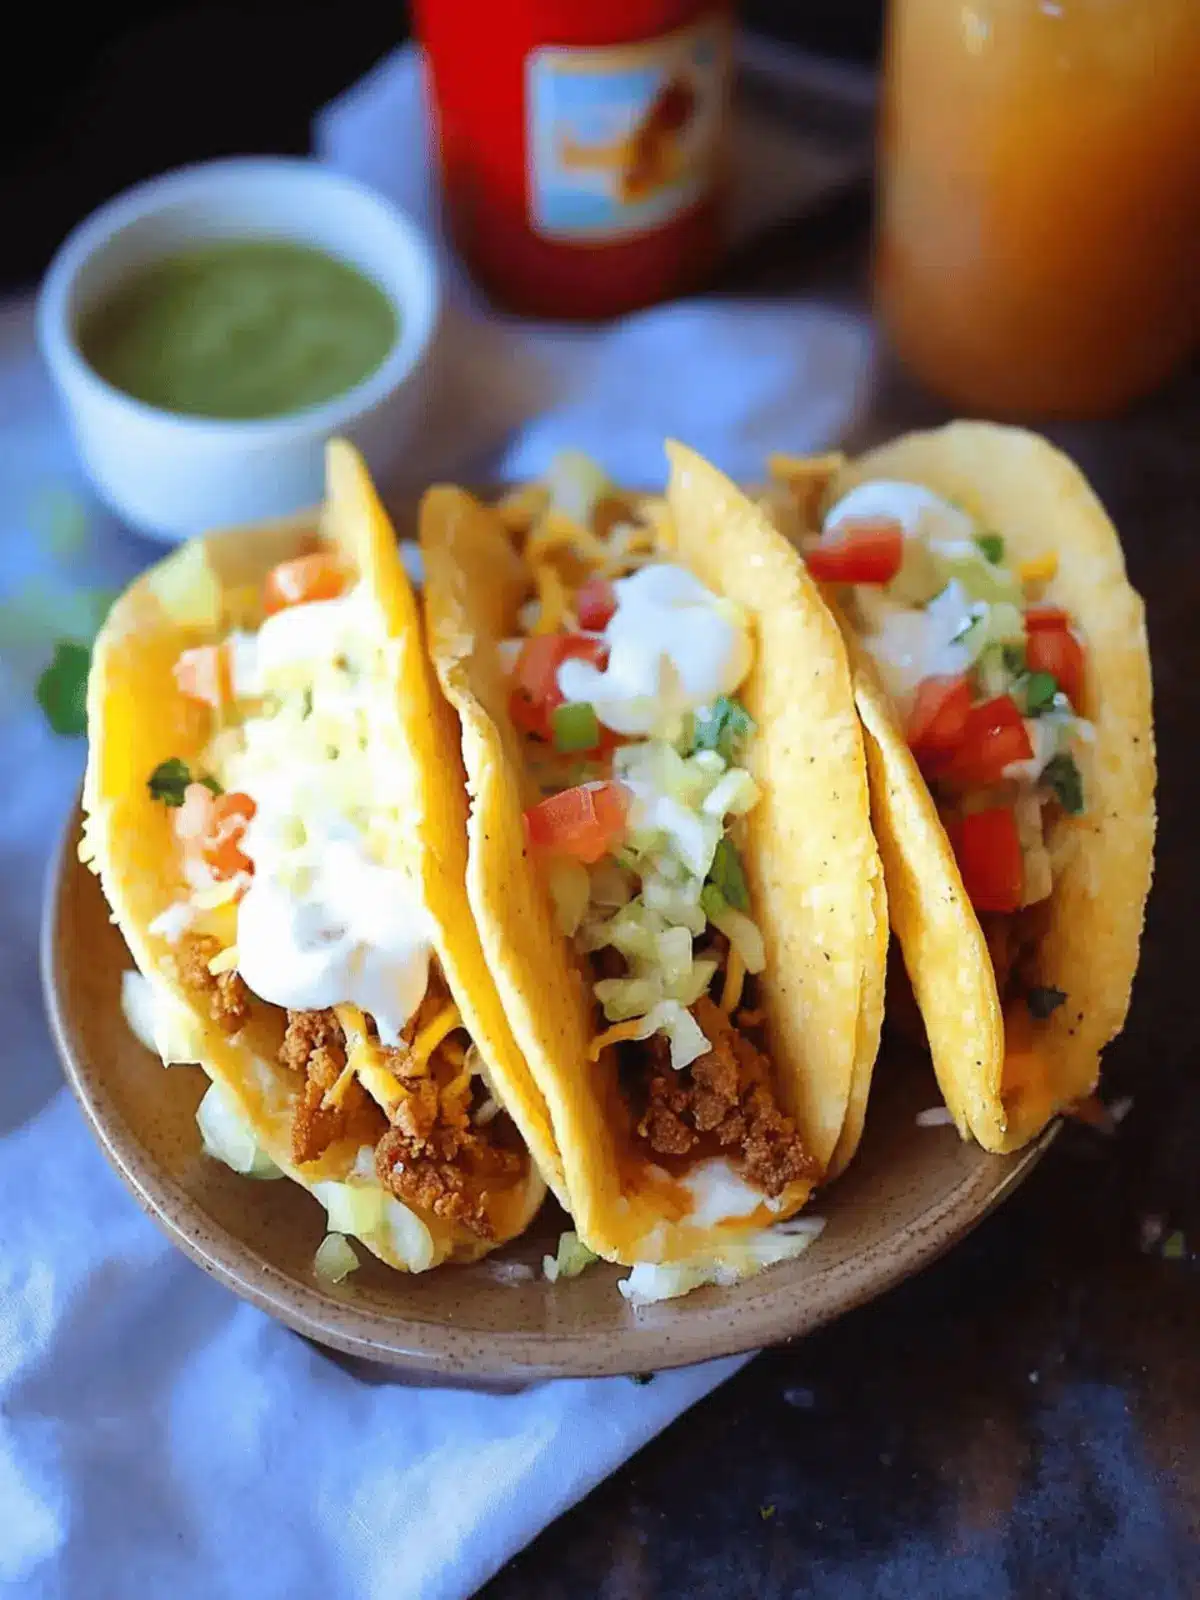
There’s something undeniably comforting about the sound of sizzling dough as it hits hot oil, a cue that my homemade crispy chalupas are just moments away from being ready. Inspired by my love for festive family dinners and the flavors of classic Mexican cuisine, this easy homemade chalupa recipe is a delightful departure from the usual fast food options. With a crispy exterior giving way to a soft, fluffy interior, each bite can be tailored to your whims and tastes—whether you prefer savory seasoned beef, fresh veggies, or a drizzle of tangy sour cream.
As the first hints of taco night beckon, I find joy in inviting everyone to the table, allowing each person to customize their chalupa just how they like it. So, grab your apron and let’s transform simple ingredients into a fun and flavorful meal that will surely have everyone asking for seconds.
Why You’ll Love This Homemade Chalupa Recipe
Delicious Crunch: The crispy exterior gives way to a fluffy inside, creating a perfect bite with every chalupa.
Easy Preparation: This recipe is straightforward, enabling you to whip up these delightful treats in no time!
Customizable Fillings: Choose your favorite toppings, from seasoned beef to vibrant veggies, making each chalupa uniquely yours.
Family-Friendly Fun: An exciting meal that invites everyone to participate in creating their own custom tacos—perfect for family nights!
Healthier Alternative: Skip the takeout and enjoy a fresher, homemade version that can be made gluten-free if desired. Grab your apron and join the fun with this satisfying recipe!
Homemade Chalupa Ingredients
-
For the Dough
-
All-Purpose Flour – Forms the base of the chalupa dough; opt for gluten-free flour if needed.
-
Baking Powder – Gives the dough a light and airy texture for that perfect crunch.
-
Salt – Enhances the flavors, balancing the sweetness in the dough.
-
Shortening – Provides moisture, ensuring a tender texture; feel free to substitute with lard or butter.
-
Milk – Hydrates the flour and helps bind the dough for a perfect consistency.
-
For Frying
-
Canola Oil – Essential for frying, creating the signature crispy shell we’re craving!
-
For the Filling
-
Ground Beef – The classic filling option, seasoned to taste for a savory kick.
-
Sharp Cheddar Cheese – Adds creamy richness that complements the flavors beautifully.
-
Lettuce – Provides a crunchy freshness, adding texture to your chalupa.
-
Diced Tomatoes – Brings juiciness and a burst of acidity to balance the rich fillings.
-
Sour Cream – A creamy contrast that enhances the chalupa experience.
-
Taco Sauce – An optional topping to kick up the flavor according to your preference.
With these homemade chalupa ingredients, you’re set to create a meal that’s not only fun and customizable but also bursting with delicious, comforting flavors!
How to Make Homemade Chalupa
-
Combine Ingredients:
In a large mixing bowl, blend together the all-purpose flour, baking powder, salt, and shortening until the mixture resembles coarse crumbs. -
Form the Dough:
Gradually add in the milk, stirring until a soft dough forms. Transfer the dough to a floured surface and knead lightly until it becomes smooth, about 2-3 minutes. -
Shape the Dough:
Roll the dough into a loaf about 8 inches long, then cut it into 8 equal pieces. Flatten each piece into a round disk, roughly 4-5 inches wide. -
Heat the Oil:
In a heavy-duty skillet, heat about 2 inches of canola oil over medium-high heat until it’s shimmering, ensuring perfect frying conditions. -
Fry the Shells:
Carefully place half of a dough circle into the hot oil. Fry for about 30–60 seconds before flipping it over. Cook until golden brown on both sides, approximately 2 minutes total. Remove and drain on paper towels. -
Fill Your Chalupas:
Load each crispy chalupa shell with your choice of seasoned ground beef, cheese, lettuce, diced tomatoes, and a generous dollop of sour cream. Serve immediately for optimal freshness.
Optional: Garnish with fresh cilantro for added flavor and color.
Exact quantities are listed in the recipe card below.
Expert Tips
-
Oil Temperature: Keep the oil at medium-high heat; too low and your shells absorb too much grease, too high and they burn.
-
Fry Until Golden: Avoid over-frying to prevent hard shells—look for that perfect golden-brown color for the best texture in your homemade chalupa.
-
Dough Thickness: Roll the dough to about ¼ inch for the ideal balance between a crispy exterior and a soft inside—adjust as per your preference.
-
Uniform Chalupas: For evenly shaped shells, briefly freeze the rolled dough before frying; this helps maintain their shape during cooking.
-
Custom Fillings: Feel free to explore different fillings, from spicy chicken to vegetarian options. The homemade chalupa recipe truly shines with your favorite ingredients!
Homemade Chalupa Recipe Variations
Feel free to get creative with this recipe and tailor it to your taste buds for even more delicious options!
-
Gluten-Free: Use a gluten-free flour blend instead of all-purpose flour to make these chalupas suitable for gluten-sensitive family members. Your chalupas won’t miss a beat in flavor or texture!
-
Vegetarian Delight: Swap out the ground beef for sautéed mushrooms or grilled veggies like bell peppers and zucchini for a delightful vegetarian twist. Trust me, the earthy flavors complement the crispy shell beautifully.
-
Spicy Kick: Add diced jalapeños to your meat filling or sprinkle some crushed red pepper flakes on top before serving to bring the heat. It’s a simple way to spice things up!
-
Cheesy Variations: Mix different types of cheese—like pepper jack or queso fresco—into the filling for an added layer of flavor that will delight cheese lovers everywhere.
-
Extra Crunch: Top your chalupas with crunchy toppings such as crushed tortilla chips or fried onions for a fun texture contrast that makes each bite even more satisfying.
-
Savory Fusion: Experiment with different meat seasonings, like Korean BBQ sauce or curry powder, to create an international flavor experience that will surprise and delight your family. Why not take a little culinary trip?
-
Tex-Mex Style: Add black beans and corn to the filling for a Tex-Mex remix, giving a hearty touch to your chalupas while enriching the filling with nutrition. They’ll be flavorful and filling!
-
Sweet Touch: For a unique twist, consider a dessert chalupa: fill with sweetened cream cheese and top with diced fruits and a drizzle of honey or chocolate syrup. It’s an unexpected treat that will impress everyone!
What to Serve with Homemade Crispy Chalupa?
Elevate your taco night with some delightful sides that complement the mouthwatering crunch of these chalupas!
- Guacamole: This creamy avocado dip adds richness and a hint of zest, balancing the crispy chalupa beautifully.
- Mexican Rice: Fluffy, fragrant rice seasoned with spices offers a satisfying side that pairs perfectly with the savory fillings.
- Elote (Mexican Street Corn): Charred corn topped with mayo, cheese, and chili powder brings a sweet, smoky flavor that enhances any meal.
- Refried Beans: Creamy and hearty, they provide a protein-packed side that rounds out your dinner and adds depth of flavor.
- Pico de Gallo: A fresh and zesty tomato salsa that brings brightness and acidity, cutting through the richness of the chalupas.
- Churros: For dessert, these crispy pastries rolled in cinnamon sugar finish the meal on a sweet note, appealing to all ages!
- Herbal Iced Tea: Refreshing and slightly sweet, it serves as a fantastic drink option to cleanse the palate as you enjoy your meal.
Each of these sides adds a unique touch to a delightful dinner, ensuring your homemade chalupa experience is unforgettable!
Storage Tips for Homemade Chalupa
-
Room Temperature: Fried chalupa shells can be left at room temperature for up to 2 hours. Be sure to cover them with a clean kitchen towel to maintain freshness and crispness.
-
Fridge: If you have leftover chalupas filled with toppings, store them in an airtight container in the fridge for up to 3 days. Reheat in the oven to restore their crispy texture.
-
Freezer: You can freeze unfilled, fried chalupa shells tightly wrapped for up to 3 months. To enjoy later, thaw at room temperature or reheat briefly in the oven for a just-fried crunch.
-
Reheating: For the best results, reheat chalupa shells in the oven at 350°F (175°C) for about 10 minutes to revive their crispiness and warmth without becoming soggy.
Make Ahead Options
These homemade chalupas are perfect for meal prep enthusiasts! You can prepare the dough up to 24 hours in advance by mixing the dry ingredients and cutting in the shortening. Just wrap the dough tightly in plastic wrap and refrigerate it. The chalupa shells can also be fried and stored in an airtight container for up to 3 days; simply re-crisp them in a hot oven for the best texture. When ready to serve, fill the shells with your desired toppings like seasoned ground beef, cheese, and fresh veggies. This way, you’ll have a delicious and customizable dinner ready in no time, making weeknight meals a breeze!
Homemade Crispy Chalupa Recipe FAQs
What kind of flour should I use for the chalupa dough?
For the best results, I recommend using all-purpose flour as it gives the chalupa dough a perfect structure. If you’re looking for a gluten-free option, you can easily substitute it with gluten-free flour, but do keep in mind that the texture may vary slightly.
How long can I store leftover chalupas?
If you have leftover chalupas filled with toppings, store them in an airtight container in the fridge for up to 3 days. For optimal taste and texture, reheat them in the oven to restore that crispy shell! Unfilled fried chalupa shells can be kept at room temperature for 2 hours, covered with a kitchen towel.
Can I freeze homemade chalupa shells?
Absolutely! You can freeze unfilled, fried chalupa shells tightly wrapped in plastic wrap or aluminum foil for up to 3 months. To enjoy them later, simply thaw at room temperature or reheat them in the oven at 350°F (175°C) for about 10 minutes for that freshly-fried crunch.
What should I do if my chalupa shells are too greasy?
If your shells turn out greasy, it likely means the oil temperature was too low. Make sure to heat the oil to a medium-high temperature before frying. A properly heated oil will result in quick frying, creating that perfect golden-brown color without absorbing excess oil. Fry the shells for about 30-60 seconds on each side for best results!
Can pets eat the fillings or tortillas from chalupas?
While it’s tempting to share your delicious homemade chalupa, be cautious with fillings. Ingredients like seasoned ground beef can contain spices that are harmful to pets. If you want to share some tortilla bits, ensure they are plain without any seasoning, and only in moderation as a treat.
What are some healthy filling alternatives for chalupas?
I often make chalupas with a variety of fillings, and you can certainly opt for homemade versions that are healthier! Try using shredded chicken, black beans, or grilled veggies as fillings instead of ground beef. You can also add plenty of fresh diced peppers and onions, or top your chalupas with avocado for added creaminess without the guilt!
These answers should help you get the best out of your Homemade Crispy Chalupa Recipe! Enjoy the process and the delicious meal ahead.
Crispy Homemade Chalupa Recipe Everyone Will Love
Ingredients
Equipment
Method
- In a large mixing bowl, blend together the all-purpose flour, baking powder, salt, and shortening until the mixture resembles coarse crumbs.
- Gradually add in the milk, stirring until a soft dough forms. Transfer the dough to a floured surface and knead lightly until it becomes smooth, about 2-3 minutes.
- Roll the dough into a loaf about 8 inches long, then cut it into 8 equal pieces. Flatten each piece into a round disk, roughly 4-5 inches wide.
- In a heavy-duty skillet, heat about 2 inches of canola oil over medium-high heat until it's shimmering.
- Carefully place half of a dough circle into the hot oil. Fry for about 30–60 seconds before flipping it over. Cook until golden brown on both sides, approximately 2 minutes total. Remove and drain on paper towels.
- Load each crispy chalupa shell with your choice of seasoned ground beef, cheese, lettuce, diced tomatoes, and a generous dollop of sour cream. Serve immediately for optimal freshness.

