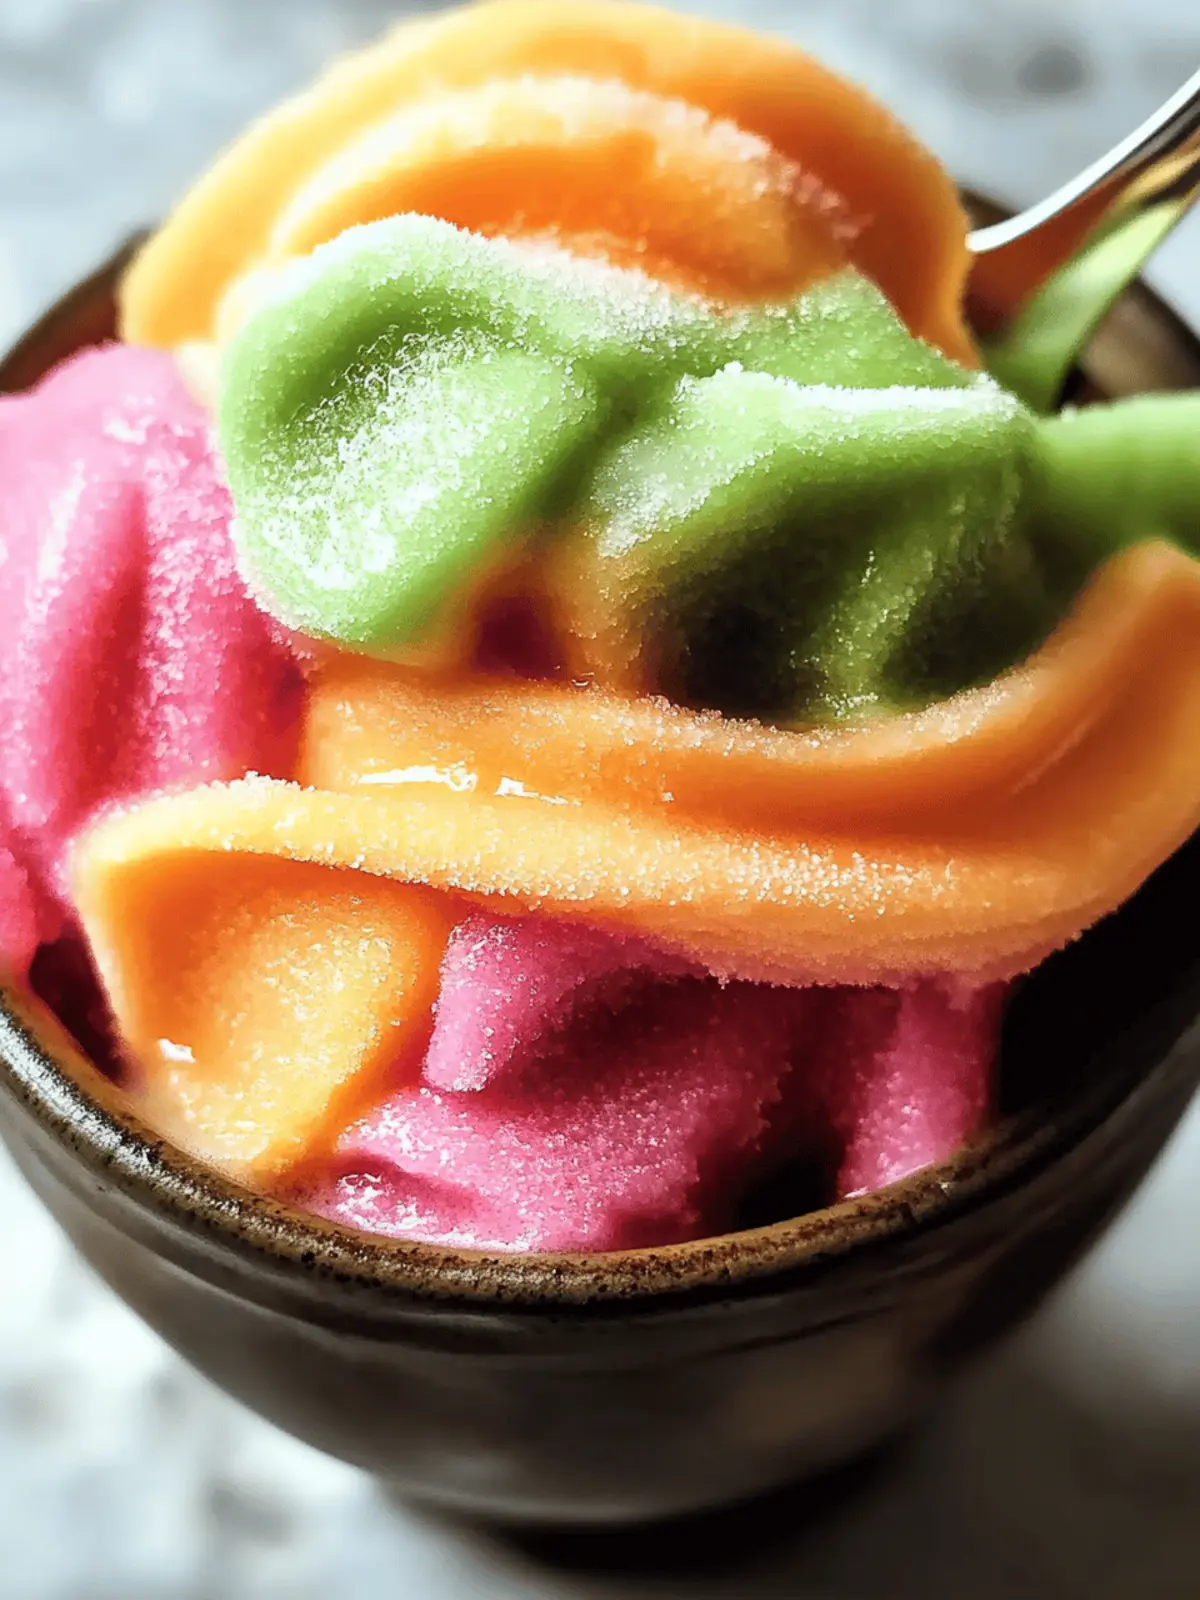
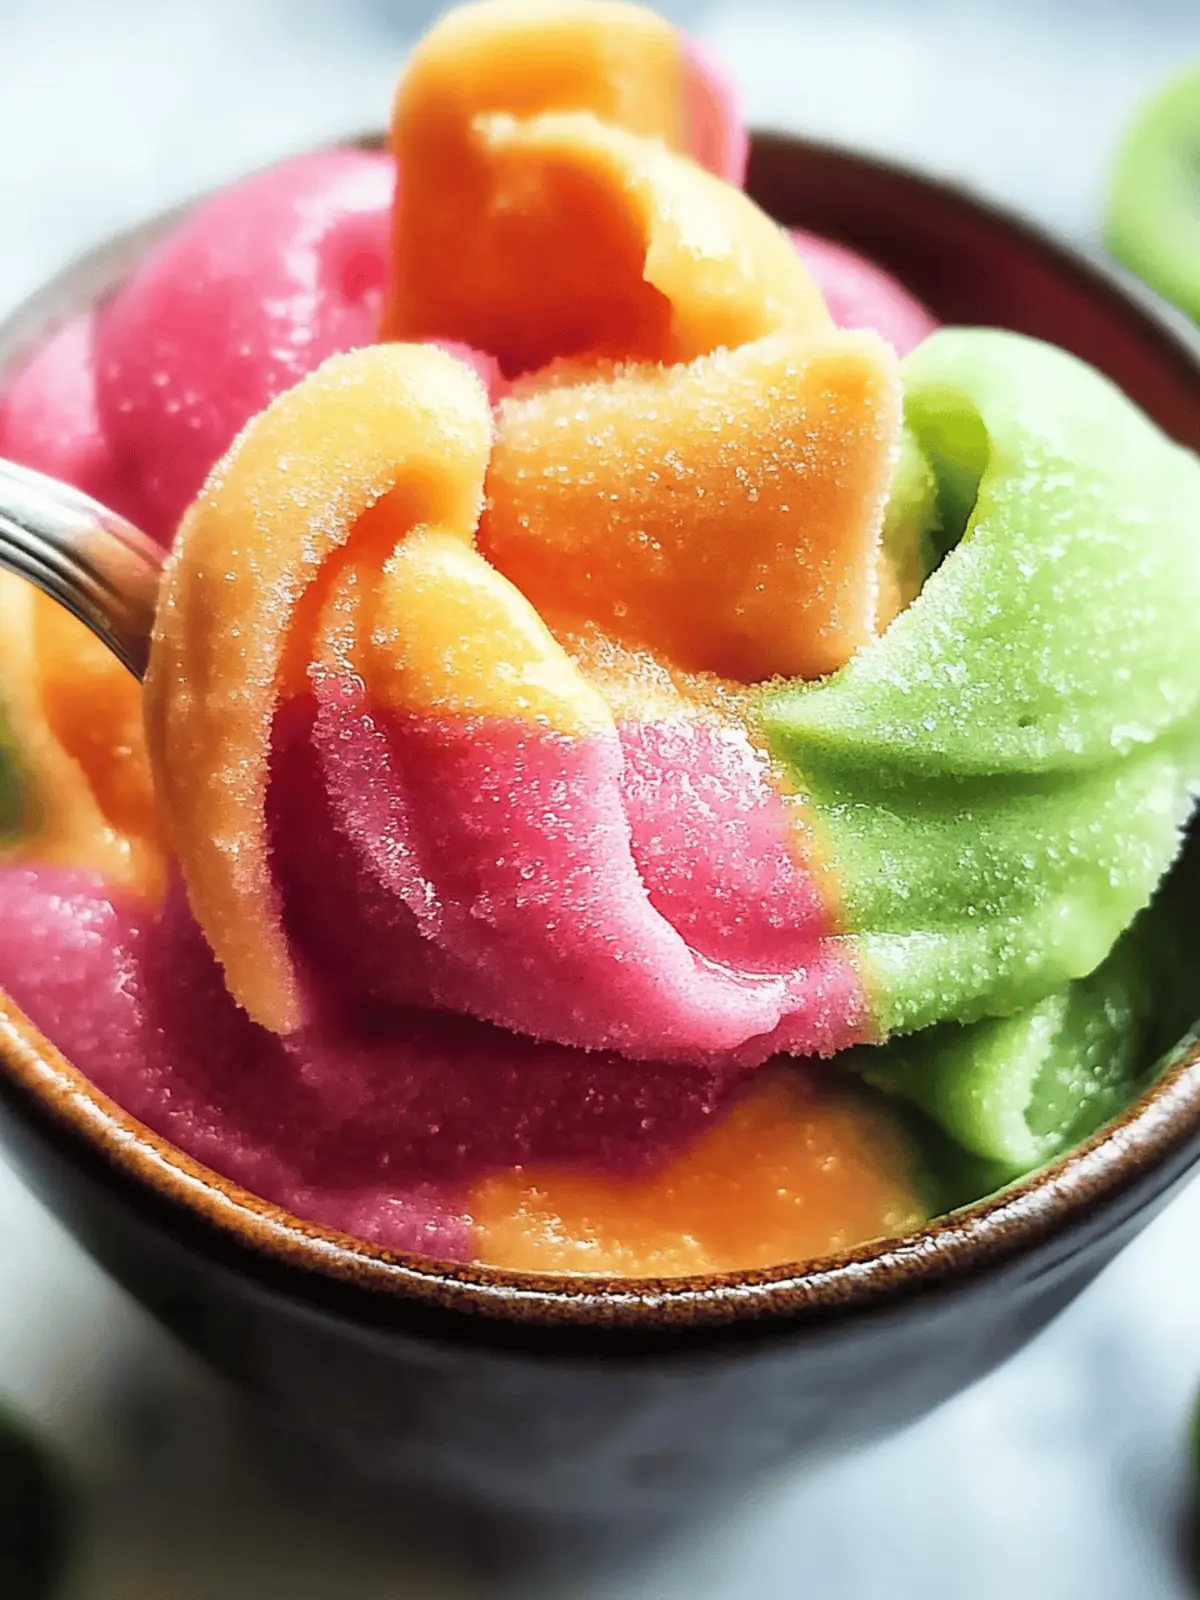
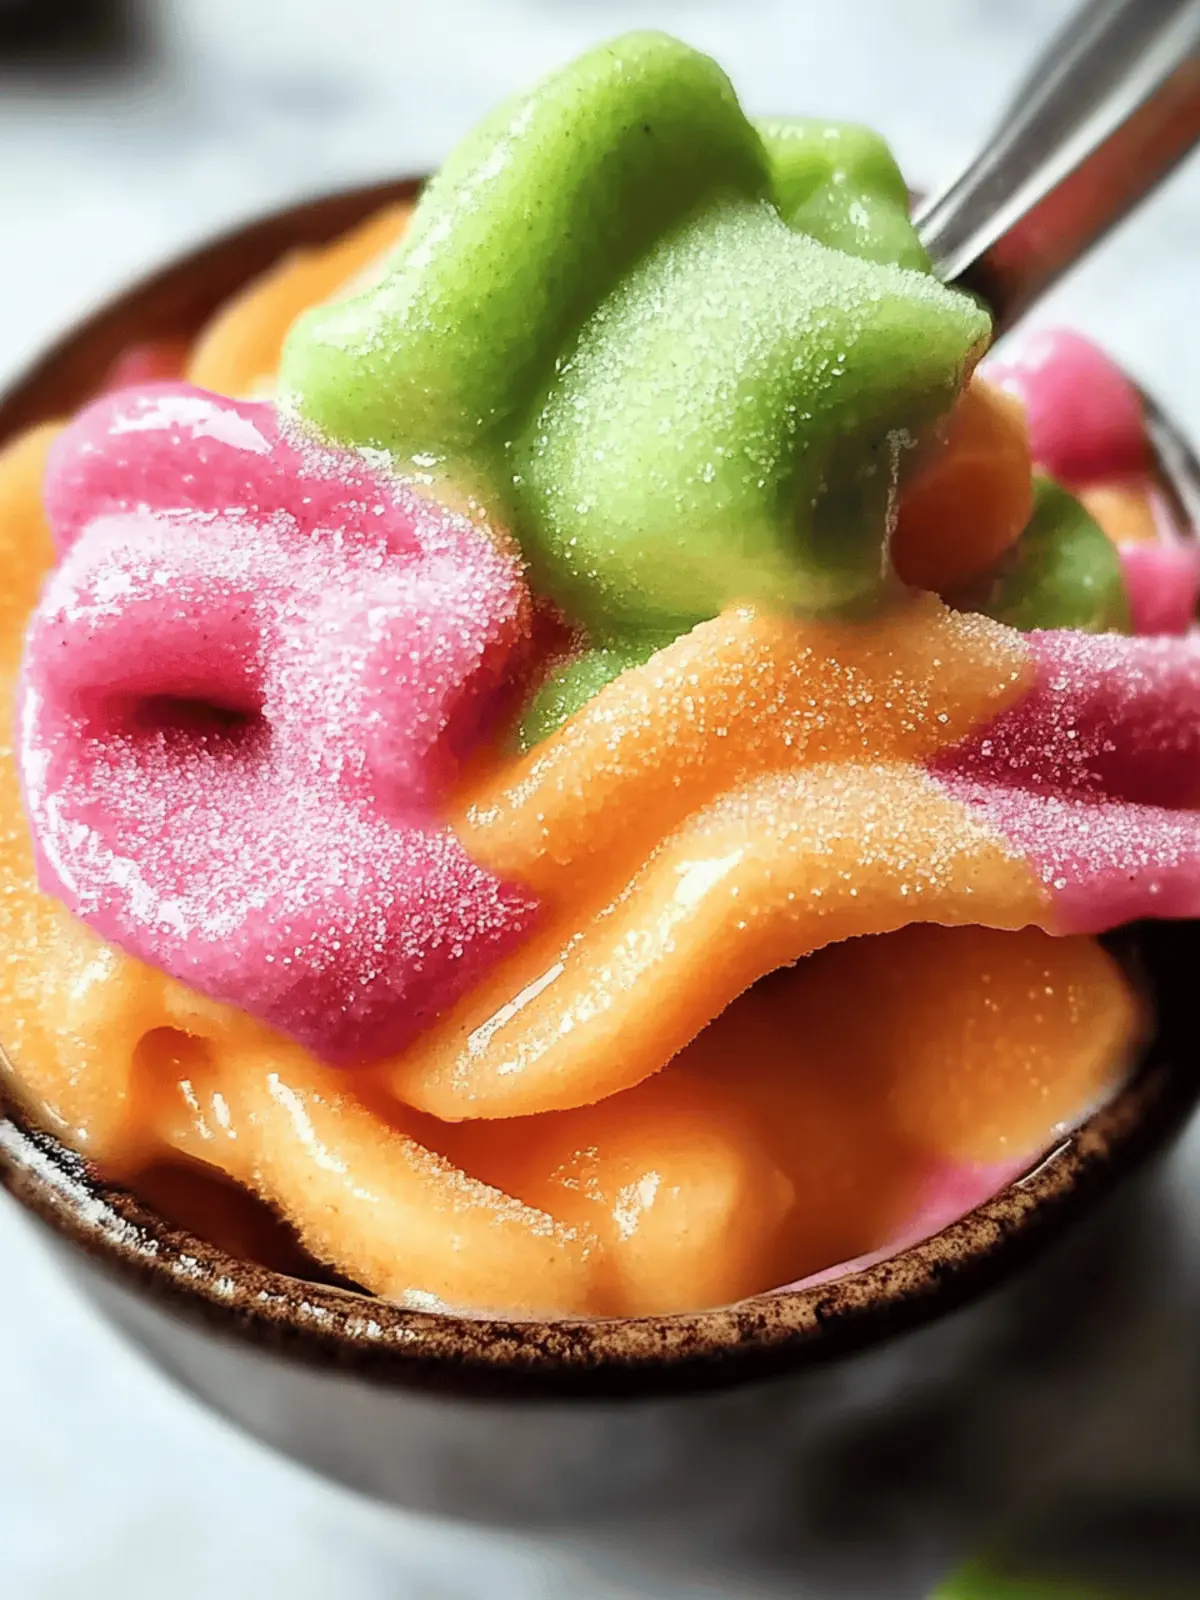
The first bite of my Homemade Rainbow Sherbet whisks me back to sun-drenched summer afternoons, where laughter fills the air and the scent of fresh fruit dances around. This vibrant, creamy dessert is not just a treat; it’s a nostalgic journey that transforms any gathering into a joyous celebration. Made with luscious fruit juices and a whisper of vanilla, each colorful scoop brings sunshine to your palate, making it a perfect companion for barbecues or lazy weekends by the pool.
I love how versatile this recipe is! With just a simple adjustment of flavors—be it tangy lime, sweet orange, or the classic burst of raspberry—you can create a rainbow of possibilities. It’s a delightful way to impress both friends and family while steering clear of those mundane fast-food desserts. Plus, the satisfaction of crafting something so visually stunning and refreshingly delicious is a joy I can’t resist sharing. So, grab your ice cream maker and let’s start turning fresh ingredients into a summer masterpiece!
Why is Homemade Rainbow Sherbet so delightful?
Fresh flavors burst with every scoop, thanks to ripe, juicy fruit that elevates this dessert beyond anything store-bought. Easy to customize, you can swap in different fruits or simply adjust the sweetness to your liking. A stunning presentation makes it the star at any gathering, while nostalgic flavors remind us of carefree summer days. Fun to make, involve the whole family in creating colorful layers—everyone will enjoy scooping their creation! Plus, with no artificial additives, you’re indulging in a treat that’s both delicious and wholesome.
Homemade Rainbow Sherbet Ingredients
Craft your vibrant dessert with these essential ingredients!
For the Base
- Heavy Cream – Provides a rich, creamy base; essential for that luscious texture.
- Milk – Balances the creaminess; whole milk is recommended for the best results.
- Granulated Sugar – Sweetens your mixture; consider honey or agave syrup for a healthier twist.
- Vanilla Extract – Adds depth of flavor; use pure extract for the most authentic taste.
For the Flavors
- Fresh or Frozen Raspberries – Creates the fruity raspberry flavor; swap with strawberry puree for a different taste.
- Orange Juice (and optional zest) – Infuses a citrusy sweetness; fresh juice provides the best flavor.
- Lime Juice (and optional zest) – Adds the perfect tanginess; freshly squeezed is always best.
- Food Colorings (optional) – Enhances visual appeal; opt for natural dyes for a healthier option.
How to Make Homemade Rainbow Sherbet
-
Prepare Base: Heat the heavy cream, milk, and sugar in a saucepan over medium heat. Stir occasionally until the sugar dissolves, about 5-7 minutes. Remove from heat and stir in the vanilla extract. Allow the mixture to cool completely.
-
Make Raspberry Puree: In a blender, blend the raspberries with 2 tablespoons of sugar until they form a smooth puree. Strain the mixture to remove any seeds for a silky finish.
-
Churn Base: Once your base has completely chilled in the fridge, pour it into the ice cream maker. Churn until it reaches a soft-serve consistency, which usually takes about 20-25 minutes.
-
Create Flavors: Divide the churned base into three separate bowls.
- For the Orange Flavor: Mix in the orange juice, zest, and optional food coloring.
- For the Lime Flavor: In another bowl, combine lime juice and zest.
- For the Raspberry Flavor: Fold in the raspberry puree to the last bowl.
- Layer and Freeze: In a freezer-safe container, alternate spoonfuls of each flavor. Use a knife or spatula to swirl them together gently for a marbled look. Cover and freeze for 4-6 hours until solid.
Optional: Garnish with fresh fruit or a sprig of mint before serving for an extra touch!
Exact quantities are listed in the recipe card below.
Homemade Rainbow Sherbet Variations
Feel free to let your creativity shine by customizing your rainbow sherbet with these delightful variations!
-
Berry Blend: Swap raspberries for a berry medley, using blueberries and blackberries for a luscious treat that’s bursting with flavor. A berry mixture adds depth and vibrancy, each scoop more impressive than the last.
-
Tropical Twist: Use pineapple and mango juices instead of orange and lime for a refreshing taste of the tropics. This change will whisk you away to a sunny beach with each creamy spoonful.
-
Minty Fresh: Incorporate a hint of fresh mint into your mixture for a cool and refreshing twist. This herby addition perfectly complements the fruity flavors and offers a delightful surprise with every bite.
-
Coconut Creamy: Substitute part of the heavy cream with coconut cream for a rich and tropical flavor. The addition of coconut adds creaminess and a new dimension to your sherbet that is simply irresistible.
-
Zesty Lemon: Replace lime with fresh lemon juice and zest for a bright, zesty take on your sherbet. Its tangy burst will leave you feeling refreshed on even the hottest days.
-
Chocolate Drizzle: After layering the flavors, drizzle some melted chocolate into your container before freezing for a decadent treat. The chocolate adds a surprising twist of flavor that will make your dessert even more indulgent.
-
Non-Dairy Delight: Use almond or coconut milk instead of regular milk and cream for a lighter, non-dairy version. Enjoy the same delicious flavors while accommodating those with dairy sensitivities, keeping the summer vibes intact.
-
Nutty Infusion: Blend in almond or hazelnut extract for a nutty depth of flavor. Just a few drops can transform each bite into a creamy, dreamy experience that dances on your taste buds.
What to Serve with Homemade Rainbow Sherbet?
Brighten your summer gatherings with delightful pairings that perfectly complement the colorful wonder of this frozen treat.
-
Crispy Waffles: These warm, golden waffles offer a delightful contrast in texture, providing a perfect vessel for scooping up that creamy sherbet.
-
Fresh Berries: A medley of strawberries, blueberries, and blackberries enhances the fruitiness, adding freshness that elevates the sherbet experience.
-
Mint Leaves: A garnish of fresh mint is a refreshing touch that brightens each scoop, adding a delightful aroma alongside the rainbow of flavors.
-
Chocolate Sauce: A drizzle of rich chocolate sauce creates a deliciously indulgent option, balancing the fruity sweetness with a hint of decadence.
-
Coconut Macaroons: These chewy, sweet treats provide a tropical flair, beautifully complementing the creamy sherbet’s fruity undertones.
-
Sparkling Citrus Punch: Serve a bubbly citrus punch to create a refreshing beverage pairing that echoes the zesty flavors in your sherbet.
-
Shortbread Cookies: Buttery and crumbly, shortbread cookies are a classic pairing, offering a simple yet satisfying contrast to the creamy dessert.
Creating a feast of flavors alongside your homemade rainbow sherbet enhances the outdoor festivities, turning each bite into a sensory celebration!
Make Ahead Options
These Homemade Rainbow Sherbet flavors are perfect for busy home cooks who want to enjoy a refreshing treat without the last-minute rush! You can prepare the base mixture and refrigerate it for up to 24 hours before churning, ensuring optimal flavor and texture. Additionally, you can make the raspberry puree ahead of time and keep it in an airtight container for up to 3 days in the fridge. When you’re ready to serve, simply churn the prepped base in your ice cream maker, create your colorful layers, and freeze for 4-6 hours. By planning ahead, you’ll have a delightful dessert ready to impress with minimal effort on the day of your gathering!
Expert Tips for Homemade Rainbow Sherbet
-
Chill Everything: Make sure all your ingredients are thoroughly chilled before starting. This will help achieve that creamy consistency in your homemade rainbow sherbet.
-
Avoid Over-churning: Keep a close eye on your ice cream maker—over-churning can lead to icy texture instead of the creamy delight you want.
-
Taste as You Go: Feel free to adjust sweetness and flavors while mixing. Everyone’s palate is different, so find the perfect balance for your dream rainbow sherbet!
-
Seal for Freshness: Store your sherbet in an airtight container to prevent ice crystals and maintain that luscious creaminess for weeks.
-
Color Choices: Feel free to experiment with natural food colorings to enhance the presentation. Remember, vibrant colors enhance the appeal of your homemade rainbow sherbet!
Storage Tips for Homemade Rainbow Sherbet
Fridge: Store any leftover homemade rainbow sherbet in an airtight container for up to 3 days, but it’s best enjoyed fresh to savor the vibrant flavors.
Freezer: Keep your homemade rainbow sherbet in a sealed, airtight container in the freezer for up to 2 months. Ensure it’s not exposed to air to maintain its creamy texture.
Serving Preparation: When ready to serve, allow the sherbet to sit at room temperature for about 5-10 minutes before scooping. This will make it easier to serve and enhance the delightful experience.
Reheating: There’s no need to reheat homemade rainbow sherbet, but if it becomes too hard, a slight rest at room temperature will return it to a scoopable state. Each scoop should remain a refreshing treat!
Homemade Rainbow Sherbet Recipe FAQs
What type of fruit should I use for the best flavor?
Absolutely! The best choice is always fresh, ripe fruit. For the raspberry flavor, pick plump, bright berries without dark spots, as they indicate overripeness. When selecting oranges, look for those that feel heavy for their size and have a smooth, unblemished skin. Limes should be firm and slightly glossy. However, frozen fruits are a suitable alternative if fresh options are unavailable, just ensure they’re unsweetened!
How long can I store my homemade rainbow sherbet?
You can keep your vibrant creation stored in an airtight container in the freezer for up to 2 months! To maintain the creamy texture and prevent ice crystals from forming, ensure it’s tightly sealed. For the best taste experience, enjoy it within the first month.
Can I freeze homemade rainbow sherbet? If so, how?
Yes, you can definitely freeze homemade rainbow sherbet! To do this, first churn your mixture until it reaches soft-serve consistency. Then transfer it to a freezer-safe container, alternating flavors (raspberry, orange, and lime) in layers. Gently swirl with a knife for a marbled effect. Cover tightly and freeze for 4-6 hours until solid. For a more enjoyable scoop, let it sit at room temperature for 5-10 minutes before serving!
What if my sherbet turns out icy or grainy?
This can happen if the mixture wasn’t chilled enough before churning or if it was over-churned in the ice cream maker. To correct this, ensure all your ingredients are properly chilled (at least 2 hours in the fridge) before you start, and keep a close eye on the churning process—stop when it reaches a soft-serve texture. If the texture still isn’t right, one option is to blend the mixture again before refreezing; this can help create a smoother consistency.
Is this recipe suitable for those with dietary restrictions?
Absolutely! You can customize your homemade rainbow sherbet to accommodate various dietary needs. For a dairy-free version, opt for coconut milk or almond milk instead of heavy cream and milk. If you’re allergic to any fruits, feel free to substitute with other safe ones. Always check the ingredients in your sugar and vanilla extract to ensure they align with any dietary restrictions (like gluten-free or organic).
What should I do if I don’t have an ice cream maker?
If you don’t have an ice cream maker, don’t worry! You can still make delicious rainbow sherbet. Pour your mixed base into a freezer-safe container and freeze it. Every 30-45 minutes, take it out and stir vigorously with a fork to break up ice crystals. Repeat this process for about 3-4 hours until the mixture is fluffy and frozen firmly. This will give you a similar texture to churned sherbet, and it’s fun to get the kids involved in the mixing!
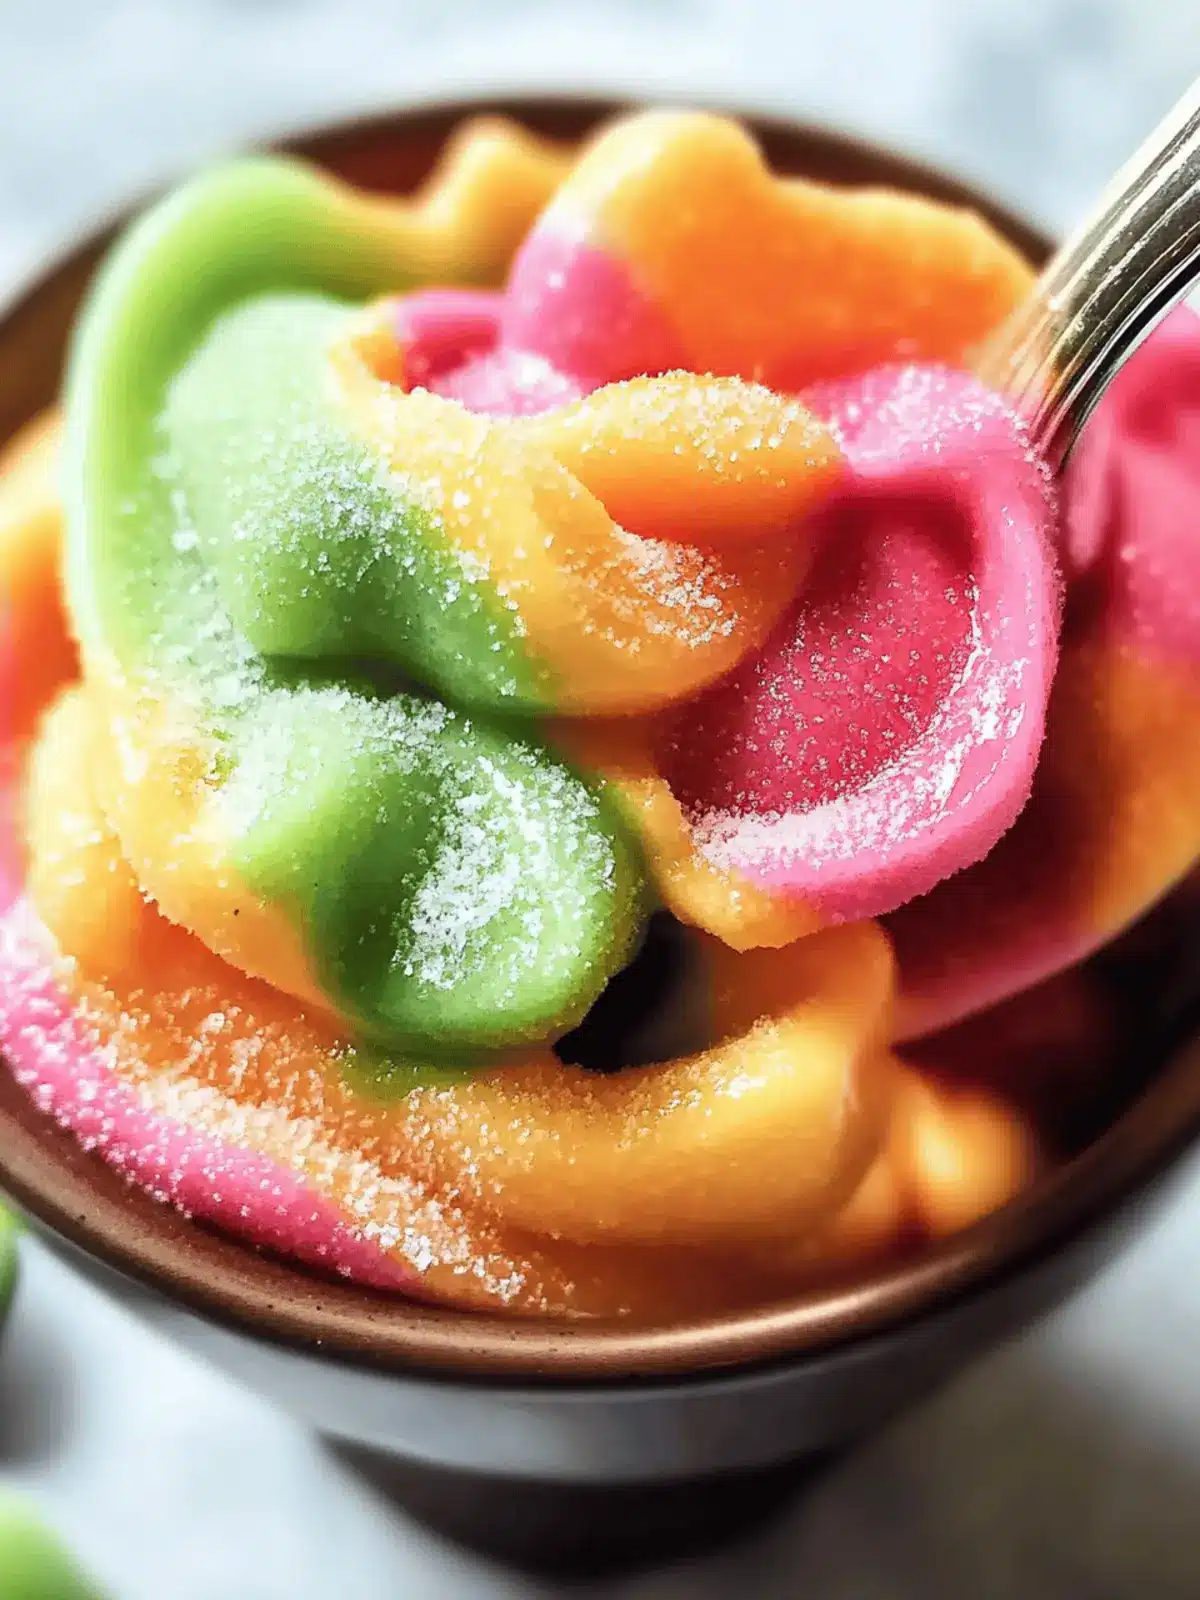
Homemade Rainbow Sherbet: Your Colorful Summer Bliss
Ingredients
Equipment
Method
- Prepare Base: Heat the heavy cream, milk, and sugar in a saucepan over medium heat. Stir occasionally until the sugar dissolves, about 5-7 minutes. Remove from heat and stir in the vanilla extract. Allow the mixture to cool completely.
- Make Raspberry Puree: In a blender, blend the raspberries with 2 tablespoons of sugar until they form a smooth puree. Strain the mixture to remove any seeds for a silky finish.
- Churn Base: Once your base has completely chilled in the fridge, pour it into the ice cream maker. Churn until it reaches a soft-serve consistency, which usually takes about 20-25 minutes.
- Create Flavors: Divide the churned base into three separate bowls. For the Orange Flavor: Mix in the orange juice, zest, and optional food coloring. For the Lime Flavor: In another bowl, combine the lime juice and zest. For the Raspberry Flavor: Fold in the raspberry puree to the last bowl.
- Layer and Freeze: In a freezer-safe container, alternate spoonfuls of each flavor. Use a knife or spatula to swirl them together gently for a marbled look. Cover and freeze for 4-6 hours until solid.

