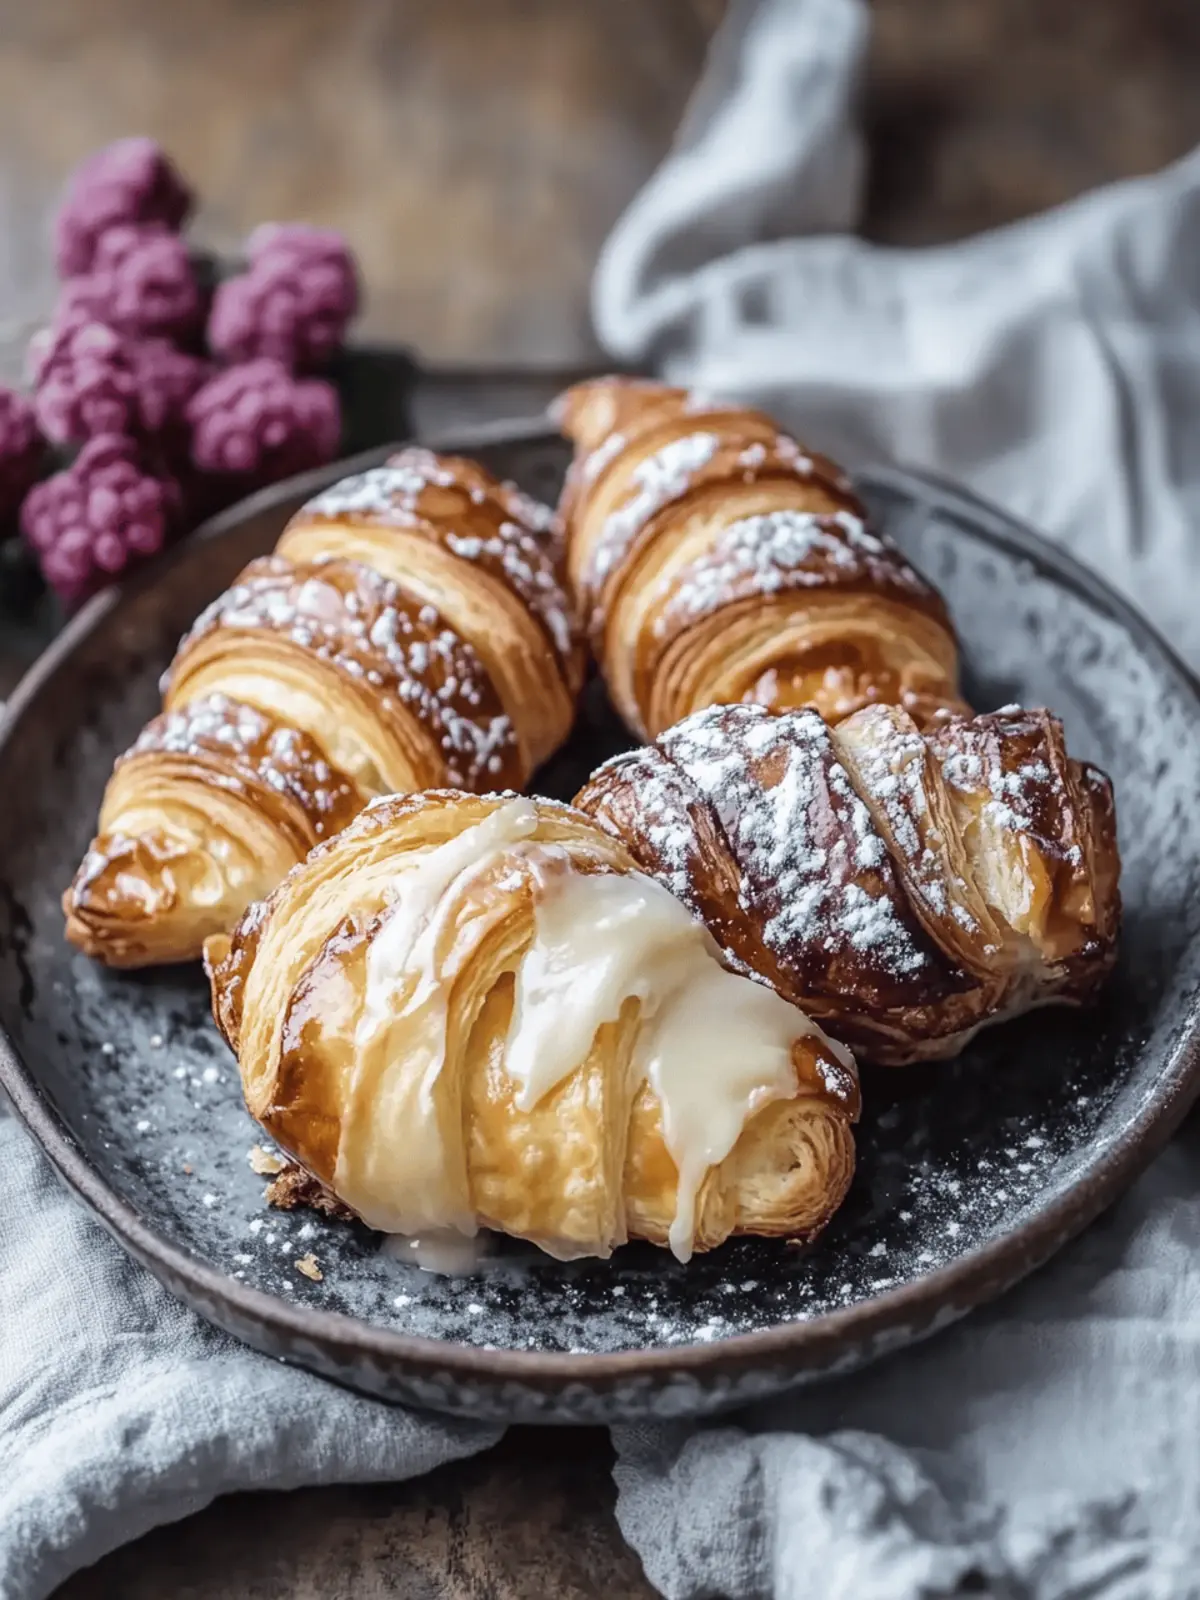
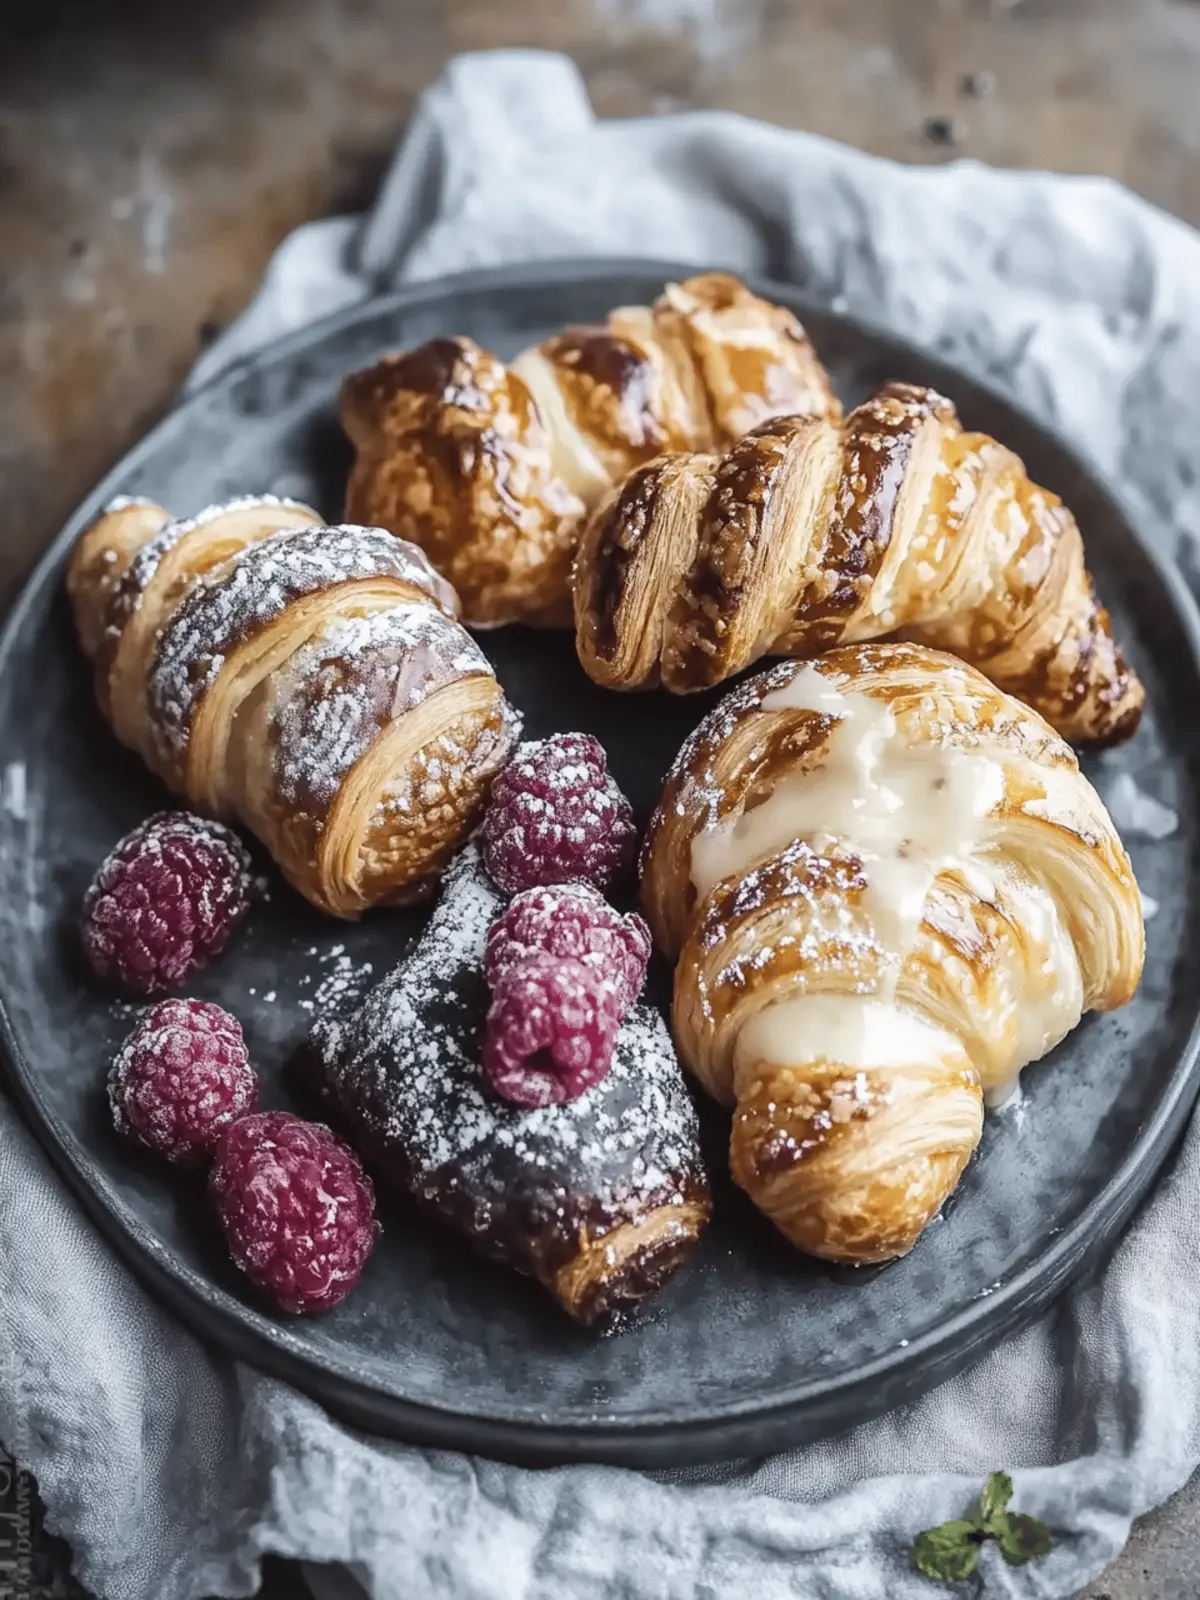
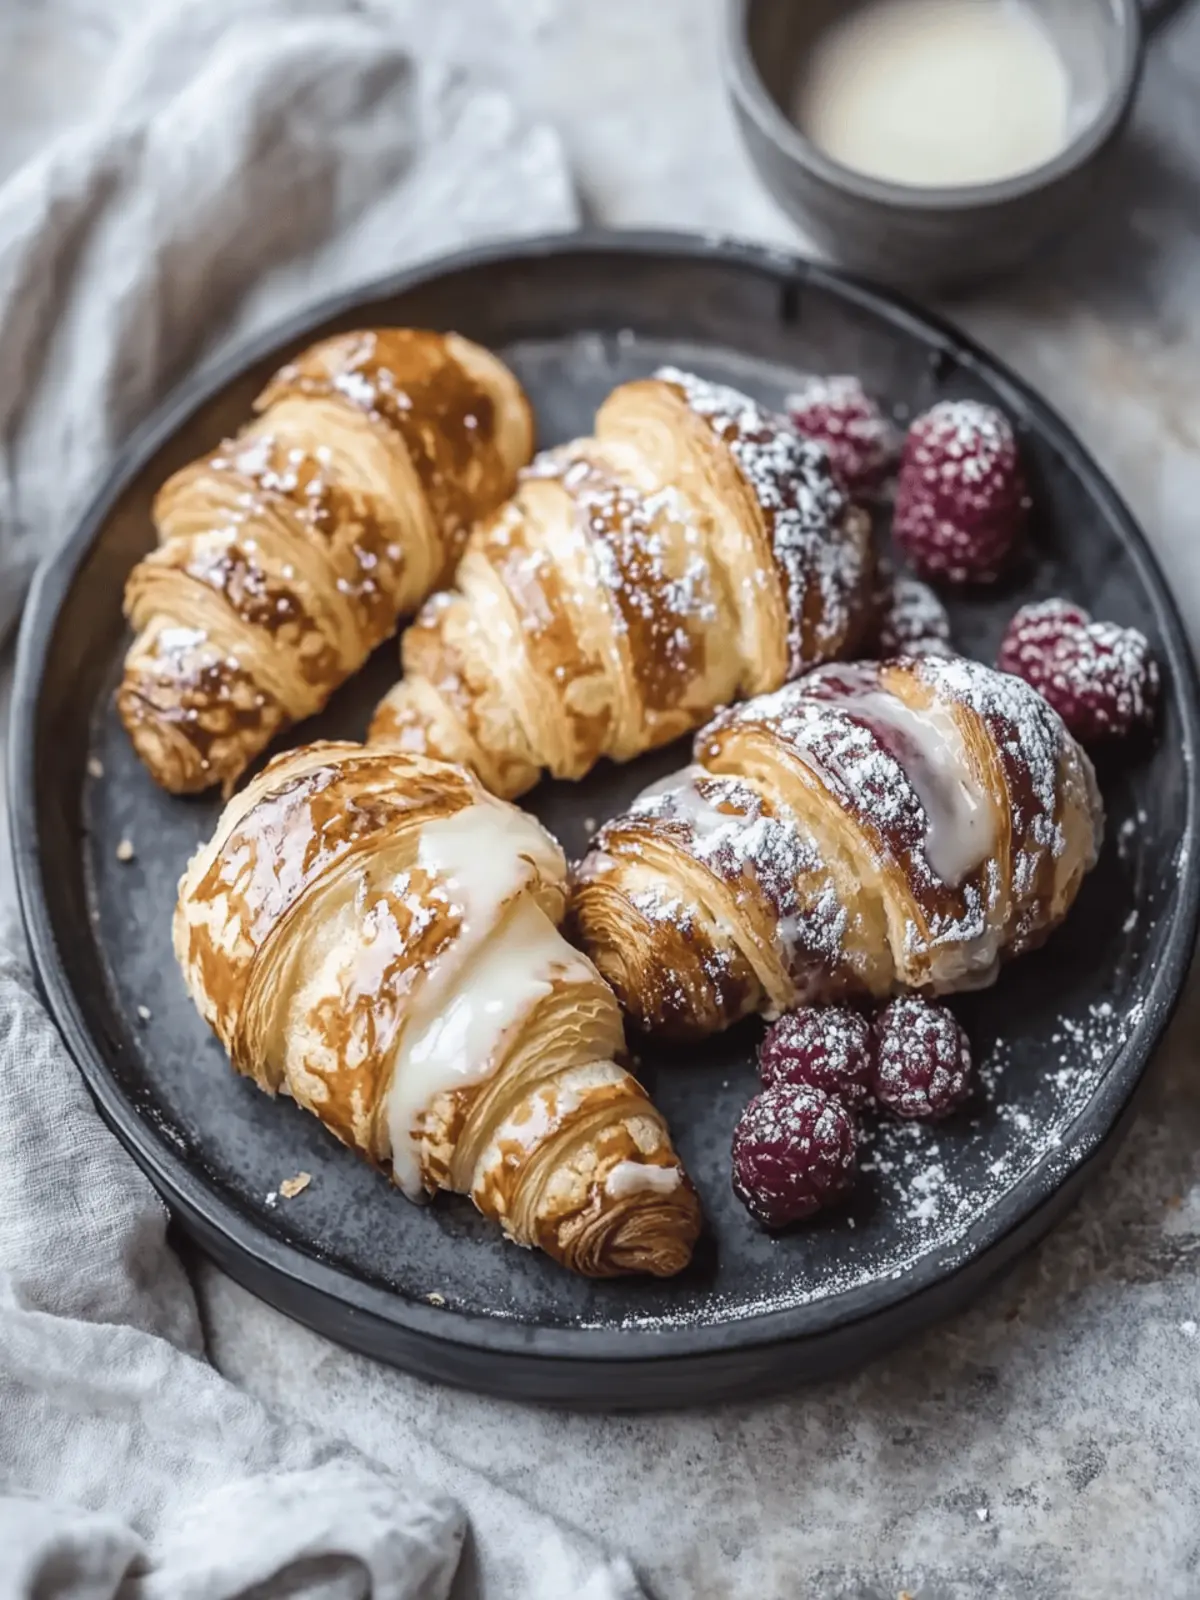
The delightful smell of freshly baked pastries can brighten even the gloomiest mornings. I remember the first time I pulled a tray of mouthwatering Danish pastries from the oven; the golden-brown, flaky layers looked like something straight out of a European café. With varieties like Kanelsnegle, Spandauer, and Tebirkes, each bite is a cozy hug, infused with warm spices and rich marzipan.
This recipe may seem intricate, but trust me, the experience is incredibly rewarding. The joy of making these homemade treats not only fills your home with comforting aromas but also transforms your dining table into a charming centerpiece for brunch or dessert. Plus, they’re versatile enough to adapt for any dietary preference—gluten-free or vegan versions are just as scrumptious! Grab your apron, and let’s bring a touch of Danish charm into your kitchen with these irresistible pastries.
Why are Mouthwatering Danish Pastries a Must-Try?
Delightful aromas waft through your kitchen as you bake these pastries, instantly transforming your space. Unique varieties like Kanelsnegle, Spandauer, and Tebirkes mean there’s something for everyone. Versatile adaptations make them suitable for gluten-free and vegan diets without sacrificing flavor. Impressive yet simple, this recipe builds your baking skills while achieving café-quality results. Perfect for gatherings, serve them fresh alongside coffee or tea for a warm, inviting atmosphere. Dive into this culinary adventure and impress your family and friends with your homemade bakery delights!
Mouthwatering Danish Pastry Ingredients
For the Dough
• Yeasted Dough – The heart of the pastries; using pre-made puff pastry can save you time.
• High-Quality Unsalted Butter (250g) – Essential for rich flavor and flaky texture.
• Large Eggs (2) – Provide structure; remember to ensure they’re at room temperature for best results.
For the Fillings
• Cinnamon (3 tbsp) – Adds wonderful flavor to Kanelsnegle; feel free to adjust to taste.
• Granulated or Brown Sugar (100g) – Sweetens the filling, allowing for personal preference based on taste.
• Marzipan (100g) – Delivers a delightful richness for Spandauer; if unavailable, almond paste works too.
• Pastry Cream (100g) – Brings a creamy texture; it can be swapped with thick vanilla pudding for a different touch.
For the Glaze
• Powdered Sugar (50g) – Perfect for a sweet finish; mix with milk or water until your desired consistency is achieved.
• Vanilla Extract (1 tsp) – Enhances the glaze’s flavor and complements the pastries beautifully.
Dive into making these mouthwatering Danish pastries and transform your kitchen into a delightful bakery!
How to Make Mouthwatering Danish Pastries
-
Prepare the Dough: Start by activating your yeast! Combine warm milk with sugar and let it sit until bubbly. Then, mix in flour, butter, and eggs, kneading until smooth. Let the dough rise in a warm place for 1-2 hours, or until it has doubled in size.
-
Laminate the Dough: Roll out the risen dough into a large rectangle. Spread softened butter evenly over the surface, then fold the dough into thirds like a letter. Roll it out again and repeat this folding process 2-3 times to develop those flaky layers.
-
Make the Fillings: For Kanelsnegle, mix together cinnamon and sugar, and spread it generously over the dough before rolling it up tightly. For Spandauer, spread marzipan and pastry cream into the rolled-out dough, then cut and shape as desired.
-
Shape the Pastries: Create decorative shapes with your filled dough. Cover and let them rise for about 30 minutes until they are puffy and soft to the touch.
-
Bake: Preheat your oven to 375°F (190°C) and bake the pastries for 20-25 minutes. They should emerge golden brown, flaky, and utterly irresistible!
-
Cool and Glaze: Allow the pastries to cool on a wire rack for around 10 minutes. If you wish, drizzle with a simple glaze made of powdered sugar and water or milk for that extra touch of sweetness.
Optional: Sprinkle with sliced almonds before baking for added crunch and flavor.
Exact quantities are listed in the recipe card below.
How to Store and Freeze Mouthwatering Danish Pastries
Room Temperature: Store these pastries at room temperature for up to 2 days, covered with a clean kitchen towel to maintain their flaky texture.
Fridge: If you need them to last a bit longer, keep your Danish pastries in the fridge for up to 5 days. Just remember to place them in an airtight container to prevent drying out.
Freezer: For long-term storage, freeze the pastries in a single layer on a baking sheet until solid, then transfer to an airtight container or freezer bag for up to 3 months.
Reheating: When ready to enjoy, reheat in a preheated oven at 350°F (175°C) for about 10-15 minutes to bring back their delightful flakiness.
Make Ahead Options
These mouthwatering Danish pastries are perfect for meal prep, making busy mornings feel effortless and indulgent. You can prepare the yeasted dough up to 24 hours ahead; simply let it rise, then refrigerate it in an airtight container to maintain its quality. When you’re ready to bake, allow the dough to come to room temperature before laminating. Additionally, you can make the fillings—like marzipan and pastry cream—up to 3 days in advance; store them in the fridge for optimal freshness. Finally, when it’s time to serve, shape the pastries, let them rise for 30 minutes, and bake for 20-25 minutes to enjoy delicious, freshly baked pastries with minimal effort!
Mouthwatering Danish Pastries Variations & Substitutions
Customize your pastries with these delightful twists and substitutions, ensuring every bite is uniquely yours!
- Fruit Fillings: Swap out traditional fillings for your favorite fresh fruits or fruit preserves to bring a burst of flavor.
- Chocolate Delight: Replace marzipan with chocolate chips or a generous spread of Nutella for a rich, decadent filling. The sweet combination of chocolate with flaky dough is irresistible!
- Savory Sensation: Add a layer of cheeses like cream cheese or feta, mixed with herbs, for a savory pastry delight everyone will rave about.
- Gluten-Free: Use a gluten-free flour blend designed for baking to make the dough just as tender and flaky as the original.
- Vegan Option: Substitute butter with coconut oil or vegan butter and use flaxseed mixed with water for an egg replacement, making a scrumptious vegan pastry.
- Icing Variations: Elevate your glaze by incorporating almond extract or a hint of orange zest for extra flavor that complements the pastries perfectly.
- Nuts for Crunch: Add sliced almonds or chopped walnuts to the fillings or as a topping for a delightful crunch that contrasts beautifully with the soft pastry.
- Cinnamon Twist: For an extra kick, mix in nutmeg or cardamom with your cinnamon to create a warming spice profile in your fillings.
Expert Tips for Mouthwatering Danish Pastries
- Quality Ingredients: Use high-quality unsalted butter for richer flavor and better flakiness. It makes all the difference!
- Room Temperature Eggs: Ensure your eggs are at room temperature before mixing; this helps the dough come together smoothly.
- Patience is Key: During the dough’s rising phase, don’t rush! Let it double in size for optimal texture in your pastries.
- Layering Technique: Take your time with lamination; consistent folds are crucial for achieving those flaky layers in your mouthwatering Danish pastries.
- Check for Doneness: A hollow sound when tapping the bottom or an internal temperature of 190°F (88°C) indicates your pastries are perfectly baked.
- Freeze for Future Enjoyment: Pop extra pastries in the freezer for up to three months and reheat them in the oven to restore delicious flakiness.
What to Serve with Mouthwatering Danish Pastries?
Freshly baked Danish pastries are heavenly on their own, but pairing them with just the right accompaniments can take your experience to the next level.
-
Fresh Fruit Salad: A colorful mix of berries and citrus provides a refreshing contrast to the rich, buttery pastries.
-
Rich Coffee: The bold flavors of a freshly brewed coffee beautifully complement the sweetness in Danish pastries and awaken your senses.
-
Herbal Tea: A soothing cup of chamomile or mint tea balances the buttery richness, creating a comforting afternoon treat.
-
Creamy Yogurt: Serve alongside a dollop of Greek yogurt to add a tangy element, enhancing the overall flavor profile.
-
Vanilla Ice Cream: Indulge with a scoop of creamy vanilla ice cream, a delightful pairing that loves to melt over the warm pastries.
-
Savory Cheese Platter: A mix of sharp and soft cheeses can provide a savory counterpoint, enriching the overall taste experience.
-
Hot Chocolate: A rich, velvety cup of hot chocolate offers a decadent twist that pairs wonderfully with sweet fillings.
-
Caramel Sauce: Drizzle a bit of warm caramel sauce over a pastry to elevate the flavors and indulge your sweet tooth even further.
With just a little thought, you can elevate your homemade pastries into a full, heartwarming spread that your friends and family will adore!
Mouthwatering Danish Pastries Recipe FAQs
What type of butter should I use for the pastry dough?
Absolutely! For the richest flavor and best texture, I recommend using high-quality unsalted butter. It contributes to the flakiness and flavor of your Danish pastries, making every bite delightful.
How do I know when my dough has risen enough?
Look for the dough to have nearly doubled in size. A great way to test is by gently poking it; it should spring back slowly. This indicates it has developed enough air for fluffiness in your pastries!
Can I store my Danish pastries, and how long will they last?
Certainly! At room temperature, these pastries will stay fresh for up to 2 days. For longer storage, pop them in the fridge where they can last up to 5 days in an airtight container. If you need to keep them longer, freeze them for up to 3 months. Just reheat in a preheated oven for a few minutes to regain their flakiness.
How can I freeze my Danish pastries correctly?
Great question! To freeze, first place the pastries on a baking sheet in a single layer and freeze until solid. This prevents them from sticking together. Once frozen, transfer them to an airtight container or freezer bag. Remember to label with the date so you can enjoy them within three months!
Are there gluten-free adaptations for this recipe?
Absolutely! You can make delicious gluten-free Danish pastries by substituting regular flour with a gluten-free flour blend. It’s best to ensure the blend contains xanthan gum or similar to mimic the elasticity of traditional dough. Just be sure to follow the instructions on the flour blend packaging for the best results.
What if I have allergies to the ingredients?
If you’re dealing with allergies, there are wonderful alternatives! You can replace the butter with coconut oil for a dairy-free option and use flaxseed mixed with water as an egg substitute for a vegan version. Always check labels on products to ensure they’re free from allergens that might affect you!
Enjoy making these mouthwatering Danish pastries and filling your home with their amazing aromas!

Mouthwatering Danish Pastries: Your Homemade Bakery Delight
Ingredients
Equipment
Method
- Prepare the Dough: Activate yeast by combining warm milk with sugar; let sit until bubbly. Mix in flour, butter, and eggs, kneading until smooth. Let rise for 1-2 hours.
- Laminate the Dough: Roll out the risen dough into a rectangle, spread softened butter evenly, fold into thirds, and roll out again, repeating 2-3 times.
- Make the Fillings: For Kanelsnegle, mix cinnamon and sugar, spreading it over the dough. For Spandauer, spread marzipan and pastry cream, then cut and shape.
- Shape the Pastries: Create decorative shapes and let rise for 30 minutes until puffy.
- Bake: Preheat oven to 375°F (190°C) and bake for 20-25 minutes until golden brown.
- Cool and Glaze: Cool on a wire rack for 10 minutes; drizzle with glaze if desired.


