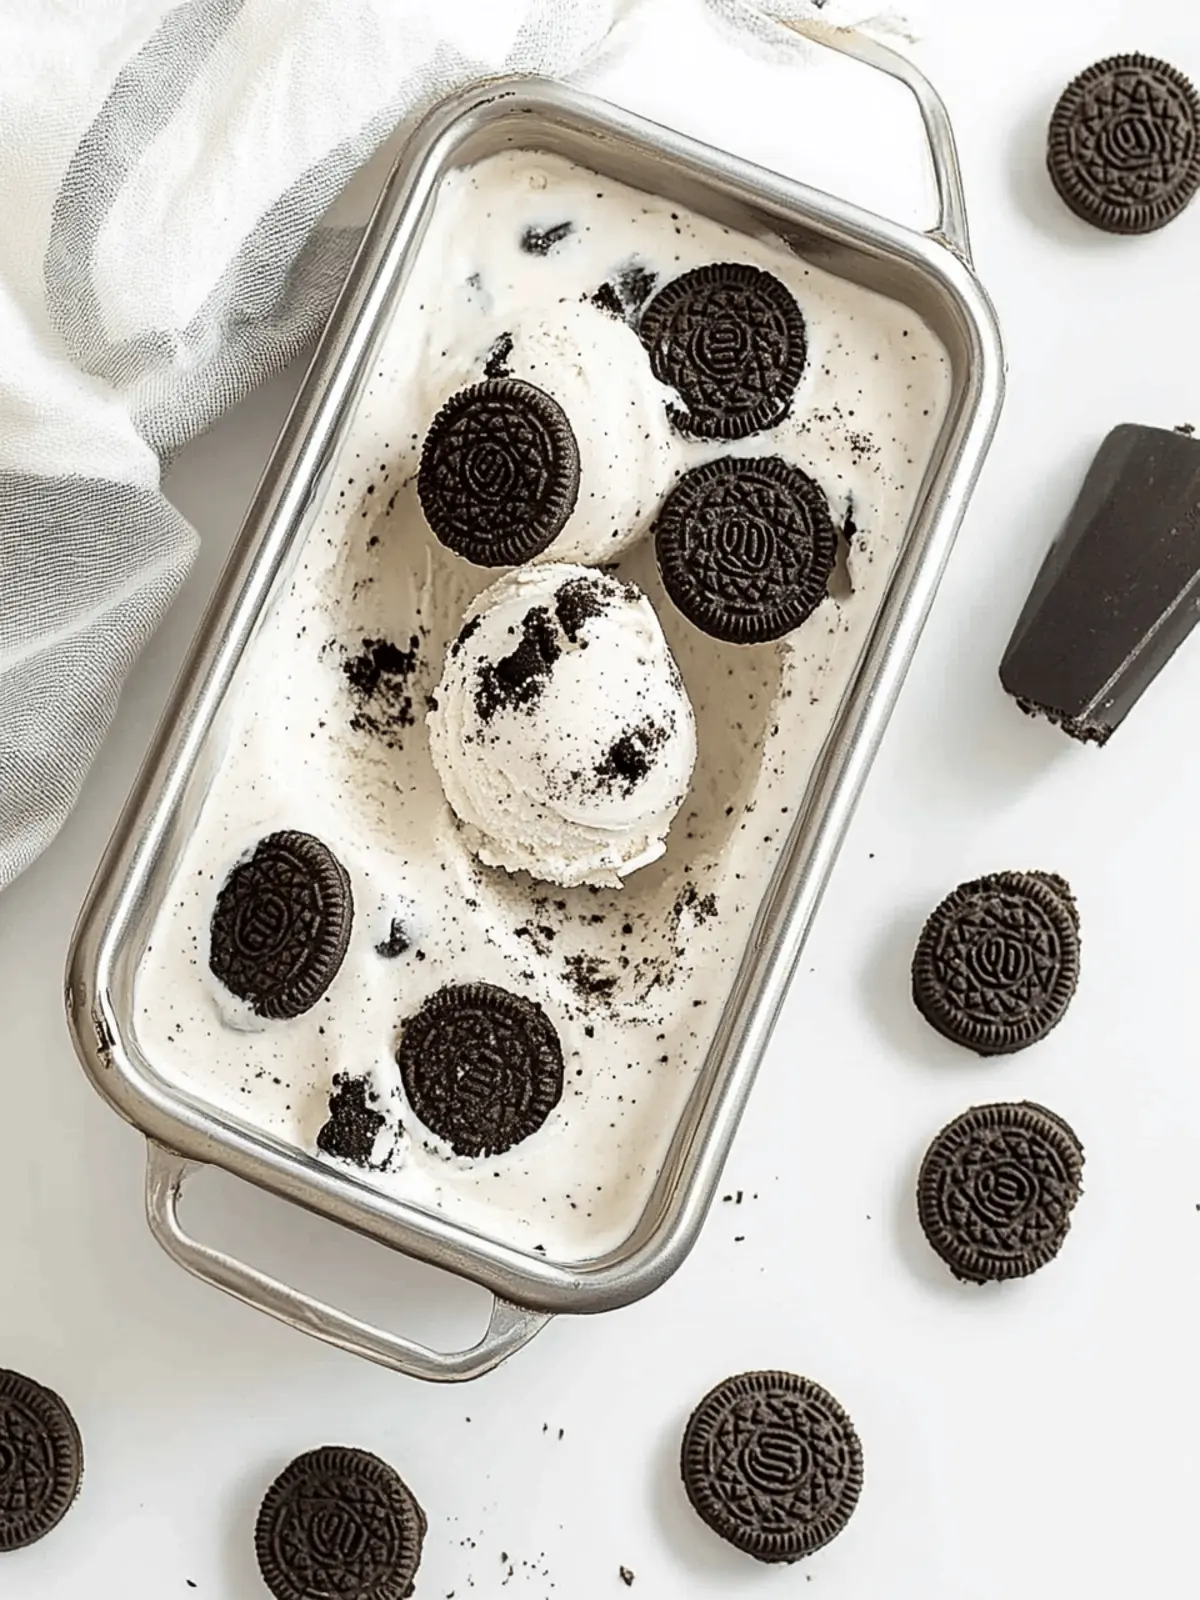
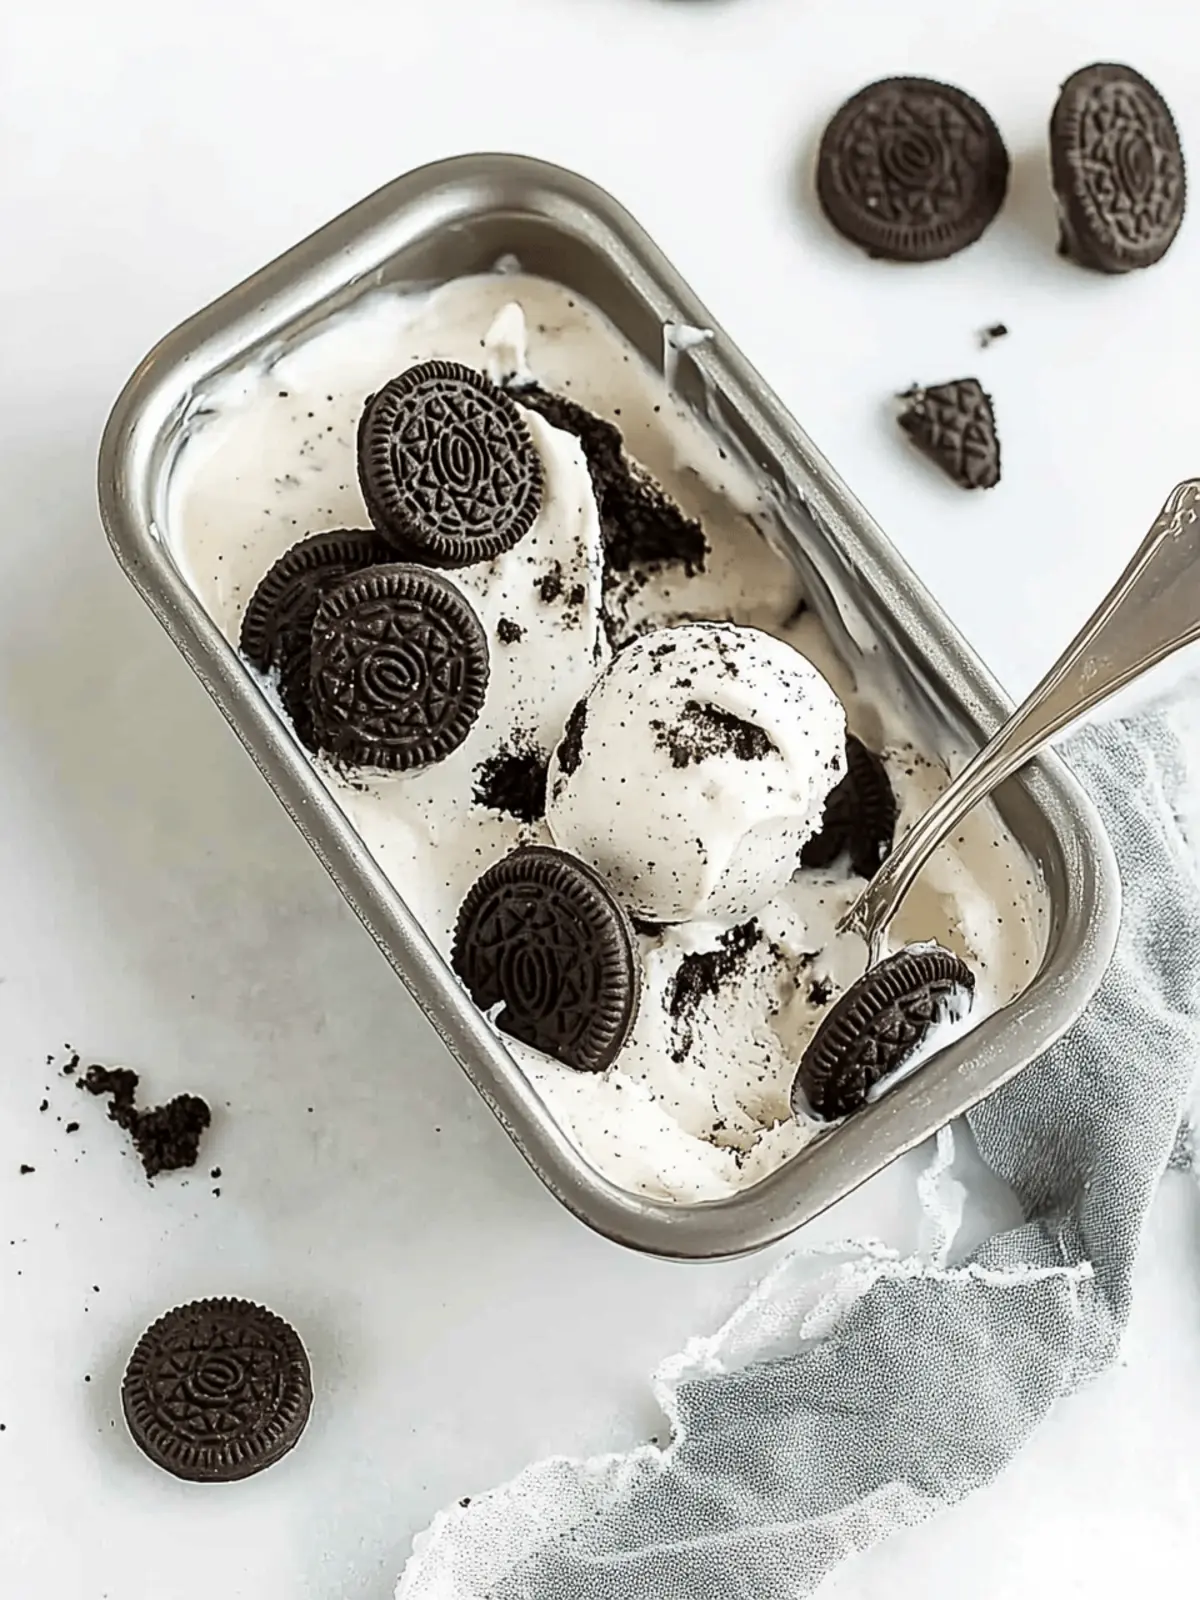
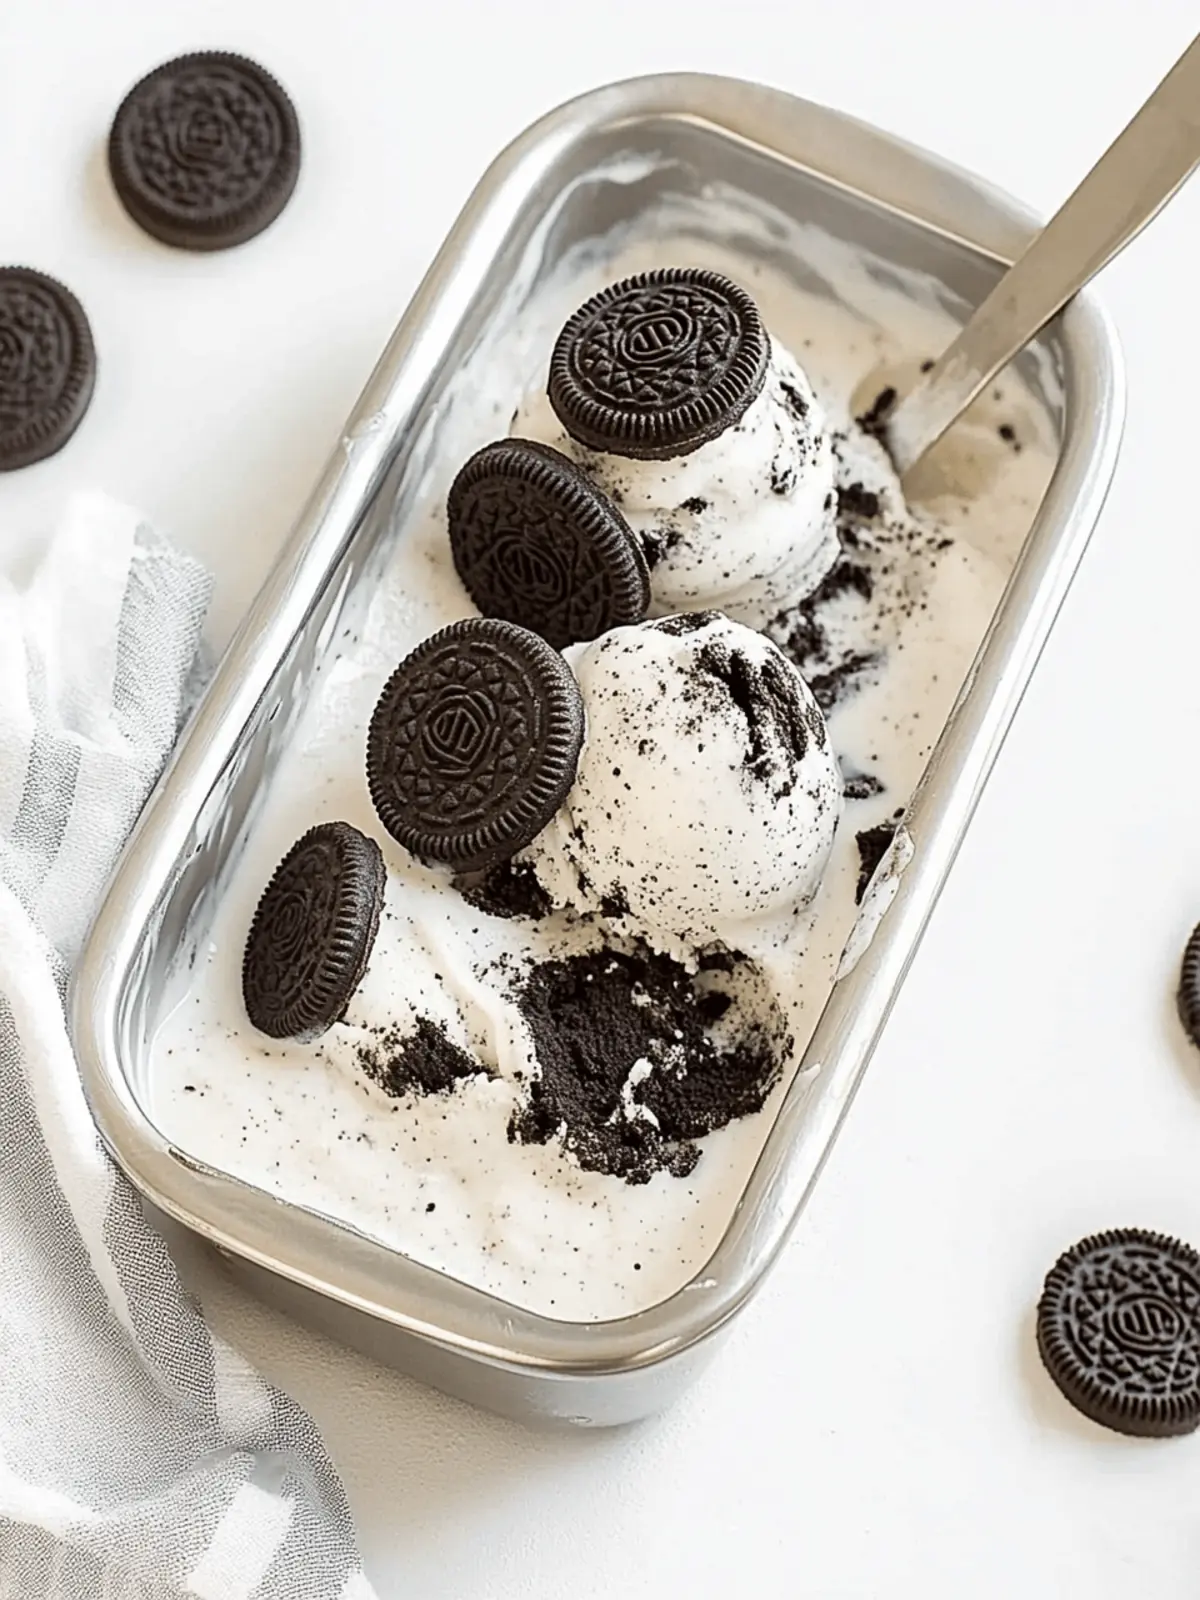
The first warm days of spring often have me craving something cool and creamy, and there’s nothing quite like the indulgent taste of homemade Oreo ice cream. I discovered this delightful no-churn recipe during one of those lazy afternoons, when the idea of a traditional ice cream maker seemed entirely too ambitious. In just 10 minutes, I found myself crafting a rich vanilla base, folding in crunchy bits of Oreo cookies that transform into a velvety, delicious treat.
This Oreo Ice Cream isn’t just a recipe; it’s an experience—perfect for warm evenings with friends or a quiet night in. With its effortless preparation and crowd-pleasing flavor, this egg-free dessert will soon become your go-to whenever the ice cream craving hits. Whether you’re serving it to guests or indulging solo, each scoop delivers a nostalgic, cookie-filled bliss that can be enjoyed guilt-free. Ready to dive into creamy delight? Let’s get started!
Why is Oreo Ice Cream a Must-Try?
Decadence in Minutes: This no-churn recipe takes only 10 minutes to prep, making it incredibly quick for last-minute dessert cravings.
Rich Creamy Texture: Using heavy cream and sweetened condensed milk creates a smooth, luscious base that rivals any store-bought option.
Crowd-Pleaser: With the beloved crunch of Oreo cookies, it’s a flavor everyone can enjoy, ensuring happy faces at any gathering.
Versatile Joy: Play around with different cookie flavors or add delicious swirls of fudge for a unique twist.
Guilt-Free Indulgence: Egg-free and easy to make, this dessert satisfies your sweet tooth without the fuss of traditional ice cream recipes.
Perfect for Sharing: Whether it’s a sunny day with friends or a cozy night in, each scoop is an invitation to savor simple joys—so get ready to indulge!
Oreo Ice Cream Ingredients
For the Ice Cream Base
- Cold Cream – Use heavy whipping cream for the best, smooth texture.
- Sweetened Condensed Milk – Essential for richness and sweetness; no substitution recommended.
- Vanilla Extract – Opt for pure vanilla extract to enhance the overall flavor.
For the Mix-ins
- Chopped Oreo Cookies – These provide the delicious cookies and cream flavor; substitute with any chocolate sandwich cookie if desired.
This magical no-churn Oreo ice cream will become a delightful addition to your homemade dessert repertoire!
How to Make Oreo Ice Cream
-
Prepare Cookies: Chop Oreo cookies into small chunks or bite-sized pieces, ensuring to save some crumbs for delightful textural contrast in your ice cream.
-
Whip Cream: In a large mixing bowl, beat the cold heavy cream until you achieve medium-firm peaks. It should be fluffy but still slightly soft.
-
Combine Ingredients: Gently fold the sweetened condensed milk into the whipped cream, followed by the vanilla extract. Remember, don’t overmix; keep it light and airy!
-
Add Cookies: Carefully incorporate about ¾ of the chopped Oreo pieces into the mixture, ensuring they are evenly distributed without deflating your whipped cream.
-
Pour & Freeze: Transfer the creamy mixture to a metal pan, sprinkle the remaining Oreo pieces on top, and place it in the freezer for 4-6 hours or until it’s firm to the touch.
-
Serve: Scoop your homemade Oreo ice cream into bowls. Enjoy it as it is or dress it up with toppings like chocolate sauce or fresh strawberries!
Optional: Drizzle with caramel sauce for an extra touch of sweetness.
Exact quantities are listed in the recipe card below.
Expert Tips for Oreo Ice Cream
- Perfectly Whipped Cream: Stop whipping the heavy cream once it reaches medium-firm peaks to maintain airiness; overwhipping can cause curdling when folding in other ingredients.
- Avoid Freezer Burn: Cover the surface of your Oreo ice cream with plastic wrap before sealing it in an airtight container to keep it fresh and prevent ice crystals from forming.
- Even Freezing: Use a metal pan for freezing, as it cools faster and helps maintain a smooth texture. Ensure the mixture is evenly spread in the pan for best results.
- Texture Tips: Make sure to incorporate chunks and crumbs of Oreo cookies gently; this will give your ice cream the perfect texture without deflating the whipped cream base.
- Storage Advice: Store your Oreo ice cream in the freezer for up to 2 weeks. Allow it to soften slightly at room temperature for easier scooping.
Oreo Ice Cream Variations & Substitutions
Feel free to get creative and personalize your delightful ice cream experience with these fun twists!
-
Mint Chocolate: Swap in mint chocolate cookies to create a refreshing, minty version with every scoop. The coolness of mint combined with chocolate is a classic flavor combo that will surprise your taste buds.
-
Peanut Butter Swirl: Add dollops of creamy or crunchy peanut butter for a delicious nutty flavor that pairs beautifully with the chocolate cookies. Swirling it in will create a delightful contrast of flavors and textures.
-
Nut-Free Delight: For a nut-free version, simply omit any nut-related ingredients and substitute with crushed chocolate candy bars for an extra crunch. You’ll still maintain that indulgent flavor without worry!
-
Fruit Fusion: Mix in crushed strawberries or pureed raspberries for a fruity twist that adds a refreshing tartness. The vibrant colors and flavors contrast beautifully with the rich creaminess of the ice cream.
-
Dairy-Free Alternative: Using coconut cream instead of heavy whipping cream can create a vegan-friendly version that’s still rich and creamy. Just ensure your sweetened condensed milk is also dairy-free for proper consistency.
-
Flavored Fudge: Experiment by adding ribbons of chocolate fudge or caramel throughout for a decadent touch. It’ll spoil you with each scoop as you unveil that sweet, gooey surprise.
-
Spicy Kick: For the adventurous eaters, consider adding a hint of chili powder or cayenne pepper to the ice cream for a spicy kick that pairs wonderfully with sweet desserts. It’s an unexpected twist sure to spark curiosity!
-
Additional Crunch: Toss in crushed pretzels or graham crackers for added texture and a surprising salty crunch that enhances the overall flavor profile beautifully.
Enjoy exploring these variations and make this Oreo Ice Cream your very own!
Make Ahead Options
These Oreo Ice Cream treats are perfect for meal prep enthusiasts! You can whip up the ice cream base and keep it in the freezer for up to 7 days in advance, ensuring you have a delightful dessert ready when you need it. Simply prepare the ice cream mixture according to the recipe, then transfer it to a metal pan and freeze it for a minimum of 4-6 hours. For optimal flavor and texture, cover the surface with plastic wrap to prevent freezer burn. When it’s time to serve, simply scoop it into bowls and enjoy! Making Oreo Ice Cream ahead of time means you can focus on entertaining guests or simply relaxing without the last-minute rush!
What to Serve with No-Churn Oreo Ice Cream?
Looking to create a delightful spread that perfectly complements this rich and creamy treat? Here are some delicious pairings to elevate your ice cream experience.
-
Chocolate Sauce: A warm drizzle of chocolate sauce adds a decadent layer of richness that enhances the Oreo flavor. It’s a classic combination that feels indulgent.
-
Fresh Berries: Juicy strawberries or raspberries provide a refreshing contrast to the creamy ice cream, balancing sweetness with a hint of tartness.
-
Homemade Waffle Cones: Serve your Oreo ice cream in freshly made waffle cones for a delightful crunch and an authentic ice cream shop experience.
-
Crushed Nuts: A sprinkle of toasted nuts adds crunch and an earthy flavor that beautifully complements the creamy texture of the ice cream.
-
Marshmallow Fluff: Swirling in some marshmallow fluff creates a delightful texture contrast and a satisfying sweetness that pairs wonderfully with the Oreo chunks.
-
Coffee: Brew a rich cup of coffee to serve alongside your dessert. The bitterness perfectly balances the sweetness of the ice cream, creating a harmonious pairing.
Each of these options brings a unique element, turning your dessert into a truly extraordinary event!
How to Store and Freeze Oreo Ice Cream
Fridge: Keep your Oreo ice cream in the freezer for the best texture. It should not be stored in the fridge as it melts quickly and loses its creamy consistency.
Freezer: Store in an airtight container for up to 2 weeks. For best results, cover the surface with plastic wrap to prevent freezer burn.
Scooping Tip: Allow the ice cream to soften for about 5-10 minutes at room temperature before scooping for easier serving.
Reheating: There’s no need to reheat this no-churn Oreo ice cream, as it’s meant to be enjoyed straight from the freezer!
No-Churn Oreo Ice Cream Recipe FAQs
What kind of cream should I use for the Oreo Ice Cream?
Absolutely! For the best results, use cold heavy whipping cream. It will whip up beautifully, giving your ice cream a rich and creamy texture. Avoid using light cream or milk, as they won’t provide the same luxurious mouthfeel.
How should I store my Oreo Ice Cream?
Store your Oreo ice cream in an airtight container in the freezer. It can last for up to 2 weeks. For extra protection against freezer burn, cover the surface of the ice cream with a layer of plastic wrap before sealing the container. This will help maintain its creamy texture and flavor.
Can I freeze leftover Oreo Ice Cream? How?
Yes! To freeze your Oreo Ice Cream, ensure it’s sealed in an airtight container. If you’re making a large batch and want to store it longer, label it with the date and store it in the freezer for up to 2 weeks. When you’re ready to enjoy it, let it soften for about 5-10 minutes at room temperature for easier scooping.
What should I do if my whipped cream isn’t peaking properly?
When whipping the cream, ensure your mixing bowl and beaters are completely clean and dry. Begin by beating the cold cream on low speed, and gradually increase to medium-high. If it’s still not thickening, try chilling your bowl and cream for a short time to ensure they’re cold enough. Remember, stop at medium-firm peaks to avoid curdling!
Is this recipe safe for those with egg allergies?
Yes, indeed! This no-churn Oreo Ice Cream recipe is completely egg-free, making it a safe and delicious option for those with egg allergies. It’s an easy treat that everyone can enjoy, no matter their dietary restrictions.
Can I use different cookies instead of Oreos?
Very! Feel free to get creative. You can substitute Oreos with other chocolate sandwich cookies, or even try different flavors like mint or peanut butter sandwich cookies. Just remember to adjust the cookie pieces according to your preference for the ultimate treat!
These FAQs will help ensure your ice cream-making experience is smooth and enjoyable. Happy scooping!
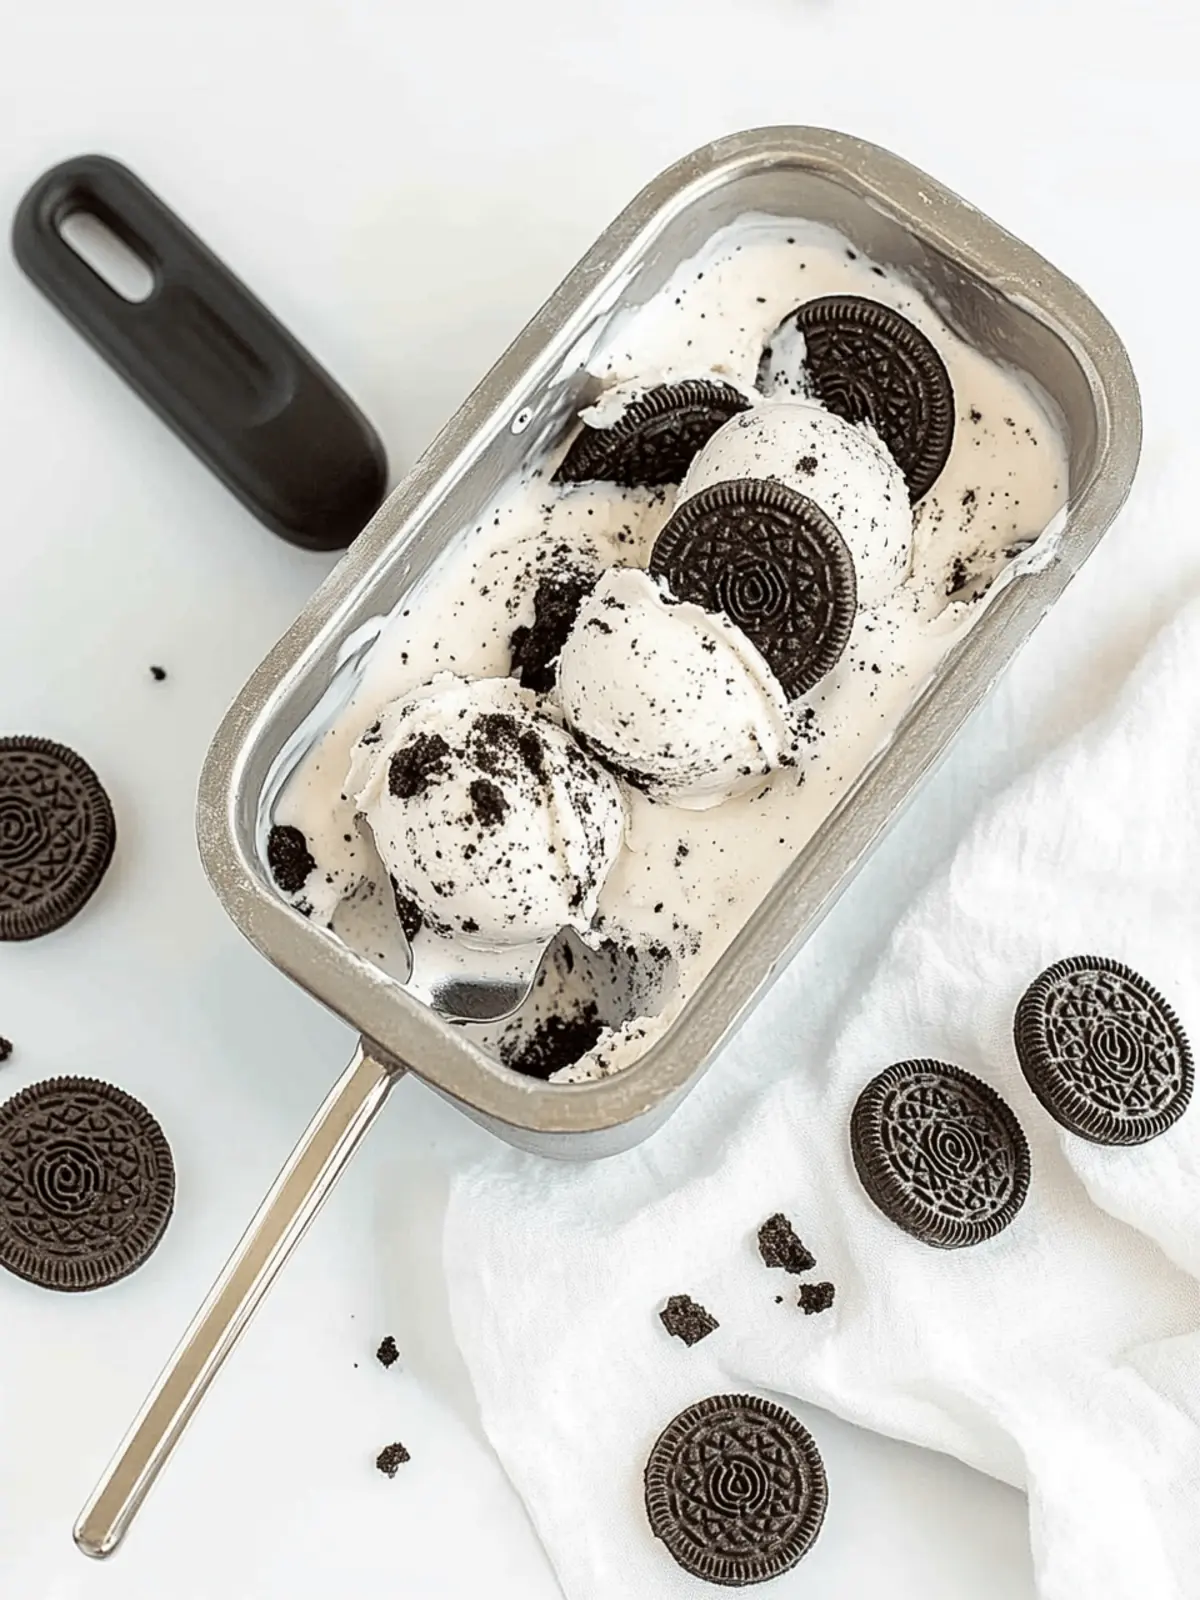
No-Churn Oreo Ice Cream: Your Easy At-Home Delight
Ingredients
Equipment
Method
- Chop Oreo cookies into small chunks or bite-sized pieces, ensuring to save some crumbs for texture.
- In a large mixing bowl, beat the cold heavy cream until you achieve medium-firm peaks.
- Gently fold the sweetened condensed milk into the whipped cream, followed by the vanilla extract.
- Carefully incorporate about ¾ of the chopped Oreo pieces into the mixture.
- Transfer the mixture to a metal pan, sprinkle remaining Oreo pieces on top, and freeze for 4-6 hours.
- Scoop your homemade Oreo ice cream into bowls, enjoy it plain or with toppings.

