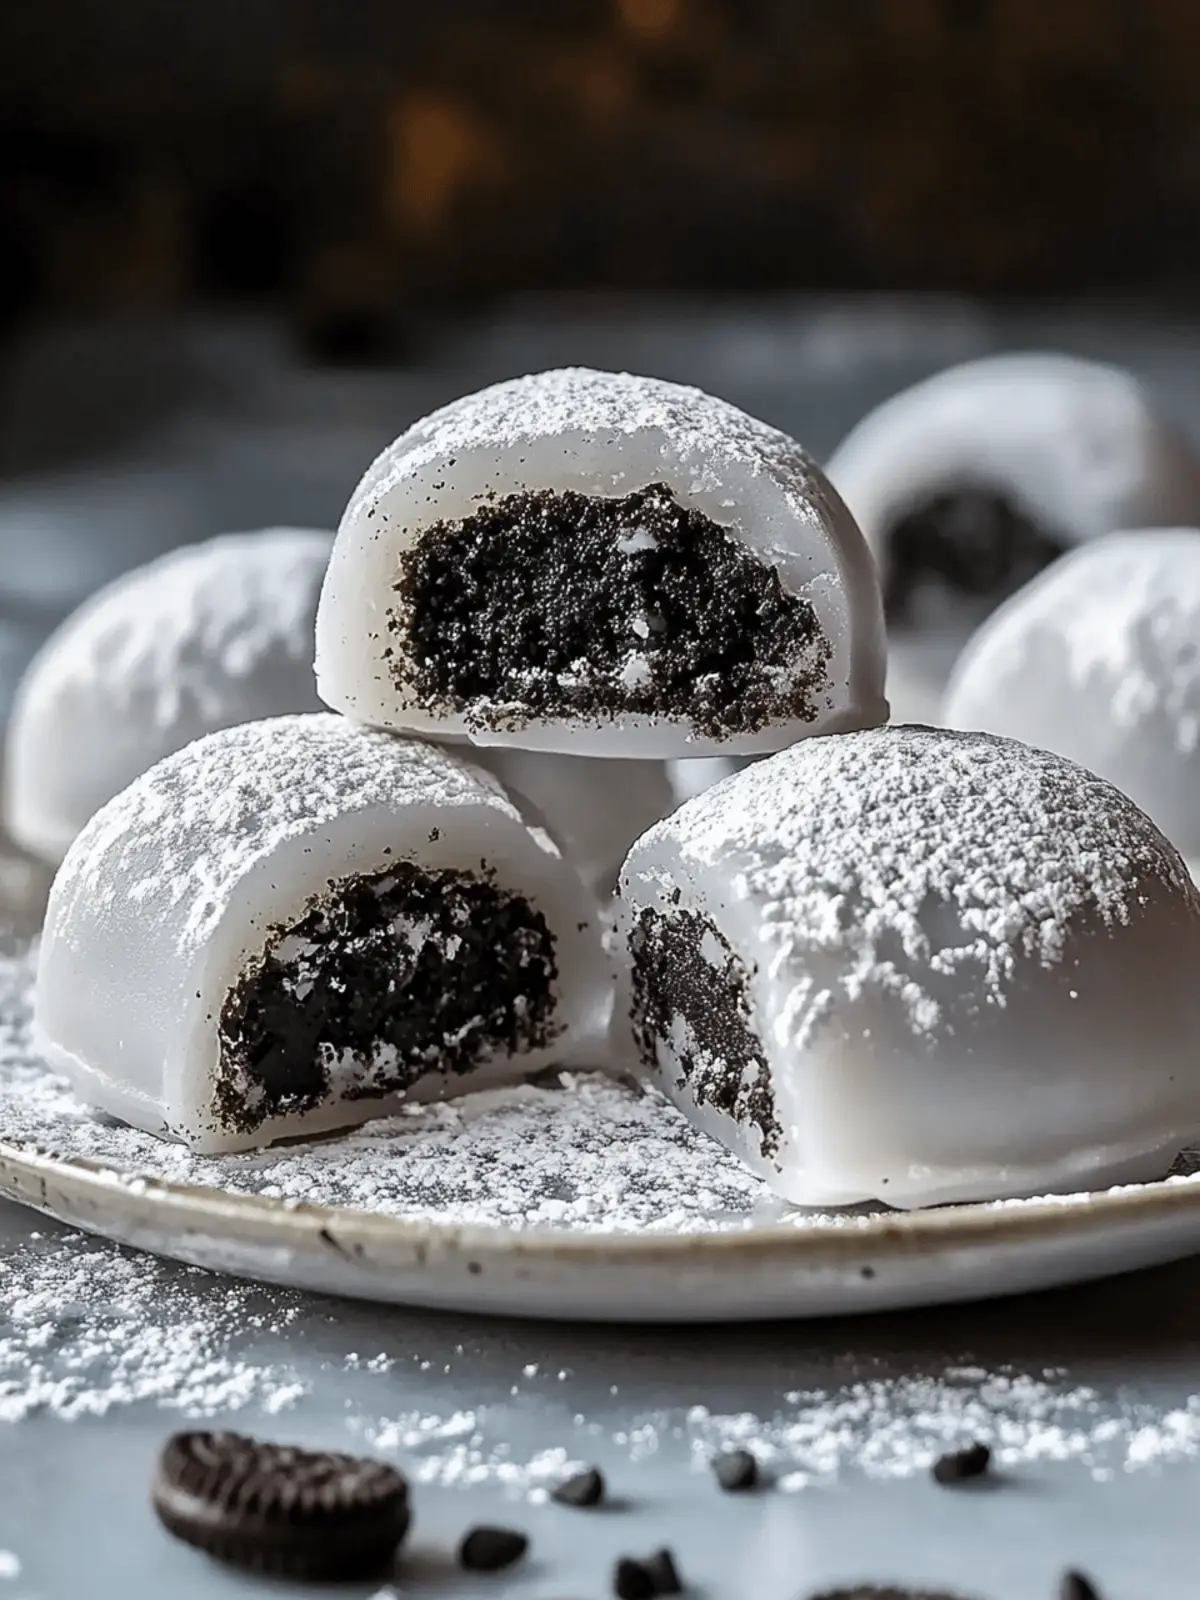
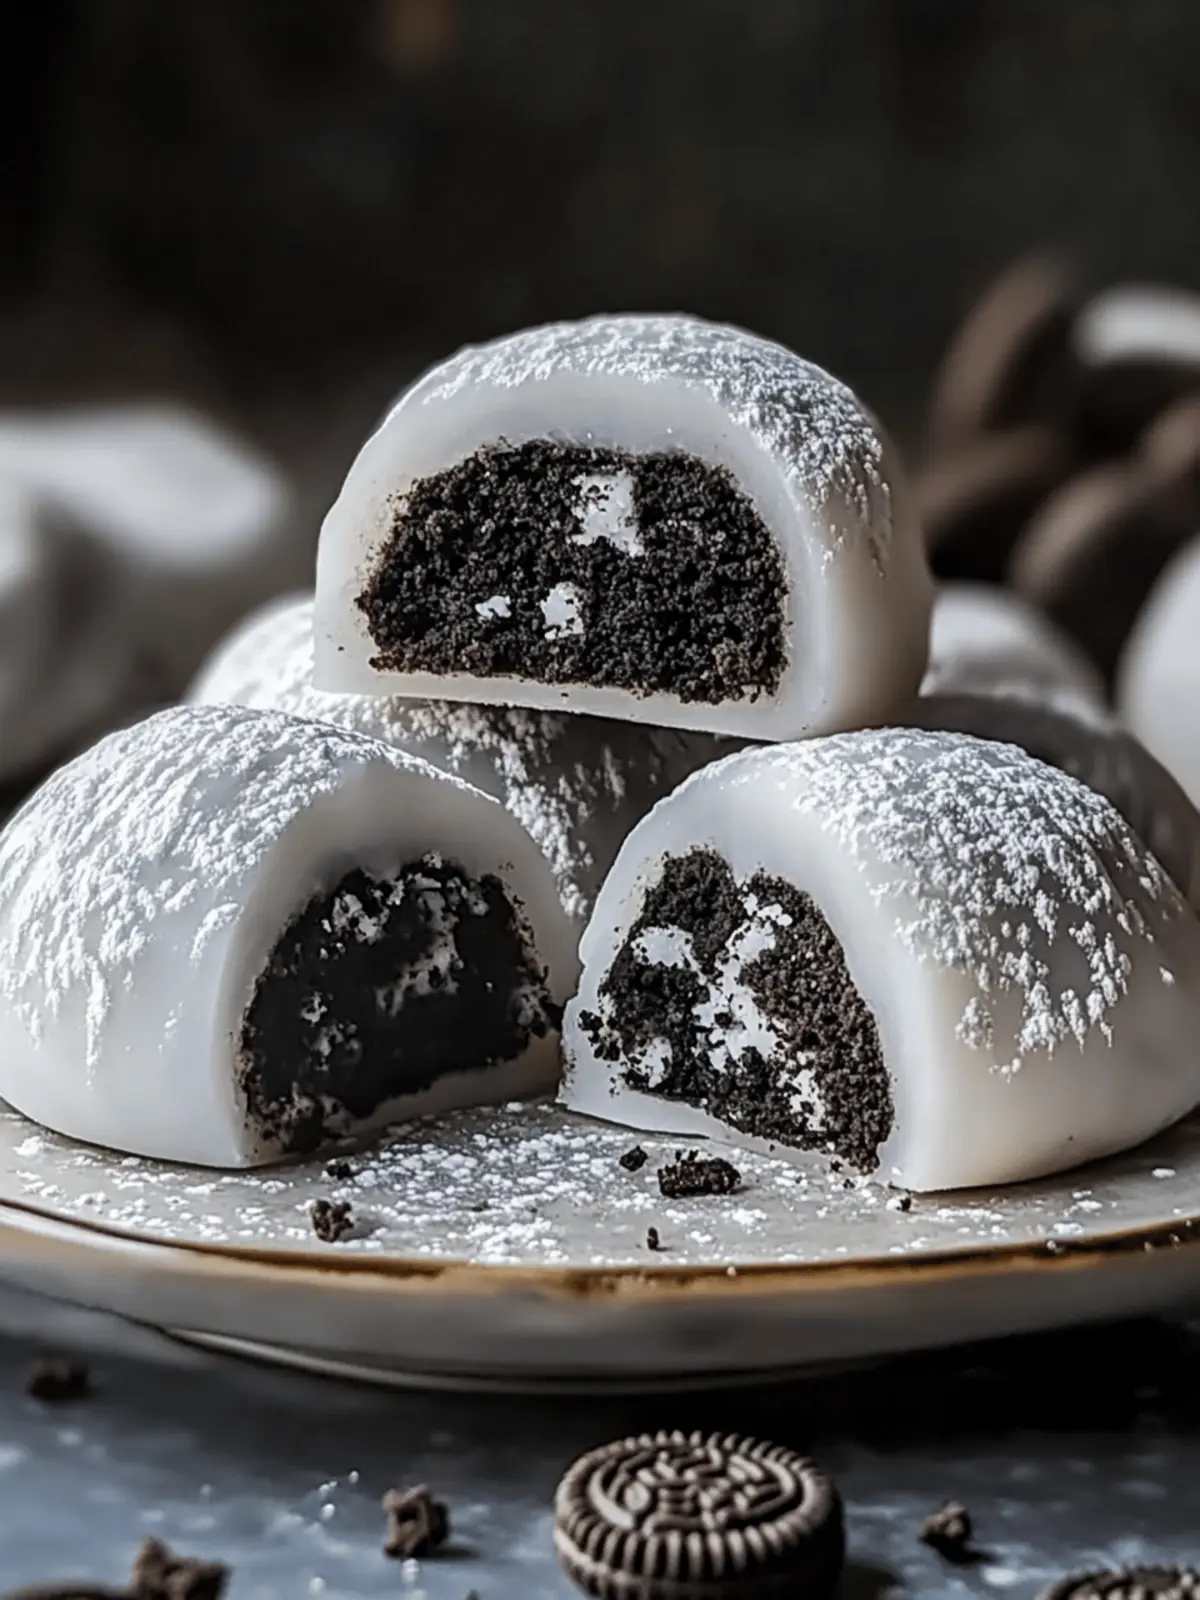
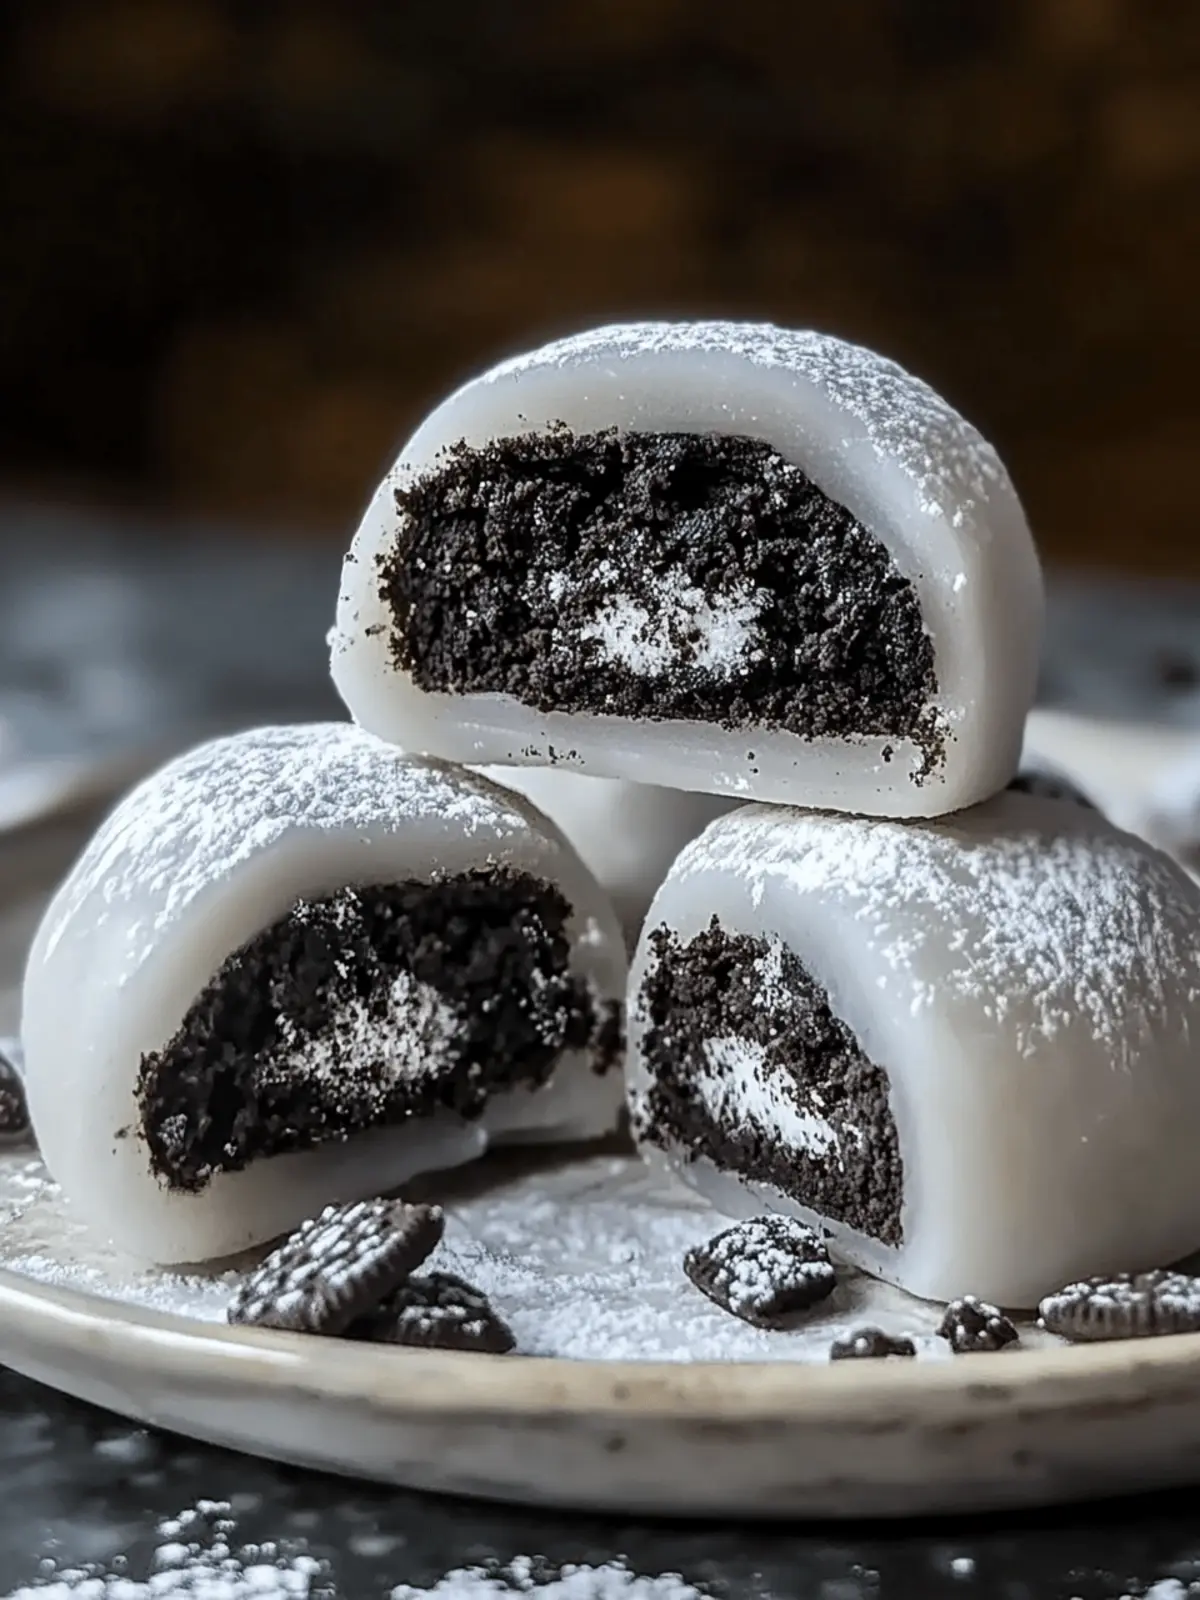
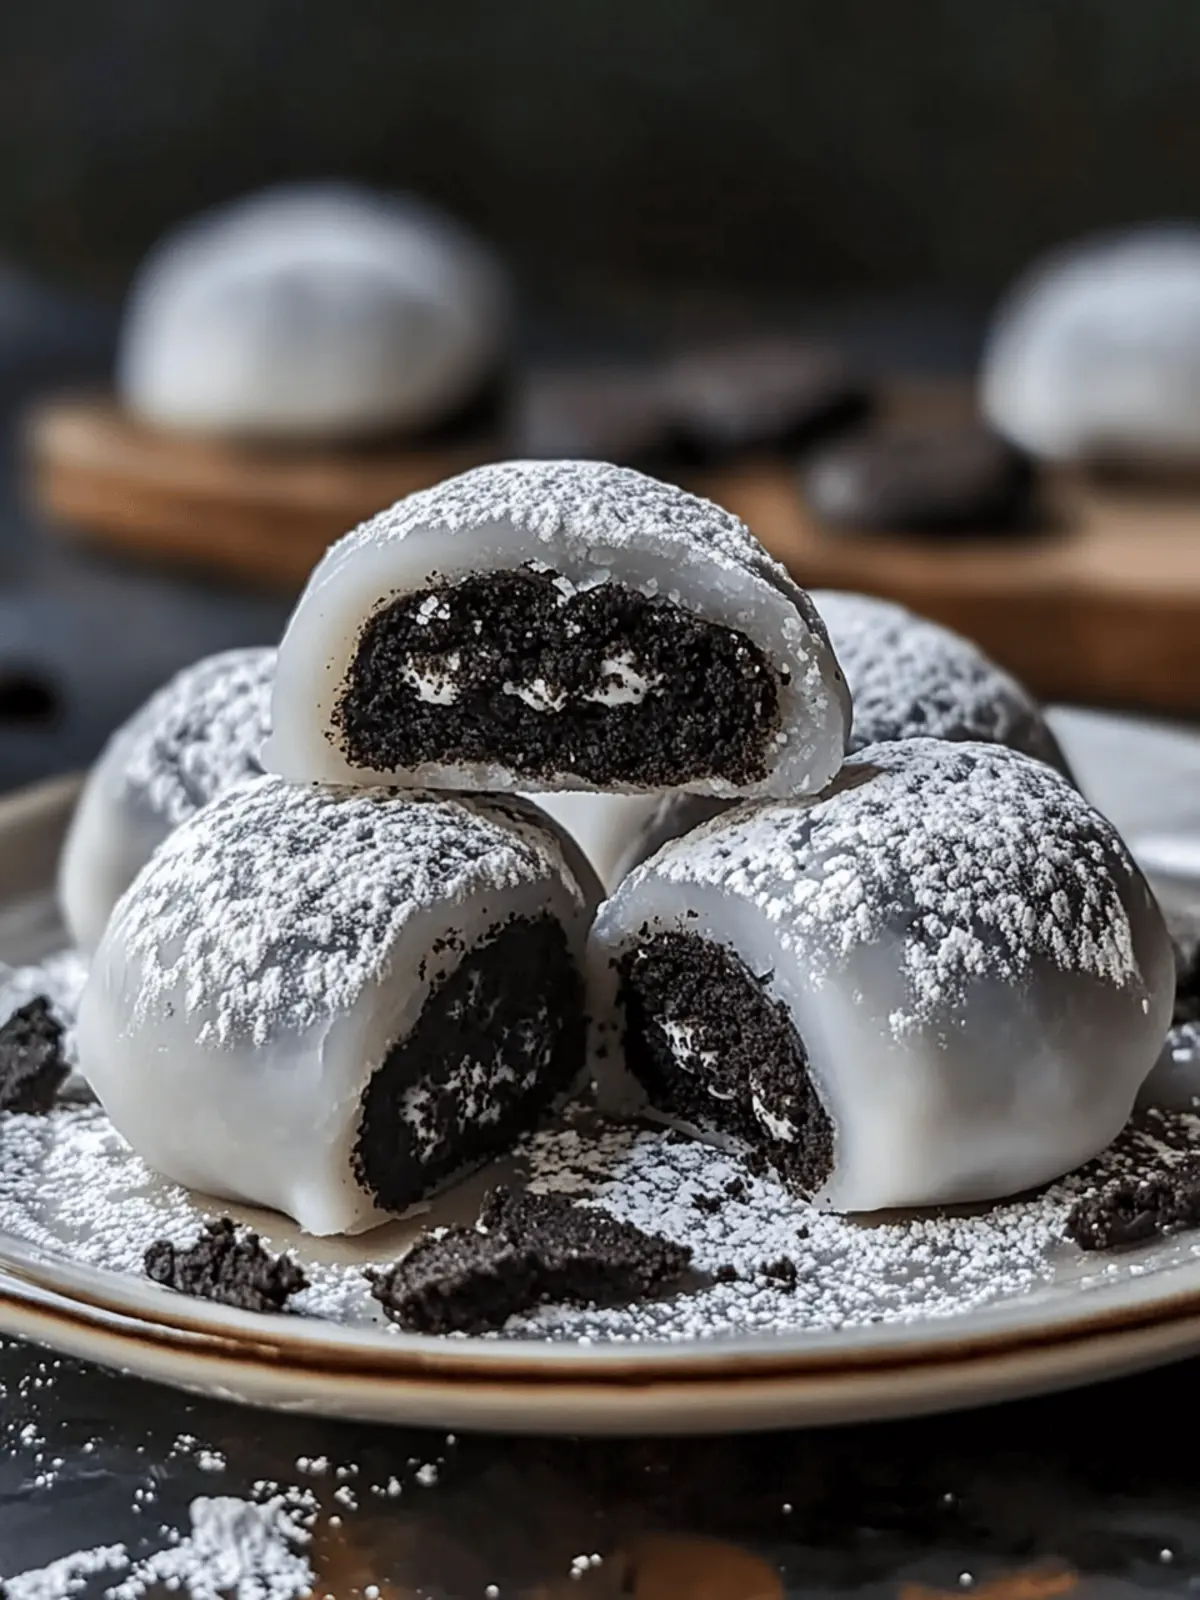
The first time I pulled warm, chewy Oreo Mochi from the fridge, I knew I had stumbled upon a treasure that would change my dessert game forever. Imagine the delightful juxtaposition of a traditional Japanese treat infused with the rich, chocolatey essence of your favorite cookies. This dessert is not only a feast for the eyes with its glossy exterior, but it’s also incredibly simple to whip up, making it perfect for both casual snacking and special gatherings. Whether you’re a culinary novice or a seasoned chef looking to jazz up your repertoire, this recipe allows for endless creativity with variations—think matcha cookies for a unique twist, or even a vegan adaptation that will impress all your friends. Trust me, once you take a bite of this soft, indulgent mochi enveloping a creamy center, you’ll find it hard to believe something so delicious can be made so easily! Ready to dive into this delightful world of flavors? Let’s get started!
Why is Oreo Mochi a must-try treat?
Indulgent flavors: This recipe combines classic Oreos with the unique chewiness of mochi, offering a delightful dessert experience.
Simple preparation: Get creative without stress—this easy recipe requires minimal ingredients and kitchen skills, making it accessible for all levels.
Versatile options: Whether you’re a fan of chocolate chip cookies or looking for a vegan alternative, the variations keep this treat fresh and exciting!
Crowd-pleaser: With its eye-catching presentation and delectable taste, Oreo Mochi is sure to impress your guests and become a favorite at gatherings.
Perfect for make-ahead: Prepare them in advance and store in the fridge, so you can enjoy delicious bites any time!
Dive into the delectable world of cooking techniques to elevate your dessert creations!
Oreo Mochi Ingredients
For the Mochi Dough
• Mochiko (Sweet Rice Flour) – Essential for achieving the signature chewy texture of Oreo Mochi; do not substitute with other flours.
• Sugar – Provides sweetness to balance the rich flavor; can be replaced with plant-based sweeteners if you’re opting for a vegan version.
• Water – Necessary for the dough consistency; no other substitutes are needed.
• Vanilla Extract – Adds a lovely flavor depth; consider substituting with almond extract for a different taste twist.
For the Filling
• Oreos (6, crushed) – The main flavor ingredient providing that irresistible chocolate crunch; feel free to experiment with other cookie flavors for fun variations.
For Dusting
• Cornstarch – Prevents the mochi from sticking together; no direct substitutes are ideal, but tapioca starch could work in a pinch.
How to Make Oreo Mochi
-
Combine Ingredients: In a mixing bowl, whisk together the mochiko, sugar, and water until you have a smooth batter without any lumps. This is the base for your chewy mochi.
-
Cook Mochi: Transfer the mochi mixture to a microwave-safe bowl, cover it with a lid or microwave-safe wrap, and cook in the microwave for 1 minute. Stir well, then return to the microwave for another minute; repeat this process until the mixture thickens and turns slightly translucent, about 4-5 minutes in total.
-
Flavor It Up: Once cooked, remove the mochi from the microwave and stir in the vanilla extract, mixing well until evenly incorporated. The aroma will be heavenly!
-
Cool the Dough: Dust a clean surface generously with cornstarch, then pour the warm mochi dough onto it. Allow the dough to cool for a few minutes until you can handle it comfortably.
-
Shape Mochi: Divide the cooled dough into 6 equal pieces. Flatten each piece in your palms, add a spoonful of crushed Oreo in the center, and carefully fold the edges over to create a ball. Roll gently to seal.
-
Dust & Chill: Lightly dust each shaped mochi with more cornstarch to prevent them from sticking. Place the mochis on a plate and chill in the refrigerator for at least 30 minutes before serving to set the texture.
Optional: Drizzle melted chocolate on top for an extra indulgence!
Exact quantities are listed in the recipe card below.
What to Serve with Oreo Mochi?
Elevate your dessert experience with delightful pairings that enhance the chewy, chocolatey bliss of your mochi.
-
Matcha Tea: The earthy notes of matcha offer a wonderful contrast, balancing the sweetness of the mochi beautifully. It’s a traditional pairing that brings out the best in both flavors.
-
Vanilla Ice Cream: The creamy, cool texture of vanilla ice cream complements the chewy warmth of the Oreo Mochi, creating a delightful contrast that’s irresistible.
-
Fresh Strawberries: The bright, juicy flavor of fresh strawberries adds a refreshing note to your dessert experience, making every bite burst with freshness alongside the rich mochi.
-
Yuzu Sorbet: This citrusy sorbet is a decadent yet refreshing combo, cutting through the sweetness while enhancing the unique flavors with its vibrant zest.
-
Coconut Whipped Cream: A dollop of light, fluffy coconut whipped cream adds a tropical touch, making for a delightful combination that enhances the mochi’s rich texture.
-
Chocolate Drizzle: Add a simple melted chocolate drizzle on top for an indulgent touch. It intensifies the chocolate flavor and enhances presentation, making it truly eye-catching.
-
Iced Green Tea: This soothing drink enhances the dessert experience with its subtle, refreshing flavor, perfectly balancing the sweetness of the mocha treats.
-
Sesame Cookies: For a crunchy contrast, pair with nutty, crisp sesame cookies that complement the chewy mochi perfectly, adding another layer of texture.
Explore these pairings and create a magical dessert spread that will leave everyone enchanted!
How to Store and Freeze Oreo Mochi
Fridge: Store leftover Oreo Mochi in an airtight container for up to 2-3 days to keep them fresh and chewy.
Freezer: For longer storage, individually wrap each mochi in plastic wrap and place them in a freezer-safe bag. They can be frozen for up to a month.
Thawing: To enjoy your frozen mochi, thaw it in the refrigerator overnight before serving to restore texture and flavor.
Reheating: If desired, you can briefly microwave thawed mochis for a few seconds to enhance their chewy goodness; just be cautious not to overheat!
Oreo Mochi Variations
Customize your Oreo Mochi to suit your taste and dietary preferences with these delightful ideas!
-
Vegan Delight: Substitute sugar with coconut or maple syrup and use almond milk instead of water for a creamy, plant-based twist.
With a dash of creativity, you can make this beloved treat accessible to all! -
Chocolate Chip Twist: Swap out Oreos for chocolate chip cookies to add an extra layer of gooeyness and chocolaty goodness.
Imagine the joy of biting into a chewy mochi that bursts with warm chocolate goodness—pure bliss! -
Green Tea Elegance: Incorporate matcha powder into the mochi dough for a subtly sweet and earthy flavor that beautifully contrasts with the sweetness of the filling.
Tasting this version feels like enjoying a serene afternoon at a Japanese tea ceremony, complete with delightful mochi. -
Nutty Surprise: Fold in crushed almonds or hazelnuts into the mochi mixture for a delightful crunch and nutty flavor alongside the Oreo filling.
Each bite will offer a pleasantly surprising texture, elevating the overall experience. -
Fruity Fusion: Replace the Oreo filling with a spoonful of fruit preserves or a mix of fresh fruit like strawberries or blueberries for a refreshing twist.
This fruity version introduces a lovely tartness that balances the sweet elements perfectly. -
Gluten-Free Glory: Use gluten-free sandwich cookies instead of Oreos to make this treat suitable for those with gluten sensitivities.
This version doesn’t compromise on taste, ensuring everyone can savor the magic of Oreo Mochi! -
Chocolate Drizzle: Drizzle melted dark chocolate atop each mochi for an extra indulgent treat, enhancing the chocolate flavor beautifully.
The elegant touch of chocolate invites you to relish every decadent bite!
Expert Tips for Making Oreo Mochi
-
Use Mochiko Only: Ensure you use mochiko, as other flours won’t achieve the traditional chewy texture needed for perfect Oreo Mochi.
-
Prevent Sticking: Remember to dust both your hands and the mochi dough with cornstarch while shaping to avoid frustrating sticking.
-
Chill for Best Texture: Don’t skip the chilling step! Allow the mochi to set in the fridge for at least 30 minutes for the best chewy experience.
-
Experiment Wisely: While variations are fun, be cautious with alternative fillings. Keep the balance of flavors and textures in mind to avoid overpowering the Oreo taste.
-
Adjust for Vegan: For a vegan version, substitute sugar with plant-based sweeteners, and use non-dairy milk options. Enjoy a deliciously inclusive twist!
Make Ahead Options
These Oreo Mochi are perfect for meal prep enthusiasts! You can prepare the mochi dough up to 24 hours in advance by following the first five steps of the recipe, allowing the dough to cool completely before shaping. Once formed, place the mochi balls in an airtight container, dusted with cornstarch to prevent sticking, and refrigerate them for up to 3 days. For the best texture, serve them chilled after resting in the refrigerator. When you’re ready to enjoy your deliciously chewy treats, simply take them out and let them sit at room temperature for a few minutes before serving. This method ensures that your Oreo Mochi are just as delightful and indulgent even days later!
Oreo Mochi Recipe FAQs
What type of mochiko should I use for the Oreo Mochi?
Absolutely! You should use sweet rice flour specifically labeled as mochiko. This ingredient is crucial for achieving that signature chewy texture typical of mochi. Other types of flour, such as all-purpose or gluten-free, simply will not replicate the unique mouthfeel, so it’s best not to substitute.
How should I store leftover Oreo Mochi?
Very! Leftover Oreo Mochi can be stored in an airtight container in the refrigerator for up to 2-3 days. Just ensure they are properly sealed to maintain their delightful chewiness. If you find you have even more leftover, you can freeze them for longer enjoyment.
Can I freeze Oreo Mochi? What’s the best way to do it?
Absolutely! To freeze Oreo Mochi, individually wrap each mochi tightly in plastic wrap and place them in a freezer-safe bag. They’ll stay fresh for up to 1 month. When you’re ready to enjoy them again, just thaw them in the refrigerator overnight for the best texture. If you want to enjoy them warm, a quick 10-second zap in the microwave will bring back their chewiness!
What do I do if my mochi dough is too sticky?
Not to worry! If your mochi dough feels overly sticky while you’re shaping it, sprinkle a bit more cornstarch on both your hands and the dough. This should help prevent it from sticking. If it appears very wet or gooey even after cooking, it may need a bit more cooking time—microwaving in 30-second increments should yield better results until it thickens properly.
Is this recipe suitable for those with gluten allergies?
Good question! Traditional mochiko is gluten-free, so yes, as long as you’re using rice flour like mochiko, the Oreo Mochi can cater to gluten-free diets. However, do check the ingredients of the Oreos (or any alternative cookies) you choose, as they may contain gluten. You could also experiment with gluten-free cookie options if you like!
What are some variations I can try for this recipe?
Very much so! You can easily swap out the Oreos for other flavors like vanilla sandwich cookies, chocolate chip cookies, or even matcha cookies for a unique twist. For vegan adaptations, utilize plant-based sugars and non-dairy cookie options. The possibilities are endless, so feel free to get creative with your fillings!

Oreo Mochi Magic: Chewy Dessert Everyone Will Love
Ingredients
Equipment
Method
- In a mixing bowl, whisk together the mochiko, sugar, and water until you have a smooth batter without lumps.
- Transfer the mochi mixture to a microwave-safe bowl, cover, and cook in the microwave for 1 minute. Stir, then return to microwave for another minute; repeat until thickened and slightly translucent, about 4-5 minutes total.
- After cooking, stir in the vanilla extract until evenly incorporated.
- Dust a clean surface with cornstarch, pour the mochi dough onto it, and let cool until manageable.
- Divide the dough into 6 pieces, flatten each, place a spoonful of crushed Oreo in the center, fold edges to create a ball, and roll gently.
- Dust each shaped mochi with cornstarch, place on a plate, and chill in the refrigerator for at least 30 minutes before serving.


