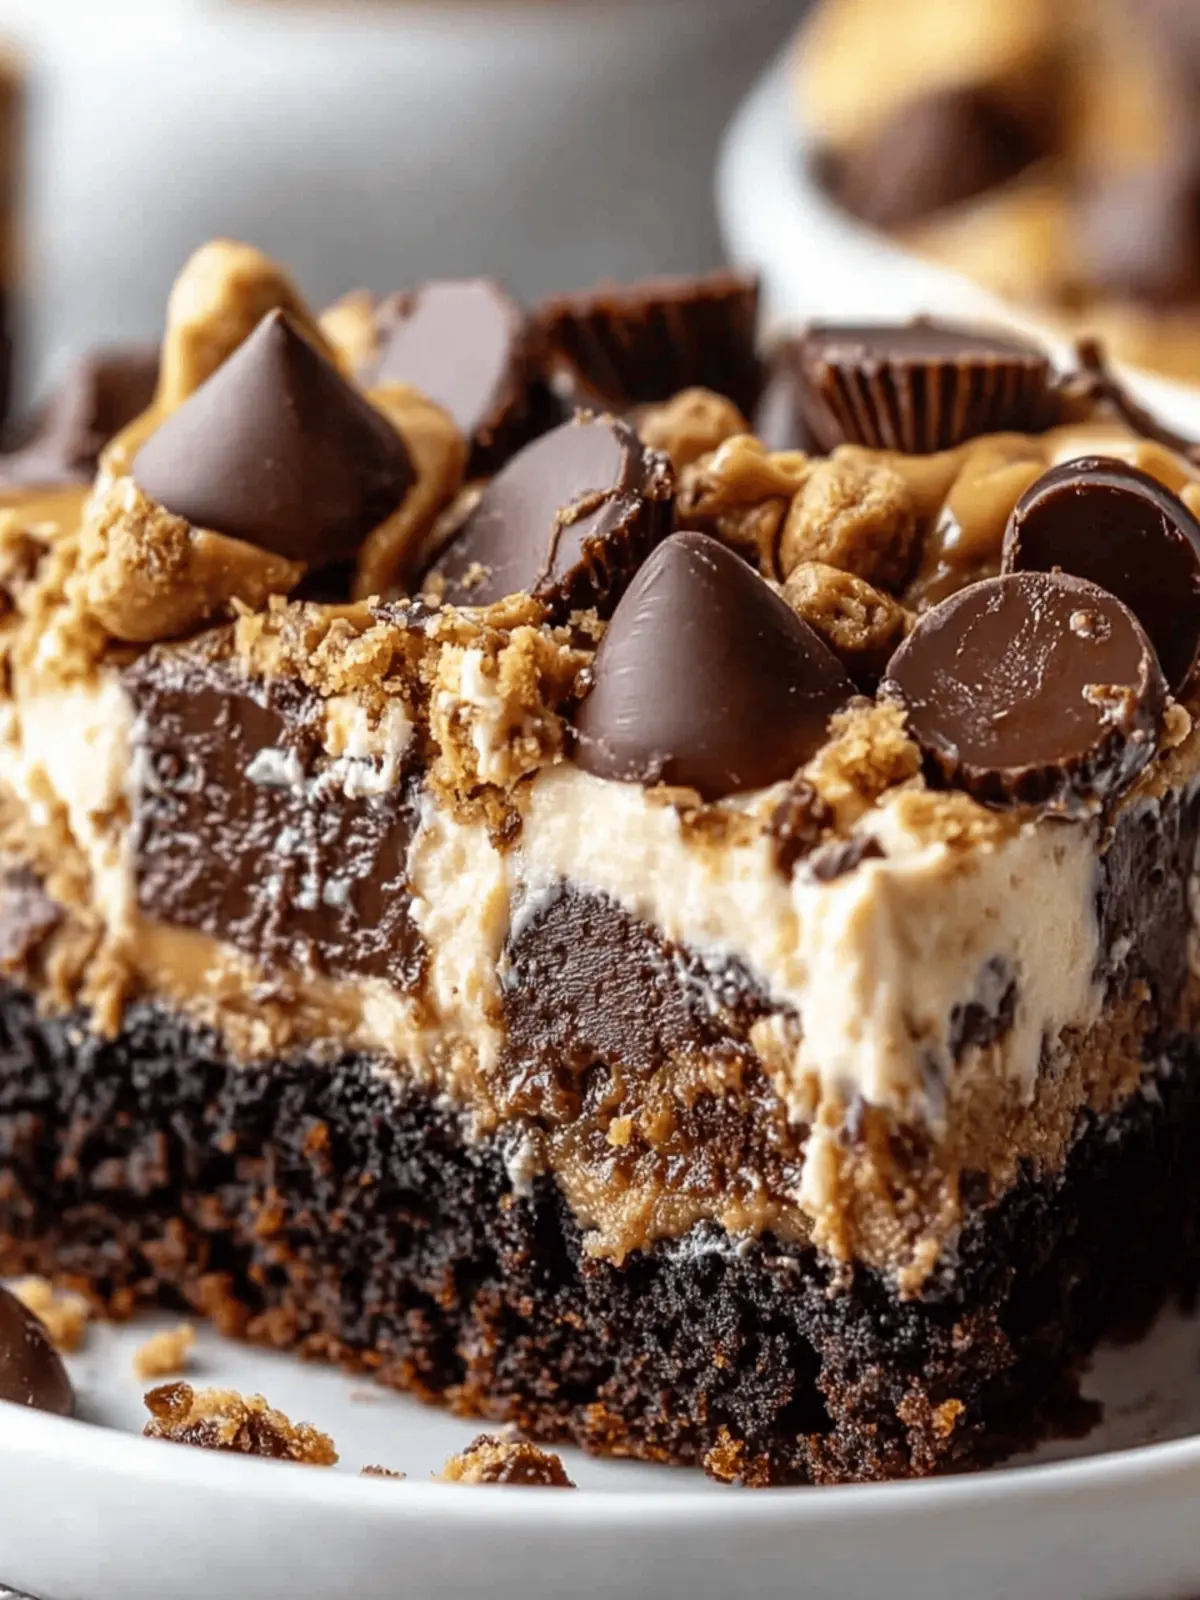
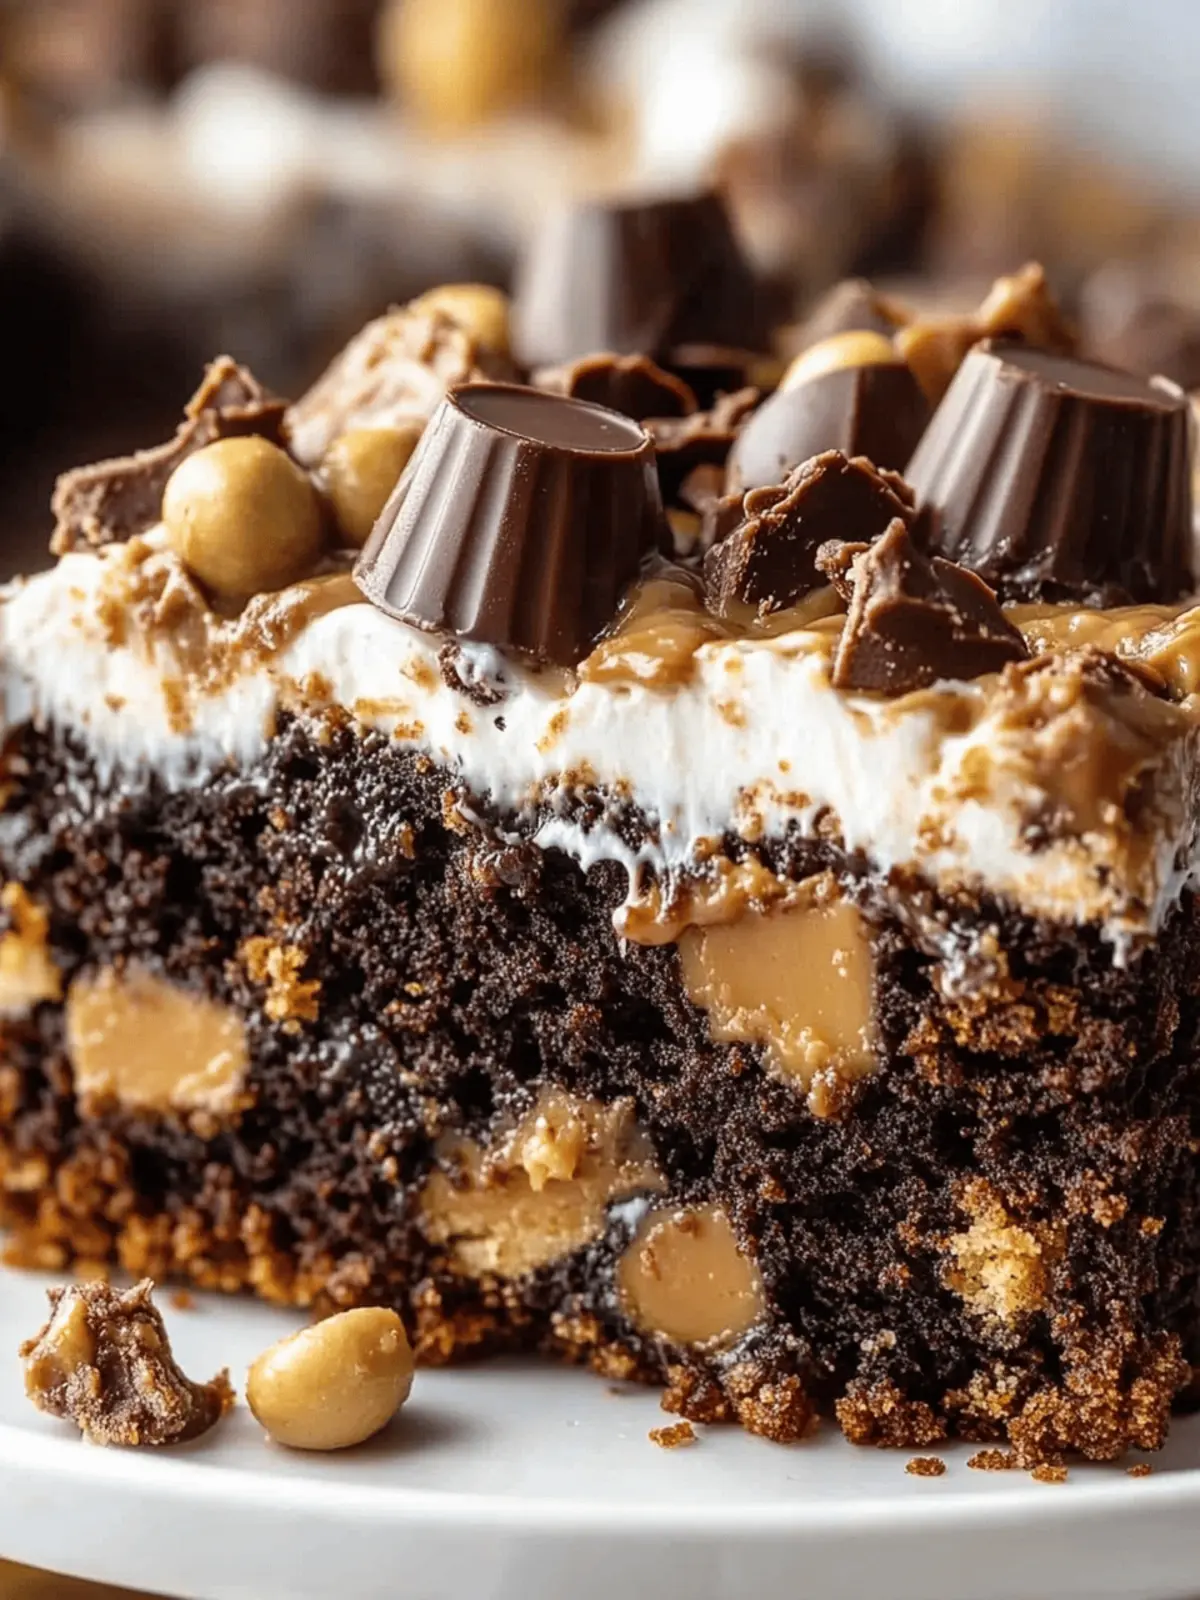
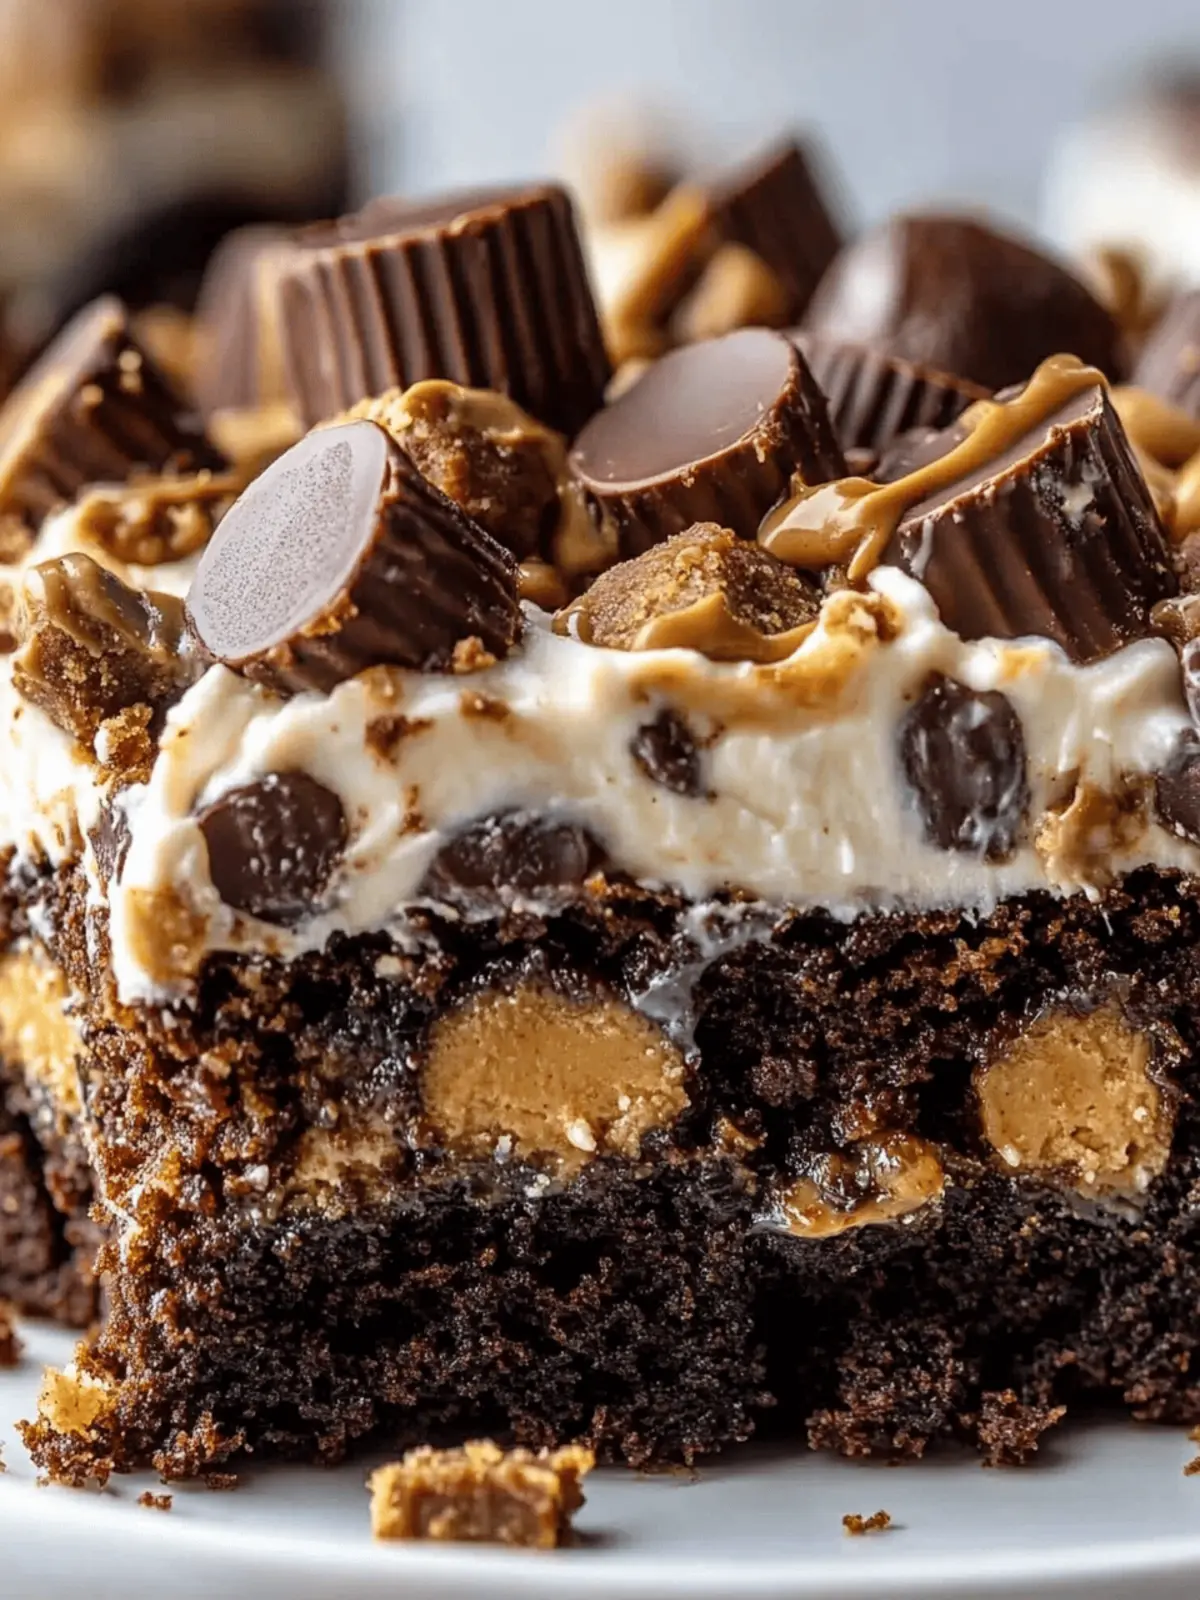
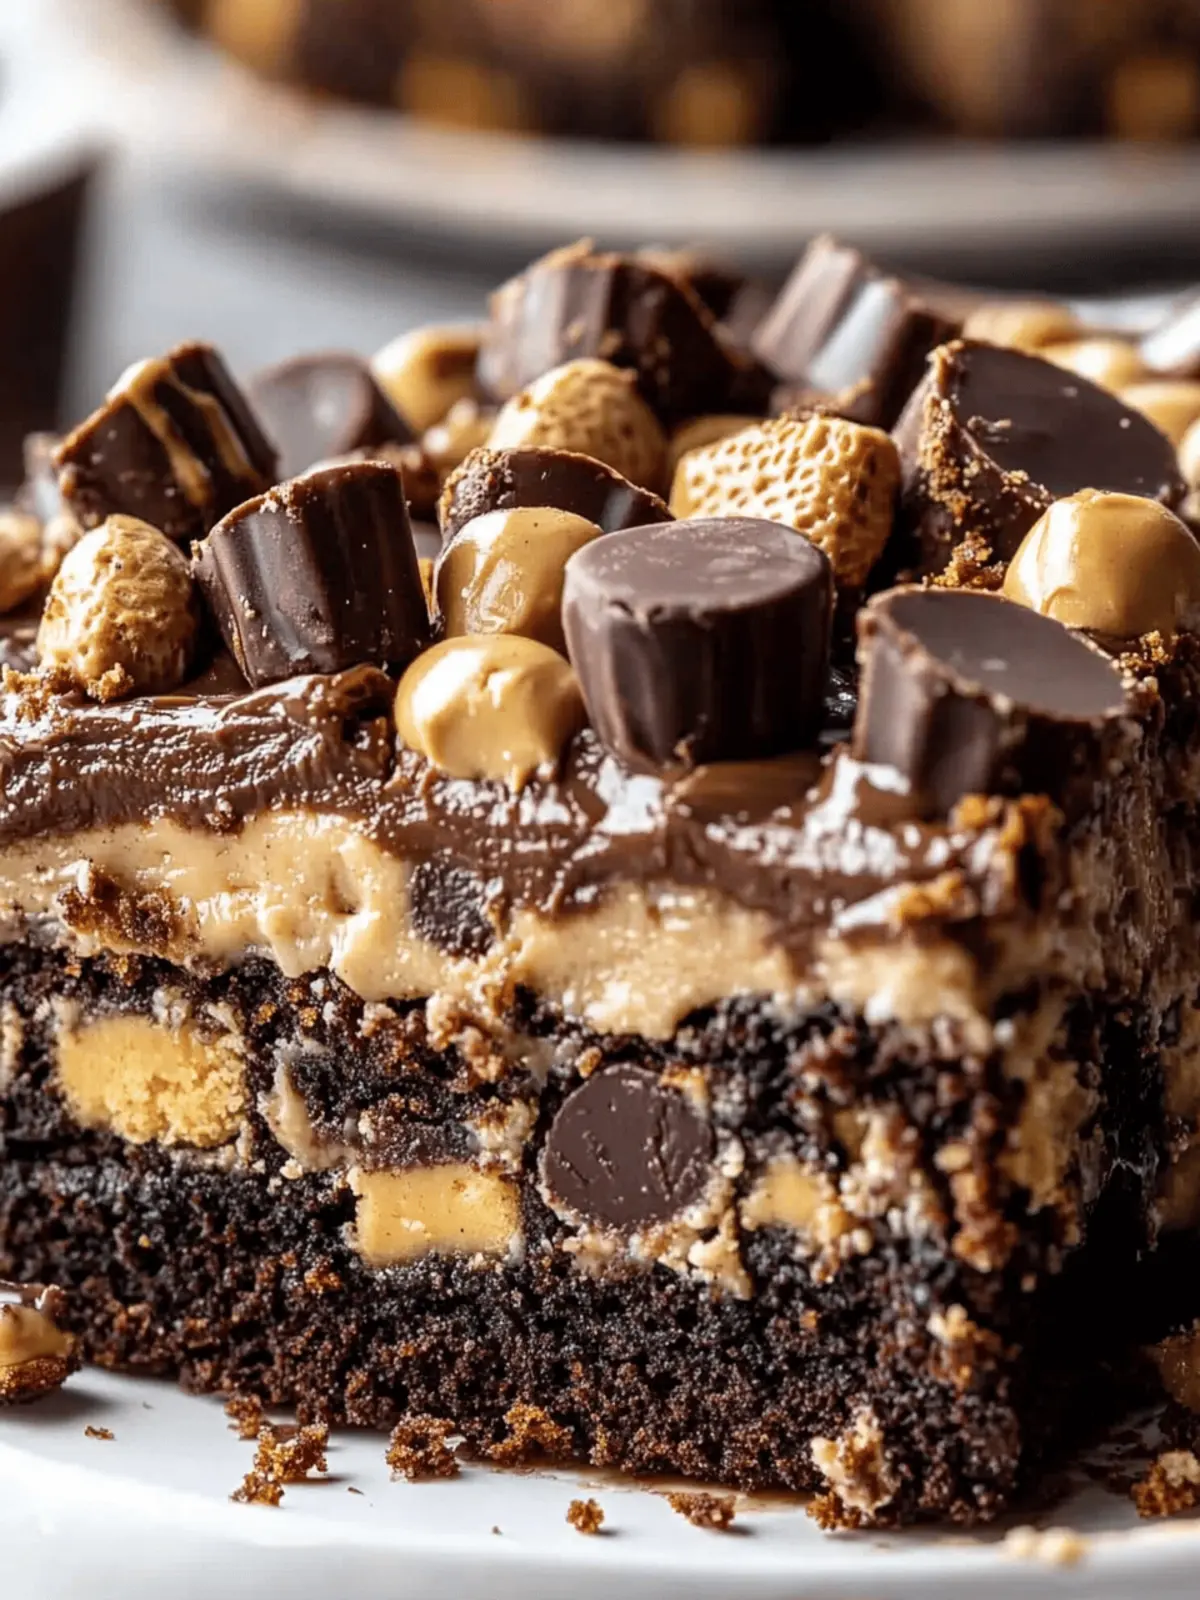
When the craving for something indulgently sweet hits, I often find myself reaching for my go-to comfort dessert: Peanut Butter Cup Dump Cake. This delightfully rich treat is the ultimate combination of chocolate and creamy peanut butter, coming together effortlessly to create a dessert that feels like a warm hug on a plate. The gooey center paired with crispy edges makes it impossibly hard to resist, especially when served warm with a scoop of vanilla ice cream melting over the top.
I vividly recall the day I discovered this recipe while rummaging through my pantry. A stack of peanut butter cups and a bit of cake mix were begging for attention, and what blossomed from that delightful kitchen experiment was simply magical. The best part? It’s as easy as layering your ingredients – no complicated mixing or fussing necessary. Whether you’re gathering with friends for a potluck or simply treating yourself after a long day, this Peanut Butter Cup Dump Cake is sure to brighten your mood and satisfy even the strongest sweet tooth. Plus, it can easily be adjusted to meet dietary needs, ensuring everyone can join in on the dessert love. Get ready to make memories, one gooey bite at a time!
Why is Peanut Butter Cup Dump Cake a Must-Try?
Irresistible sweetness: The combination of chocolate cake mix and sweetened condensed milk creates a rich, gooey dessert everyone will love.
Effortless preparation: With minimal steps required, you won’t have to spend hours in the kitchen, making it perfect for any occasion.
Customizable options: Need nut-free or gluten-free? This recipe easily adapts to various dietary needs without sacrificing taste.
Crowd-pleaser: Serve warm with ice cream, and watch as it disappears at parties and family gatherings—everyone will want a second helping!
With its warm, fudgy goodness and delightful flavor, you’ll find it hard not to grab another slice. If you’re looking for other simple dessert ideas, check out my easy cake recipes that are sure to impress!
Peanut Butter Cup Dump Cake Ingredients
-
For the Cake Layer
• Chocolate Cake Mix (dry) – Forms the foundation of the Peanut Butter Cup Dump Cake; a gluten-free option is available.
• Unsalted Butter (melted) – Adds richness and creates a delightful crisp on top; no substitutions recommended.
• Sweetened Condensed Milk – This magical ingredient creates a gooey texture throughout the cake; no substitutions suggested. -
For the Flavor
• Creamy Peanut Butter – Delivers that luscious peanut flavor and moisture; feel free to swap for crunchy peanut butter for added texture.
• Chopped Peanut Butter Cups – Pack a punch of chocolate and peanut flavor; you can use Reese’s Pieces for a fun twist.
• Milk Chocolate Chips – Enhances chocolatey goodness and melty richness; optional dark chocolate chips add a bolder flavor. -
For Serving
• Whipped Cream or Vanilla Ice Cream – Provides a cool contrast and rounds off the warm, gooey elements of the cake; consider adding sea salt for a delightful sweet-savory touch.
Prepare for a dessert that not only satisfies your sweet cravings but is also sure to become a new family favorite!
How to Make Peanut Butter Cup Dump Cake
-
Preheat Oven: Start by setting your oven to 175°C (350°F). Grease a 9×13-inch baking dish so your cake will come out easily without sticking.
-
Layer Ingredients: Spread a generous layer of creamy peanut butter evenly on the bottom of the prepared baking dish. Sprinkle half of the chopped peanut butter cups on top for delicious bursts of flavor.
-
Add Sweetened Condensed Milk: Pour the sweetened condensed milk over the candy layer, ensuring it covers everything completely for that gooey texture later.
-
Sprinkle Cake Mix: Evenly distribute the dry chocolate cake mix over the top without mixing it in; let the layers stay separate for the ultimate indulgence.
-
Drizzle Butter: Pour the melted unsalted butter across the cake mix, trying to cover as much surface area as possible to achieve a delectable crispiness.
-
Top with Chocolate Chips: Sprinkle the remaining chopped peanut butter cups and a handful of milk chocolate chips on top to maximize chocolatey goodness.
-
Bake: Cook in the preheated oven for 35–40 minutes until bubbly and the edges are slightly crisp. The center should look set but still soft!
-
Cool: Allow your Peanut Butter Cup Dump Cake to cool for 10–15 minutes before serving it warm, letting the gooey goodness come together perfectly.
Optional: Serve with a scoop of vanilla ice cream for a delightful contrast.
Exact quantities are listed in the recipe card below.
Peanut Butter Cup Dump Cake Variations
Feel free to explore these delicious twists and variations that make this recipe truly your own!
-
Nut-Free: Replace peanut butter with sunflower seed butter and choose allergy-friendly chocolates to keep it safe and tasty.
-
Gluten-Free: Use a gluten-free chocolate cake mix to enjoy the same scrumptious flavor without the gluten. This option ensures everyone can indulge!
-
Enhanced Peanut Flavor: Swapping in crunchy peanut butter or adding chocolate peanut butter chips enhances the flavor and texture beautifully. This little twist takes the deliciousness to a whole new level!
-
Extra Chocolatey: Incorporate dark chocolate chips instead of milk chocolate for a richer, more decadent experience. It adds a deep chocolate flavor that pairs beautifully with creamy peanut butter.
-
Caramel Drizzle: Drizzle caramel sauce over the cake before serving for a delightful contrast of flavors that will have everyone coming back for seconds!
-
Berry Blast: Sprinkling in fresh berries like raspberries or strawberries before baking can introduce a refreshing tang that beautifully complements the rich chocolate and peanut butter.
-
Spicy Kick: Add a pinch of cayenne pepper or chili powder to the chocolate cake mix for a surprising heat that balances perfectly with the sweetness.
-
Coffee Infusion: Mix in a tablespoon of instant coffee granules into the cake layer for a mocha-inspired flavor that elevates the chocolate experience into something magical.
Each variation not only adds a unique touch but also invites you to embrace culinary creativity! So gather your ingredients and let your imagination run wild!
Tips for the Best Peanut Butter Cup Dump Cake
-
Room Temperature Ingredients: Ensure your butter and peanut butter are at room temperature for easier spreading and blending without lumps.
-
Layering Matters: Spread the layers evenly to achieve a perfect balance of gooey and crispy textures; don’t skip the sweetened condensed milk layer.
-
Watch the Baking Time: Keep an eye on the cake during baking. If the edges are crisp while the center remains soft, it’s likely done; aim for a golden brown top.
-
Cooling Time: Let your Peanut Butter Cup Dump Cake cool for at least 10 minutes before serving, allowing the gooey center to set without falling apart.
-
Storage Tips: Store leftovers in an airtight container at room temperature for 3 days or refrigerate for up to a week to keep it moist and tasty.
-
Customize Your Toppings: Get creative with toppings! A sprinkle of sea salt or drizzling chocolate sauce can elevate your Peanut Butter Cup Dump Cake experience.
What to Serve with Peanut Butter Cup Dump Cake?
Cozy up with these delightful pairings that will elevate your dessert experience and make your taste buds dance.
-
Vanilla Ice Cream: The classic pairing provides a serene contrast to the warm, gooey cake, melting into every bite for an indulgent treat.
-
Chocolate Drizzle: Drizzling some chocolate syrup amplifies the chocolatey goodness of the cake while adding a touch of elegance to your presentation.
-
Fresh Berries: A handful of raspberries or strawberries adds a bright, tart flavor that beautifully balances the richness of the dump cake, enhancing its overall appeal.
-
Whipped Cream: A light, fluffy dollop brings a creamy, airy texture that complements the dense cake, making each bite extra delightful.
-
Coffee or Espresso: Sipping a warm cup alongside your dessert enhances and enriches the flavors, creating a comforting experience perfect for savoring every moment.
-
Peanut Butter Cups: Simply sprinkle a few extra chopped peanut butter cups on top when serving to ensure every forkful is bursting with that beloved flavor combination.
These pairings create a full sensory experience, taking your Peanut Butter Cup Dump Cake to new heights of deliciousness!
Make Ahead Options
These Peanut Butter Cup Dump Cakes are perfect for busy weeknights or potluck gatherings! You can prepare the layers up to 24 hours in advance, starting with spreading the creamy peanut butter and half of the chopped peanut butter cups in the baking dish. Next, pour the sweetened condensed milk evenly over the layers, and cover the dish tightly with plastic wrap. This ensures everything stays fresh and prevents browning. When you’re ready to bake, simply sprinkle the dry chocolate cake mix on top, drizzle with melted butter, and add the remaining toppings before popping it into the oven. Enjoy restaurant-quality results with minimal effort!
How to Store and Freeze Peanut Butter Cup Dump Cake
-
Room Temperature: Store leftover Peanut Butter Cup Dump Cake at room temperature in an airtight container for up to 3 days to maintain its delightful gooeyness.
-
Fridge: If you prefer a longer storage time, refrigerate the cake in an airtight container for up to 1 week. This helps retain moisture without altering the flavor.
-
Freezer: To freeze, wrap tightly in plastic wrap, then in aluminum foil, and store for up to 3 months. Thaw in the fridge before reheating.
-
Reheating: For the best texture, reheat individual portions in the microwave for 10-15 seconds. This will revive its warm, gooey goodness!
Peanut Butter Cup Dump Cake Recipe FAQs
How do I choose the right peanut butter for this recipe?
Absolutely! The choice between creamy and crunchy peanut butter depends on your texture preference. Creamy provides a smooth consistency, while crunchy adds delightful bites of texture. For a nut-free option, sunflower seed butter works beautifully without compromising on taste!
What is the best way to store leftover Peanut Butter Cup Dump Cake?
To store your Peanut Butter Cup Dump Cake, place it in an airtight container at room temperature for up to 3 days. If you want to keep it fresh longer, refrigerating it for up to a week is ideal. This helps maintain that moist, gooey goodness we all love.
Can I freeze Peanut Butter Cup Dump Cake?
Yes, you can! To freeze this delicious treat, wrap the entire cake tightly in plastic wrap and then in aluminum foil. Mark the date and store it in the freezer for up to 3 months. When you’re ready to enjoy it, simply thaw it in the fridge overnight, then reheat in the microwave for that fresh-out-of-the-oven feel!
What should I do if my cake isn’t baking evenly?
Very! If you notice that the edges of the cake are crispy while the center is still gooey, don’t worry. It’s essential to check your oven temperature, as it may run hot or cold. To ensure even baking, you can rotate your cake halfway through the baking time for consistent results.
Is this recipe safe for people with nut allergies?
Absolutely! For nut-free variations, simply replace the creamy peanut butter with sunflower seed butter and use allergy-friendly chocolates to ensure everyone can dig in without worry. Always double-check ingredient labels, especially for pre-packaged items!
How can I enhance the flavors of my Peanut Butter Cup Dump Cake?
For an extra flavor boost, consider adding a sprinkle of sea salt on top before serving. This sweet-savory combo elevates the cake’s overall taste! Additionally, feel free to mix in chocolate peanut butter chips or a drizzle of melted chocolate for even more decadence.

Peanut Butter Cup Dump Cake: A Gooey Chocolate Dream
Ingredients
Equipment
Method
- Preheat your oven to 175°C (350°F) and grease a 9×13-inch baking dish.
- Spread a layer of creamy peanut butter evenly on the bottom of the baking dish. Sprinkle half of the chopped peanut butter cups on top.
- Pour the sweetened condensed milk over the candy layer, ensuring complete coverage.
- Evenly distribute the dry chocolate cake mix on top without mixing.
- Pour the melted unsalted butter across the cake mix.
- Sprinkle the remaining chopped peanut butter cups and milk chocolate chips on top.
- Bake for 35–40 minutes until bubbly and edges are slightly crisp.
- Allow the cake to cool for 10–15 minutes before serving warm.


