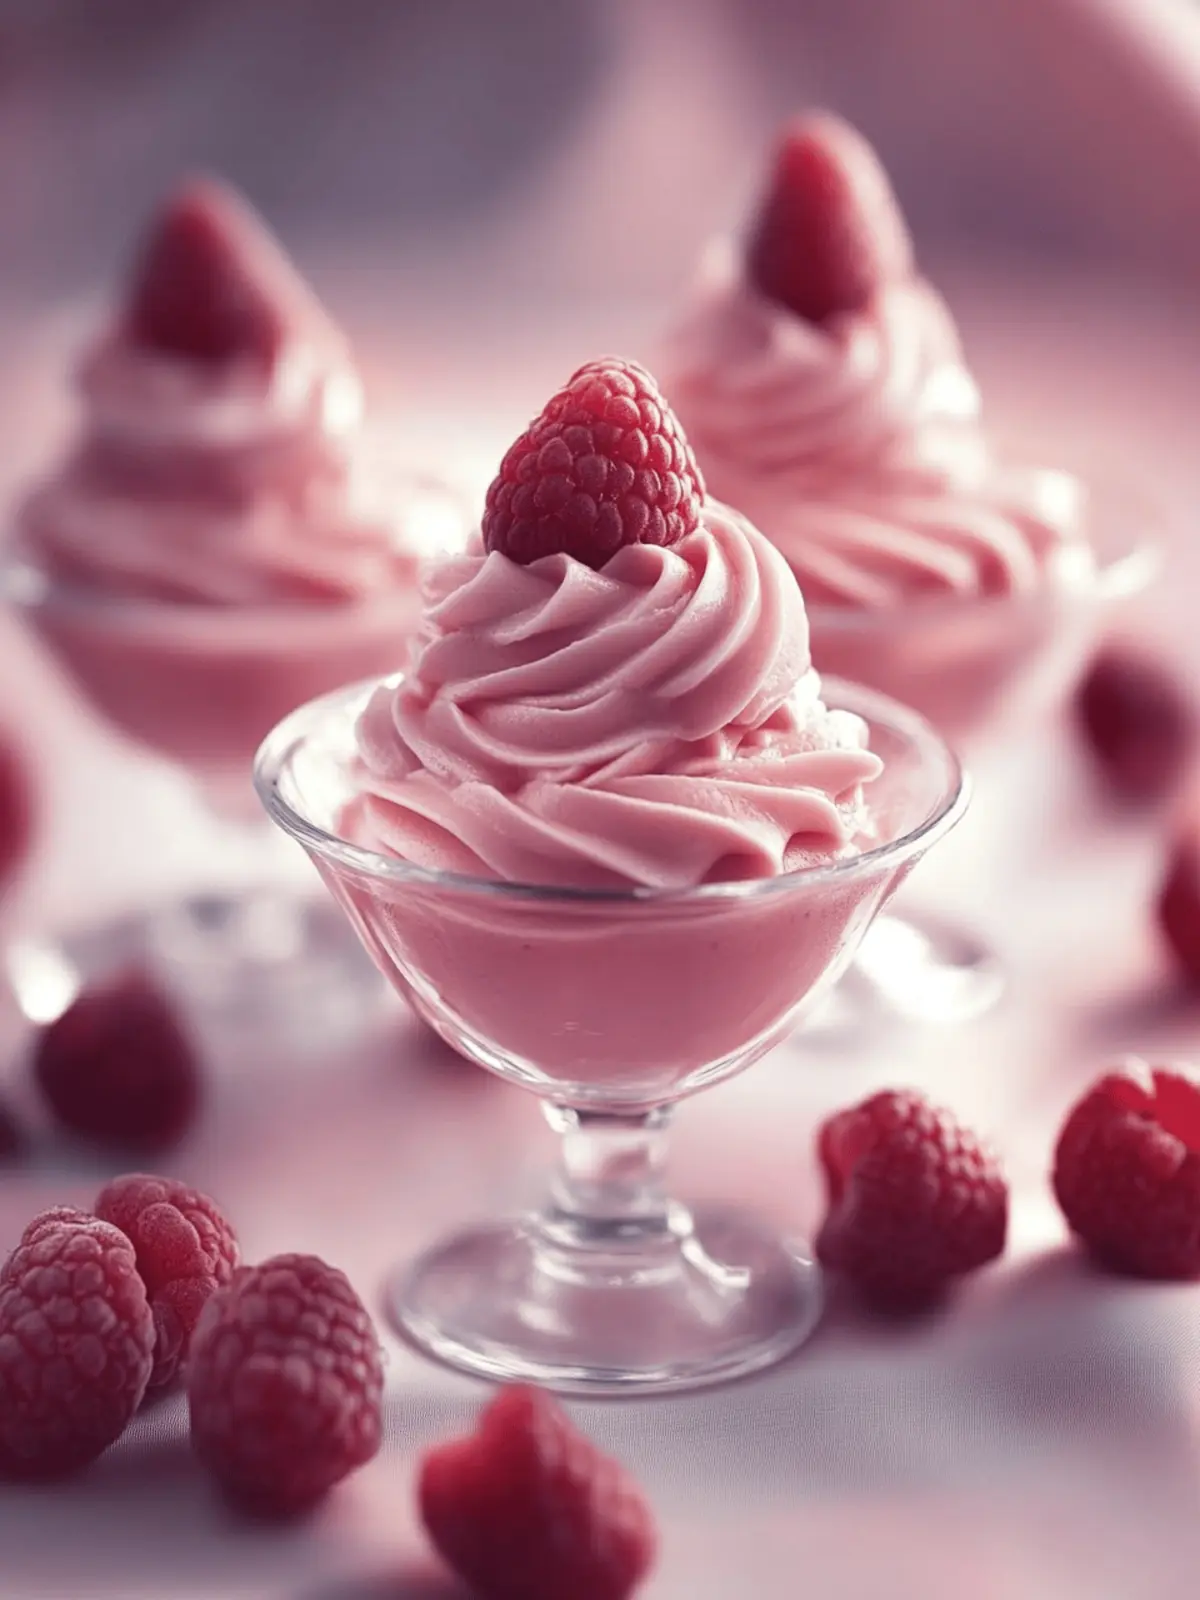
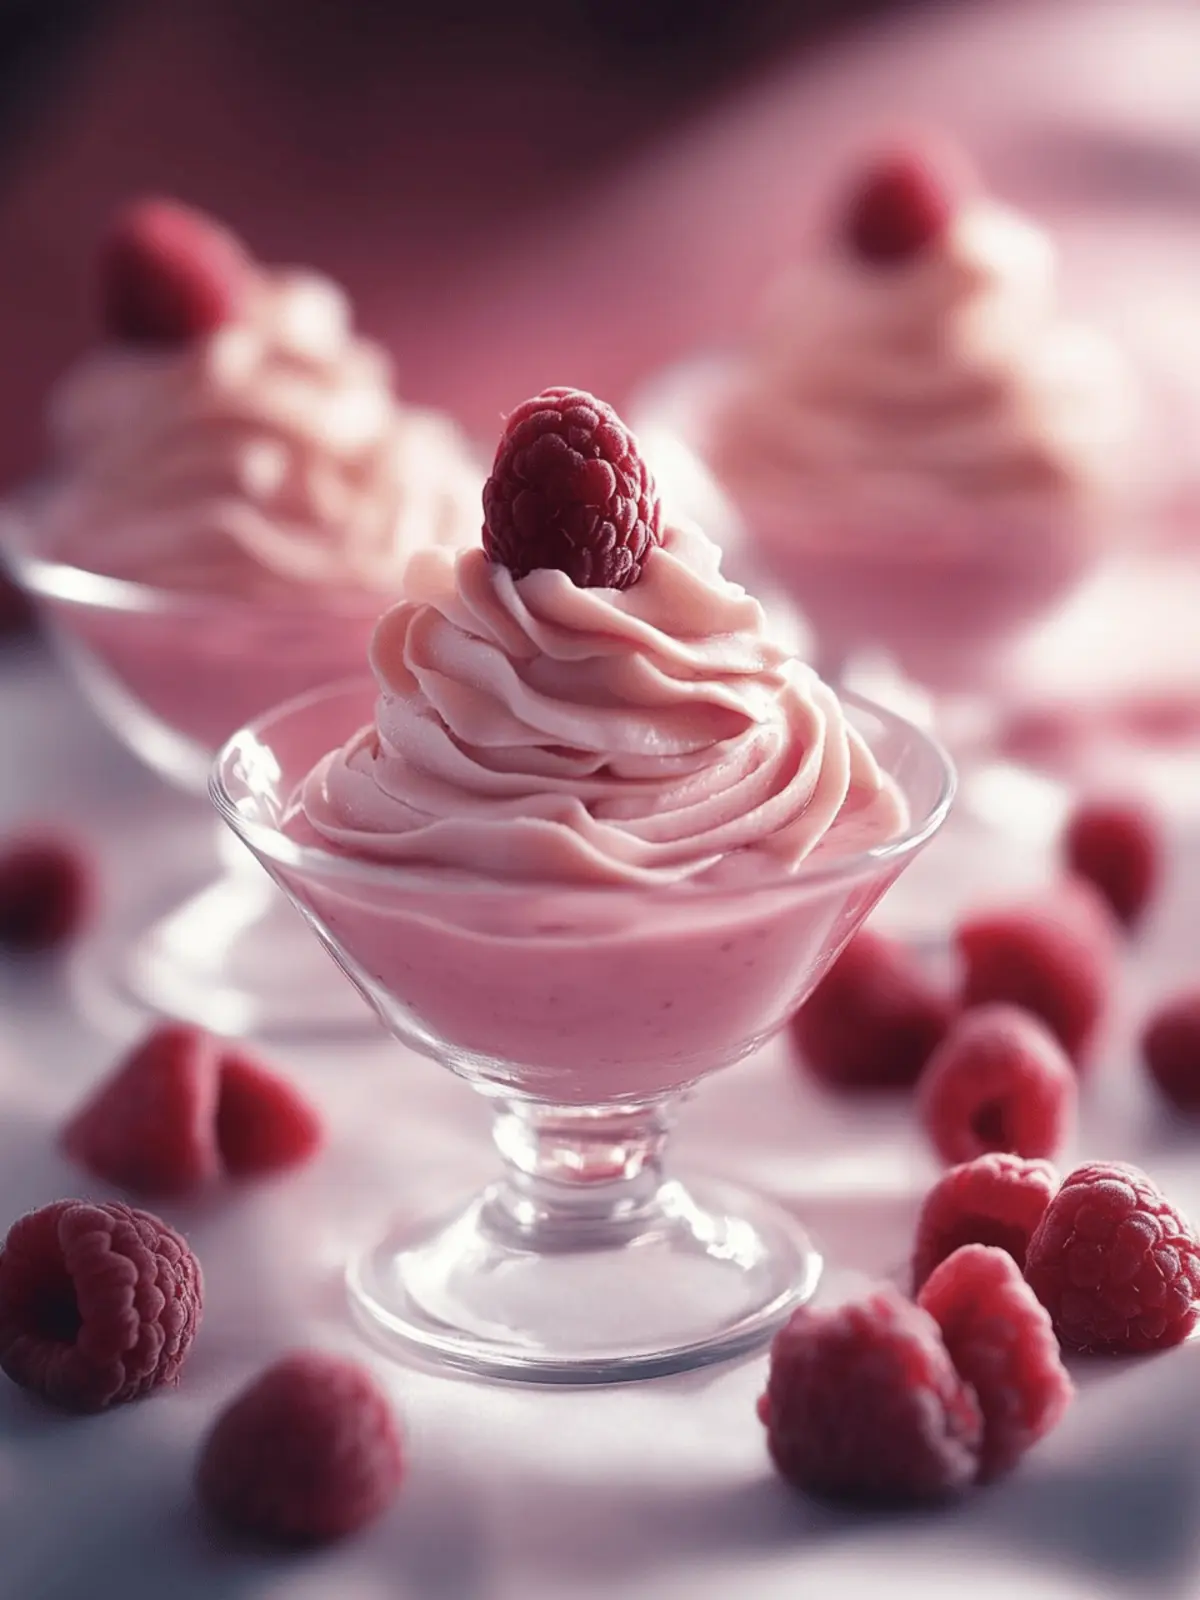
The first time I indulged in Raspberry Mousse, I was taken aback by its ethereal lightness and burst of fresh flavor. Imagine a dessert that dances on your palate, effortlessly melding the tartness of ripe raspberries with a creamy, airy texture. Perfect for those moments when you want to impress without the fuss, this no-bake treat comes together in mere minutes, making it an ideal finish for dinner parties or cozy family gatherings.
As the vibrant color of the raspberries catches your eye, this elegant dessert simultaneously caters to gluten-free and make-ahead needs. What’s even better is how easily it adapts—dairy-free options, sugar substitutes, and different fruits can be woven into the recipe, ensuring it pleases every guest regardless of dietary preferences. Whether you’re an experienced chef or someone simply seeking to elevate their home-cooked repertoire, this Raspberry Mousse is sure to become a treasured addition to your dessert arsenal. Welcome to a dessert experience that’s as delightful to prepare as it is to share!
Why is Raspberry Mousse a Must-Try Dessert?
Indulgence Awaits: This Raspberry Mousse offers a taste experience unlike any other, where sweetness meets tartness in perfect harmony.
No-Bake Simplicity: Whip it up in just minutes, saving you time while impressing your guests.
Crowd-Pleaser: The vibrant color and elegant presentation make it an eye-catching centerpiece at any gathering.
Dietary Flexibility: Easily adaptable for various diets—dairy-free, sugar-free, and more—making it accessible to all.
Make-Ahead Convenience: Perfect for planning ahead as it can be prepared in advance and stored effortlessly.
Unforgettable Flavor: Each bite delivers a burst of raspberry bliss that’s sure to leave everyone wanting more!
Raspberry Mousse Ingredients
For the Mousse
• Fresh Raspberries – The star flavor; swap with strawberries or blackberries for a different twist.
• Lemon Juice – Adds a zesty kick; lime juice works well for a tangier taste.
• Granulated Sugar – Sweetens the raspberry purée; try honey or a sugar alternative for a sugar-free option.
• Powdered Sugar – Lightly sweetens the whipped cream; omit if you prefer a less sweet dessert.
• Unflavored Gelatin Powder – Essential for setting the mousse; consider agar-agar for a vegan version.
• Cold Water – Activates gelatin; ensure it’s measured accurately.
• Heavy Whipping Cream – Gives the mousse its rich creaminess; use coconut cream for a dairy-free option.
• Vanilla Extract – Enhances the overall flavor; fresh vanilla bean offers a richer taste profile.
For Garnishing
• Fresh Mint Leaves – Lend a pop of color and freshness to the presentation.
• Chocolate Shavings – Add a touch of indulgence and visual contrast.
• Additional Berries – Scatter more fruits for a vibrant finish and extra flavor.
With these ingredients on hand, you’re just moments away from creating a luscious Raspberry Mousse that’s bound to impress!
How to Make Raspberry Mousse
-
Bloom Gelatin: In a small bowl, mix 1 tsp of gelatin with 2 tbsp of cold water and let it stand for 5 minutes. This will allow the gelatin to hydrate, ensuring a smooth texture for your mousse.
-
Cook Raspberry Purée: In a saucepan, combine 2 cups of fresh raspberries, ¼ cup of granulated sugar, and 1 tbsp of lemon juice. Heat over medium until the mixture breaks down and the sugar dissolves—about 5-7 minutes. Remove from heat and whisk in the bloomed gelatin until it’s fully dissolved.
-
Strain & Cool: Strain the raspberry mixture through a fine sieve into a bowl to remove seeds. Allow it to cool to room temperature, which should take around 20 minutes. This ensures the gelatin sets properly later.
-
Whip the Cream: In a chilled bowl, whip 1 cup of heavy whipping cream, 2 tbsp of powdered sugar, and ½ tsp of vanilla extract until soft peaks form. A well-chilled bowl helps achieve maximum volume in the cream.
-
Fold & Fill: Gently fold one third of the cooled raspberry purée into the whipped cream, and then fold in the remaining purée in two additions. Be gentle to maintain the airiness of the mousse. Divide the mixture among serving glasses or ramekins.
-
Chill to Set: Cover and refrigerate for at least 2 hours, or preferably overnight, until the mousse is firm and well-chilled. This final chilling will enhance the flavors and help create a delightful texture.
Optional: Garnish with fresh mint leaves or chocolate shavings just before serving for an extra touch of elegance.
Exact quantities are listed in the recipe card below.
Raspberry Mousse Variations
Feel free to explore your creativity with this delightful dessert while finding the perfect twist for your taste buds!
-
Dairy-Free: Substitute heavy cream with coconut cream for a rich flavor that fits into vegan diets. The creamy texture persists, giving you a tropical flair!
-
Sugar-Free: Use a sugar alternative like agave syrup or stevia to sweeten the raspberry purée. This way, you can enjoy the dessert without the added sugar!
-
Fruit Twist: Swap raspberries for strawberries or blueberries to create a whole new flavor profile. Each fruit brings its own personality—explore them all!
-
Boozy Option: Add 1-2 tablespoons of Chambord or any berry liqueur for an adult-friendly variation. This touch can elevate the mousse into a sophisticated treat.
-
Layered Delight: Create layers of mousse and crushed meringues or sponge cake in glass bowls. Each spoonful becomes a new adventure with textures and flavors joining forces!
-
Chocolate Lovers: Fold in melted dark chocolate into the raspberry mixture for a decadent chocolate-raspberry fusion. This luscious blend will have everyone swooning.
-
Frozen Pops: Pour your mousse mixture into popsicle molds and freeze them for a refreshing summer treat. These frozen delights are perfect for warm days.
-
Nutty Crunch: Top your mousse with crushed nuts or granola for added texture and a delightful crunch that contrasts the creamy smoothness beautifully.
How to Store and Freeze Raspberry Mousse
Fridge: Store your raspberry mousse covered in the refrigerator for up to 2 days. If it seems a bit deflated before serving, gently stir to revive its airy texture.
Freezer: While it’s best enjoyed fresh, you can freeze the mousse in airtight containers for up to 1 month. Thaw it in the fridge overnight before serving to retain its silky texture.
Reheating: Avoid reheating raspberry mousse, as it could compromise its lightness. Instead, serve it chilled, straight from the fridge for the best experience.
Make-Ahead: Feel free to assemble your raspberry mousse up to 24 hours in advance. Just ensure it’s covered properly to maintain freshness.
Make Ahead Options
These Raspberry Mousse cups are perfect for meal prep enthusiasts looking to save time without sacrificing flavor! You can prepare the raspberry purée and whip the cream up to 24 hours in advance; simply store them separately in the refrigerator. To maintain the mousse’s airy texture and prevent any separation, keep the purée covered tightly. When you’re ready to serve, gently fold the raspberry purée into the whipped cream, and distribute them into serving glasses. Then, let the mixture chill for at least 2 hours to set. With this make-ahead strategy, you’ll have a stunning dessert ready to impress your guests with minimal effort!
Expert Tips for Raspberry Mousse
• Chill Bowls & Beatters: Make sure your mixing bowl and beaters are chilled for whipping the cream; this maximizes volume and creates a fluffy texture.
• Taste the Purée: Before adding sugar to the raspberry purée, taste it first. Raspberries can vary in sweetness, so adjust your sugar accordingly.
• Cooling is Key: To ensure the mousse sets correctly, allow the raspberry mixture to cool completely before mixing in the gelatin. Fresh gelatin is essential for proper setting.
• Gentle Folding: When combining the whipped cream and raspberry purée, fold gently. This preserves the airiness and lightness of the mousse, creating that delightful texture.
• Make-Ahead Magic: Prepare your mousse a day in advance for best results. It can be refrigerated for up to two days without losing quality, making this raspberry mousse a great make-ahead dessert.
What to Serve with Raspberry Mousse?
Dive into a delightful dining experience that elevates your dessert to new heights, making every bite unforgettable.
-
Fresh Berry Salad: A medley of strawberries, blueberries, and blackberries adds freshness and a delightful crunch, balancing the creamy mousse beautifully.
-
Chocolate Shavings: These add a touch of luxury to each serving while enhancing the overall flavor, creating a rich contrast to the tart raspberries.
-
Whipped Cream: A dollop of plain or flavored whipped cream complements the mousse’s lightness, providing an additional creamy layer that’s simply irresistible.
-
Crisp Cookies: Serve with thin, buttery cookies like langue de chat or tuile for a delightful textural contrast, perfect for scooping up the mousse.
-
Sparkling Wine: A glass of bubbly pairs splendidly, adding a fun effervescence that lifts the flavors, making your dessert experience even more celebratory.
-
Mint Leaves: Fresh mint not only garnishes the dish beautifully but also enhances the flavors, adding a refreshing twist that brightens each bite of raspberry mousse.
Embrace the variety of these pairings to create a complete, deliciously engaging meal that celebrates the vibrant essence of raspberry mousse!
Raspberry Mousse Recipe FAQs
How do I choose fresh raspberries?
Absolutely! Look for bright, plump raspberries that are firm to the touch. Avoid any berries with dark spots all over, as these may indicate overripeness or spoilage. If you can, try to buy them at a local farmers’ market when they’re in season for the best flavor.
How should I store leftover raspberry mousse?
To keep your mousse fresh, store it covered in the refrigerator for up to 2 days. If you find it has lost some of its airy texture, just gently stir it before serving to revive that delightful fluffiness.
Can I freeze raspberry mousse?
Yes! While it’s best enjoyed fresh, you can freeze raspberry mousse for up to 1 month. Scoop the mousse into airtight containers or freezer bags, then thaw it in the fridge overnight before serving. Just remember, freezing may alter the texture slightly, so it’s always a treat best enjoyed fresh.
What if my mousse doesn’t set properly?
No worries! If your mousse doesn’t set, it may be due to the raspberry mixture being too warm when the gelatin was added. Ensure the purée cools to room temperature before incorporating the gelatin. Check that your gelatin is fresh and properly bloomed in cold water as well. If the issue persists, consider increasing the gelatin amount slightly on your next attempt.
Is raspberry mousse suitable for dietary restrictions?
Very! This dessert is naturally gluten-free and can easily be modified to accommodate different diets. For a dairy-free option, simply replace the heavy whipping cream with coconut cream. You can also use honey or sugar alternatives to make it sugar-free. Plus, feel free to swap raspberries for other berries like strawberries or blackberries if allergies are a concern.
Can I make the mousse ahead of time?
Yes, you can! I often prepare my raspberry mousse up to 24 hours in advance. Just be sure to cover it properly to maintain its freshness before refrigerating. This makes it an ideal choice for dinner parties or when you just want dessert ready to go!

Decadent Raspberry Mousse: No-Bake Bliss for Any Occasion
Ingredients
Equipment
Method
- Bloom Gelatin: In a small bowl, mix 1 tsp of gelatin with 2 tbsp of cold water and let it stand for 5 minutes.
- Cook Raspberry Purée: In a saucepan, combine 2 cups of fresh raspberries, 1/4 cup of granulated sugar, and 1 tbsp of lemon juice. Heat over medium until the mixture breaks down and the sugar dissolves, about 5-7 minutes. Remove from heat and whisk in the bloomed gelatin.
- Strain & Cool: Strain the raspberry mixture through a fine sieve into a bowl to remove seeds. Allow it to cool to room temperature, about 20 minutes.
- Whip the Cream: In a chilled bowl, whip 1 cup of heavy whipping cream, 2 tbsp of powdered sugar, and 1/2 tsp of vanilla extract until soft peaks form.
- Fold & Fill: Gently fold one third of the cooled raspberry purée into the whipped cream, then fold in remaining purée in two additions.
- Chill to Set: Cover and refrigerate for at least 2 hours, or preferably overnight.
- Optional: Garnish with fresh mint leaves or chocolate shavings before serving.
