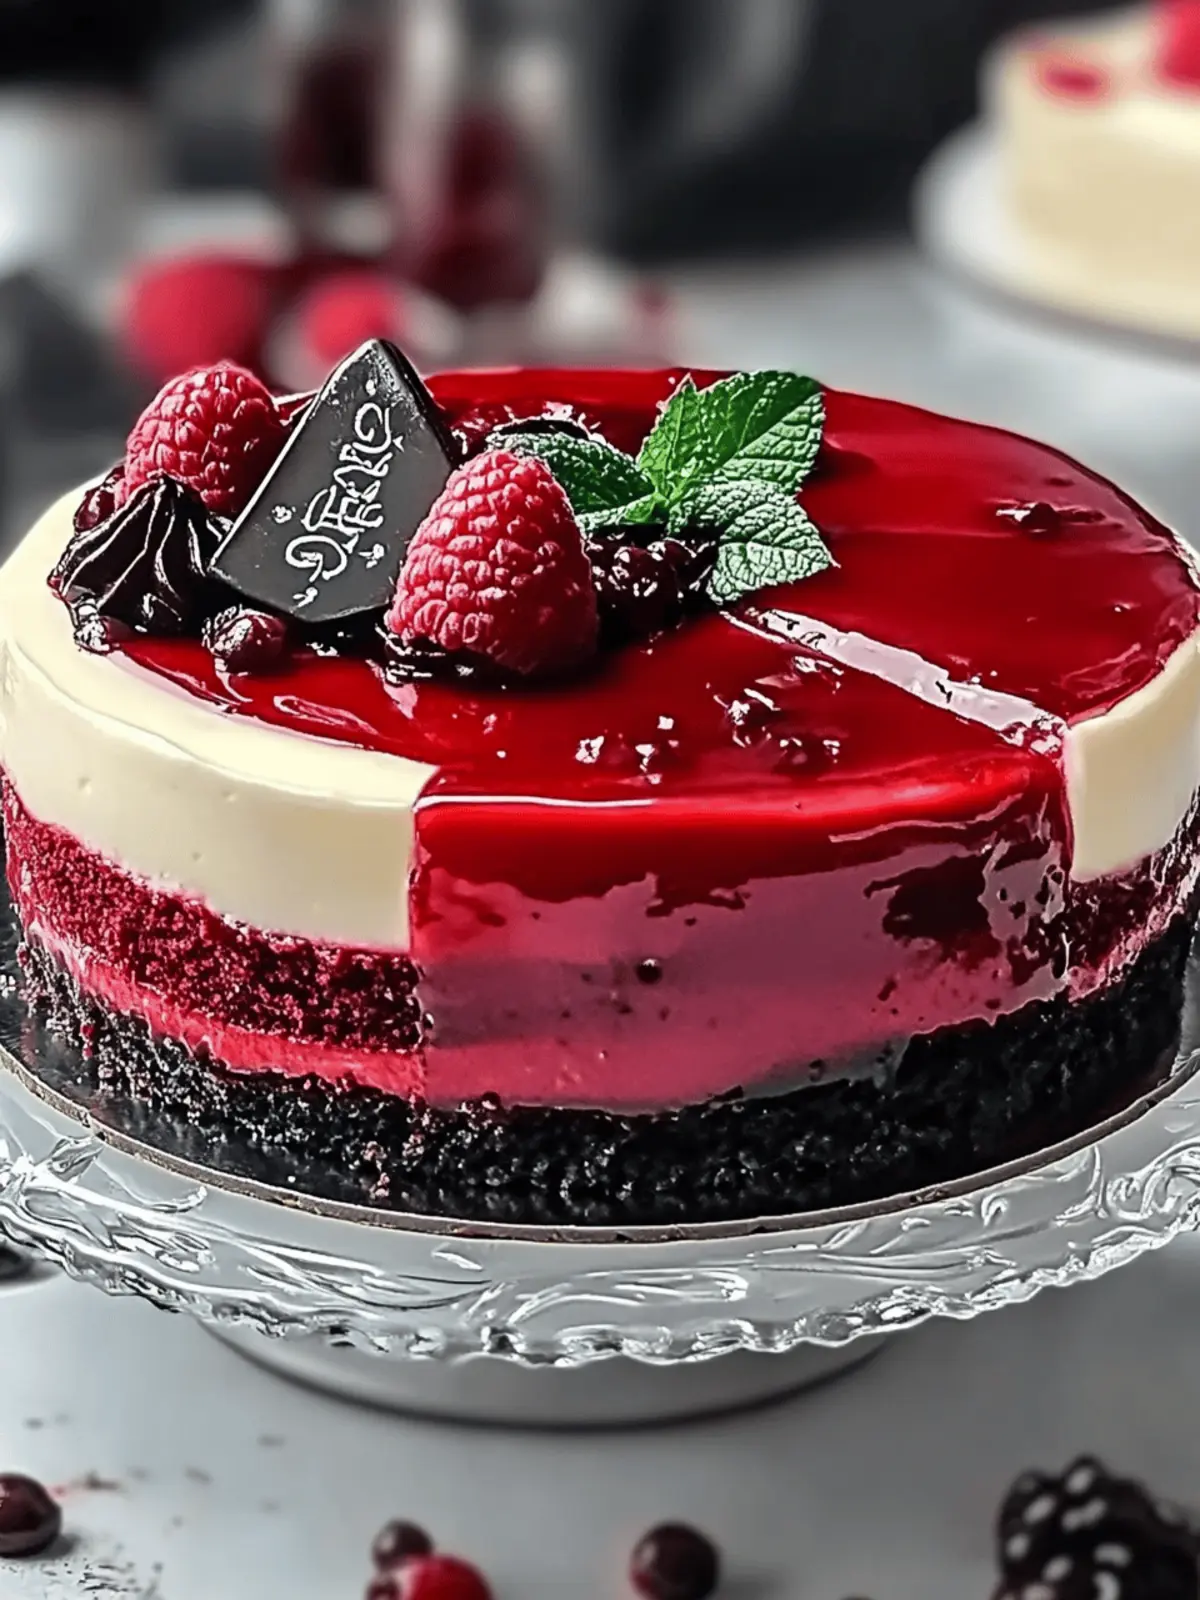
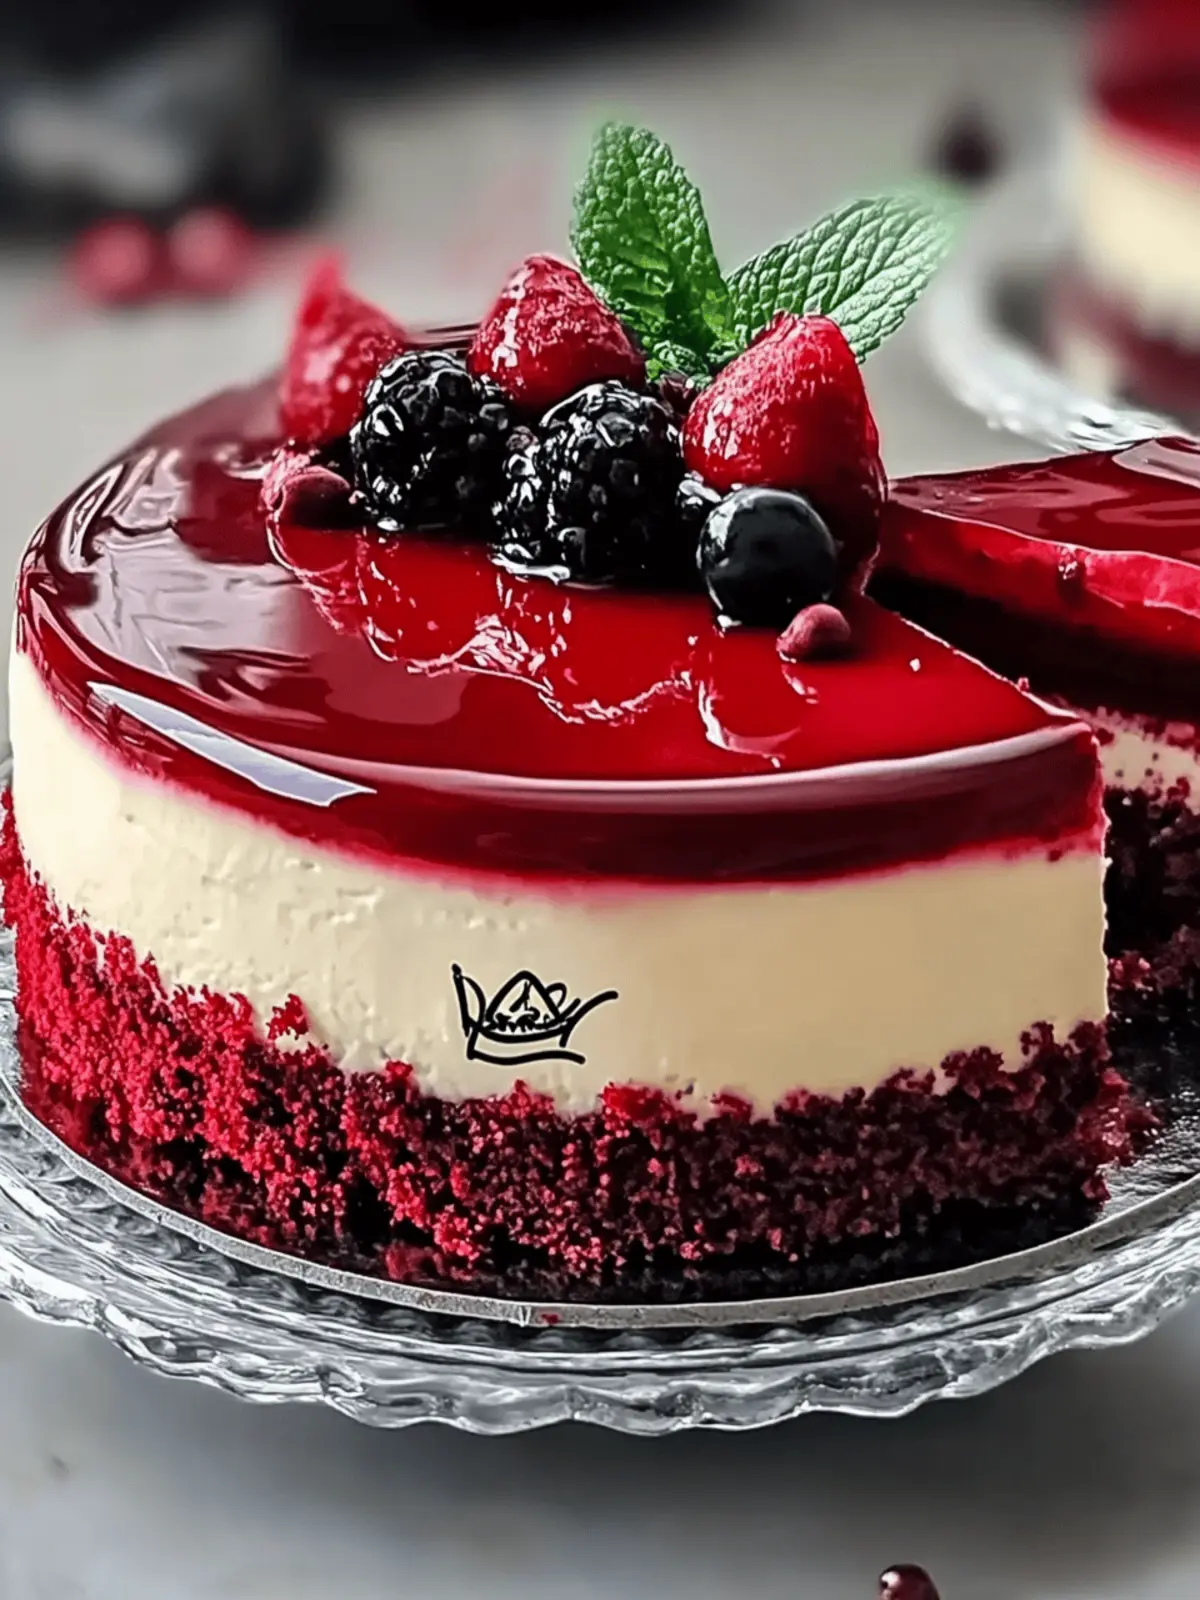
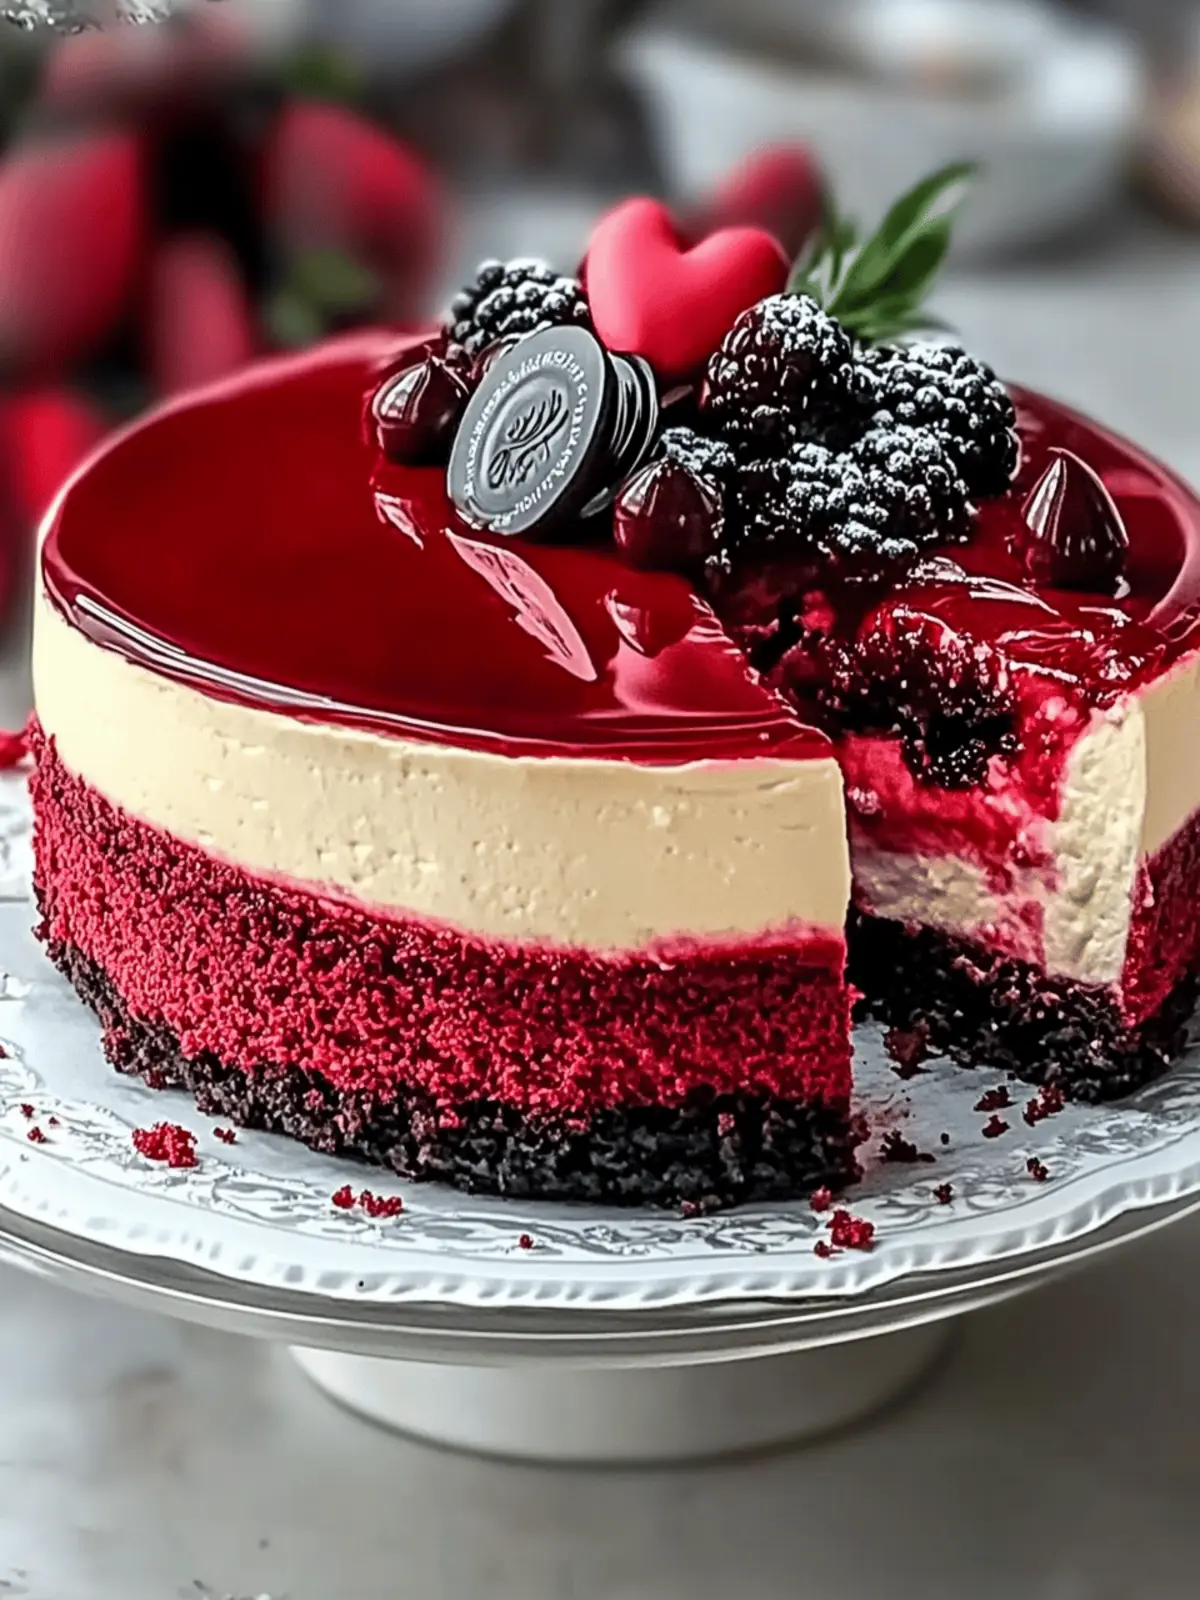
There’s a certain joy that fills the kitchen when you whip up something as show-stopping as a Red Velvet Cheesecake. Picture this: the deep crimson color glistening against the rich creaminess of the Oreo cheesecake filling, craftily layered to create a spectacular dessert that not only dazzles the eyes but also tantalizes the taste buds. This indulgent treat perfectly balances the classic flavors of red velvet with the nostalgic crunch of Oreos, making it the star of any celebration—whether it’s a birthday bash or a cheerful holiday gathering.
After a long week of fast food takeout, I craved something special, and this dessert exceeded my expectations. It’s an impressive addition to your dessert repertoire, guaranteed to wow your friends and family. Plus, with the option of a gluten-free substitute, everyone can share in the delight! So let’s dive into this luscious recipe that promises to elevate your cooking game and bring smiles all around.
Why is Red Velvet Cheesecake a Must-Try?
Ultimate Showstopper: The vibrant red and creamy layers will leave your guests in awe.
Deliciously Unique: Merging two favorites—Oreo and red velvet—creates a flavor explosion that’s hard to resist.
Customizable: Easily switch to a gluten-free blend, so everyone can indulge.
Elevated Experience: Impress at parties or cozy family dinners with this visually stunning dessert.
Saves Time: Prep and bake in a breeze, making it perfect for those busy nights.
With all these reasons, this isn’t just any dessert; it’s a celebration on a plate!
Red Velvet Cheesecake Ingredients
For the Cake
• All-Purpose Flour – Provides structure; substitute with a gluten-free flour blend for a gluten-free version.
• Cocoa Powder – Adds chocolate flavor and depth to the cake.
• Salt – Enhances overall flavor and balances sweetness.
• Butter – Contributes richness and moisture; use unsalted for better control over salt levels.
• Granulated Sugar – Sweetens the cake and helps achieve the perfect texture.
• Sour Cream – Adds a delightful tanginess and moisture to the cake.
• Vegetable Oil – Keeps the cake moist and tender.
• Vanilla Extract – Enhances the flavor profile and complements the other ingredients.
• Eggs – Provide binding and structure; use room temperature for better mixing.
• Red Food Coloring – Gives the cake its iconic red hue.
• Buttermilk – Adds moisture and acidity for a tender crumb.
• Baking Soda & Vinegar – Work together as leavening agents for a light and fluffy cake.
For the Cheesecake Filling
• Oreos – Crushed Oreos introduce flavor and texture to the cheesecake filling.
• Cream Cheese – The creamy base for the cheesecake; use full-fat for the best results.
• Cornstarch – Stabilizes the filling to prevent cracking.
• Granulated Sugar – Sweetens the filling perfectly.
• Sour Cream – Adds creaminess and a subtle tang.
• Vanilla Extract – Enhances the overall flavor of the cheesecake.
• Eggs – Provide essential binding for the filling; ensure they’re at room temperature for optimal mixing.
For the Ganache
• Heavy Cream – Used to create a rich ganache; adds luxurious texture.
• Dark Chocolate Chips – Forms the ganache topping, delivering a rich chocolate flavor to finish off the cheesecake beautifully.
This Red Velvet Cheesecake is not just a treat for the palate; it’s a visual masterpiece that promises to elevate any gathering.
How to Make Red Velvet Cheesecake
-
Preheat the oven to 350°F. Prepare a 9-inch springform pan and an 8-inch round cake pan by lining them with parchment paper and spraying with non-stick spray. This ensures easy removal later!
-
Whisk together the flour, cocoa powder, and salt in a mixing bowl. This dry mix forms the foundation for your cake, so make sure it’s combined well.
-
Cream the butter and granulated sugar together until fluffy and light in color. Add in the sour cream, vegetable oil, vanilla extract, eggs, and red food coloring, mixing until fully incorporated.
-
Combine the dry ingredients with the wet ingredients, alternating with buttermilk. Mix in the baking soda and vinegar until just combined, ensuring not to overmix.
-
Divide the batter evenly between the prepared pans. Bake the cake layers for 18-20 minutes until they spring back lightly when touched. Cool them fully on wire racks.
-
Prepare your cheesecake filling by crushing the Oreos into fine crumbs. In a separate bowl, beat the cream cheese until smooth, then mix in the Oreo crumbs, sugar, cornstarch, sour cream, vanilla, and eggs until creamy.
-
Fold in the remaining crushed Oreos into the cheesecake mixture. Carefully pour this over the cooled red velvet layers in the springform pan, spreading it evenly.
-
Bake the cheesecake in a water bath at 300°F for 90 minutes, allowing it to set beautifully. Turn off the oven and let the cheesecake cool gradually inside to avoid cracks, then refrigerate overnight.
-
Make the ganache by microwaving the heavy cream and dark chocolate chips until melted and smooth. Pour this luscious ganache over the cheesecake for a decadent finish.
-
Decorate with crumbled red velvet cake and dollops of cream cheese frosting just before serving. This adds a delightful touch that looks as good as it tastes!
Optional: Drizzle some chocolate sauce for an extra indulgent treat.
Exact quantities are listed in the recipe card below.
How to Store and Freeze Red Velvet Cheesecake
Fridge: Keep your cheesecake in the refrigerator, covered with plastic wrap or in an airtight container, for up to 5 days to maintain freshness.
Freezer: For longer storage, freeze your Red Velvet Cheesecake, tightly wrapped in plastic wrap and aluminum foil, for up to 3 months.
Thawing: When ready to enjoy, thaw in the refrigerator overnight for best texture and flavor retention before serving.
Reheating: If served cold, simply slice and enjoy, or let it sit at room temperature for about 30 minutes before serving for a more delightful experience.
Make Ahead Options
Preparing this Decadent Red Velvet Cheesecake ahead of time is a fantastic way to save precious moments on the day of your celebration! You can bake the red velvet layers and store them in an airtight container for up to 3 days in the refrigerator. Additionally, the cheesecake filling can be made in advance—just prepare it, refrigerate for up to 24 hours, and pour it over the cooled cakes before baking. To keep everything fresh, ensure your layers are well-wrapped and use the water bath method while baking the cheesecake to prevent cracks. Once baked, let it cool gradually in the oven, and finish it with ganache and toppings just before serving, ensuring it remains just as delightful as when freshly made!
Red Velvet Cheesecake Variations
Feel free to let your creativity shine and personalize this delightful dessert! Each twist adds a unique flavor and fun to your baking.
- Gluten-Free: Substitute all-purpose flour with a gluten-free flour blend for an equally delicious experience for gluten-sensitive friends.
- Nutty Flavor: Add chopped walnuts or pecans to the cheesecake filling for an earthy crunch that complements the rich flavors beautifully.
- Flavor Infusion: Incorporate almond or peppermint extract into the batter for a refreshing twist that brightens up the classic taste.
- Fruit Topping: Top the cheesecake with a layer of fresh strawberries or raspberries for a burst of natural sweetness and color.
- Choco-Lover’s Dream: Use chocolate Oreo cookies for the filling, enhancing that luscious chocolate flavor throughout the cheesecake.
- Spiced Up: Sprinkle a hint of cinnamon or nutmeg in the cake mixture to add a warm, spiced profile that will cozy up this dessert.
- Frozen Treat: Freeze individual slices of the cheesecake for a cool summer delight; simply let them thaw briefly before indulging.
- Salted Caramel Swirl: Drizzle salted caramel sauce through the cheesecake batter before baking for a sweet and salty flavor explosion!
With these variations, your Red Velvet Cheesecake will never be boring and will cater to everyone’s tastes!
What to Serve with Red Velvet Cheesecake?
Treat your guests to a delightful dining experience by pairing this indulgent dessert with complementary flavors and textures that enhance every bite.
- Fresh Berries: Juicy raspberries or strawberries add a bright, tangy contrast that’s both refreshing and elegant.
- Whipped Cream: A dollop of lightly sweetened whipped cream enhances decadence, balancing the richness of the cheesecake beautifully.
- Chocolate Covered Strawberries: These offer a playful twist and additional chocolate indulgence, perfectly matching the cheesecake’s luxurious nature.
- Coffee or Espresso: A warm cup of coffee brings out the chocolate notes in the cheesecake, creating a comforting and rich contrast.
- Mint Tea: A calming herbal tea helps cleanse the palate after each creamy bite, adding a refreshing touch to the dining experience.
- Red Velvet Cupcakes: For the ultimate nod to your cheesecake, serve these delightful treats alongside, creating a dessert table that dazzles with color and flavor.
Each pairing complements the creamy richness of the Red Velvet Cheesecake, creating a feast that invites joy and celebration, making every occasion a memorable event!
Expert Tips for Red Velvet Cheesecake
-
Room Temperature Ingredients: Ensure all ingredients, especially the eggs and cream cheese, are at room temperature for optimal mixing and a smooth batter.
-
Avoid Overmixing: After adding the eggs, mix gently to prevent incorporating too much air, which can lead to cracks in your cheesecake.
-
Water Bath Method: Always bake your Red Velvet Cheesecake in a water bath to maintain a consistent temperature and prevent the top from drying out.
-
Cooling Gradually: Let the cheesecake cool in the oven after baking; this gradual cooling process helps to minimize cracks on the surface.
-
Overnight Refrigeration: For the best texture and flavor, refrigerate the cheesecake overnight before serving; this allows the flavors to meld beautifully.
Red Velvet Cheesecake Recipe FAQs
What type of flour should I use for the Red Velvet Cheesecake?
You can use all-purpose flour for this recipe, which gives structure to the cake. If you’re looking for a gluten-free option, I recommend substituting it with a gluten-free flour blend that can work as a one-to-one replacement.
How long can I store leftovers?
Store your cheesecake in the refrigerator, covered with plastic wrap or in an airtight container, for up to 5 days. After that, it may start to lose its freshness and creamy texture.
Can I freeze the Red Velvet Cheesecake?
Absolutely! To prevent freezer burn, tightly wrap the cheesecake in plastic wrap followed by aluminum foil. It can be frozen for up to 3 months. When you’re ready to enjoy it again, simply thaw it in the refrigerator overnight for the best results!
What should I do if my cheesecake cracks while baking?
If your cheesecake cracks, it can be due to several factors like overmixing or baking at too high a temperature. To help prevent this, ensure all ingredients are at room temperature before mixing, and bake your cheesecake in a water bath. If cracks do occur, don’t worry! You can cover them with ganache or frosting for a beautiful finish!
Is this cheesecake suitable for those with dairy allergies?
Since this Red Velvet Cheesecake contains cream cheese and heavy cream, it’s not suitable for those with dairy allergies. However, you could try using dairy-free cream cheese substitutes and non-dairy heavy cream, but be sure to test their flavor and texture, as they may alter the result.
Can I use different types of cookies for the cheesecake filling?
Definitely! While Oreos add a classic flavor, you can experiment with other types of sandwich cookies or even graham crackers. Just remember that different cookies will impart different flavors and textures to your cheesecake, so feel free to get creative!
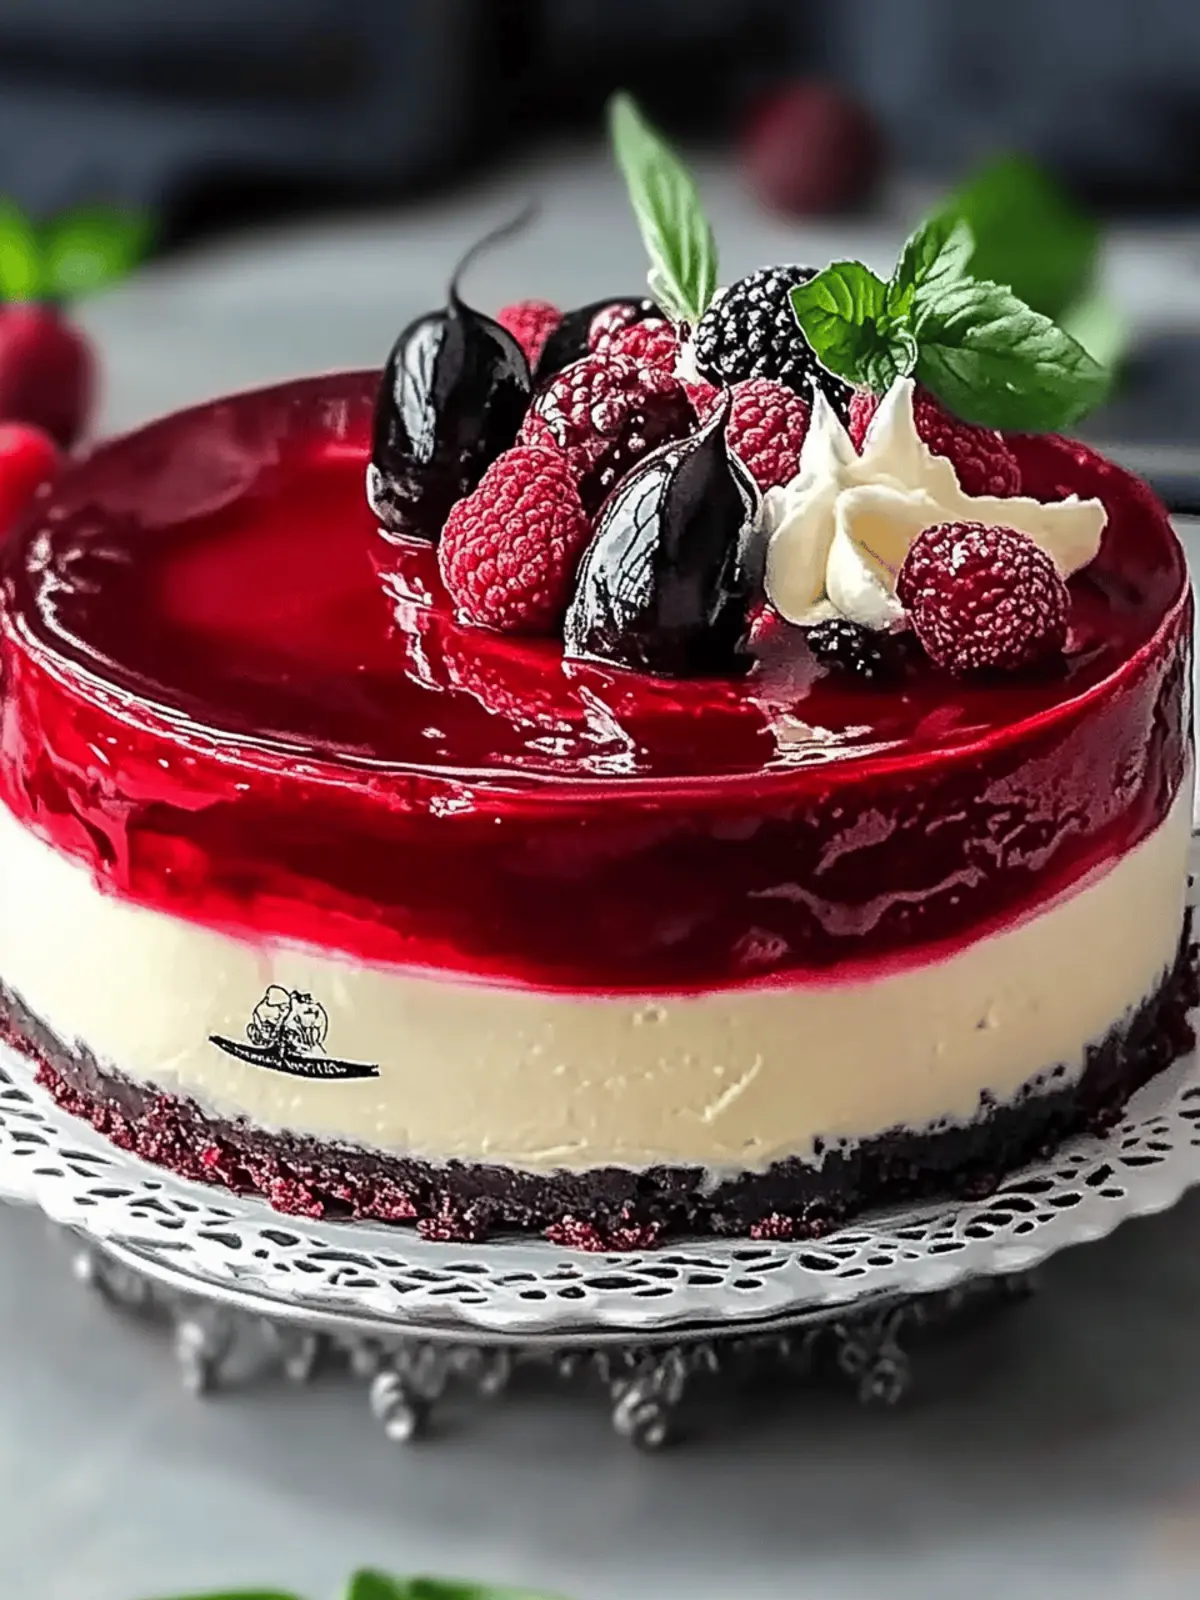
Irresistible Red Velvet Cheesecake with Oreo Delight
Ingredients
Equipment
Method
- Preheat the oven to 350°F. Prepare a 9-inch springform pan and an 8-inch round cake pan by lining them with parchment paper and spraying with non-stick spray.
- Whisk together the flour, cocoa powder, and salt in a mixing bowl.
- Cream the butter and granulated sugar together until fluffy and light in color. Add in the sour cream, vegetable oil, vanilla extract, eggs, and red food coloring, mixing until fully incorporated.
- Combine the dry ingredients with the wet ingredients, alternating with buttermilk. Mix in the baking soda and vinegar until just combined.
- Divide the batter evenly between the prepared pans. Bake the cake layers for 18-20 minutes until they spring back lightly when touched. Cool them fully.
- Prepare your cheesecake filling by crushing the Oreos into fine crumbs. In a separate bowl, beat the cream cheese until smooth, then mix in the Oreo crumbs, sugar, cornstarch, sour cream, vanilla, and eggs until creamy.
- Fold in the remaining crushed Oreos into the cheesecake mixture. Carefully pour this over the cooled red velvet layers in the springform pan.
- Bake the cheesecake in a water bath at 300°F for 90 minutes. Turn off the oven and let the cheesecake cool gradually inside to avoid cracks, then refrigerate overnight.
- Make the ganache by microwaving the heavy cream and dark chocolate chips until melted and smooth. Pour this over the cheesecake.
- Decorate with crumbled red velvet cake and dollops of cream cheese frosting just before serving.
