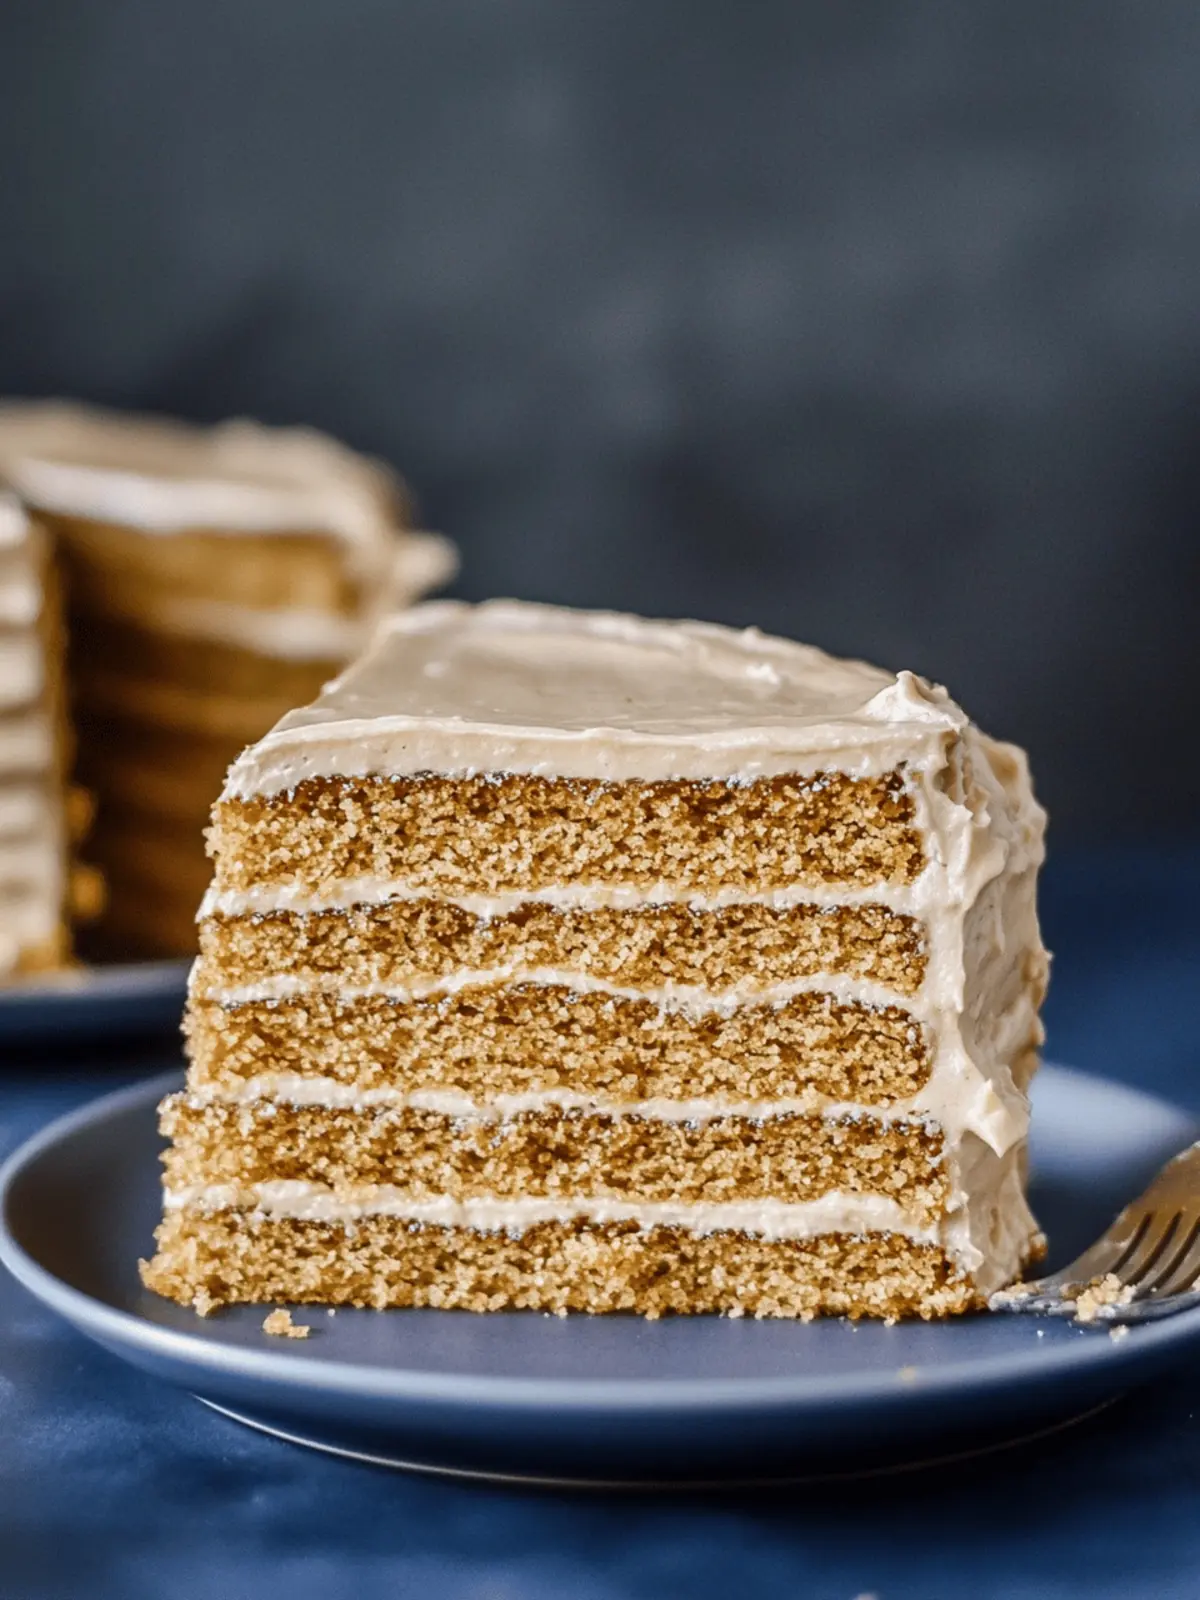
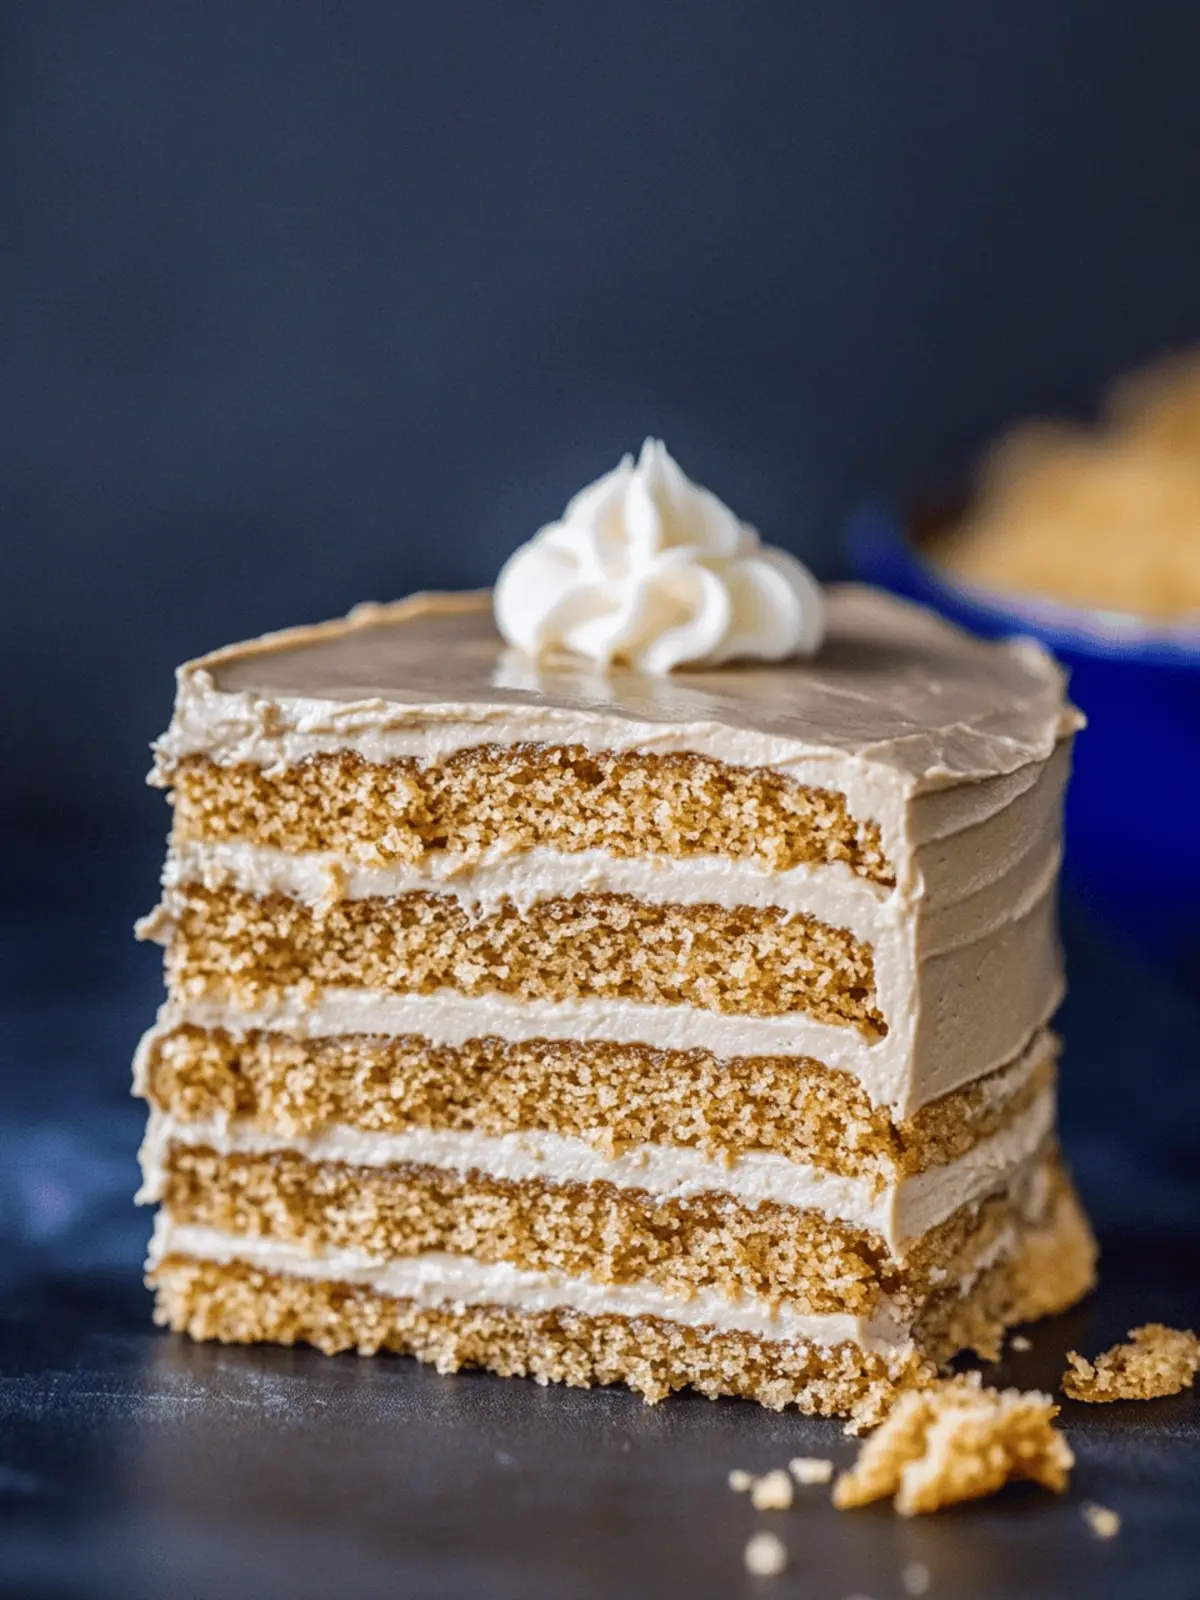
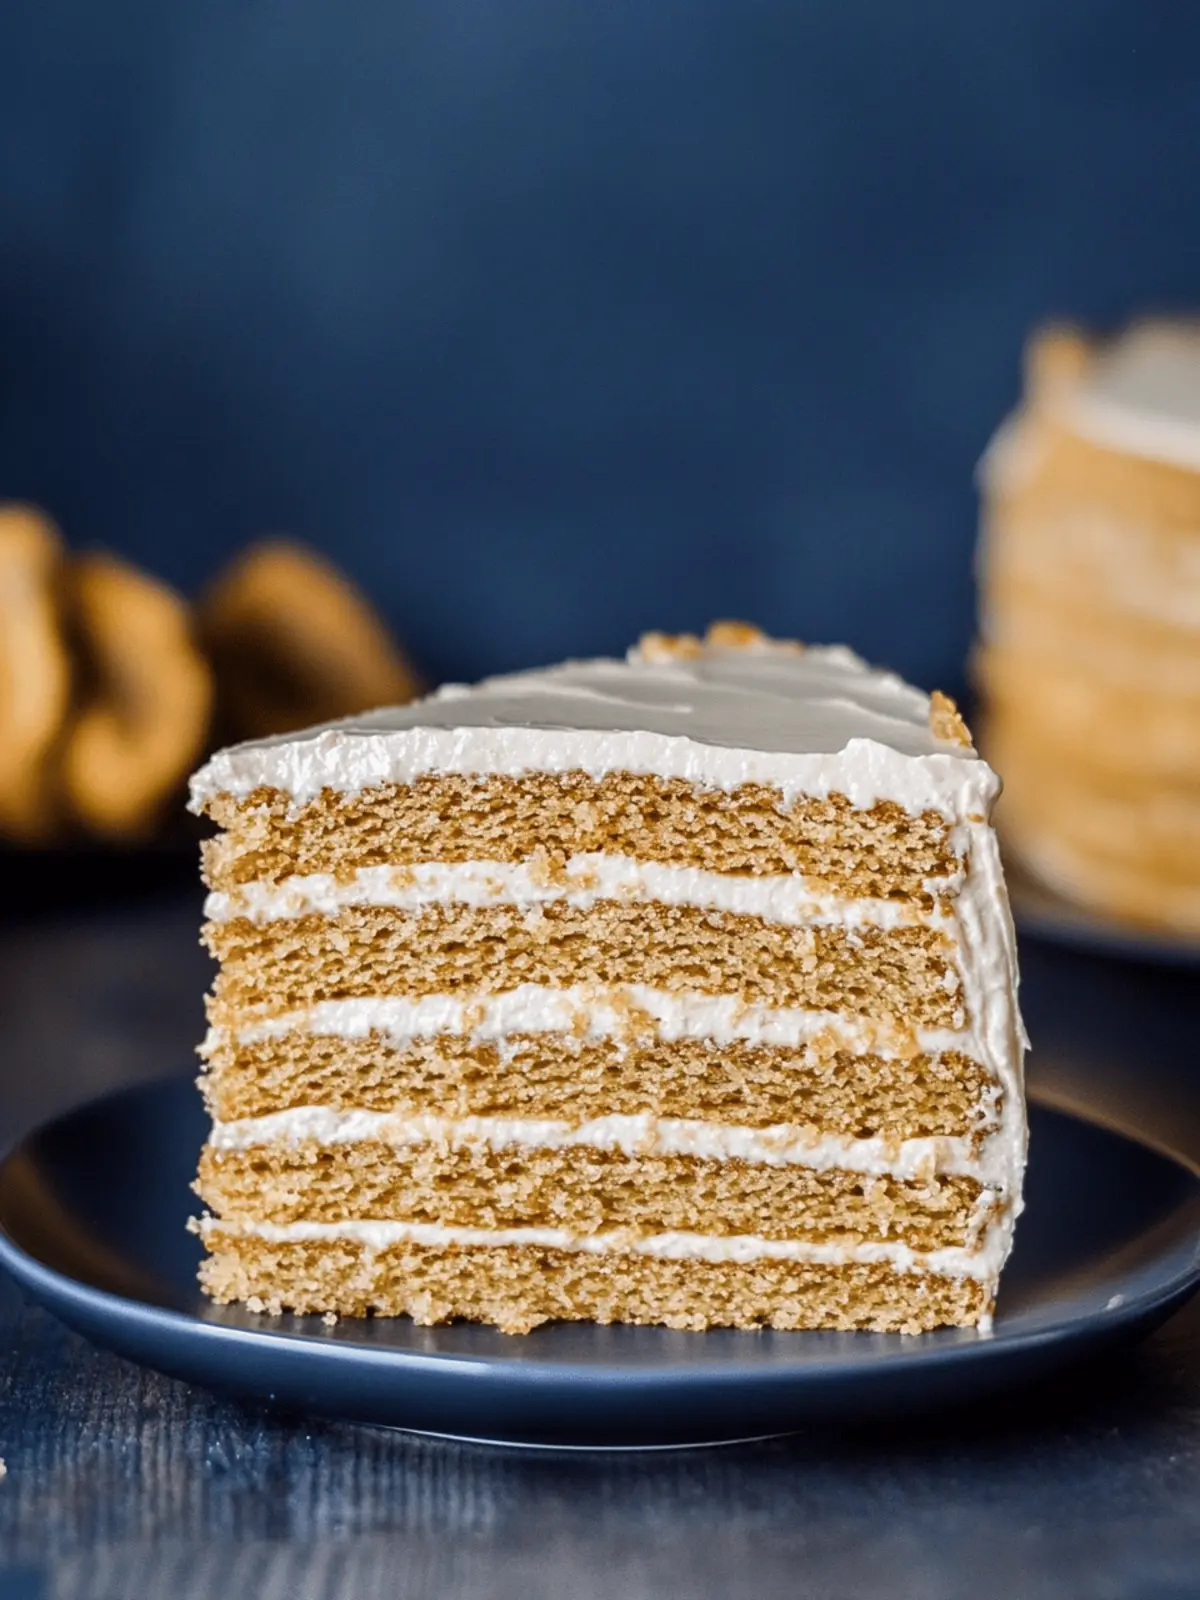
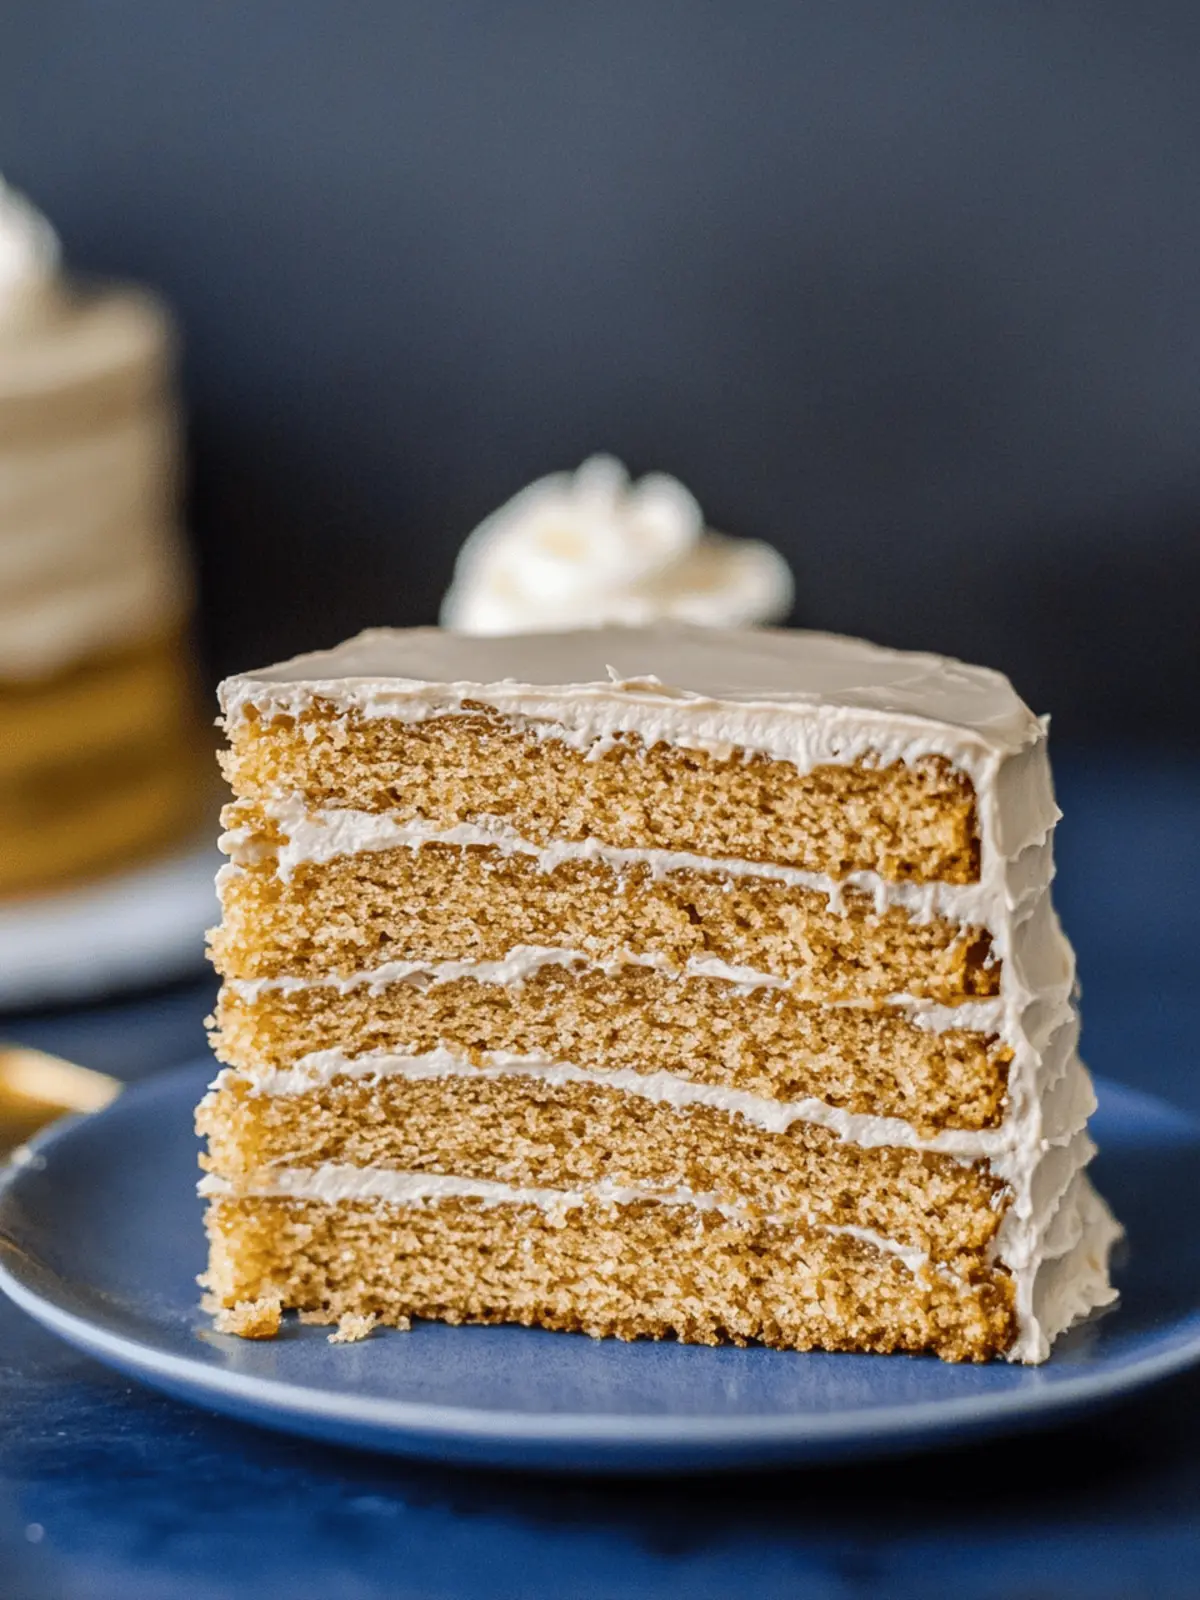
When I first laid eyes on a Russian Honey Cake, or Medovik, at a friend’s gathering, I was instantly captivated. The sight of those delicate, golden layers stacked high, whispering promises of sweetness, was simply irresistible. The moment I took my first bite, the combination of crispy texture and rich dulce de leche frosting enveloped me in a comforting embrace of flavors. It wasn’t long before I learned that this impressive dessert was not only a star at celebrations but also surprisingly approachable to make at home.
This iconic cake, with its centuries-old roots in Russian cuisine, has a delightful way of bringing people together. With a hint of honey that dances across the palate and lingers deliciously, it makes an unforgettable addition to any occasion. Whether you’re hosting a special gathering or just looking to indulge your sweet tooth, this Decadent Russian Honey Cake is sure to charm everyone around the table. Join me on this culinary adventure to create a cake that’s as visually stunning as it is delicious!
Why is Russian Honey Cake so special?
Layers of Delight: With its crispy, delicate layers, this cake is a feast for the eyes.
Irresistibly Sweet: The combination of honey and dulce de leche creates a beautifully balanced sweetness.
Impressive Maker: Despite its stunning presentation, the process is straightforward, allowing you to shine in the kitchen.
Versatile Twist: Get creative by adding flavored extracts or fruit preserves, making it your own!
Crowd-Pleasing Favorite: Perfect for gatherings, this cake is guaranteed to be a showstopper that everyone will love.
Cultural Charm: Enjoy a slice of tradition as you celebrate with this beloved Russian dessert at your next event.
Russian Honey Cake Ingredients
• Discover the key elements for a perfect Medovik!
For the Cake Layers
- Unsalted Butter – Adds richness and moisture; margarine can be used for a dairy-free option.
- Honey – Essential for authenticity; enhances flavor with a unique sweetness that can’t be replaced by sugar.
- Sugar – Boosts overall sweetness; feel free to reduce to 2/3 cup for a lighter taste.
- Eggs – Bind the ingredients together and provide structure; always opt for room temperature for optimal mixing.
- Baking Soda – Acts as a leavening agent; crucial for achieving a light and airy texture.
- Vanilla Extract – Adds depth to the flavor; consider almond extract for an intriguing twist.
- All-Purpose Flour – Forms the cake body; avoid cake flour to maintain the desired texture.
For the Frosting
- Cream Cheese – Gives the frosting a creamy and tangy kick; make sure it’s room temperature for easy mixing.
- Heavy Whipping Cream – Provides richness and stability; whip until stiff peaks form, but be cautious not to overmix.
- Dulce de Leche – Delivers sweetness and creaminess; both homemade and store-bought versions work wonderfully.
With these carefully selected ingredients, you’ll be on your way to creating a breathtaking Russian Honey Cake that delights both the eyes and taste buds! Enjoy the process, and celebrate the sweet results!
How to Make Russian Honey Cake
-
Prepare a Steam Bath: Start by boiling water in a pot and placing a heat-safe bowl on top. This will create a gentle, moist environment for melting your ingredients.
-
Melt Ingredients: In the bowl, combine unsalted butter, honey, and sugar. Stir together until everything is melted and well-combined, creating a silky mixture.
-
Mix Eggs & Baking Soda: In a separate bowl, beat your room temperature eggs with baking soda. Gradually mix this bubbly concoction into your melted mixture for perfect incorporation.
-
Cook the Batter: Cook the mixture in the steam bath for 30-40 minutes. You’re looking for it to deepen in color, which indicates it’s ready for the next step.
-
Cool and Add Flour: Cool the batter for about 10 minutes before incorporating the all-purpose flour. Expect a sticky consistency—this is perfectly normal!
-
Preheat Oven: While the batter cools, preheat your oven to 350°F (175°C). Line your baking sheets with parchment paper, which will make layering easier.
-
Divide & Roll Dough: Divide the dough into 12-14 equal pieces. Roll each piece thinly into large circles, ensuring they’re as even as possible for a consistent bake.
-
Bake the Layers: Bake each layer for 5-7 minutes, until they’re golden brown. Once done, allow them to cool completely on a wire rack.
-
Make the Frosting: In a mixing bowl, beat together the cream cheese and butter until smooth. Gradually add in dulce de leche, then fold in the heavy whipping cream until you achieve stiff peaks.
-
Layer the Cake: Spread a layer of frosting between each baked layer of cake. Don’t forget to frost the top and sides! Use any leftover scraps for decoration.
-
Chill for Flavor: For the best flavor, refrigerate your masterpiece overnight. This allows the flavors to meld beautifully before serving.
Optional: Garnish with fresh berries or a drizzle of honey for an extra touch of elegance.
Exact quantities are listed in the recipe card below.
Make Ahead Options
These delightful Russian Honey Cake (Medovik) layers are perfect for meal prep, saving you time on busy days! You can prepare the cake layers up to 2 days in advance by baking and cooling them completely. Simply store the layers in an airtight container at room temperature to maintain their crispiness. The frosting can also be made up to 24 hours ahead of time; just keep it in the refrigerator until you’re ready to assemble the cake. To finish, layer the frosting between the cooled cake layers, frost the top and sides, and refrigerate overnight for the best flavor development. By prepping in advance, you’ll have a show-stopping dessert ready with minimal effort when you’re ready to serve!
What to Serve with Russian Honey Cake?
Elevate your dessert experience by pairing this exquisite cake with delightful accompaniments that enhance its unique flavors.
- Fresh Berries: The tartness of raspberries or strawberries cuts through the sweetness, adding a refreshing contrast.
- Vanilla Ice Cream: A scoop of creamy ice cream complements the rich dulce de leche frosting, making each bite even more indulgent.
- Herbal Tea: A warm cup of chamomile or mint tea provides a soothing drink option that pairs beautifully with the honey notes in the cake.
- Honey Drizzle: For an extra touch of sweetness, a light drizzle of honey enhances the cake’s flavor profile while adding a lovely glaze.
- Chocolate Ganache: Rich chocolate ganache can be added on top for a decadent finishing touch that balances the honey’s sweetness with its bitterness.
- Fruit Compote: A spoonful of mixed berry compote brings a tangy element that beautifully contrasts the cake’s creamy layers.
- Mocha Coffee: Brewed coffee with a hint of chocolate complements the cake perfectly, offering a warm, rich flavor to sip alongside.
- Lemon Tart: The zesty brightness of a small lemon tart can cleanse the palate after the rich layers of Medovik, making it a refreshing conclusion.
- Candied Nuts: Chopped candied walnuts or almonds offer a crunchy texture that contrasts with the velvety layers of the cake for an interesting bite.
Expert Tips for Russian Honey Cake
- Flour Power: Use plenty of flour when rolling out your dough to prevent it from sticking—this ensures perfect layers.
- Keep it Covered: Cover leftover dough with a damp cloth to prevent it from drying out while you work on rolling the layers.
- Frosting Consistency: Avoid over-mixing the frosting; stop as soon as stiff peaks form to maintain a smooth texture.
- Thin Layers: Aim to roll your cake layers as thin as possible for that authentic, delicate texture in your Russian Honey Cake.
- Room Temperature Ingredients: Ensure all ingredients, especially cream cheese and eggs, are at room temperature for optimal blending and consistency.
Storage Tips for Russian Honey Cake
- Fridge: Store leftover Russian Honey Cake in an airtight container for up to 3 days. This helps maintain its moisture and flavor.
- Freezer: If you’d like to make it ahead, you can freeze the assembled cake for up to a month. Wrap it tightly in plastic wrap and then in aluminum foil to prevent freezer burn.
- Defrosting: To enjoy, defrost the frozen cake in the fridge overnight before serving, ensuring it retains its delightful texture.
- Layer Preparation: You can prepare the individual cake layers in advance and freeze them separately. Just remember to cool them completely before wrapping!
Russian Honey Cake Variations
Feel free to make this delightful cake your own with these fun twists and substitutions!
-
Maple Syrup: Swap honey for maple syrup to introduce a rich, earthy flavor that complements the cake beautifully.
-
Almond Extract: Replace vanilla extract with almond for a unique nutty aroma that pairs delightfully with the cake’s sweetness.
-
Fruit Preserves: Add a layer of raspberry or apricot preserves between the cake layers for a burst of fruitiness and extra moisture.
-
Nutty Crunch: Incorporate finely chopped walnuts or hazelnuts in the frosting for a delightful texture and a nutty flavor boost.
-
Spiced Layers: Add a teaspoon of cinnamon or ginger to the batter for a warm, cozy spice that enhances the cake’s overall sweetness.
-
Coconut Cream: Use coconut cream in place of heavy whipping cream for a tropical twist that adds a creamy, rich flavor.
-
Chocolate Drizzle: Finish with a drizzle of melted dark chocolate on top for a decadent contrast to the honey-flavored layers.
-
Lemon Zest: Brighten the frosting with a teaspoon of fresh lemon zest to provide a refreshing zing that balances the cake’s sweetness.
Russian Honey Cake Recipe FAQs
What kind of honey should I use for the Russian Honey Cake?
Absolutely, using high-quality, raw honey is essential for the authentic flavor of Medovik. It provides a distinct taste that enhances the sweetness of the cake while contributing to its moistness. I recommend avoiding overly processed honey as it may lack the complexity of flavor that the cake deserves.
How should I store my leftover Russian Honey Cake?
Store any leftover Russian Honey Cake in an airtight container in the refrigerator for up to 3 days. To keep the layers moist and delicious, consider wrapping the cake in plastic wrap before placing it in the container. It’s important to note that while the cake can be enjoyed for several days, it’s at its best when freshly made.
Can I freeze Russian Honey Cake?
Yes, indeed! If you want to make this beautiful cake in advance, you can freeze the assembled Russian Honey Cake for up to 1 month. Wrap it tightly in plastic wrap first, then in aluminum foil to prevent freezer burn. When ready to enjoy, simply defrost it in the refrigerator overnight to ensure it stays deliciously tender.
What can I do if the frosting is too runny?
If your frosting turns out runny, this can often be rectified easily! Begin by chilling your whipped cream to firm it up. If that doesn’t help, try this method: take a small amount of softened cream cheese and blend it into your frosting while mixing until smooth. This will help stabilize the frosting. Remember, starting with room temperature ingredients is key to achieving the perfect frosting consistency!
Is this Russian Honey Cake suitable for those with allergies?
It’s important to be cautious! The recipe contains eggs and dairy, so it isn’t suitable for vegans, lactose-intolerant individuals, or those with egg allergies. If you’re looking for alternatives, consider using aquafaba (the liquid from canned chickpeas) to replace eggs and a dairy-free cream cheese substitute in the frosting. Just ensure to check the labels on all your ingredients to be safe for your guests.

Irresistible Russian Honey Cake that Elevates Your Desserts
Ingredients
Equipment
Method
- Prepare a steam bath by boiling water in a pot and placing a heat-safe bowl on top.
- Melt the unsalted butter, honey, and sugar in the bowl until well-combined.
- In a separate bowl, beat the eggs and baking soda, then mix into the melted mixture.
- Cook the batter in the steam bath for 30-40 minutes.
- Cool the batter for about 10 minutes before adding flour.
- Preheat the oven to 350°F (175°C) and line baking sheets with parchment paper.
- Divide the dough into 12-14 pieces and roll each into thin circles.
- Bake each layer for 5-7 minutes until golden brown.
- Cool layers completely on a wire rack.
- Make the frosting by beating cream cheese and butter, then adding dulce de leche and whipping cream.
- Layer frosting between each cake layer and frost the top and sides.
- Refrigerate overnight for best flavor.


