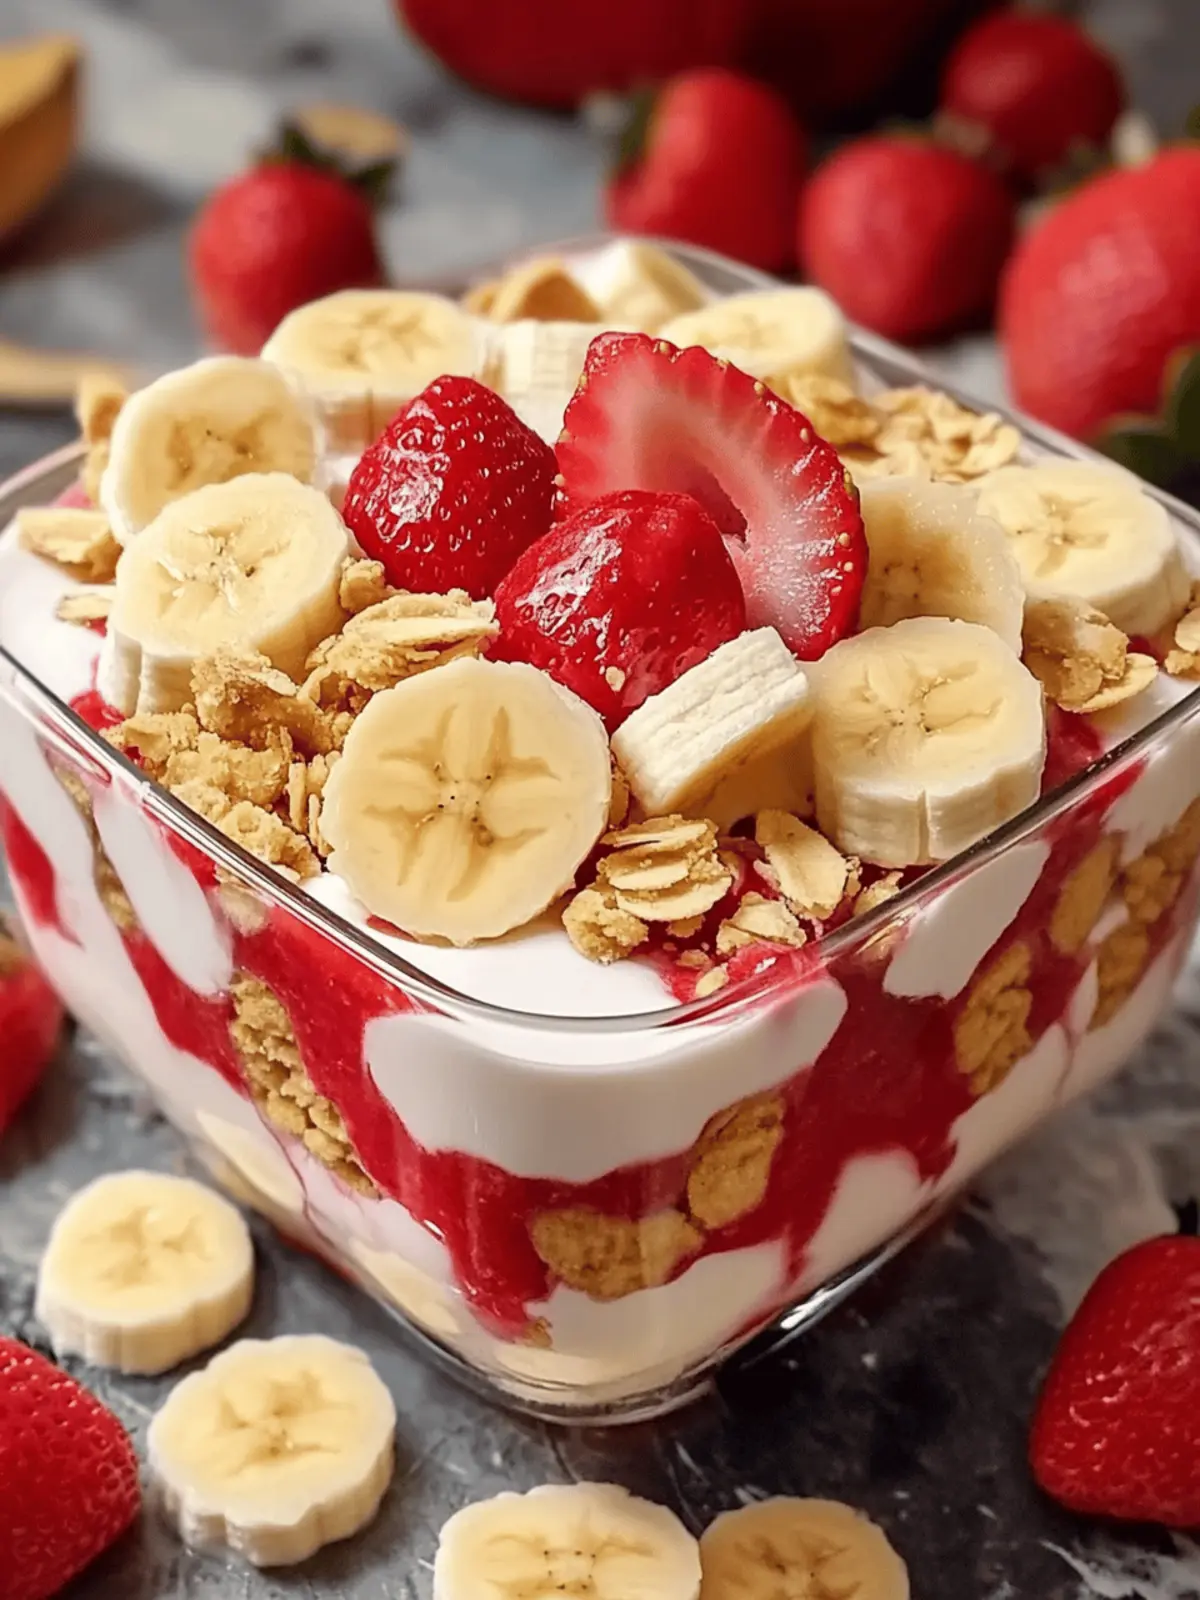
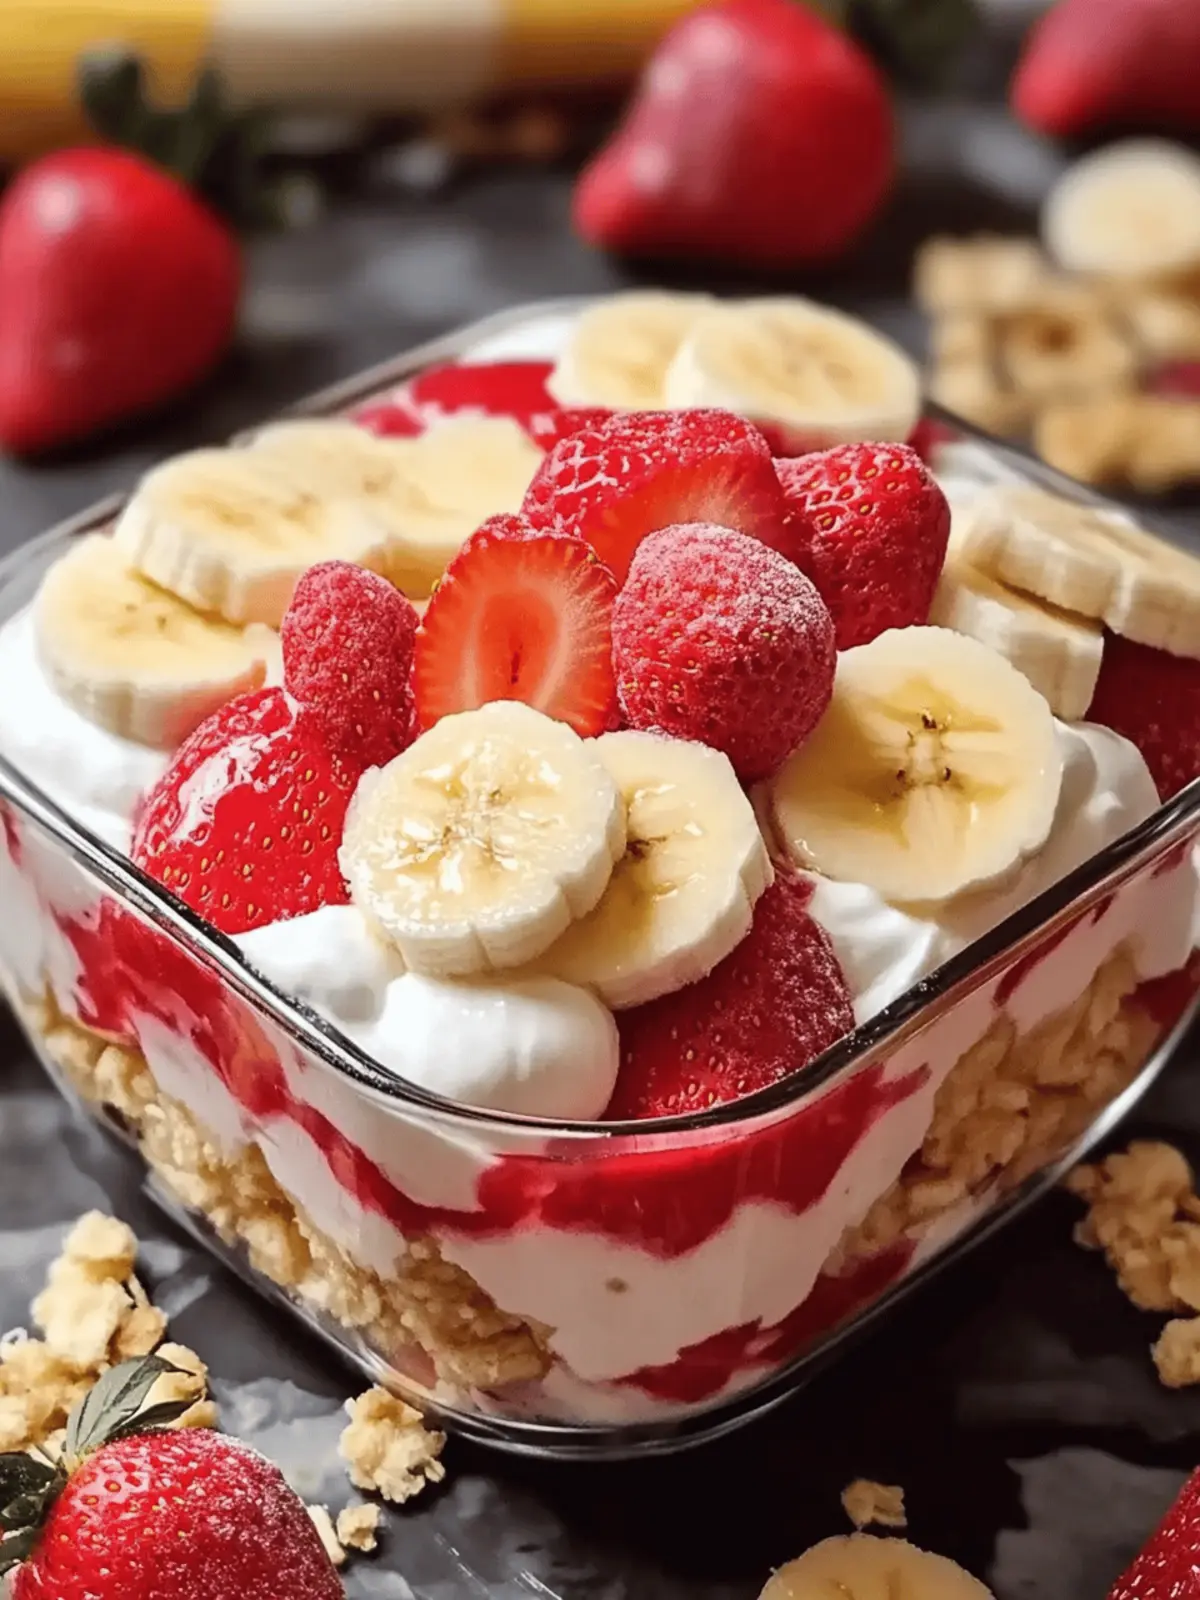
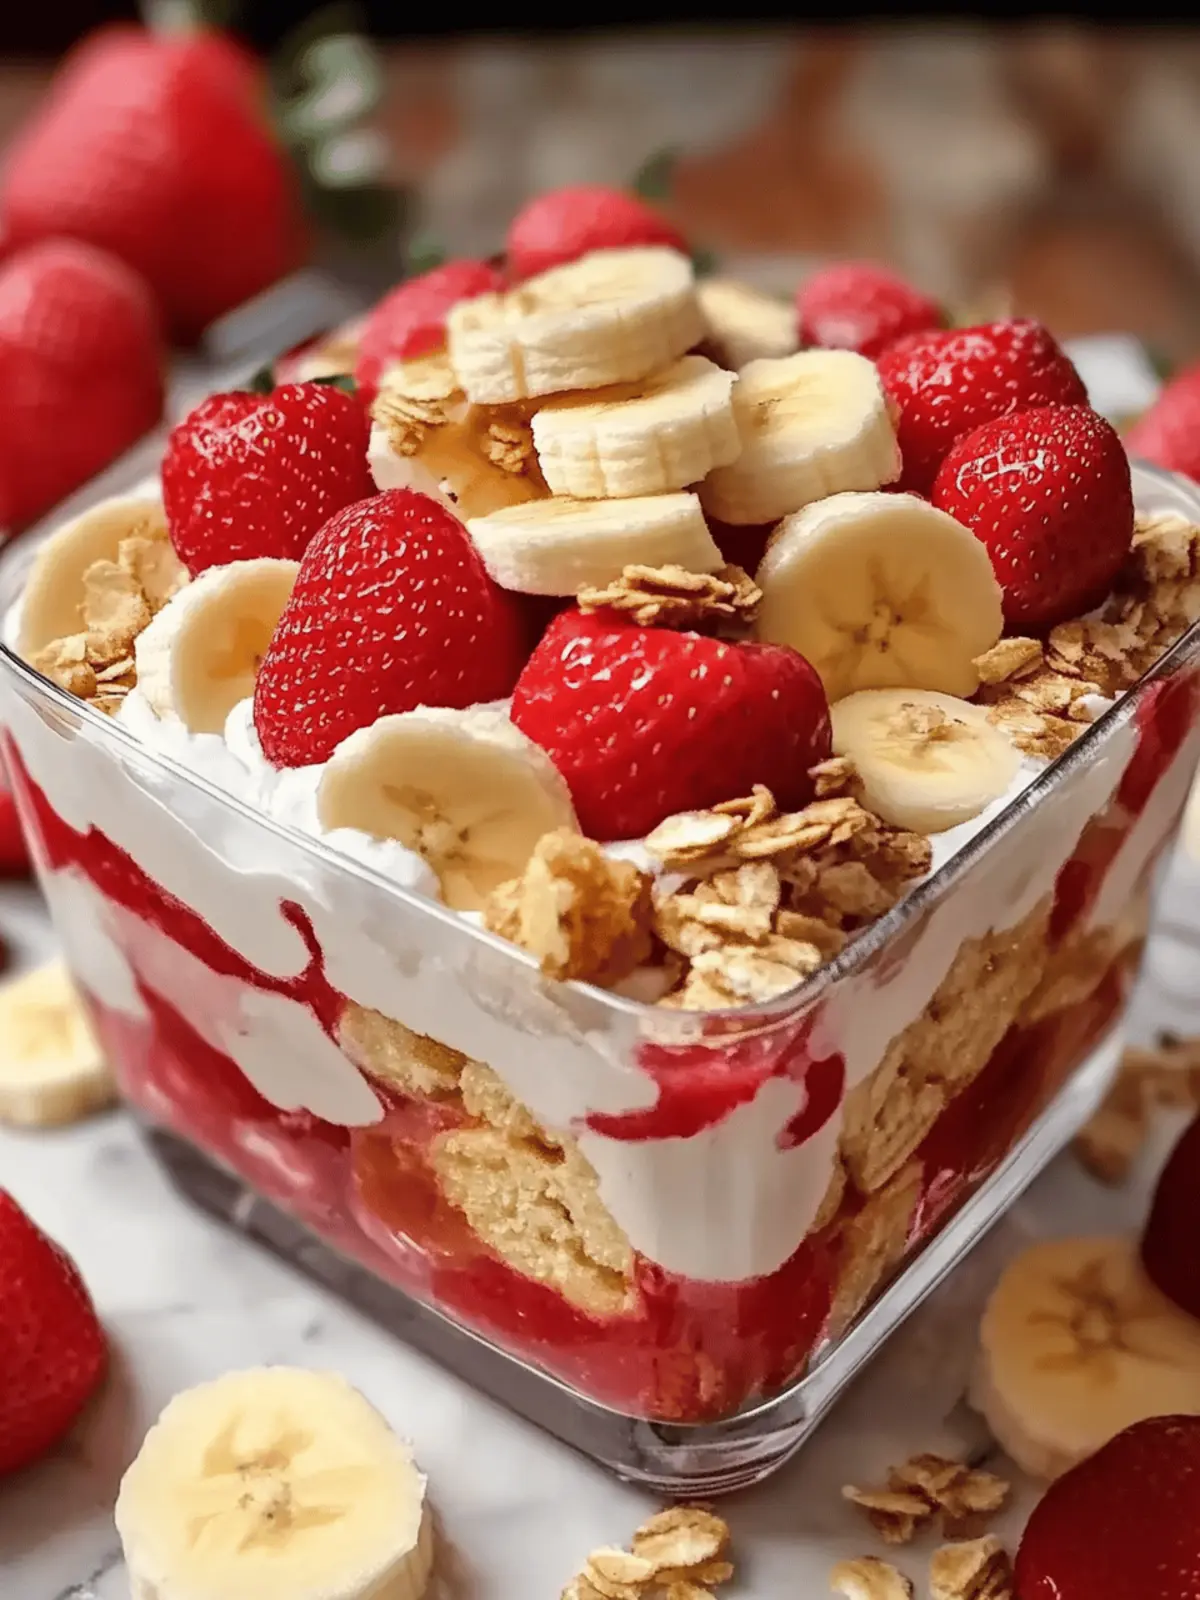
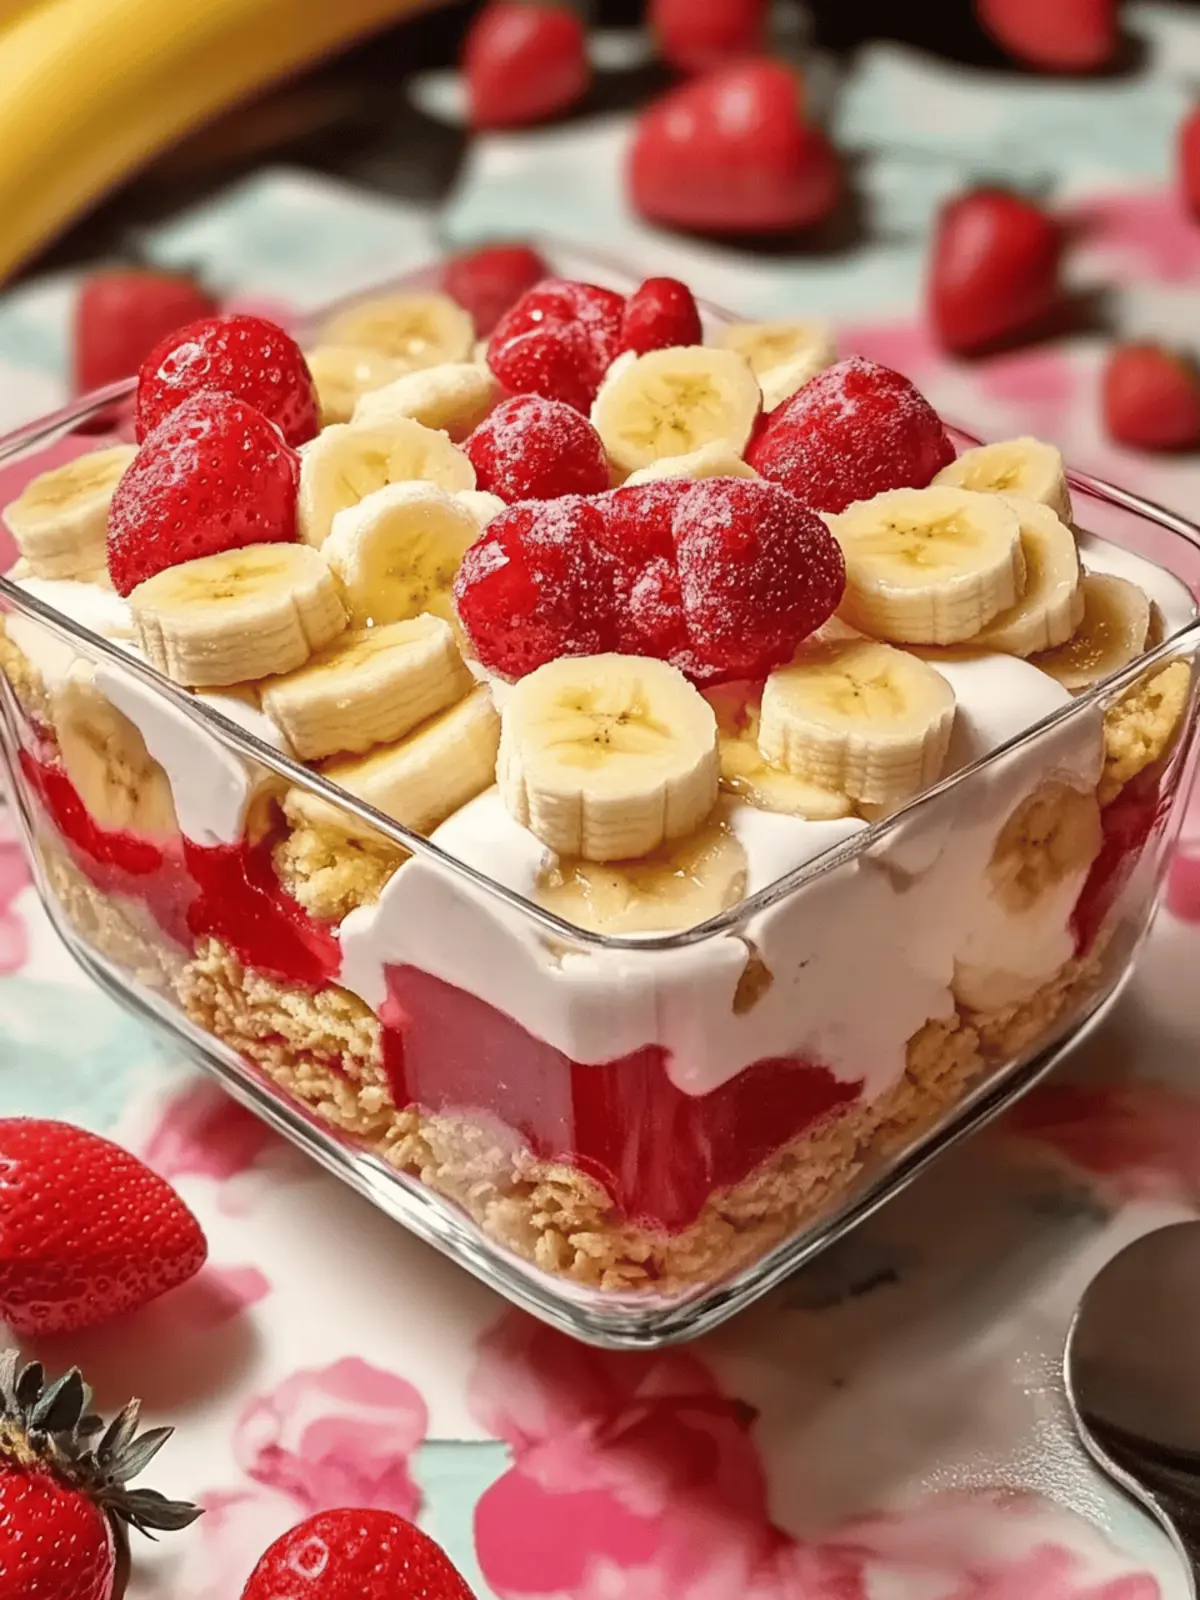
There’s a special joy that comes with hosting friends and family, especially when it involves serving a dessert that looks as delightful as it tastes. Picture this: layers of creamy vanilla pudding, ripe bananas, and juicy strawberries resting on a bed of sweet vanilla wafers, creating a stunning no-bake Strawberry Banana Pudding Dream. This treat not only tantalizes your taste buds but also takes just 20 minutes of hands-on time, making it the perfect solution for a last-minute dessert!
I stumbled upon this gem when my craving for something sweet collided with the need for ease. The result? A quick yet impressive dessert that dazzles effectively at any gathering, from summer picnics to cozy family dinners. With its vibrant colors and rich textures, this pudding dream may just become your go-to recipe when time is short, but deliciousness is a must. Ready to dig into layers of delight that are suitable for vegetarian diets and easily made gluten-free? Let’s get started!
Why is Strawberry Banana Pudding Dream a must-try?
Effortlessly Elegant: This no-bake dessert boasts stunning layers that look beautiful while requiring minimal effort to prepare.
Crowd-Pleasing Flavor: Combining rich vanilla pudding, fresh bananas, and strawberries creates a burst of flavor that everyone will love.
Time-Saving Delight: Ready in just 20 minutes, it’s perfect for unexpected gatherings or busy weeknights.
Versatile Variations: Feel free to swap fruits or pudding flavors to match your mood or dietary preferences.
Elevate your kitchen experience with this recipe or check out more quick and delightful options like our all-time favorite no-bake cheesecakes.
Strawberry Banana Pudding Dream Ingredients
• For the Layers
- Vanilla Wafers – A sweet base that adds a delightful crunch; gluten-free wafers can easily substitute for those on a gluten-free diet.
- Bananas (6 to 8) – Provides natural sweetness and creaminess; make sure they’re ripe for the best flavor and texture.
- Strawberries (1 container) – Fresh and tart, they add a burst of bright flavor; don’t hesitate to use thawed frozen strawberries if fresh ones aren’t available.
• For the Creamy Mixture
- Milk (2 cups) – Hydrates and adds creaminess to the pudding mix; almond or oat milk works well for a dairy-free option.
- French Vanilla Pudding (1-5 oz. box) – Forms the luscious pudding base; instant or cook-and-serve versions deliver equally delicious results.
- Cream Cheese (8 oz.) – Enhances richness and creaminess; Greek yogurt or dairy-free cream cheese can lighten it up if preferred.
- Sweetened Condensed Milk (14 oz. can) – Adds irresistible sweetness and creaminess; this ingredient is best used as is for a delightful finish.
- Whipped Topping (12 oz. container) – Contributes a light and airy texture; feel free to use homemade whipped cream for a personal touch.
Get ready to whip up this scrumptious Strawberry Banana Pudding Dream that will truly delight your taste buds!
How to Make Strawberry Banana Pudding Dream
-
Mix Together: In a mixing bowl, combine softened cream cheese and sweetened condensed milk. Whisk together until the mixture is smooth and creamy, ensuring there are no lumps.
-
Stir in Pudding: Add the French vanilla pudding mix and milk to the creamy mixture. Stir well until fully combined and free of lumps, creating a luscious pudding base.
-
Layer the Wafer Base: In a large serving dish, lay down a base of vanilla wafers. Cover the bottom evenly, providing a sweet and crunchy foundation for your pudding.
-
Add Fruit Layers: Place sliced bananas and strawberries on top of the wafers. Arrange them evenly to maximize freshness and flavor in each delightful bite.
-
Pour the Pudding Mixture: Gently pour half of the creamy pudding mixture over the layered fruit and wafers, using a spatula to spread it evenly for balanced flavor throughout.
-
Repeat Layering: Create another layer of vanilla wafers, followed by the remaining sliced bananas and strawberries. Pour the rest of the pudding mixture over the top, finishing with an even, creamy layer.
-
Top with Whipped Cream: Spread whipped topping generously over the final pudding layer. Cover your dish and refrigerate for at least 4 hours, allowing the flavors to meld beautifully.
Optional: Garnish with extra fruit slices or a sprinkle of crushed vanilla wafers before serving for an added pop of color.
Exact quantities are listed in the recipe card below.
Expert Tips for Strawberry Banana Pudding Dream
- Prep Ahead: Make the dessert a day in advance for richer flavors and easier serving. It’s the perfect no-bake treat to wow guests!
- Layer Evenly: Keep your layers even for stunning presentation and to ensure that every bite is just as delicious as the last.
- Cream Cheese Consistency: Always ensure cream cheese is at room temperature for easier blending, preventing those annoying lumps in your creamy mixture.
- Strawberry Selection: Frozen strawberries can be a good alternative, but make sure to drain excess moisture from thawed berries to avoid a soggy dessert.
- Experiment with Flavors: Don’t hesitate to swap in other fruits or pudding flavors; your Strawberry Banana Pudding Dream can be uniquely yours!
What to Serve with Strawberry Banana Pudding Dream?
Creating the perfect meal means balancing flavors, textures, and colors, and this sweet delight deserves splendid companions!
- Fresh Berries: A medley of blueberries and raspberries adds a touch of tartness and vibrant colors that beautifully contrast the creamy pudding.
- Shortbread Cookies: These buttery, crumbly bites enhance the dessert experience, providing a lovely crunch alongside the creamy layers.
- Light Salad: A simple arugula salad with a zesty lemon vinaigrette refreshes the palate between bites of the rich pudding. It’s a perfect counterbalance!
- Iced Tea: A chilled glass of sweetened iced tea or herbal tea enhances the overall experience with its refreshing notes, making each bite feel special.
- Homemade Lemonade: The bright, citrusy flavor of lemonade complements the sweetness of the pudding while hydrating and refreshing your guests.
- Chocolate Shavings: A sprinkle of chocolate shavings or mini chocolate chips on top delivers a delightful touch of indulgence, elevating the dish’s dessert status.
- Banana Bread: For banana lovers, serve a slice of moist banana bread on the side for a comforting treat that harmonizes beautifully with the dessert; it’s a double banana delight!
- Pineapple Sorbet: This light, fruity dessert provides a refreshing finish to your meal, cleansing the palate after the creamy pudding layer with its tropical notes.
- Margaritas: For a festive touch, serve margaritas to create a delightful pairing that offers a fun, zingy twist to your dessert experience!
Make Ahead Options
These layers of no-bake Strawberry Banana Pudding Dream are perfect for meal prep, allowing you to enjoy this delightful dessert without the last-minute hustle! You can prepare the entire pudding up to 24 hours in advance by following steps 1 through 7, then simply refrigerate the covered dish. Keeping it covered helps preserve the freshness and texture of the bananas and strawberries (try to add the fruit as close to serving as possible to prevent browning). When you’re ready to serve, simply remove it from the fridge and garnish with extra fruit slices or crushed wafers for an eye-catching presentation. This ensures that each bite is just as delicious as when you first made it!
How to Store and Freeze Strawberry Banana Pudding Dream
Fridge: Keep the dessert in an airtight container for up to 3 days. This helps maintain the freshness of the fruit and the creaminess of the pudding.
Freezer: If you need to freeze it, layer the dessert without whipped topping. Cover tightly and freeze for up to a month. Thaw in the fridge overnight before serving, then add the whipped topping.
Make-Ahead: You can prepare this Strawberry Banana Pudding Dream a day in advance. Cover and refrigerate it to allow the flavors to meld beautifully.
Reheating: This dessert is best served chilled, so there’s no reheating required. Enjoy it straight from the fridge for a refreshing treat!
Strawberry Banana Pudding Dream Variations
Get ready to make this delightful dessert even more uniquely yours!
- Fruit Swap: Replace bananas with peaches or blueberries for a refreshing flavor twist. Each fruit offers its own unique sweetness!
- Pudding Flavor: Experiment with different pudding flavors like butterscotch or chocolate to create a whole new dessert experience. Mixing up flavors keeps things exciting!
- Dairy-Free: Use coconut milk and dairy-free cream cheese to craft a version that suits those avoiding dairy. This will still ensure a creamy texture!
- Texture Boost: Add crushed nuts or granola between layers for an unexpected crunch that perfectly contrasts the creamy pudding. It brings a bit of delightful texture to each bite!
- Citrus Zing: A dash of lemon or orange zest in the creamy mixture brightens flavors and adds a refreshing citrus element. It’s a simple way to enhance the overall taste!
- Chocolate Drizzle: Top your layered dessert with a drizzle of melted chocolate before serving for an indulgent touch that’s sure to impress. Chocolate and fruit—what’s not to love?
- Gluten-Free: Replace vanilla wafers with gluten-free cookies or homemade almond crust for a delicious gluten-free alternative that doesn’t skimp on flavor. The dessert remains just as satisfying!
- Sweetener Swap: If you’re looking for a lighter option, consider using a reduced-sugar sweetened condensed milk for a more health-conscious treat without sacrificing taste. Enjoy the sweetness without the guilt!
Strawberry Banana Pudding Dream Recipe FAQs
What kind of bananas should I use for the Strawberry Banana Pudding Dream?
Absolutely! For the best flavor and texture, choose ripe bananas. They should be slightly soft to the touch and free of dark spots all over. However, if your bananas are overripe or developing brown spots, they’re still perfect for this recipe as they add extra sweetness!
How should I store the Strawberry Banana Pudding Dream?
You can store this delicious dessert in an airtight container in the refrigerator for up to 3 days. This helps maintain the freshness of the fruit while keeping the creamy pudding nice and rich. If you’re worried about the layers mixing, cover the dish tightly with plastic wrap instead.
Can I freeze the Strawberry Banana Pudding Dream?
Yes, you can freeze it, but with a little twist! I recommend assembling the pudding without the whipped topping, then placing it in a tightly sealed container. It can stay in the freezer for up to a month. When you’re ready to enjoy it, transfer it to the fridge to thaw overnight, and then add the whipped topping before serving for that perfect creamy finish.
What should I do if my pudding mix doesn’t thicken properly?
Very! If you find your pudding mixture isn’t thickening as it should, double-check that you’re using the correct amount of milk and pudding mix as specified. If it still appears fluid, allow it to chill longer in the refrigerator. Sometimes, the setting takes a little extra time. Just cover it and let it rest for at least another hour, and it should firm up beautifully!
Does this recipe accommodate any dietary restrictions?
Indeed! This Strawberry Banana Pudding Dream is vegetarian-friendly and can easily be modified to be gluten-free. Simply substitute the vanilla wafers with gluten-free options and opt for dairy-free cream cheese and milk, such as almond or oat milk, if you’re avoiding dairy products. Enjoy the deliciousness worry-free!
Can pets eat any part of the Strawberry Banana Pudding Dream?
Not recommended! While bananas and strawberries are safe for pets in small quantities, the sweetened condensed milk and cream cheese can upset their stomachs. It’s best to keep this delightful dessert as a treat for yourself and serve your furry friends safer snacks instead.
Strawberry Banana Pudding Dream – Your No-Bake Sweet Escape
Ingredients
Equipment
Method
- In a mixing bowl, combine softened cream cheese and sweetened condensed milk. Whisk until smooth.
- Add the French vanilla pudding mix and milk to the creamy mixture. Stir well until combined.
- In a serving dish, lay down a base of vanilla wafers.
- Place sliced bananas and strawberries on top of the wafers.
- Pour half of the creamy pudding mixture over the layered fruit and wafers.
- Add another layer of vanilla wafers, followed by remaining sliced bananas and strawberries.
- Pour the rest of the pudding mixture over the top.
- Spread whipped topping over the final pudding layer. Cover and refrigerate for at least 4 hours.
