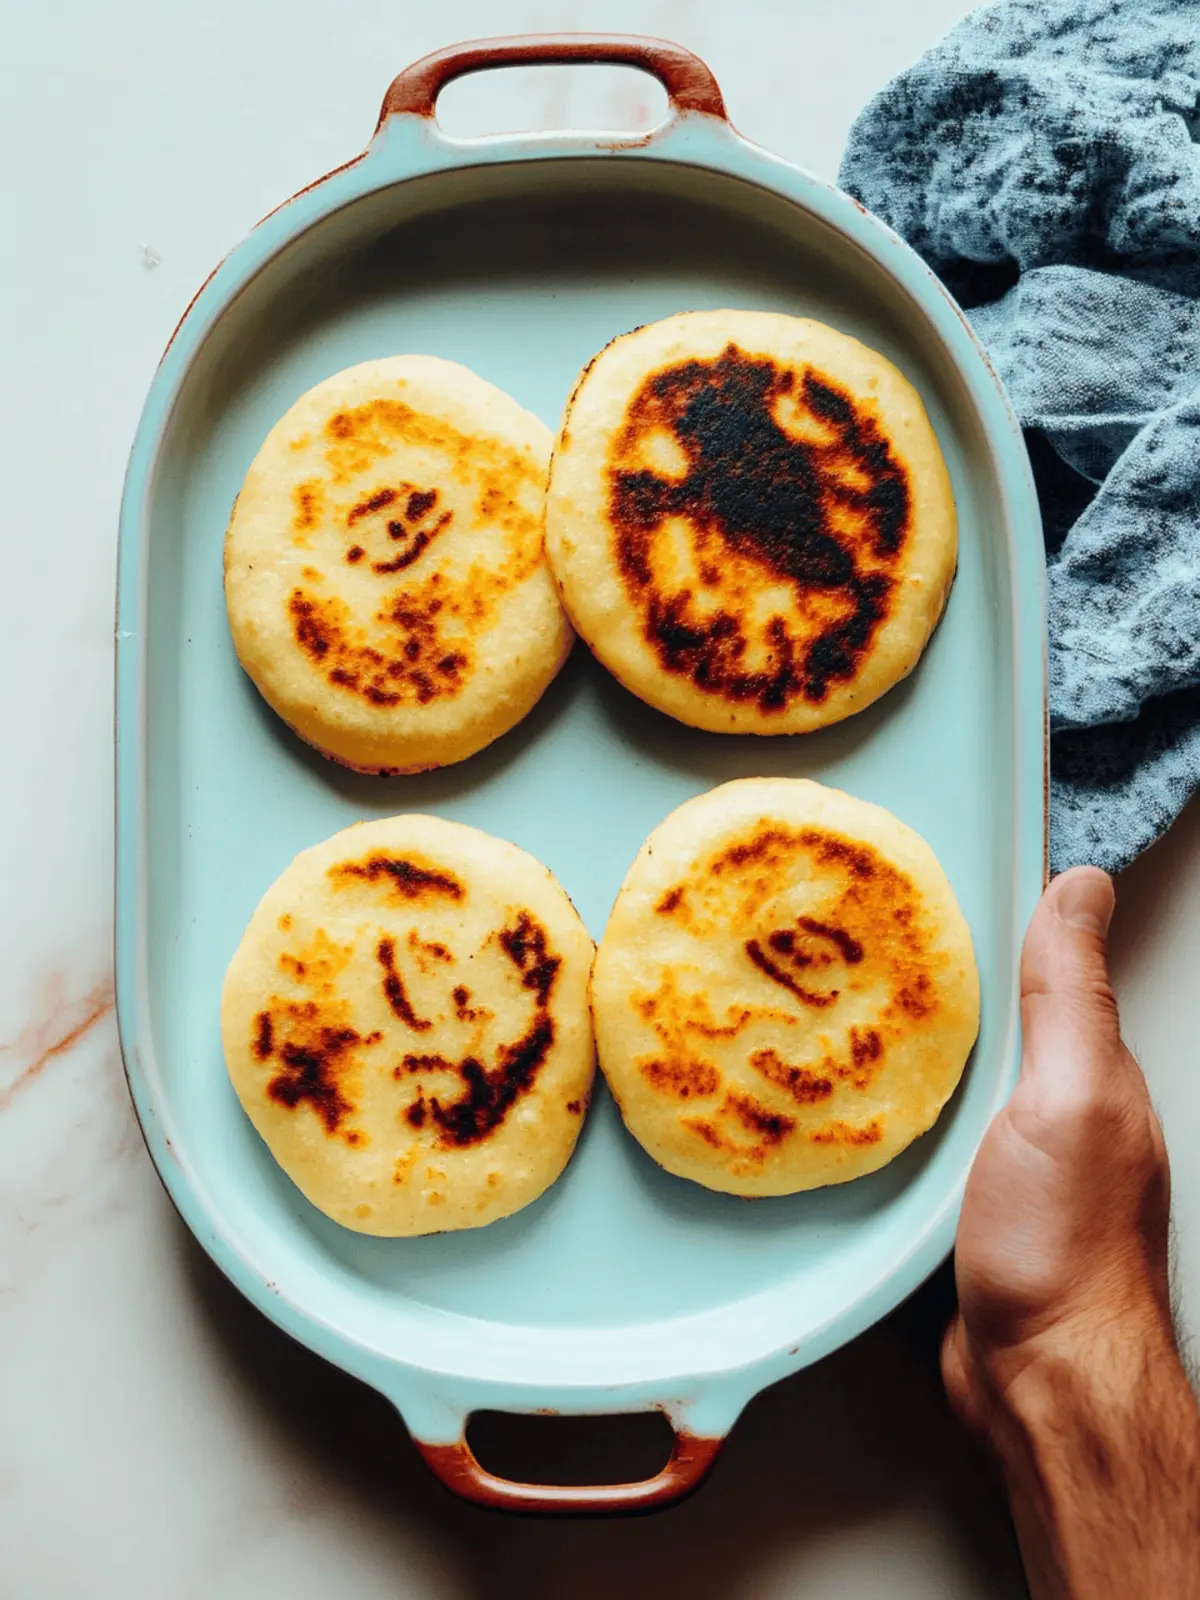
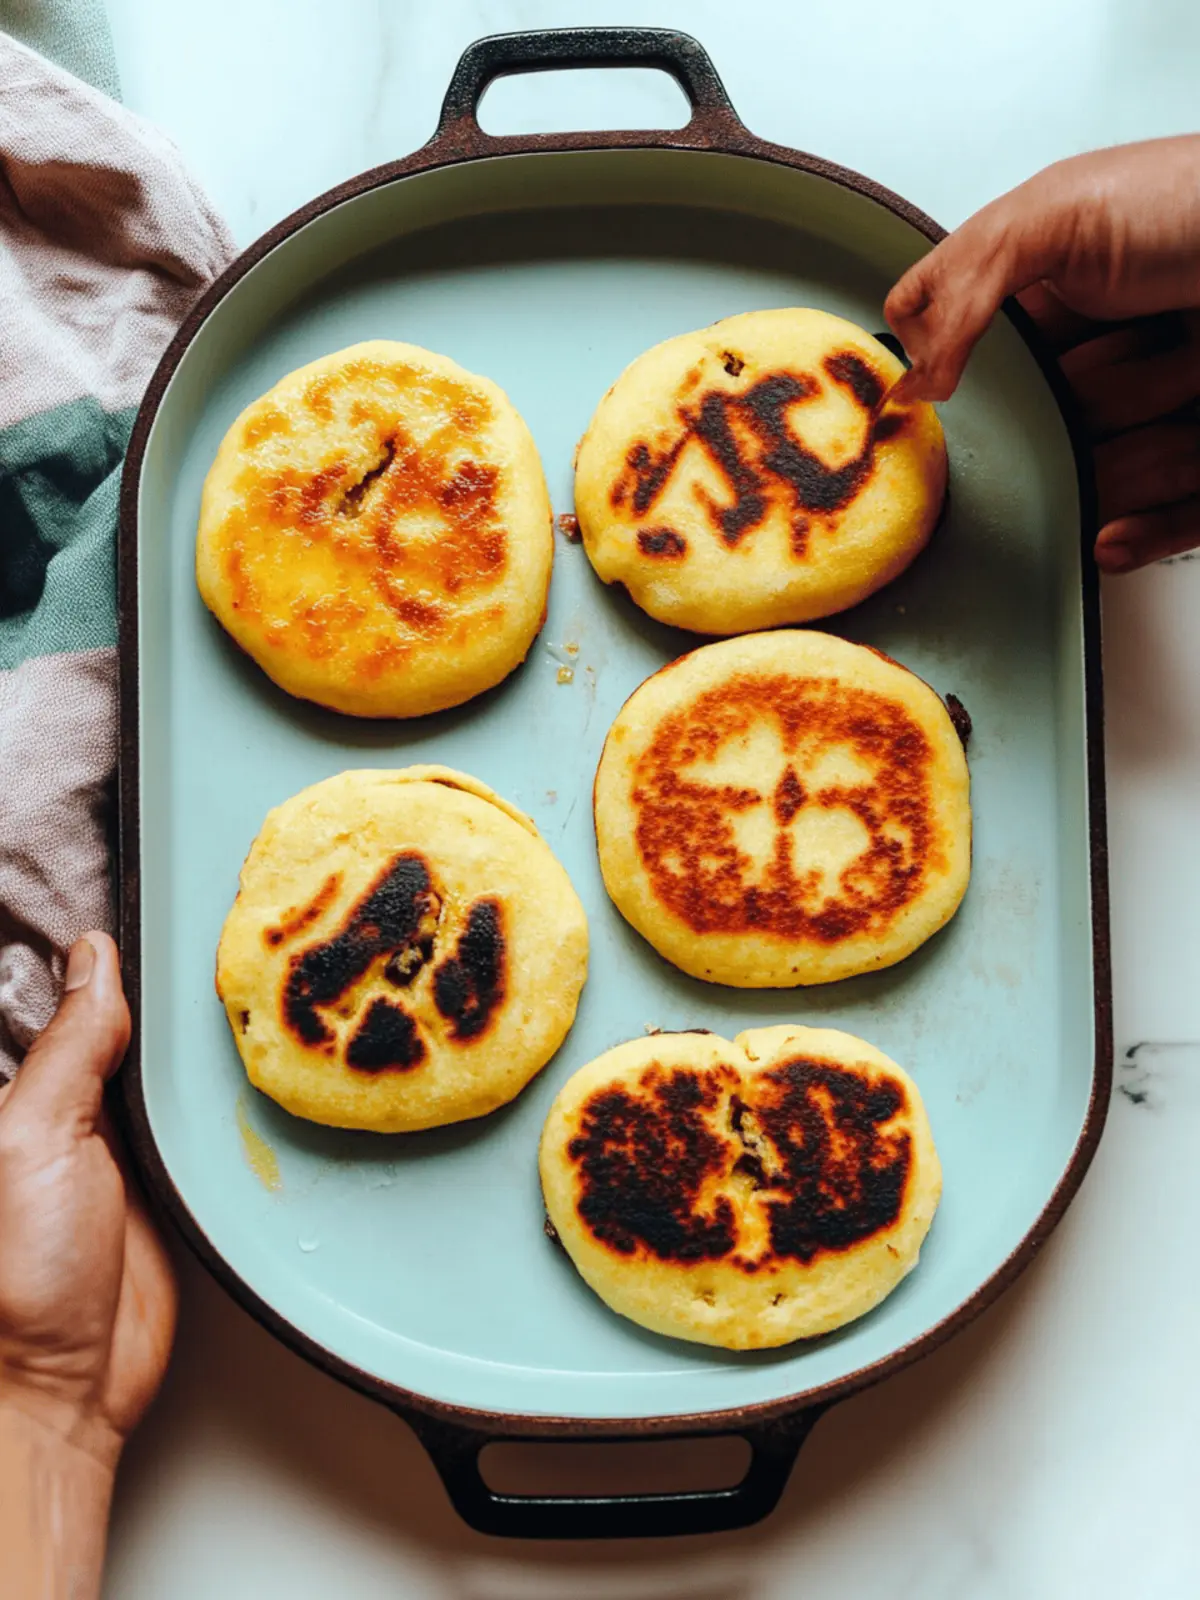
As the kitchen filled with the toasty scent of corn and a hint of salt, I couldn’t help but feel transported to the vibrant streets of Latin America. Arepas, those delectable little corn cakes, have a way of bringing people together, and the best part? You only need three simple ingredients to create a batch that rivals any restaurant version. In just 30 minutes, you can whip up fluffy, golden arepas that serve as a delightful base for your favorite fillings or simply as a companion to any meal. Whether you’re striving for a gluten-free option or want to treat your vegan friends, this recipe keeps it easy, delicious, and comforting. So, dust off your apron and let’s dive into making these irresistible bites!
Why are Arepas a Must-Try?
Simplicity at its finest: With just three ingredients, making arepas is a breeze.
Fluffy Texture: Create perfectly fluffy bites that’ll melt in your mouth.
Versatile as can be: Fill them with your favorite ingredients, from savory to sweet.
Quick Prep: In only 30 minutes, you can enjoy these scrumptious treats.
Crowd-Pleaser: Impress friends and family alike with these authentic Latin American gems.
Nutrition made easy: Stay healthy with a gluten-free and vegan option that doesn’t skimp on flavor.
Arepa Ingredients Made Simple
-
Warm Water – Essential for hydrating the dough; using 2 cups ensures the right consistency.
-
Sea Salt – Provides flavor enhancement; just 1 heaped teaspoon will do to elevate the taste.
-
Areparina (Masarepa) – This special pre-cooked corn flour forms the dough; use 2 cups, and mix white and yellow varieties for better flavor. For a substitute, consider 1.5 cups masa harina, ¼ cup coconut flour, and ¼ cup gluten-free flour or arrowroot starch.
-
Avocado, Coconut, or Vegan Butter – Use 1 tablespoon for cooking the arepas; feel free to omit if you’re using a non-stick pan for a lighter option.
Making arepas is easy and fun; these simple ingredients will help you create a delightful dish that’s gluten-free and vegan!
How to Make Arepas
-
Preheat your oven to 350°F (176°C) and line a baking sheet with parchment paper. This sets the stage for perfectly baked arepas that are golden and fluffy.
-
Mix warm water and sea salt in a bowl, stirring until the salt dissolves completely. This briny mixture brings the dough to life, enhancing the flavor of your arepas.
-
Combine areparina with the water mixture, stirring gently with your hands or a whisk until you form a moist, moldable dough. Let this dough rest for about 5 minutes; it helps in achieving the right texture.
-
Shape fist-sized portions of the dough into balls, then gently flatten them into discs about ½ inch thick. This thickness will ensure they cook evenly and maintain that delightful fluffy center.
-
Heat a cast-iron or non-stick pan over medium-high heat. Add the oil, then fry the arepas for 2-3 minutes on each side until they turn a beautiful golden brown. The crust should be crispy and inviting.
-
Transfer the fried arepas to your baking sheet and pop them in the oven. Bake for 15-18 minutes or until they’re puffy and have a lovely golden hue.
-
Cool for 5-10 minutes before serving. This little wait allows them to firm up while keeping that wonderful fluffy interior just right.
Optional: Serve warm with your favorite fillings for an unforgettable meal.
Exact quantities are listed in the recipe card below.
Make Ahead Options
These arepas are perfect for meal prep enthusiasts looking to save time on busy weeknights! You can prepare the dough for the arepas and refrigerate it for up to 24 hours before cooking, allowing the flavors to meld beautifully. Once mixed, cover the dough tightly in plastic wrap or store it in an airtight container to prevent drying out. When you’re ready to enjoy your arepas, simply shape and cook them as directed in the recipe. Additionally, cooked arepas can be stored in the fridge for 3 days or frozen for up to 1 month. Just reheat in a 350°F oven for that crispy, warm goodness to bring back those delightful textures!
What to Serve with 3-Ingredient Arepas?
Transform your arepas into a complete meal with vibrant sides and delightful accompaniments that enhance their deliciousness.
-
Savory Black Beans: Add a hearty protein boost, and their creamy texture contrasts beautifully with the crispy arepas. Perfect for stuffing or serving on the side.
-
Guacamole: This creamy avocado dip adds a luscious layer of flavor, bringing freshness and a touch of zest to each bite of your arepas.
-
Zesty Slaw: A crunchy cabbage slaw with lime dressing cuts through the richness, providing a refreshing, tangy contrast that’s a joy to munch on.
-
Grilled Vegetables: Charred bell peppers and zucchini introduce a smoky flavor that pairs beautifully with the lightness of the arepas, creating a colorful plate.
-
Vegan Cheese: Melting plant-based cheese over warm arepas creates a gooey delight that satisfies any cheese lover’s cravings while keeping it dairy-free.
-
Chimichurri Sauce: This vibrant herb sauce adds a burst of freshness and acidity, elevating the simple goodness of your arepas to gourmet status.
-
Plantain Chips: For a delightful crunch, pair with crispy sweet plantain chips. They provide a sweet and salty contrast that will be adored by everyone at the table.
-
Mango Salsa: A fruity, spicy salsa brings a tropical flair, making your meal even more lively and perfect for warm evenings.
With these enticing options, your arepas will shine in every meal, offering a unique experience that delights and satisfies!
Storage Tips for Arepas
-
Room Temperature: Enjoy your freshly cooked arepas within 2 hours at room temperature for the best flavor. Any longer, and it’s best to refrigerate them.
-
Fridge: Store leftover arepas in an airtight container in the refrigerator for up to 3 days. Allow them to cool completely before sealing, ensuring they retain their texture.
-
Freezer: For longer storage, freeze arepas individually wrapped in plastic wrap and placed in a freezer-safe bag. They will keep well for up to 1 month, preserving their taste and quality.
-
Reheating: To enjoy reheated arepas, simply place them in a preheated oven at 350°F for about 10 minutes until warmed through, allowing them to regain their golden crispiness.
Arepas Variations & Substitutions
Feel free to get creative with your arepas by exploring these delightful variations that will tantalize your taste buds!
-
Spicy Kick: Add a pinch of cayenne pepper or chili powder to the dough for a fiery surprise. A little heat can elevate the flavors and give your arepas a fantastic zing.
-
Cheesy Goodness: Mix in some nutritional yeast or your favorite dairy-free cheese directly into the dough. This adds a cheesy flavor that complements the corn beautifully, perfect for cheese lovers.
-
Herb Infusion: Incorporate fresh herbs like cilantro, parsley, or oregano into your dough. They’ll add a fresh, aromatic quality to your arepas, bringing them to life with vibrant color and flavor.
-
Sweet Delight: Craving something sweeter? Add a tablespoon of sugar or maple syrup to the dough, making them perfect for breakfast. Serve them with fresh fruit or a drizzle of agave for a delightful treat.
-
Nutty Twist: Try adding finely ground almonds or walnuts into the dough. This not only changes the texture but also adds a lovely nutty flavor that enhances the arepas’ richness.
-
Vegetable Medley: Fold in finely chopped spinach, bell peppers, or sweet corn into the dough. This not only provides nutritional value but also additional color and sweetness, making your arepas more exciting.
-
Baked Variants: For a different texture, consider baking your arepas without frying them first. Simply shape and bake them directly for a lighter version that still delivers on flavor.
-
Flavored Oils: Use garlic-infused olive oil instead of plain oil for frying. This subtle flavor boost will create an aromatic experience, providing an unforgettable flavor note with every bite.
Expert Tips for Arepas
-
Dough Consistency: Ensure the dough is neither too watery nor too dry; a perfect balance prevents cracks, leading to irresistibly fluffy arepas.
-
Pan Temperature: Keep your pan at medium-high heat for even cooking; too hot and they may burn, too low and they’ll be undercooked.
-
Let Them Rest: After baking, allow the arepas to rest for a few minutes; this enhances their fluffy texture, making each bite a delight.
-
Perfect Thickness: Aim for a thickness of about ½ inch; this ensures they cook through while maintaining a crispy outer layer.
-
Experiment with Flavors: Don’t hesitate to add spices like cumin or garlic powder into the dough for personalized, flavorful arepas.
Arepas Recipe FAQs
What type of corn flour is best for making arepas?
Absolutely! The best flour for making arepas is areparina (masarepa), a special pre-cooked corn flour. You can use 2 cups of areparina, combining both white and yellow for a richer flavor and texture. If you can’t find areparina, a combination of 1.5 cups masa harina, ¼ cup coconut flour, and ¼ cup gluten-free flour or arrowroot starch can be a suitable substitute, though the texture may be slightly different.
How should I store leftover arepas?
Very! To store leftover arepas, place them in an airtight container in the refrigerator, where they will keep well for up to 3 days. Make sure they cool completely before sealing; this helps them retain their delightful texture. For longer storage, freeze them wrapped individually in plastic wrap and then in a freezer-safe bag to maintain quality for up to 1 month.
Can I freeze arepas, and how do I reheat them?
Absolutely! Freezing arepas is easy. Just wrap each one tightly in plastic wrap and place them in a freezer-safe bag. They can be kept in the freezer for up to 1 month. When you’re ready to enjoy them, reheat arepas in a preheated oven at 350°F for about 10 minutes until they are warmed through and crispy again. This method helps keep their texture just right!
Why are my arepas cracking while cooking?
Oh no! If your arepas are cracking, it might be due to the dough being too dry. Make sure you’re adding the right amount of water—if the dough feels crumbly, try lightly moistening your hands or adding a few drops of water until it’s fully combined and manageable. The ideal consistency should be moist and hold together without falling apart.
Are arepas safe for people with gluten allergies?
Very! Arepas are naturally gluten-free, making them a safe option for those with gluten sensitivities. Just be sure to double-check that the flour you’re using, such as areparina or any substitutes, is certified gluten-free. Always be cautious of cross-contamination if you have severe allergies.
What are some popular fillings for arepas?
Oh, the options are endless! You can fill your arepas with savory delights like black beans, avocado, shredded chicken, or cheese. For something sweet, slather them with vegan butter and maple syrup. Feel free to get creative with your fillings—whatever tickles your taste buds!

Arepas Made Easy: 3 Ingredients for Perfectly Fluffy Bites
Ingredients
Equipment
Method
- Preheat your oven to 350°F (176°C) and line a baking sheet with parchment paper.
- Mix warm water and sea salt in a bowl, stirring until the salt dissolves completely.
- Combine areparina with the water mixture, stirring gently until you form a moist, moldable dough.
- Shape fist-sized portions of the dough into balls, then flatten into discs about ½ inch thick.
- Heat a cast-iron or non-stick pan over medium-high heat, add oil, then fry the arepas for 2-3 minutes on each side.
- Transfer the fried arepas to your baking sheet and bake for 15-18 minutes until puffy and golden.
- Cool for 5-10 minutes before serving.


