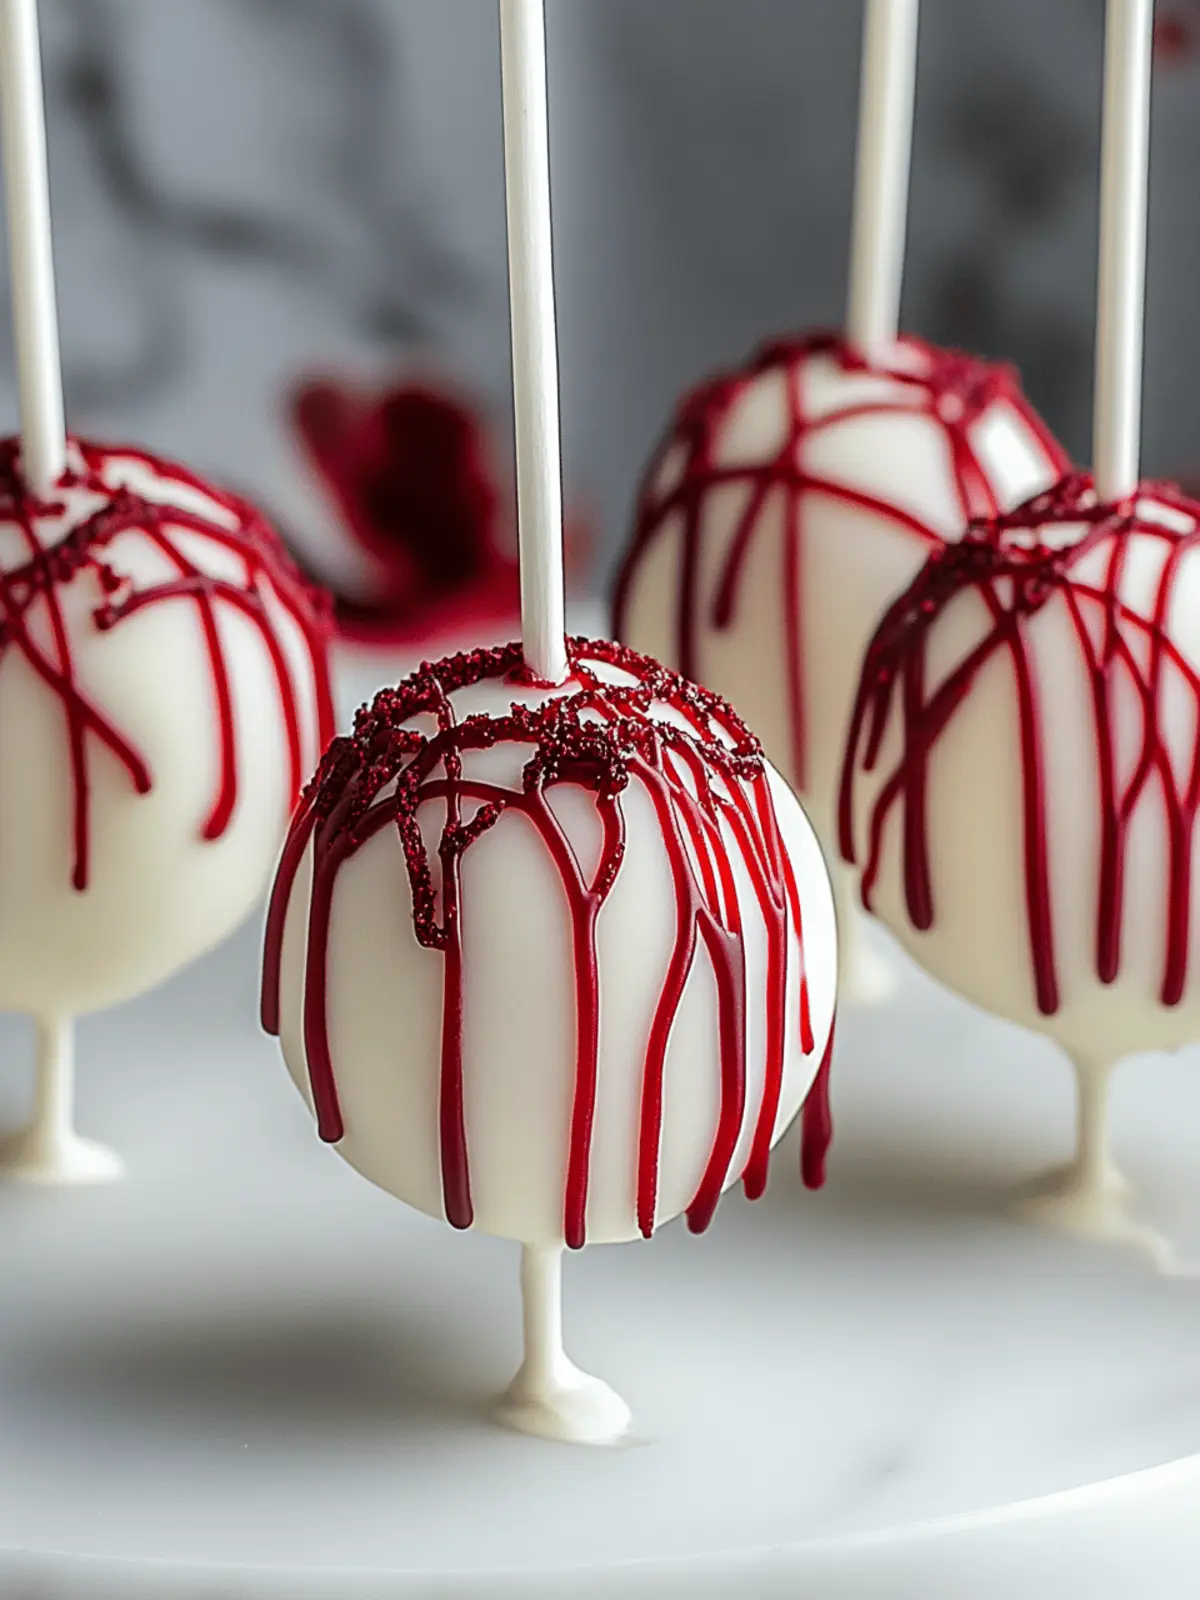
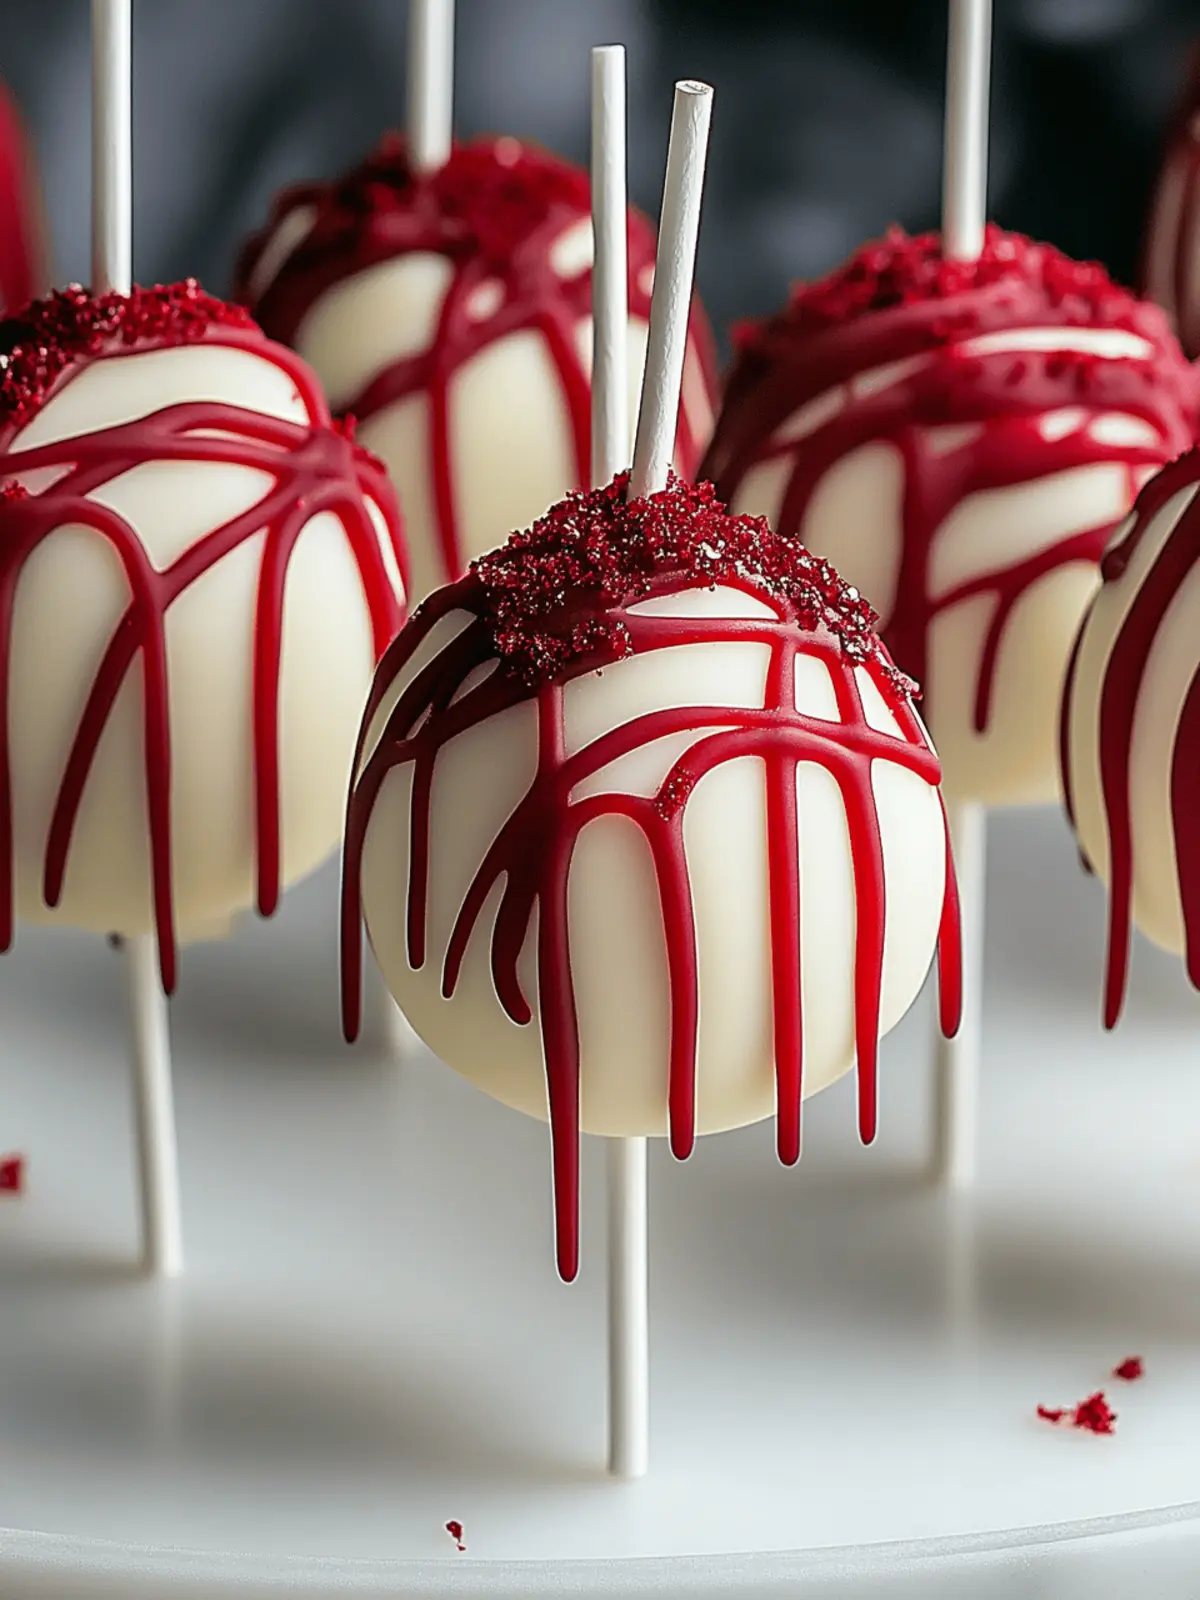
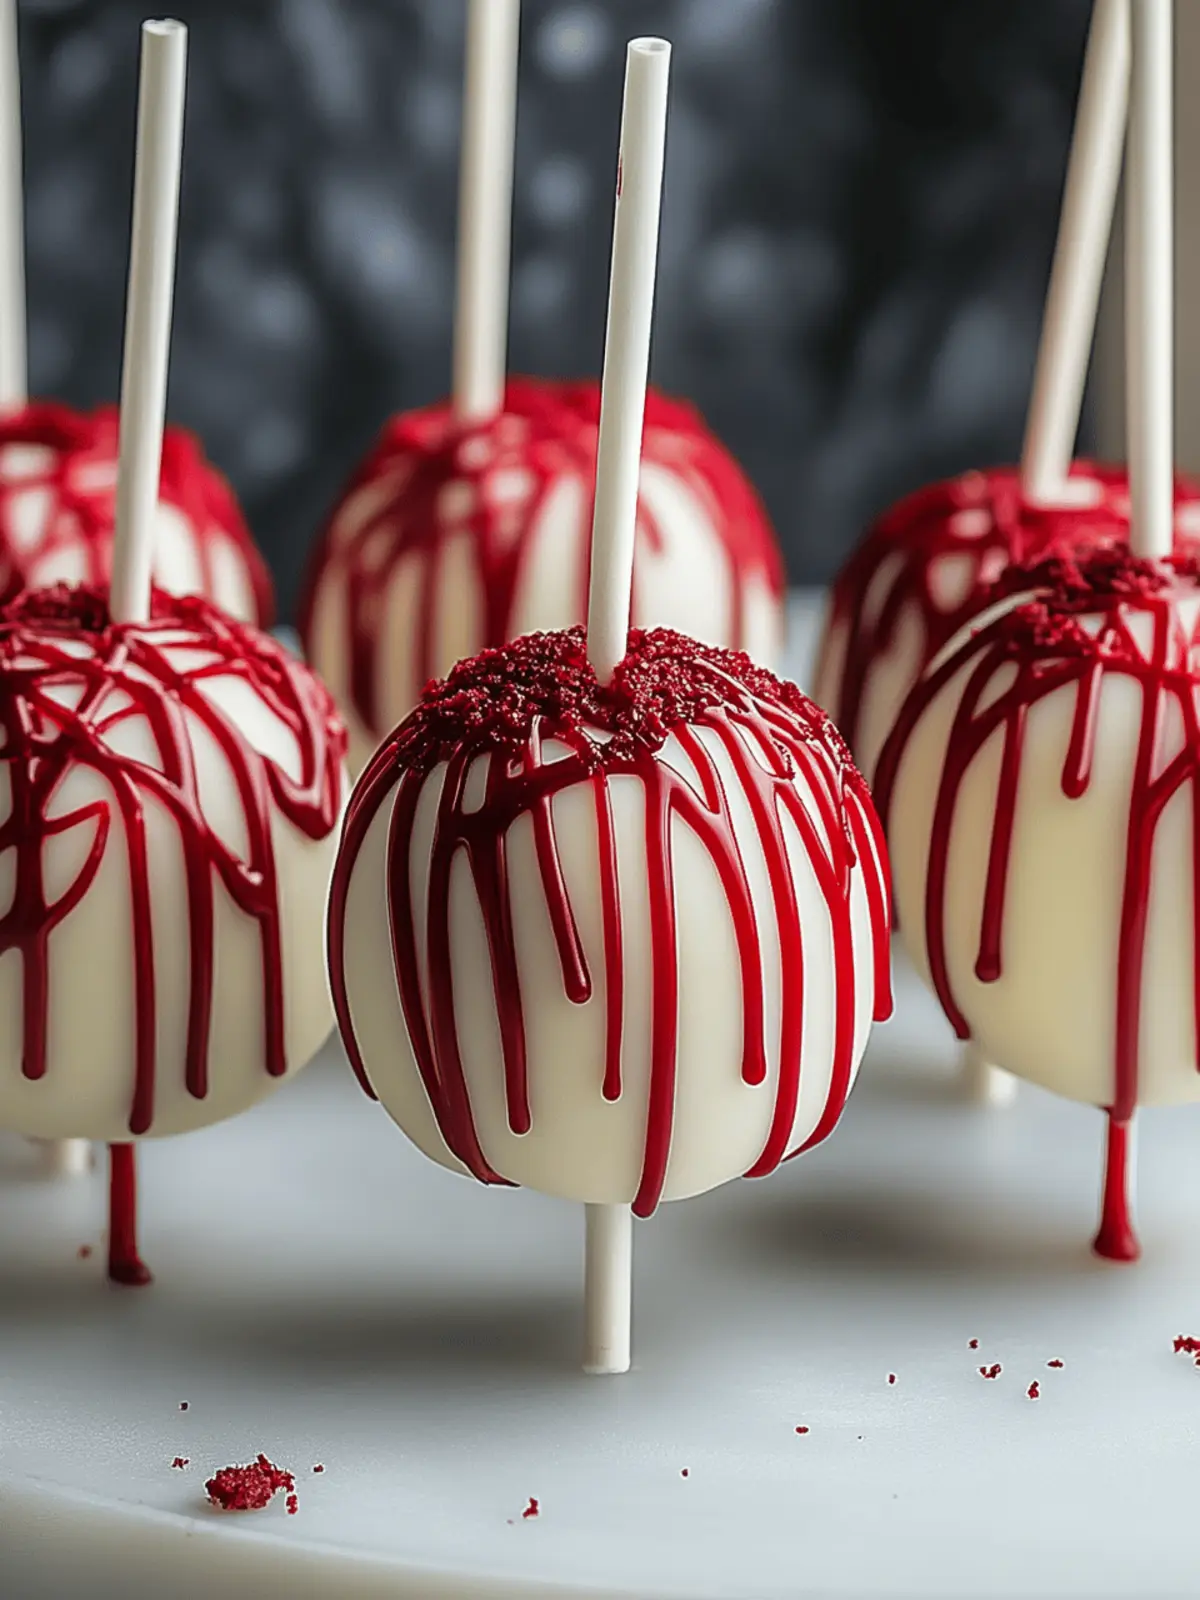
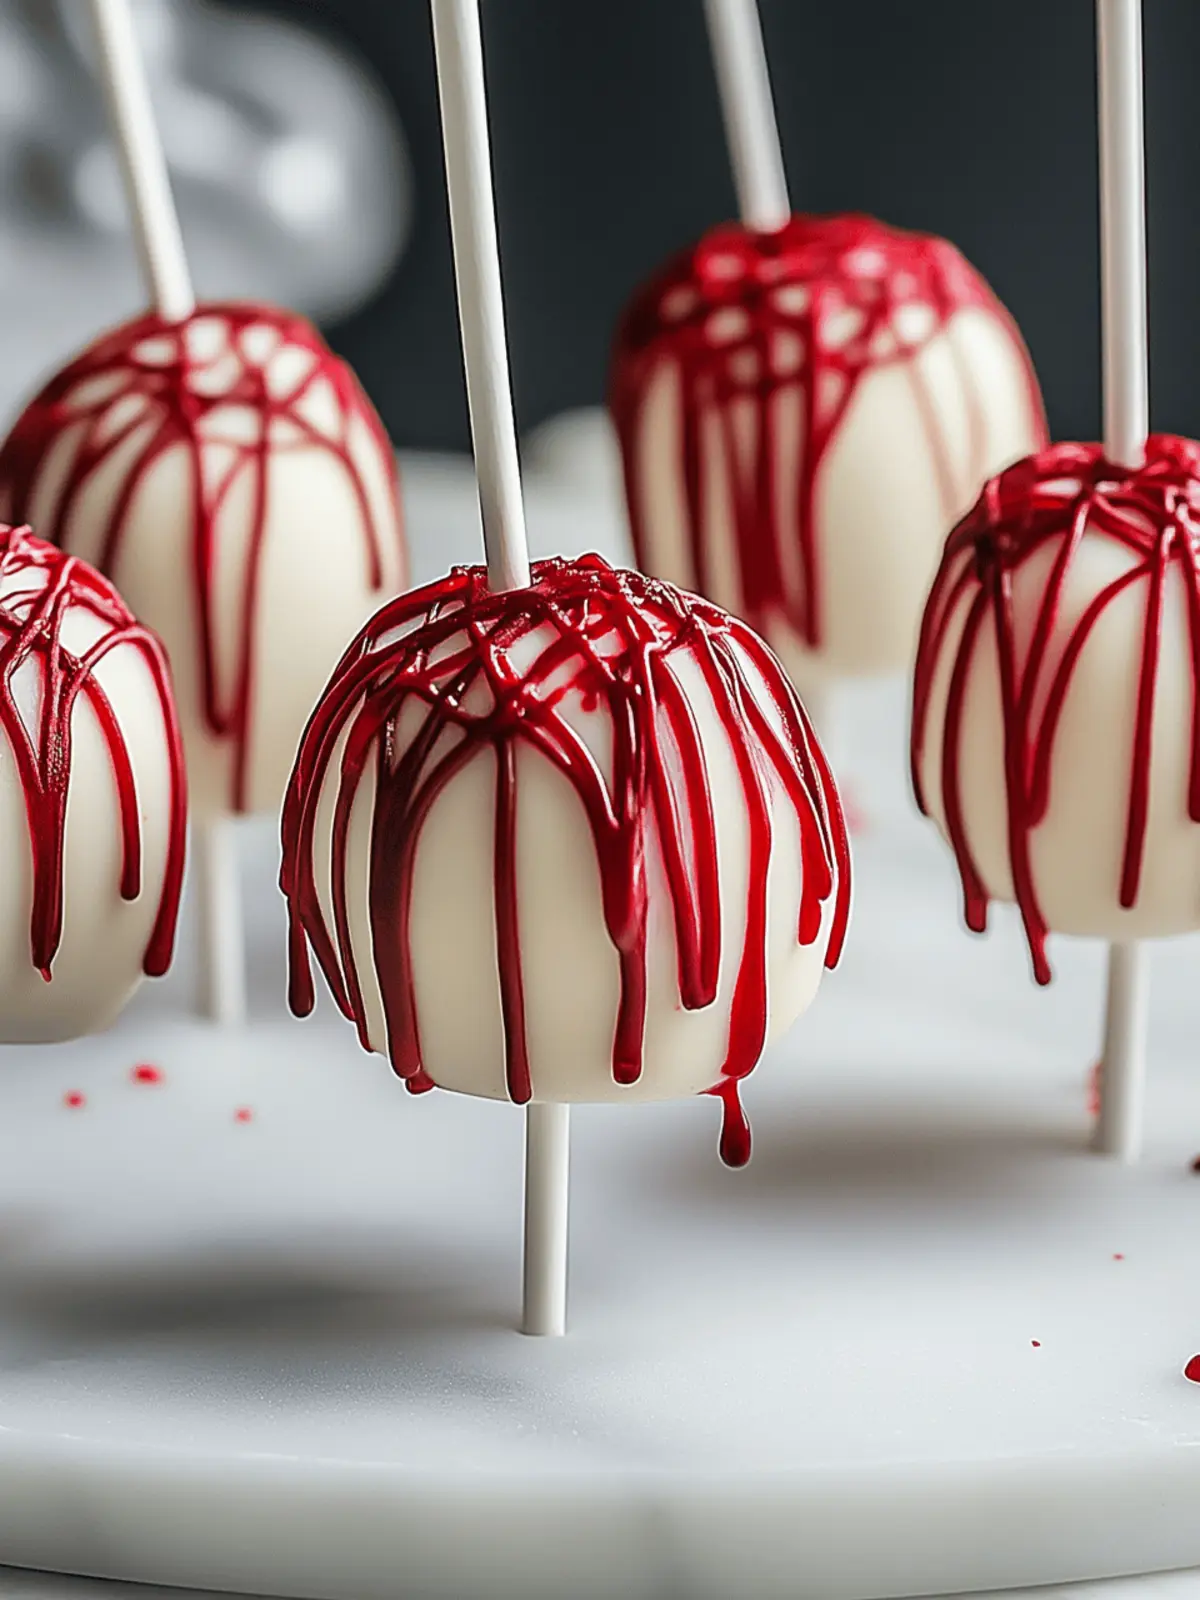
There’s something undeniably enchanting about red velvet cake — the rich color, the tender crumb, and that classic cream cheese frosting. But when I stumbled upon the idea of transforming this beloved cake into bite-sized pops, I knew I was onto something special. It was like capturing a moment of pure joy in a sweet, unexpected package.
Imagine inviting friends over and presenting them with these Bloody Red Velvet Cake Pops, delighting in the looks of surprise: a treat that’s not only scrumptious but also a visual feast! Perfect for gatherings, these little gems come together effortlessly, making them an ideal solution for impromptu celebrations or even just a cozy night at home when you crave a sweet touch.
As you dip these scrumptious balls of red velvet goodness into the creamy white chocolate, you’ll be amazed at how simple yet elegant they appear. These pops promise to satisfy your sweet tooth while showcasing your flair for homemade treats — a delicious antidote to the ordinary fast food routine. Let’s dive into this delightful recipe together!
Why are Bloody Red Velvet Cake Pops a must-try?
Irresistible flavor: The rich taste of red velvet paired with creamy frosting creates a flavor sensation.
Fun and festive: Ideal for parties, these pops bring a pop of color and creativity to any dessert table.
Simple preparation: With just a few steps, you’ll transform a box mix into gourmet treats that impress!
Crowd-pleaser: Perfectly bite-sized, they’re great for sharing and are sure to make everyone smile.
Time-efficient: These pops are quick to whip up, even allowing for spontaneous sweet cravings—check out more easy desserts in our dessert collection!
Bloody Red Velvet Cake Pops Ingredients
• Get ready to create something magical!
For the Cake Mixture
- Red velvet cake mix – the foundational ingredient that brings color and flavor.
- Cream cheese frosting – adds a delightful richness that complements the red velvet perfectly.
For the Coating
- White chocolate chips – provides a sweet, creamy exterior that contrasts beautifully with the rich cake.
- Red food coloring or red chocolate melts – enhances the visual appeal, making your Bloody Red Velvet Cake Pops truly stunning.
With these ingredients on hand, you’re ready to embark on a delicious adventure that will impress everyone at your next gathering!
How to Make Bloody Red Velvet Cake Pops
-
Prepare the cake mix as per the package instructions, mixing in the right amount of water, oil, and eggs until smooth. This sets the stage for the moist, rich flavor that defines red velvet.
-
Crumble the warm baked cake into a large bowl, breaking it up until it resembles fine crumbs. You want to ensure a nice, fluffy texture for your pops later.
-
Combine the crumbled cake with the cream cheese frosting, mixing until fully integrated. This will lend a luscious taste and help bind the mixture together perfectly.
-
Form your cake mixture into small balls, about 1 inch in diameter, and arrange them on a baking sheet lined with parchment paper. Keep them uniform for even coating.
-
Refrigerate the cake balls for about 30 minutes, allowing them to firm up. This step is essential for easy dipping later on, ensuring they maintain their shape.
-
Melt the white chocolate chips in a microwave-safe bowl, stirring in intervals until smooth. For a festive twist, mix in a few drops of red food coloring to create a vibrant backdrop.
-
Dip each chilled cake ball into the melted chocolate, using a fork to coat them thoroughly. Let the excess chocolate drip off, and ensure they’re beautifully covered in white chocolate.
-
Set the dipped pops back on the baking sheet, allowing them to harden completely. You can expedite this process by popping them back in the fridge for about 10-15 minutes!
Optional: Drizzle extra melted chocolate on top for an elegant finishing touch.
Exact quantities are listed in the recipe card below.
Expert Tips for Bloody Red Velvet Cake Pops
-
Proper Crumbling: Ensure the cake is fully cooled before crumbling; warm cake can lead to a sticky mixture, making it hard to form balls.
-
Mixing Consistency: Aim for a dough-like consistency when combining cake crumbs with frosting. Too much frosting can make them overly sweet, while too little means they won’t hold shape.
-
Refrigeration Importance: Don’t skip the chilling step! Firming them up for at least 30 minutes helps maintain their shape during dipping in the melted chocolate.
-
Coating Technique: When dipping, make sure to coat each pop fully in white chocolate. This not only looks appealing but also locks in moisture and flavor.
-
Festive Touches: For a holiday or party theme, feel free to sprinkle on some edible decorations or colored sugar after dipping the pops for that extra pop!
-
Avoid Overheating: Melt the white chocolate slowly in the microwave to prevent it from seizing. Stirring at intervals ensures a smooth and creamy coating for your Bloody Red Velvet Cake Pops.
Bloody Red Velvet Cake Pops Variations
Feel free to unleash your creativity and make these cake pops uniquely yours!
- Gluten-Free: Substitute the cake mix with a gluten-free red velvet option for a joyful treat everyone can enjoy.
- Nutty Addition: Fold in 1/2 cup of crushed walnuts or pecans into the cake mixture for a delightful crunch.
- Minty Fresh: Mix in a few drops of mint extract into the frosting for a refreshing twist that surprises your taste buds.
- Dark Chocolate Delight: Swap white chocolate with dark chocolate chips for a rich, decadent flavor that will impress chocolate lovers.
- Accented Coating: Enhance the melted chocolate with sprinkles or edible glitter to create a fun, eye-catching dessert perfect for celebrations!
- Coconut Twist: Add shredded coconut to the cake mixture for added texture and a tropical flair that transports you to paradise.
- Warm & Spicy: Incorporate a pinch of cinnamon or nutmeg for a cozy, spiced undertone that brings warmth and comfort to every bite.
- Fruit Fusion: Insert a small piece of fresh strawberry or raspberry into the center of each pop for a burst of fruity flavor when you take a bite.
No matter how you choose to vary these goodies, each bite will be a special reminder of your culinary creativity!
Make Ahead Options
These Bloody Red Velvet Cake Pops are perfect for meal prep, allowing you to enjoy gourmet treats with minimal stress! You can prepare the cake mixture and form the balls up to 24 hours in advance. Simply refrigerate them overnight on a baking sheet lined with parchment paper. When you’re ready to indulge, melt the white chocolate, dip the chilled cake balls, and let them set. This method not only saves you time but ensures your pops remain just as delicious and visually appealing when it’s time to serve them. For the best quality, cover the cake balls tightly while refrigerating to prevent them from drying out. Enjoy a hassle-free dessert that’s sure to wow your guests!
Storage Tips for Bloody Red Velvet Cake Pops
Fridge: Keep your Bloody Red Velvet Cake Pops in an airtight container in the refrigerator for up to 1 week to maintain freshness and flavor.
Freezer: Place the pops in a single layer on a baking sheet until frozen, then transfer to a container for freezing. They can last up to 2 months in the freezer!
Thawing: To enjoy frozen cake pops, let them thaw in the fridge for a few hours before serving. This ensures they retain their delightful texture.
Reheating: If the chocolate coating looks dull after refrigeration, briefly microwave the pops for 5-10 seconds to soften the chocolate before enjoying!
What to Serve with Bloody Red Velvet Cake Pops?
It’s time to elevate your dessert game and create a stunning spread that complements these enchanting pops.
-
Creamy Vanilla Ice Cream: This classic pairing offers a delightful contrast, enhancing the red velvet’s richness with a cool, creamy texture.
-
Fun Fruity Dips: Try a raspberry or strawberry sauce for a fresh, fruity balance that cuts through the sweetness and adds vibrancy to your plate.
-
Sparkling Fruit Punch: A refreshing drink that pairs beautifully; the bubbly texture and fruity notes provide a fun, festive vibe for your gathering.
-
Light Cheesecake Bites: These creamy morsels echo the flavors of your cake pops and provide a different texture in every bite, pleasing a variety of palates.
-
Mint-Infused Whipped Cream: A dollop of this light and airy cream can brighten your dessert table, adding a refreshing contrast to the rich cake.
-
Fruit Skewers: Colorful and fresh, these will add brightness and a textural crunch, perfectly balancing the rich and creamy flavors of your cake pops.
-
Chocolate-Covered Strawberries: For the ultimate treat, these classic favorites enhance the chocolate experience while introducing a fresh element.
-
Coffee or Espresso: The rich, bold flavors of coffee contrast wonderfully with the sweetness of cake pops, enhancing your dessert experience.
Let your creativity shine as you build an unforgettable dessert table to delight your guests alongside the scrumptious Bloody Red Velvet Cake Pops!
Bloody Red Velvet Cake Pops Recipe FAQs
How do I choose the best red velvet cake mix?
Absolutely! When selecting a red velvet cake mix, look for one that has a rich color on the packaging and ideally uses natural cocoa powder. Check for a mix that includes baking soda to ensure a nice rise, and opt for a brand that has good reviews for taste. You’ll want a mix that promises a moist cake — that’s the magic of red velvet!
What’s the best way to store Bloody Red Velvet Cake Pops?
To keep your Bloody Red Velvet Cake Pops fresh, store them in an airtight container in the refrigerator for up to 1 week. If you notice the coating dulls over time, just warm them in the microwave for about 5-10 seconds before enjoying.
Can I freeze Bloody Red Velvet Cake Pops?
Absolutely! To freeze, arrange your cake pops in a single layer on a baking sheet and freeze until solid—about 1-2 hours. Once they’re firm, transfer them to a freezer-safe container. They can be stored this way for up to 2 months. When you’re ready to enjoy, simply thaw in the fridge for a few hours before serving for the best texture.
What should I do if my cake mixture is too sticky?
If your cake mixture feels too sticky, ensure that you’ve allowed the cake to cool thoroughly before crumbling it. If it remains sticky, add a touch more frosting, but do so gradually to avoid making it overly sweet. Aim for a dough-like consistency that can hold its shape when formed into balls.
Can my pets have any of the ingredients in Bloody Red Velvet Cake Pops?
It’s best to keep these treats away from pets! Chocolate, including white chocolate, can be harmful to dogs and cats. Additionally, the cream cheese frosting may not be suitable for pets due to lactose, which some animals cannot properly digest. Always choose pet-friendly treats for your furry companions!
How do I know if my cake pops have been coated properly?
The secret is in the coating! After dipping, you want to ensure that each Bloody Red Velvet Cake Pop is fully coated in white chocolate with no cake bits visible. It should shine and have a smooth finish. If you’ve done this right, they should look as delightful as they taste!

Bloody Red Velvet Cake Pops That Wow Every Party Guest!
Ingredients
Equipment
Method
- Prepare the cake mix as per the package instructions, mixing in the right amount of water, oil, and eggs until smooth.
- Crumble the warm baked cake into a large bowl, breaking it up until it resembles fine crumbs.
- Combine the crumbled cake with the cream cheese frosting, mixing until fully integrated.
- Form your cake mixture into small balls, about 1 inch in diameter, and arrange them on a baking sheet lined with parchment paper.
- Refrigerate the cake balls for about 30 minutes to firm up.
- Melt the white chocolate chips in a microwave-safe bowl, stirring in intervals until smooth.
- Dip each chilled cake ball into the melted chocolate, using a fork to coat them thoroughly.
- Set the dipped pops back on the baking sheet to harden completely.
- Optional: Drizzle extra melted chocolate on top for an elegant finishing touch.


