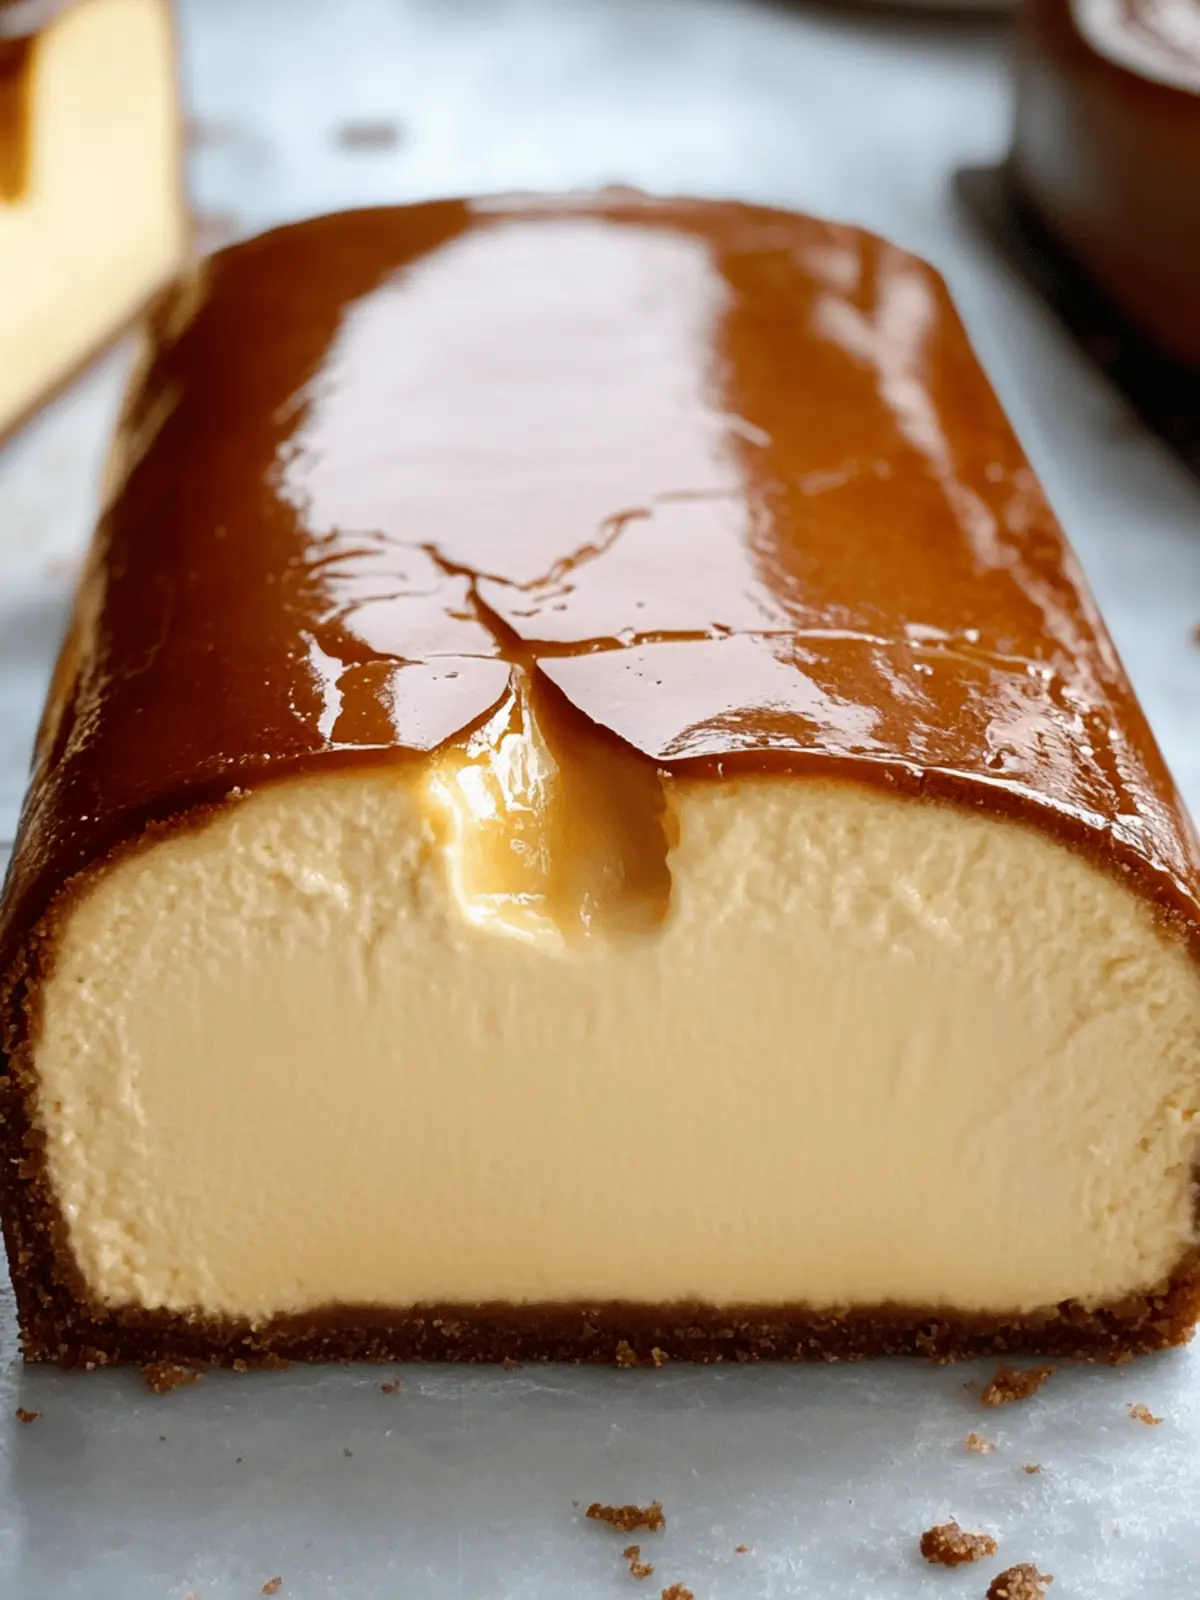
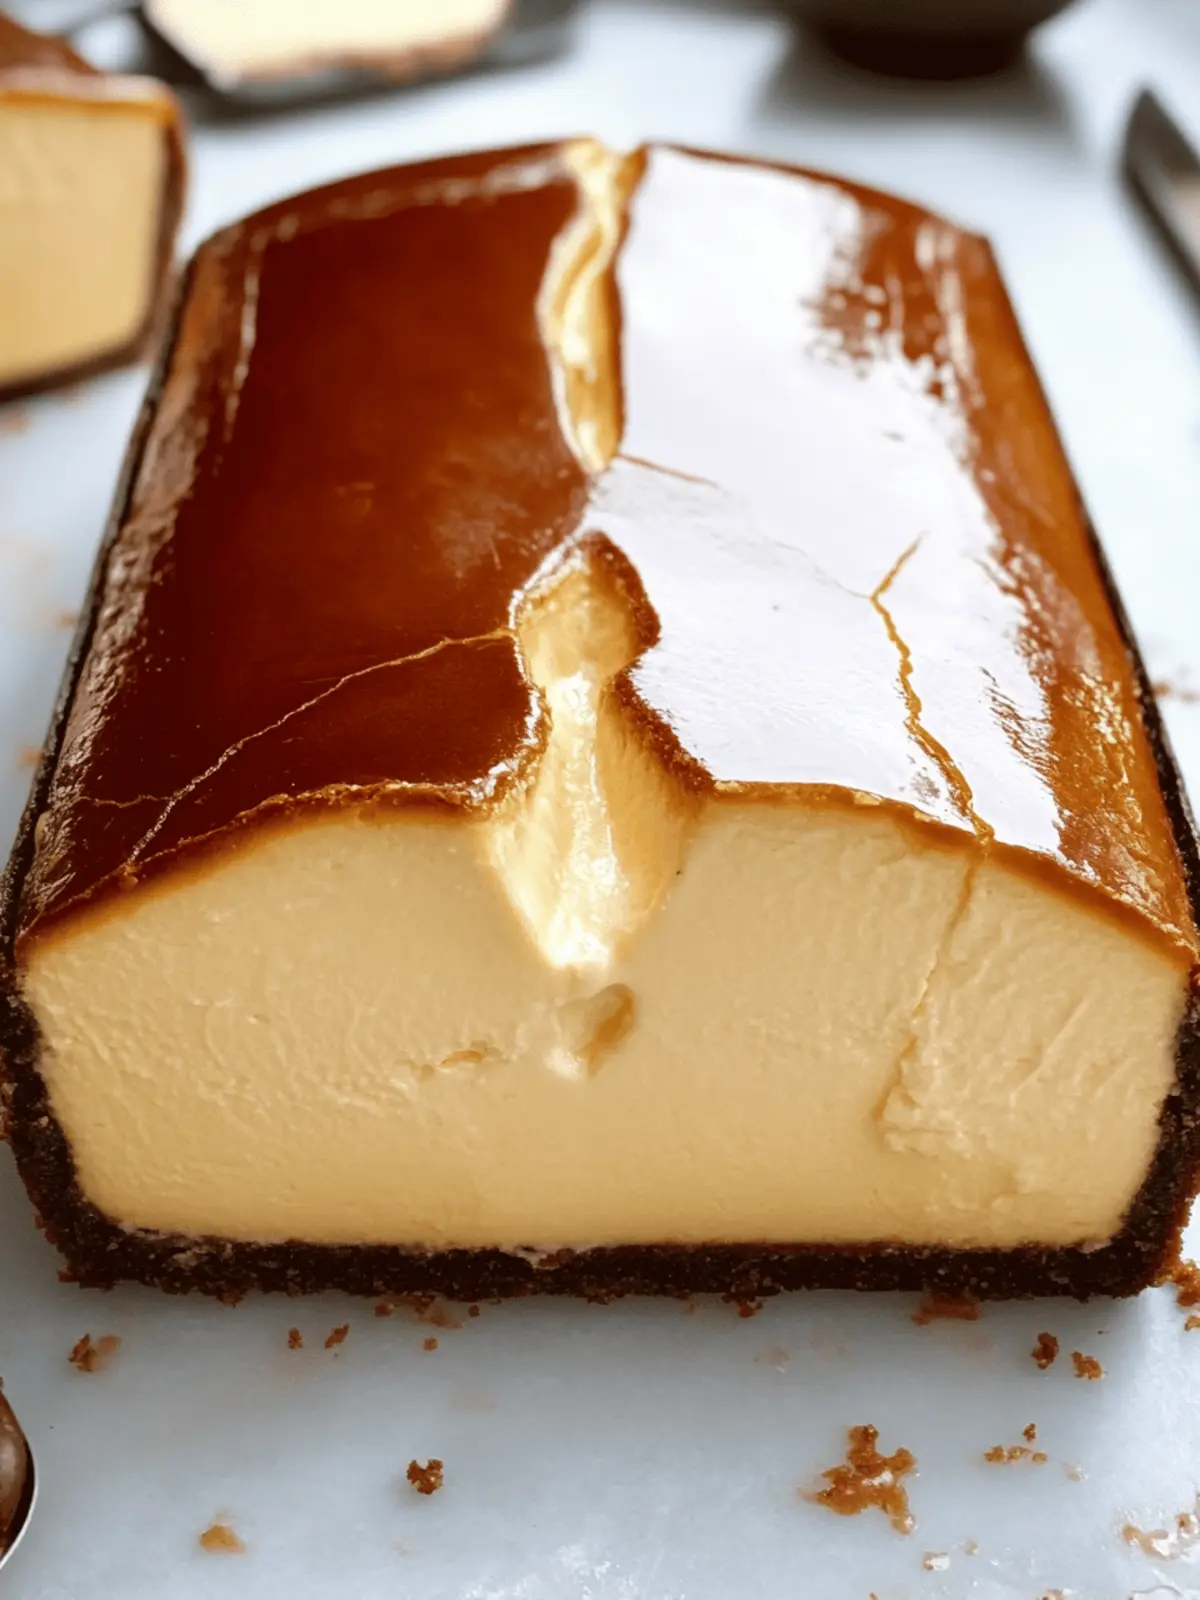
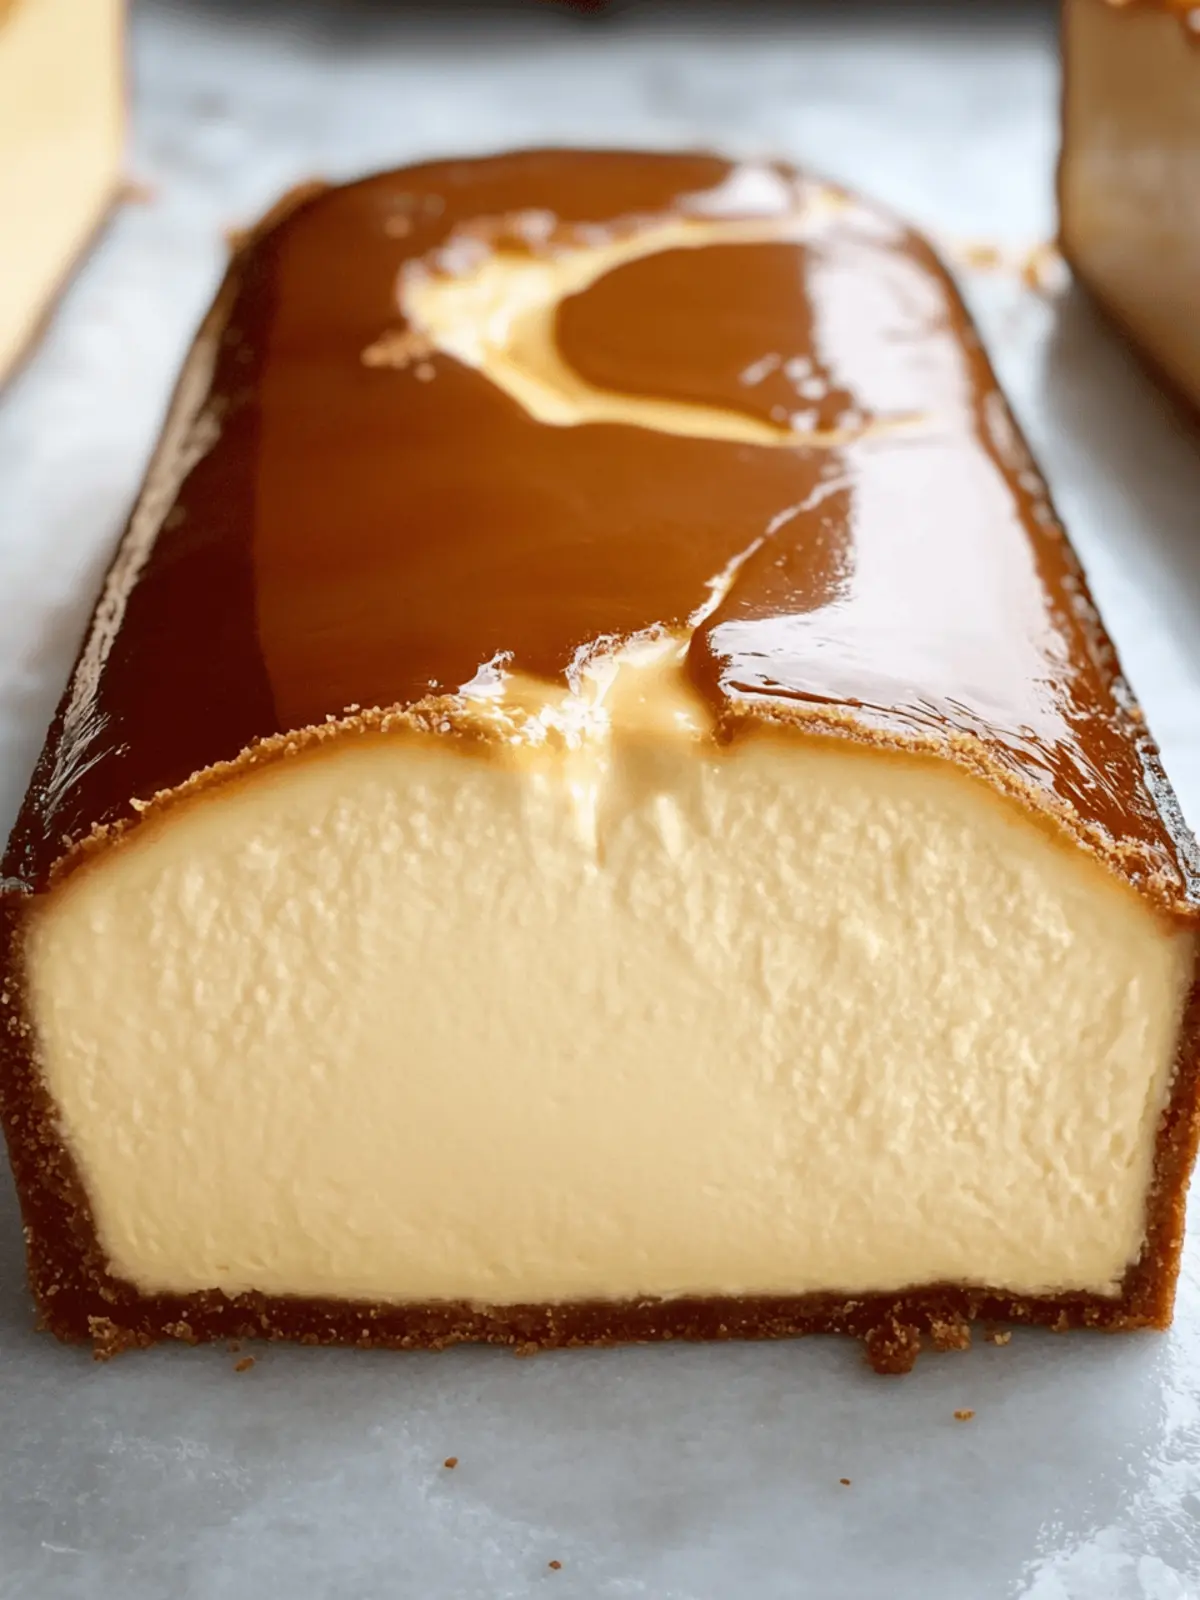
There’s something surprisingly delightful about serving a dessert that looks as elegant as it tastes, especially when it’s as simple as this Burnt Basque Cheesecake. Just imagine the rich aroma of caramelized sugar mingling with the creamy goodness of baked cream cheese wafting through your kitchen—it’s like a warm hug on a plate.
As I set out to refine this recipe, I wanted to create a luxurious treat that doesn’t require a whole day to prepare. This crustless version, baked in a loaf pan, is not only a crowd-pleaser but also perfect for small gatherings or a cozy night in. With minimal ingredients and straightforward steps, it’s an indulgent dessert that even novice bakers can master. So, grab your mixing bowl and let’s uncover just how easy it is to whip up this creamy delight that will have everyone asking for seconds!
Why is Burnt Basque Cheesecake so irresistible?
Decadence: This crustless cheesecake has a rich, creamy interior that melts in your mouth, offering an indulgent experience with every slice.
Easy Preparation: With just a few simple steps, this recipe makes it easy for anyone to achieve bakery-quality results at home.
Unique Flavor: The caramelized top adds a delightful depth of flavor that perfectly complements the creamy filling, creating a taste sensation.
Small Batch Delight: Perfectly portioned for small gatherings, your guests will rave about this luxurious dessert without the leftovers.
Versatile Toppings: Pile on optional toppings like fresh berries or whipped cream for added elegance, elevating your dessert game!
This Burnt Basque Cheesecake will become your go-to impressive dessert. Check out more easy dessert ideas for more delightful creations!
Burnt Basque Cheesecake Ingredients
For the Cheesecake
- Cream Cheese – provides that signature rich and creamy texture; remember to use full-fat for the best results.
- Granulated Sugar – adds sweetness and enhances flavors; you can substitute with a sweetener of your choice if needed.
- Eggs – essential for structure; opt for large eggs at room temperature for optimal blending.
- Heavy Cream – contributes to the lusciousness; you can substitute with lighter cream if preferred.
- All-Purpose Flour – helps bind the ingredients together; feel free to use a gluten-free blend for a gluten-free option.
- Salt – enhances the sweetness of the cheesecake, balancing the flavors beautifully.
For Optional Toppings
- Whipped Cream – adds a light and airy texture, perfect for contrast.
- Fresh Berries – lovely for a pop of color and freshness that brightens each slice.
- Caramel Sauce – introduces a rich, sweet drizzle that enhances the overall indulgence of your Burnt Basque Cheesecake.
How to Make Burnt Basque Cheesecake
-
Preheat the oven to 400°F (200°C). This ensures your cheesecake starts baking at the right temperature for that perfect caramelized top.
-
Blend cream cheese and sugar in a large mixing bowl until smooth and creamy. This step is crucial for a luxurious texture—aim for a consistent mixture.
-
Incorporate eggs one at a time, blending well after each addition. This allows the eggs to fully integrate, giving structure to your cheesecake.
-
Fold in heavy cream, flour, and salt gently until combined. Take care not to overmix here; you want to maintain that light and airy texture.
-
Pour the batter into a greased and lined 9×5 inch loaf pan. Make sure the batter is evenly distributed for a consistent bake throughout.
-
Bake for about 45 minutes until the top is golden brown and has a slight jiggle in the center. This is when the magic happens—the caramelization begins!
-
Cool the cheesecake at room temperature before refrigerating. Letting it cool naturally helps it set and enhances the flavors.
-
Chill in the refrigerator for at least 4 hours, preferably overnight, before serving. Chilling allows the cheesecake to firm up, ensuring the best texture.
Optional: Serve with a dollop of whipped cream for an extra touch of indulgence!
Exact quantities are listed in the recipe card below.
What to Serve with Burnt Basque Cheesecake?
Imagine the sweetness of that luscious cheesecake dancing on your taste buds, and now let’s create the perfect spread to accompany it.
-
Fresh Berries: Their natural tartness complements the sweet creaminess of the cheesecake, adding a refreshing contrast.
-
Whipped Cream: A dollop of airy whipped cream not only enhances the flavor but also adds a lovely texture that brightens up each bite.
-
Caramel Sauce: Drizzling some rich caramel sauce takes indulgence to another level, creating a sweet and buttery counterpart to the cheesecake’s depth.
-
Chocolate Shavings: For a touch of elegance, chocolate shavings add a decadent flair. This pairing introduces a delightful bitterness that balances the sweetness.
-
Coffee or Espresso: A warm cup of coffee or a shot of espresso provides a cozy finish, enhancing the cheesecake’s caramelized notes while cutting through its richness.
-
Sparkling Wine: A glass of bubbly adds a festive feel and its effervescence can cut through the dessert’s creaminess, making every bite feel special.
-
Vanilla Ice Cream: Serving a scoop alongside creates a comforting, classic pairing, with the cold creaminess juxtaposing the warm flavors of the cheesecake.
-
Lemon Zest: A sprinkle of lemon zest on top brightens the dessert and adds a citrusy note, enhancing the overall experience with a zing of freshness.
Each of these options not only complements your Burnt Basque Cheesecake but also elevates your dessert experience to something truly memorable.
How to Store and Freeze Burnt Basque Cheesecake
Fridge: Store your Burnt Basque Cheesecake in an airtight container for up to 5 days. This helps preserve its rich flavor and creamy texture, so it’s ready whenever you crave a sweet treat.
Freezer: While not recommended for this cheesecake due to potential texture changes, if you must freeze, wrap tightly in plastic wrap and foil. It can last up to 2 months in the freezer, but thaw in the fridge overnight before serving.
Reheating: If you do freeze it, avoid reheating in the oven to maintain its creamy quality. Instead, allow it to come to room temperature after thawing for the best experience.
Make-Ahead: Consider making your Burnt Basque Cheesecake a day in advance. The flavors deepen beautifully as it chills, making for an even more indulgent dessert when it’s time to serve!
Expert Tips for Burnt Basque Cheesecake
-
Room Temperature Ingredients: Ensure your cream cheese, eggs, and heavy cream are at room temperature. This helps create a smooth batter and prevents lumps.
-
Mind the Baking Time: Keep an eye on your cheesecake as it bakes. If it starts to crack too much, it may indicate overbaking. Aim for a golden top with a slight jiggle!
-
Cool Slowly: Let your cheesecake cool at room temperature before refrigerating. This gradual cooling helps prevent cracks and enhances the cheesecake’s creamy texture.
-
Avoid Stirring Too Hard: Gently fold in the ingredients instead of vigorous mixing to maintain the airiness of your batter, resulting in that sought-after smooth texture.
-
Chill for Optimal Flavor: The longer you chill your Burnt Basque Cheesecake, the more the flavors meld together. Aim for overnight chilling for an unforgettable taste experience!
Burnt Basque Cheesecake Variations
Feel free to play around with these variations to customize your cheesecake experience!
-
Gluten-Free: Substitute all-purpose flour with a gluten-free blend for a delicious gluten-free option that everyone can enjoy.
-
Lighter Cream: Swap heavy cream for a half-and-half or reduced-fat cream to lighten up the recipe without sacrificing too much creaminess.
-
Citrus Twist: Add a teaspoon of lemon zest or orange zest to the batter for a refreshing citrus flavor that brightens the rich cheesecake.
-
Vanilla Infusion: Mix in a teaspoon of pure vanilla extract to enhance the depth of flavor, giving your cheesecake an aromatic touch.
-
Chocolate Swirl: Fold in melted dark chocolate for a luxurious chocolatey twist that will leave your taste buds dancing.
-
Nutty Crunch: Incorporate chopped nuts like pecans or almonds into the batter, or use them as a topping for added texture and flavor contrast.
-
Spicy Kick: Add a pinch of ground cinnamon or nutmeg to the batter for a warm, aromatic hint that makes each slice even more inviting.
-
Berry Bliss: Top with fresh berries or a berry compote for a sweet and tart contrast that complements the creamy nature of the cheesecake beautifully.
Make Ahead Options
These Burnt Basque Cheesecake slices are perfect for meal prep enthusiasts! You can prepare the cheesecake batter up to 24 hours in advance, storing it in an airtight container in the refrigerator to maintain its creamy texture. Simply mix together your ingredients as per the recipe, and then pour the batter into the lined loaf pan. Bake it fresh when you’re ready to serve for a delightful dessert. The baked cheesecake can also be made ahead, allowing it to chill in the fridge for up to 5 days before serving. Just remember to let it come to room temperature for about 30 minutes before slicing, which will ensure every bite is just as delicious as when it was first baked!
Burnt Basque Cheesecake Recipe FAQs
What kind of cream cheese should I use for the cheesecake?
Absolutely! For a luxurious, rich texture, always opt for full-fat cream cheese. It blends smoothly and gives that signature creamy mouthfeel that makes this Burnt Basque Cheesecake so delightful. Low-fat versions may compromise the flavor and thickness.
How do I know if the cheesecake is baked properly?
Very! Your cheesecake should have a beautifully golden brown top with a slight jiggle in the center when it’s ready. Use a toothpick to check: it should come out clean from the edges but have a slight residue from the center, indicating a creamy texture inside.
What’s the best way to store leftover cheesecake?
To keep your Burnt Basque Cheesecake fresh, place it in an airtight container and store it in the fridge for up to 5 days. This method helps maintain its rich flavor and creamy texture. Simply slice what you need and enjoy the rest later on!
Can I freeze Burnt Basque Cheesecake?
While I recommend against freezing to maintain the perfect texture, you can freeze it if necessary. Wrap the cheesecake tightly in plastic wrap and then aluminum foil to prevent freezer burn. It can last for up to 2 months. To enjoy, thaw it in the fridge overnight before serving.
Are there any dietary considerations for this cheesecake?
Absolutely! For a gluten-free version, simply substitute all-purpose flour with a gluten-free flour blend. Additionally, make sure to check for any other potential allergens in your baking ingredients, such as dairy if serving to specific dietary needs. Always feel free to ask heartfelt questions—I’m here to help!
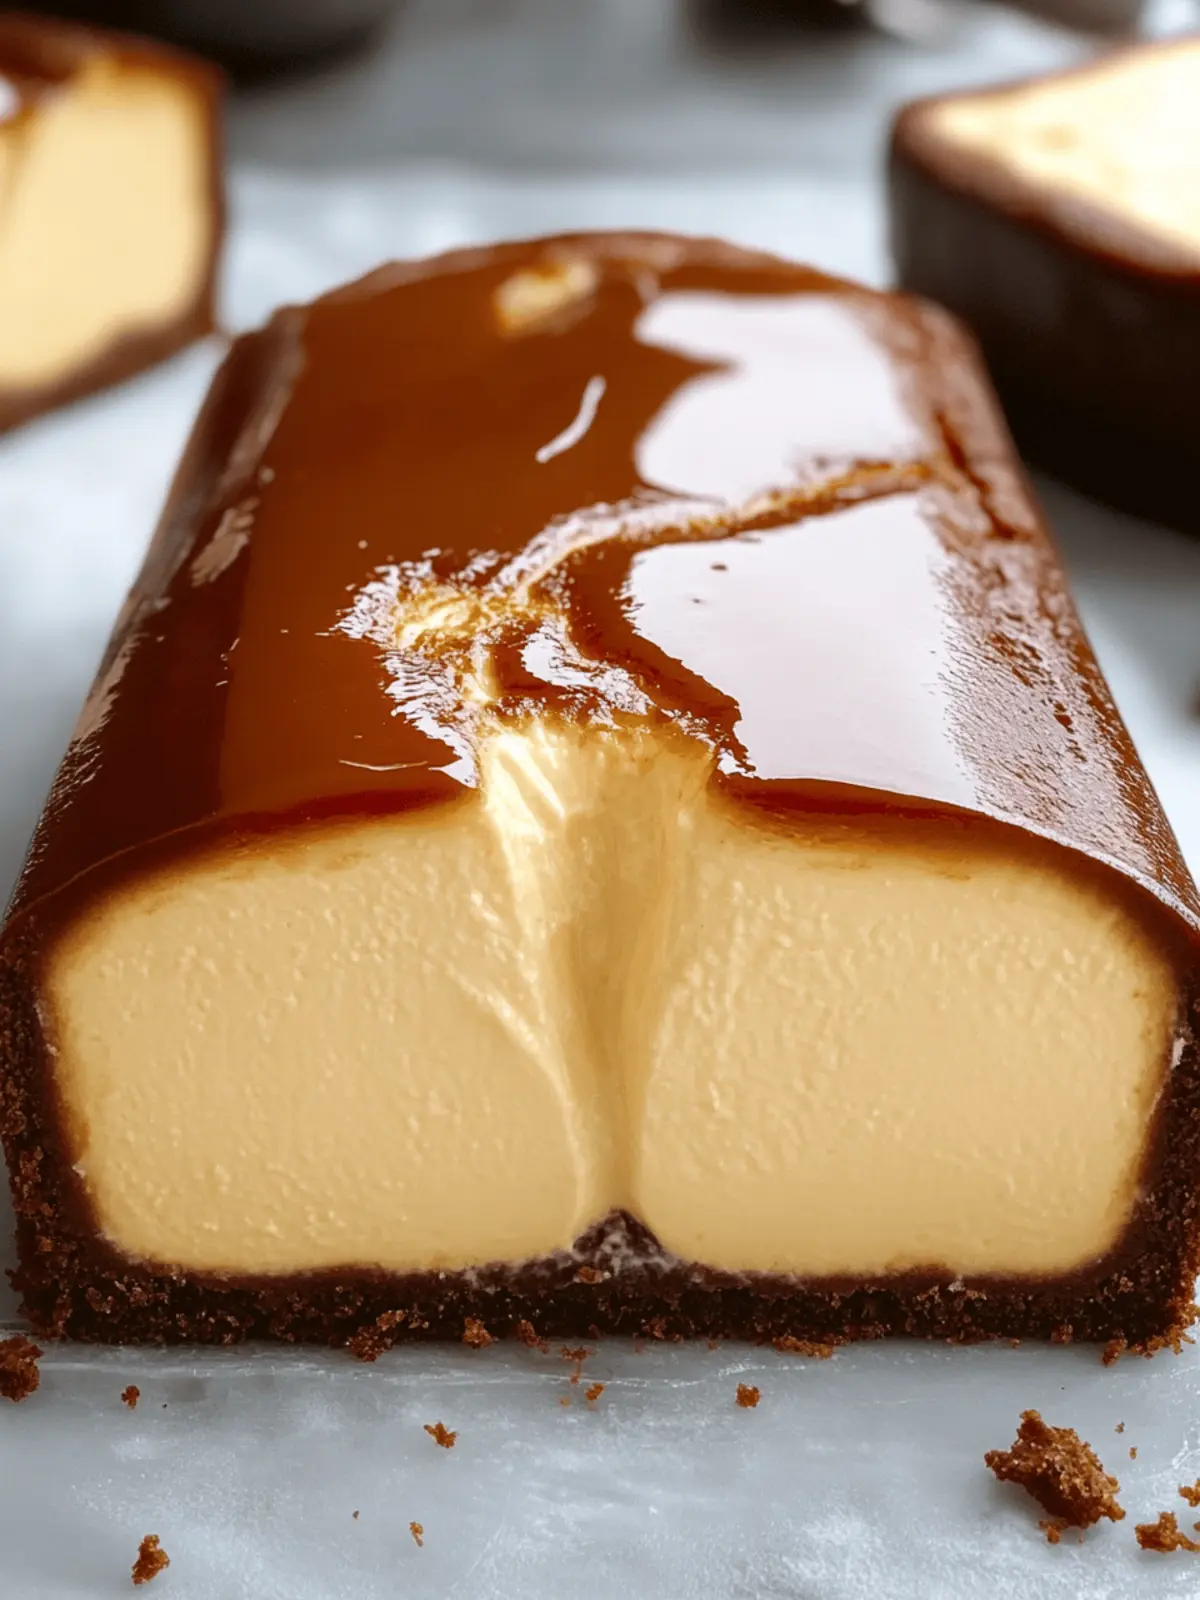
Decadent Burnt Basque Cheesecake Made Easy in a Loaf Pan
Ingredients
Equipment
Method
- Preheat the oven to 400°F (200°C).
- Blend cream cheese and sugar in a large mixing bowl until smooth and creamy.
- Incorporate eggs one at a time, blending well after each addition.
- Fold in heavy cream, flour, and salt gently until combined.
- Pour the batter into a greased and lined 9x5 inch loaf pan.
- Bake for about 45 minutes until the top is golden brown with a slight jiggle in the center.
- Cool the cheesecake at room temperature before refrigerating.
- Chill in the refrigerator for at least 4 hours, preferably overnight, before serving.
