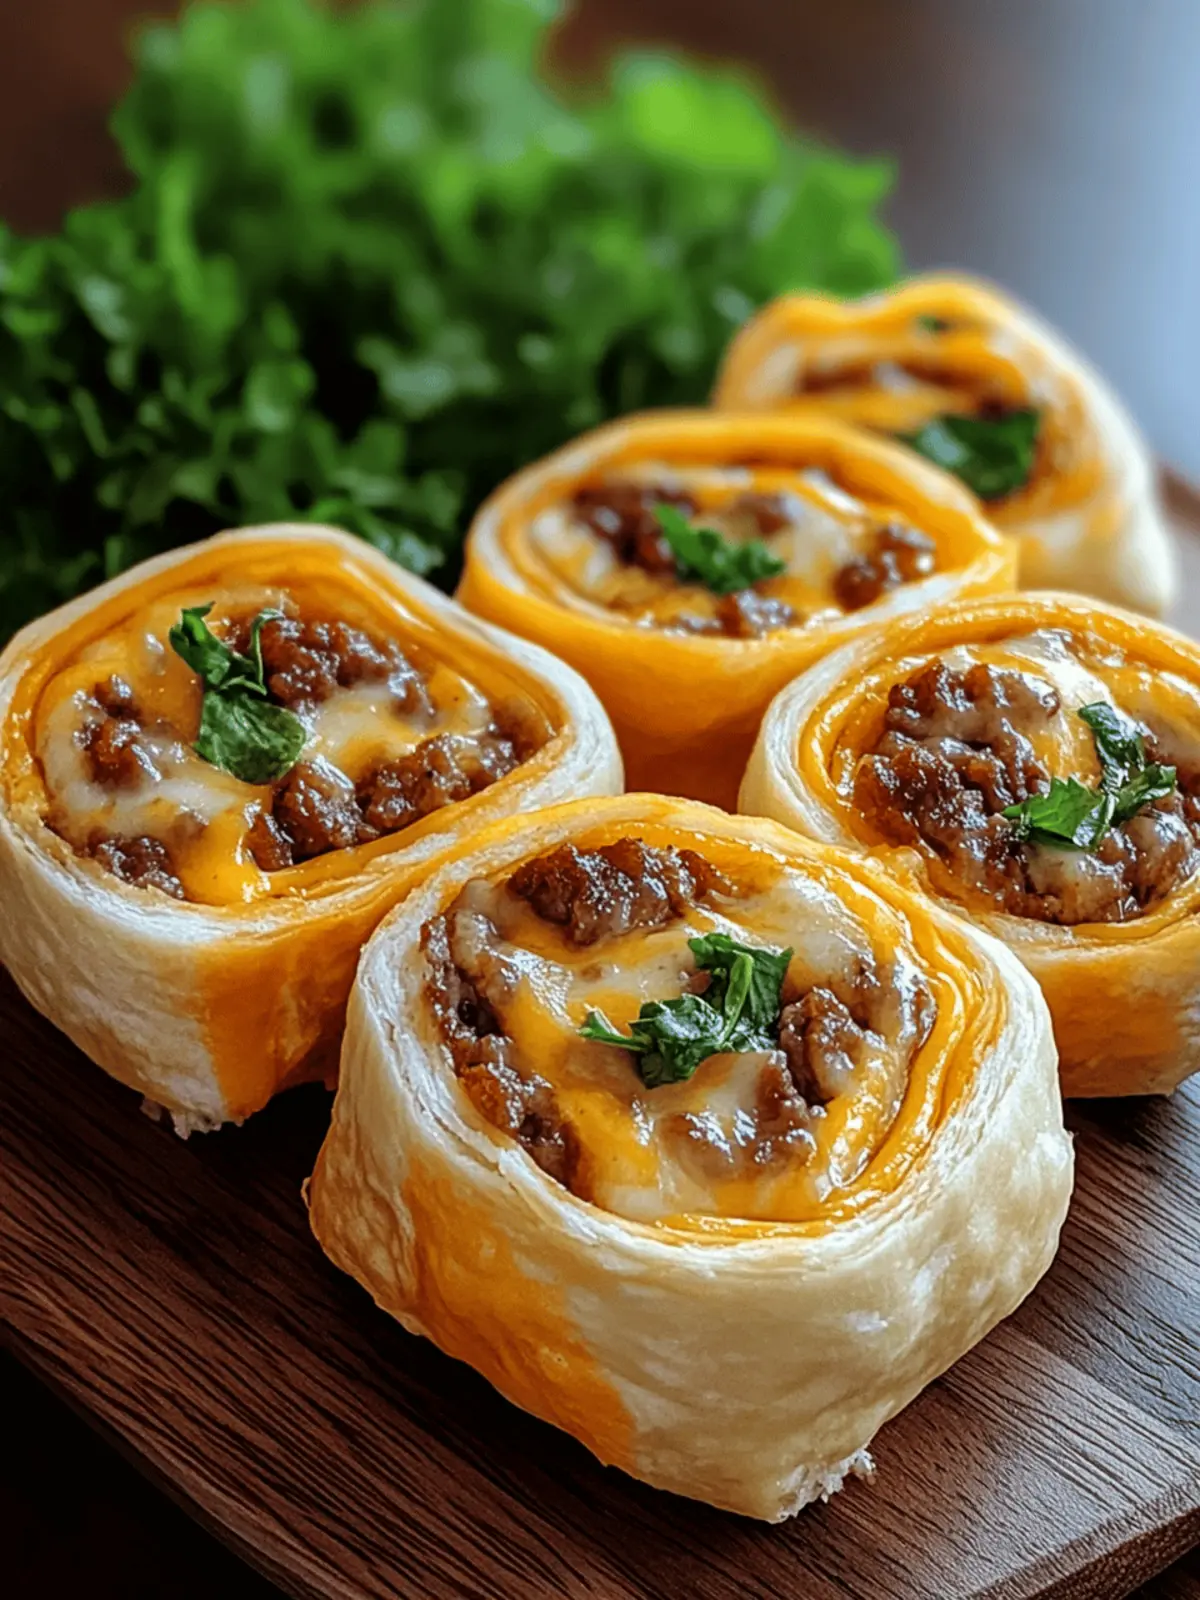
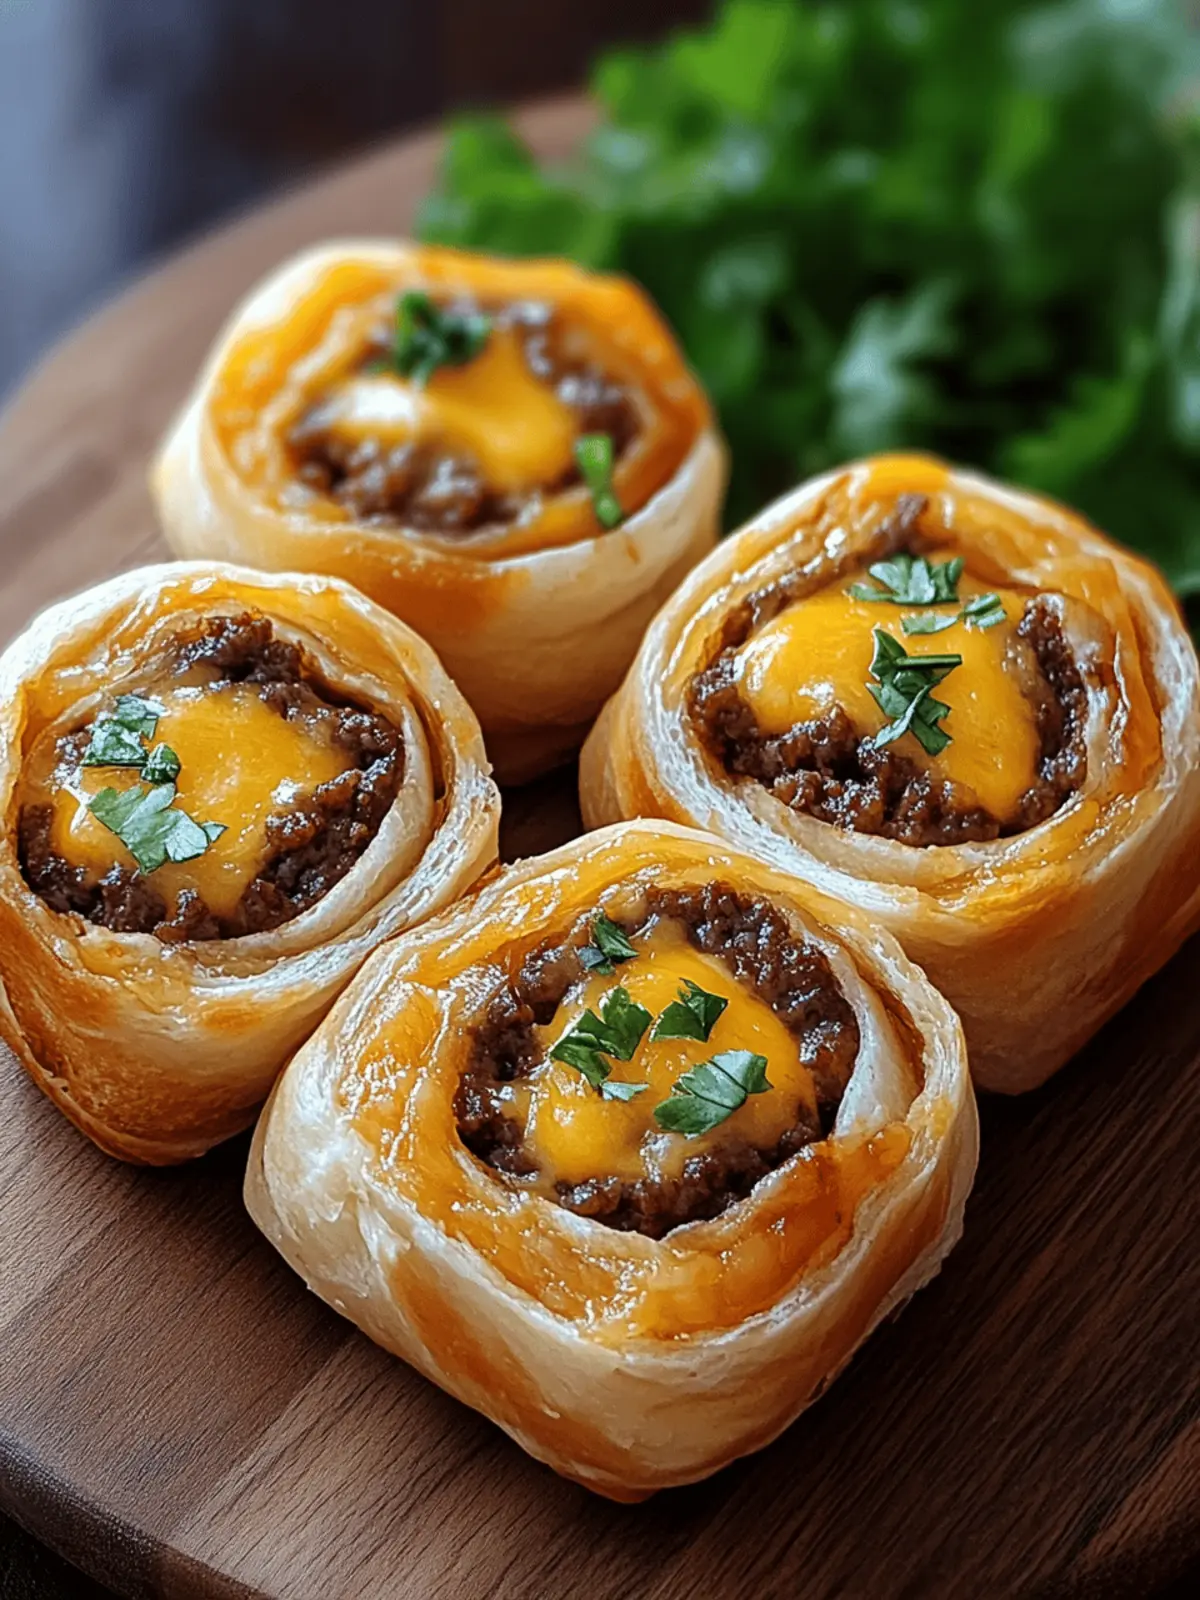
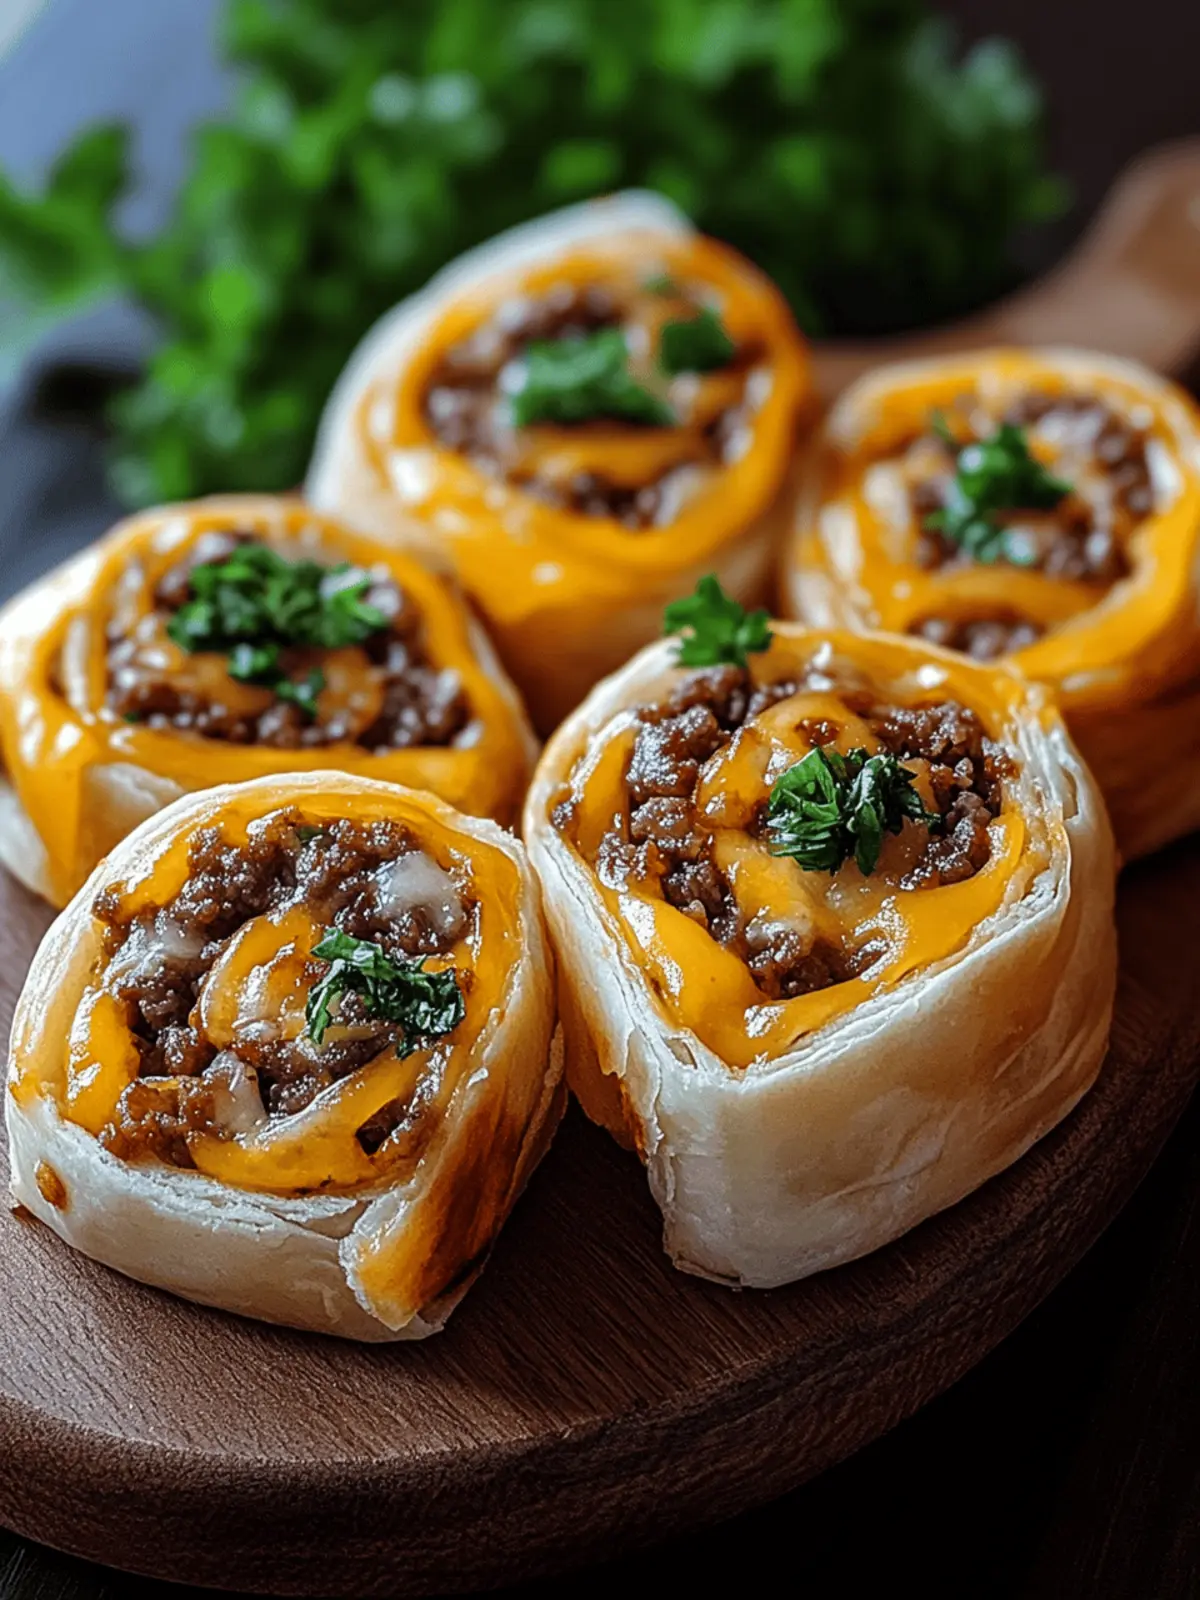
As the excitement of football season kicks in, I find myself yearning for snacks that can keep up with the energy of the game. Enter these Garlic Butter Beef Cheeseburger Rollups—trust me, they are a game-changer! Picture this: crispy on the outside and oozing with cheesy goodness inside, these rollups are the ultimate handheld treat for any gathering.
What I love most about this recipe is how easily customizable it is. Whether you prefer a classic cheeseburger vibe or want to spice things up with jalapeños and different cheeses, the possibilities are endless. Plus, the simplicity of preparation means you can whip these up in no time, leaving you more moments to enjoy the game and less worrying over complicated dishes.
So gather your friends, fire up the oven, and let’s transform your game-day experience with these delectable, cheesy delights!
Why You’ll Adore These Cheeseburger Rollups
Deliciousness Packed: The cheesy filling combined with seasoned ground beef creates an explosion of flavor in every bite.
Quick & Easy: These rollups are perfect for busy game days, with minimal prep time and straightforward instructions.
Customizable: Enjoy them your way! Add jalapeños, switch cheeses, or even throw in bacon bits for a twist on the classic.
Crowd-Pleasing: They’re the ultimate finger food, sure to please both friends and family, turning any gathering into a hit.
Savory Satisfaction: With that crispy exterior and gooey center, you get the best of both worlds, making every moment more enjoyable.
Don’t forget to check out our expert tips for baking perfect rollups to enhance your cooking experience!
Cheeseburger Rollups Ingredients
For the Beef Filling
- Lean Ground Beef – Provides a savory base; ground turkey is a leaner alternative.
- Salt – Enhances the flavor of the beef.
- Black Pepper – Adds a mild heat for depth.
- Garlic Powder – Offers aromatic flavor; fresh garlic can provide richness.
- Smoked Paprika – Introduces depth and a subtle smokiness.
- Worcestershire Sauce – Adds umami and tanginess to the mixture.
- Shredded Cheddar Cheese – Melts for a gooey texture; swap for pepper jack for a spicy kick.
For the Dough
- Refrigerated Crescent Roll Dough – Adds a delightful flakiness; convenient store-bought option.
- Unsalted Butter – Adds richness to the garlic butter topping; olive oil can be a healthier alternative.
For the Topping
- Garlic (minced) – Boosts flavor in the butter mixture.
- Fresh Parsley (chopped) – Adds a touch of freshness and color.
Optional Additions
- Pickles – Add classic cheeseburger flavor to the filling.
- Jalapeños – Introduce heat for a spicy bite.
- Different Cheeses – Mozzarella or Swiss can be fun substitutes.
- Bacon Addition – Mix in crumbled cooked bacon for extra indulgence.
For Dipping Sauces
- Mustard and Ketchup – Perfect for dipping and enhancing the cheeseburger experience.
Now, let’s gather these ingredients and embark on our delicious adventure!
How to Make Cheeseburger Rollups
-
Preheat: Start by preheating your oven to 375°F (190°C). Line a baking sheet with parchment paper to keep your rollups from sticking.
-
Brown the Beef: In a skillet over medium heat, add the lean ground beef. Cook until browned, ensuring you drain any excess fat for a leaner filling.
-
Season: Mix in salt, black pepper, garlic powder, smoked paprika, and Worcestershire sauce. Let it cook for an additional 1-2 minutes, allowing those flavors to meld beautifully, then remove from heat.
-
Unroll Dough: Open up your refrigerated crescent roll dough and unroll it on a clean surface. You’ll see the triangles that will cradle your delicious filling!
-
Fill: Spoon the seasoned beef mixture onto the wide end of each dough triangle. Top it off with a generous sprinkle of shredded cheddar cheese.
-
Roll: Roll the dough from the wide end up to the pointed tip, ensuring the filling is snug inside. Place each rollup seam-side down on your prepared baking sheet.
-
Brush with Garlic Butter: In a small bowl, melt the unsalted butter with minced garlic, and stir in chopped parsley. Brush this flavorful mixture over the tops of each rollup.
-
Bake: Place the baking sheet in the oven and bake for 12-15 minutes, or until the rollups are golden brown and the cheese is bubbling. Serve warm with your choice of dipping sauces.
Optional: Serve with a side of crispy potato chips for a satisfying crunch.
Exact quantities are listed in the recipe card below.
Expert Tips for Cheeseburger Rollups
- Seasoning Matters: Ensure the ground beef is well-seasoned for maximum flavor. Don’t skip the salt and Worcestershire sauce!
- Watch the Time: Keep an eye on the rollups while baking. If they start to brown too quickly, lower the oven temperature slightly.
- Fill Strategically: Avoid overstuffing the rollups to prevent them from bursting open during baking. A spoonful of filling is just right!
- Fresh Is Best: Use fresh ingredients whenever possible, like fresh parsley or real garlic, to amplify the flavor of your cheeseburger rollups.
- Customize Wisely: Mix in spicy jalapeños or crispy bacon for a fun twist, but do so in moderation to maintain balance in flavors.
Storage Tips for Cheeseburger Rollups
Fridge: Store the rollups in an airtight container for up to 3 days to keep them fresh and tasty.
Freezer: For longer storage, wrap the rollups tightly in plastic wrap, then place them in a freezer-safe bag. They can last for up to 2 months.
Reheating: To enjoy your rollups again, reheat them in the oven at 350°F (175°C) for 10-15 minutes until heated through. This preserves their crispiness.
Serving: Serve warm after reheating for the best flavor and texture. Enjoy with your favorite dipping sauces for the ultimate cheeseburger experience!
Make Ahead Options
These Cheeseburger Rollups are a fantastic option for meal prep, making your game day snacking effortless! You can prepare the filling (ground beef mixture) up to 24 hours in advance; simply cook the beef and let it cool before refrigerating in an airtight container. Additionally, you can unroll and cut the crescent dough ahead of time, storing it covered in the fridge. When you’re ready to serve, just fill the dough with the chilled beef mixture, roll them up, and brush them with the garlic butter mixture. Bake until golden brown, and trust me, they will be just as delicious as if made fresh!
Cheeseburger Rollups Variations & Substitutions
Feel free to get creative with these rollups and make them uniquely yours!
- Dairy-Free: Use dairy-free cheese alternatives to keep this recipe suitable for lactose intolerant guests without sacrificing flavor.
- Spicy Option: Add chopped jalapeños or a dash of hot sauce to the beef mixture for a fiery twist. This little addition can turn the heat up in just the right way, leaving your guests wanting more!
- Turkey Substitute: Swap the ground beef for ground turkey for a leaner, lighter version that still packs a delicious punch. Perfect for those mindful of their calorie intake!
- Bacon Lovers: Crumble some cooked bacon into the filling for an indulgent flavor boost that takes the cheeseburger experience to a whole new level. Imagine that rich, smoky goodness mingling with the beef!
- Different Cheeses: Switch out cheddar for mozzarella or pepper jack to explore new flavor profiles. Each cheese brings a unique texture and taste, so why not make them all?
- Veggie Delight: Replace beef with a mixture of sautéed mushrooms, onions, and bell peppers for a vegetarian take that’s still savory and satisfying. This twist will be loved by vegetarian friends and meat-eaters alike!
- Herb Infusion: Mix in fresh herbs like thyme or oregano to the garlic butter for an aromatic kick that elevates the flavor even further. Just imagine that garden-fresh aroma wafting through your kitchen!
- Holiday Twist: Incorporate cranberry sauce and cream cheese instead of the beef filling for a festive spin that’s perfect for holiday gatherings. It brings a delightful sweetness that pairs wonderfully with buttery dough!
Let your taste buds celebrate by creating your own special version of these irresistible cheeseburger rollups!
What to Serve with Cheeseburger Rollups?
Elevate your game day gathering by pairing these delicious rollups with complementary sides that cater to every craving and enhance the experience!
- Crispy Potato Chips: The salty crunch pairs beautifully with the savory rollups, offering a satisfying contrast to their cheesy goodness.
- Classic Coleslaw: A refreshing, crunchy side that balances out the richness of the rollups; its tangy flavor enhances the overall meal.
- Buffalo Cauliflower Bites: For a spicy twist, these light bites provide a perfect contrast to the cheeseburger flavors while keeping things exciting on your plate.
- Fresh Garden Salad: With crisp greens and vibrant veggies, a salad adds a refreshing touch and color to your game day spread.
- Garlic Breadsticks: Complement the garlic butter flavor in the rollups with warm, buttery breadsticks for a delightful handheld experience.
- DIY Dipping Station: Set up a variety of dips, like ranch, barbecue sauce, and mustard, to allow guests to customize every bite of those cheeseburger rollups.
- Cool and Creamy Guacamole: This creamy dip adds a zesty and luscious element to your meal, providing a fresh, tasty contrast to the richness of the rollups.
- Ice-Cold Lemonade: This refreshing drink is the perfect thirst-quencher, balancing the savory flavors of your dishes and keeping the energy high!
- Chocolate Chip Cookies: Round out your game day spread with these sweet treats; their warm, gooey texture is the perfect way to celebrate a delicious win!
Cheeseburger Rollups Recipe FAQs
How do I know if my ground beef is fresh?
Absolutely! When selecting ground beef, look for bright red color, indicating freshness. Avoid any packages with dark spots or a brown hue, as these may suggest spoilage. Always check the sell-by date and choose the leanest option for the best texture in your Cheeseburger Rollups.
What’s the best way to store leftover Cheeseburger Rollups?
Very good question! Store your rollups in an airtight container in the fridge for up to 3 days. Alternatively, for longer preservation, wrap them tightly in plastic wrap and place them in a freezer-safe bag; they can be frozen for up to 2 months. Remember to label and date the bags so you can enjoy them later!
Can I prep Cheeseburger Rollups ahead of time?
Absolutely! You can assemble the rollups up to a day in advance. Simply cover them with plastic wrap and refrigerate until you’re ready to bake. When you’re ready to serve, just pop them in the oven without thawing—just keep an eye on the baking time, as they may take a few extra minutes to cook through.
What if my rollups are browning too quickly in the oven?
No worries! If you notice your Cheeseburger Rollups are browning too fast, reduce the oven temperature to 350°F (175°C) and bake them a little longer. This way, you’ll ensure they cook evenly without burning the outside. Always keep an eye on them during the last minutes of baking to achieve that perfect golden finish.
Are there any dietary considerations for making these Cheeseburger Rollups?
Great question! If you’re making these for someone with food allergies or dietary restrictions, consider using gluten-free crescent roll dough and dairy-free cheese alternatives. Additionally, if you’re cooking for pets, avoid adding ingredients like garlic or onions as they can be harmful to them. Always opt for fresh ingredients and modify the recipe to suit everyone’s needs.
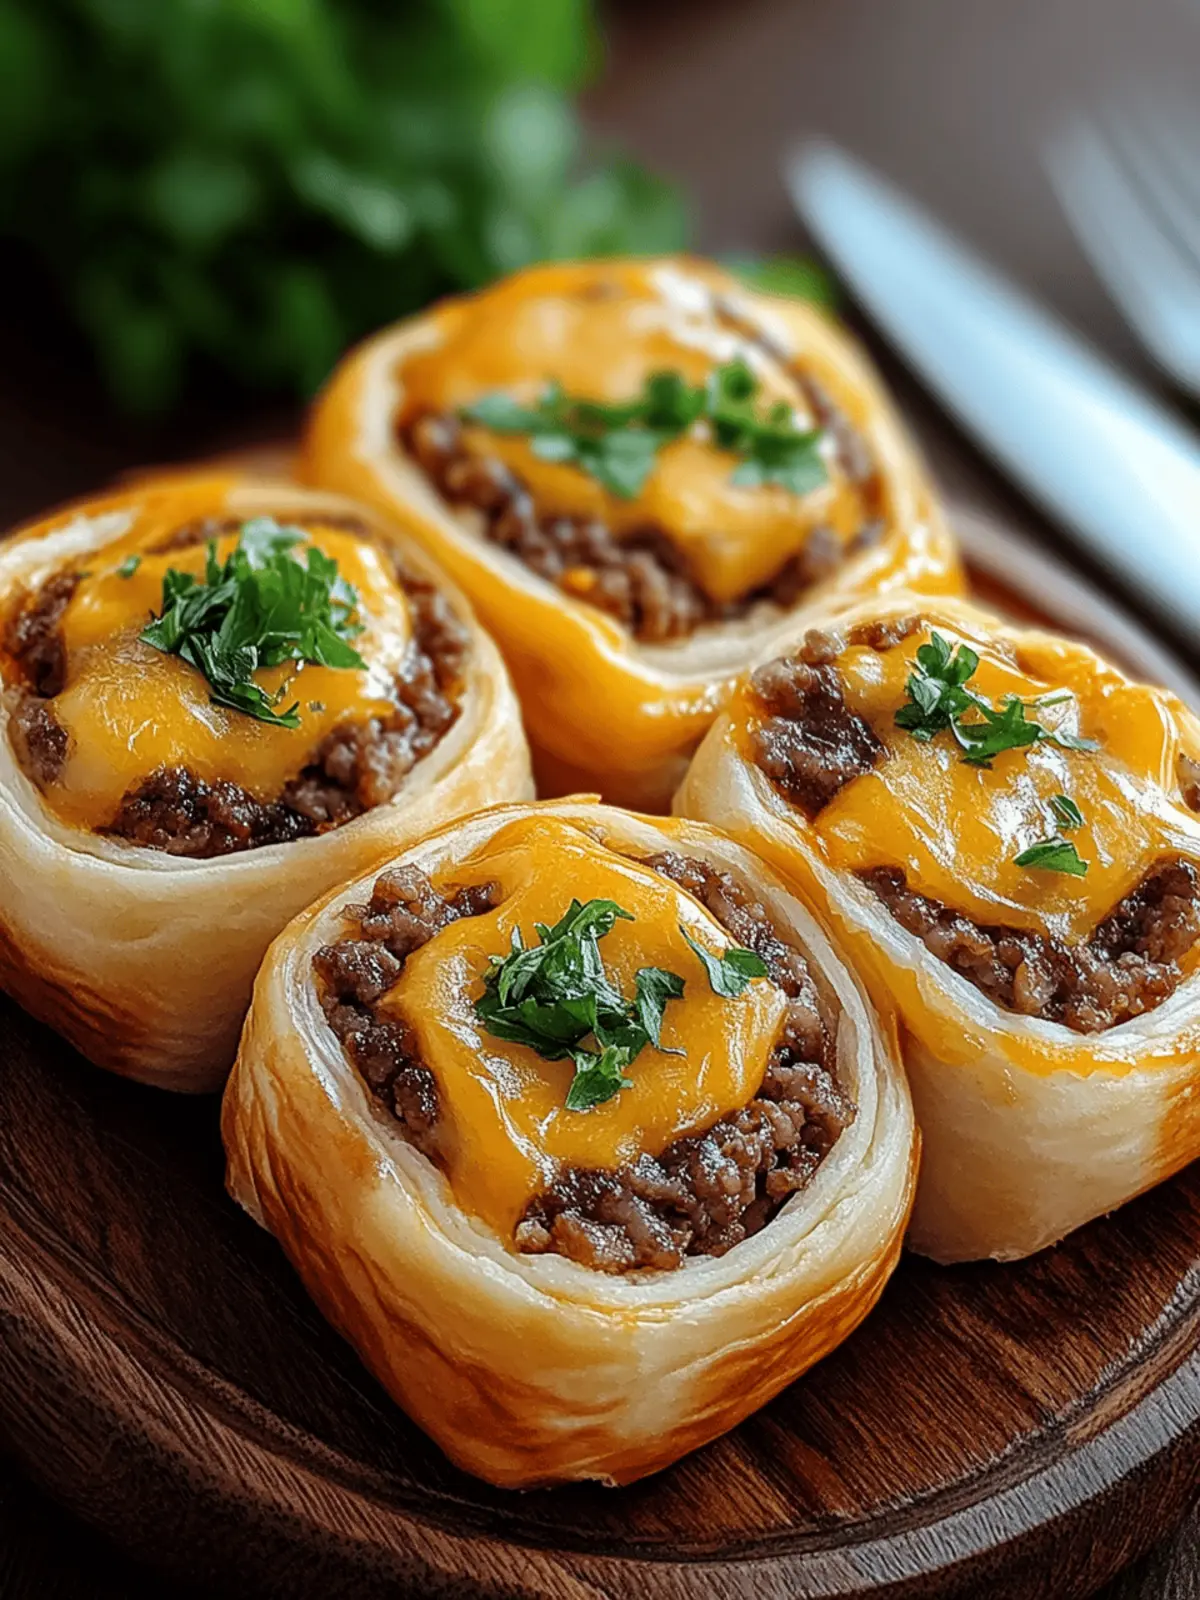
Cheeseburger Rollups: Your Quick Game Day Flavor Fix
Ingredients
Equipment
Method
- Preheat your oven to 375°F (190°C). Line a baking sheet with parchment paper.
- In a skillet over medium heat, add the lean ground beef. Cook until browned, draining any excess fat.
- Mix in salt, black pepper, garlic powder, smoked paprika, and Worcestershire sauce. Cook for an additional 1-2 minutes, then remove from heat.
- Unroll refrigerated crescent roll dough on a clean surface. You'll see triangles for your filling.
- Spoon the seasoned beef mixture onto the wide end of each triangle. Top with shredded cheddar cheese.
- Roll the dough from the wide end to the pointed tip, placing each roll seam-side down on a baking sheet.
- Melt unsalted butter with minced garlic; stir in chopped parsley. Brush over the tops of each rollup.
- Bake for 12-15 minutes, until golden brown and cheese is bubbling. Serve warm with dipping sauces.
