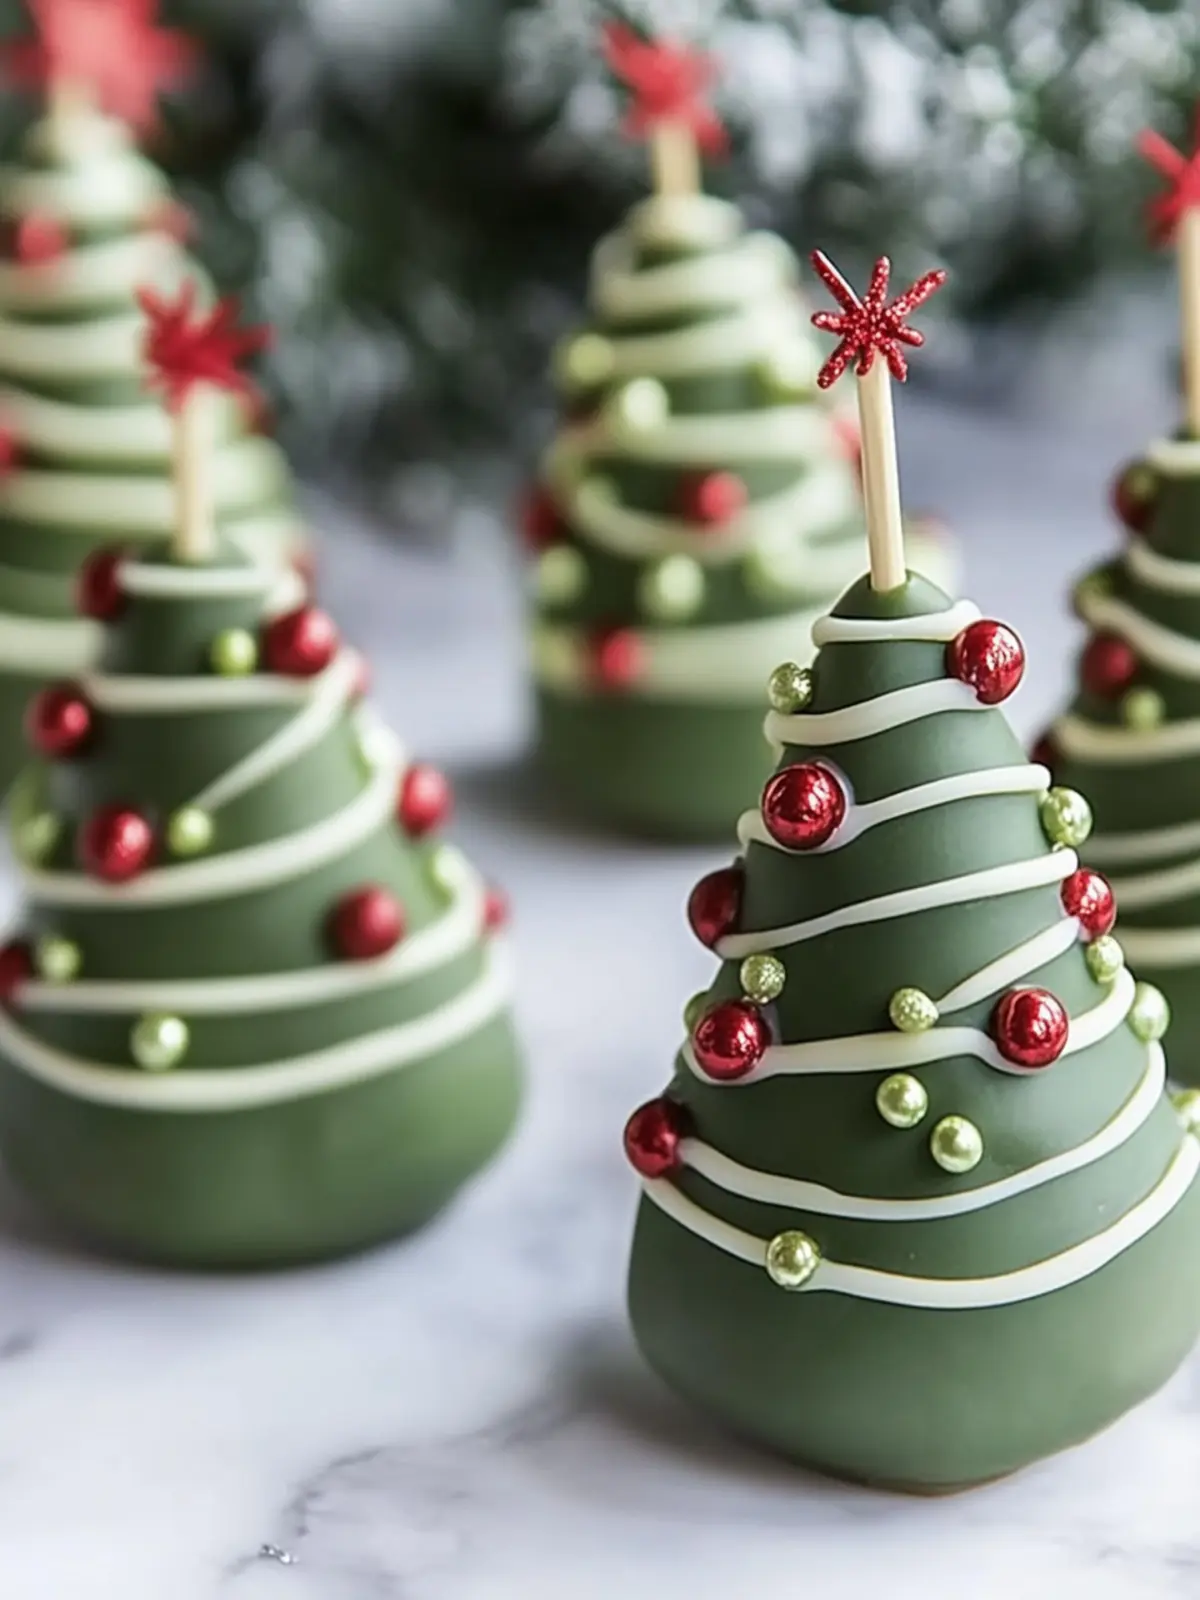
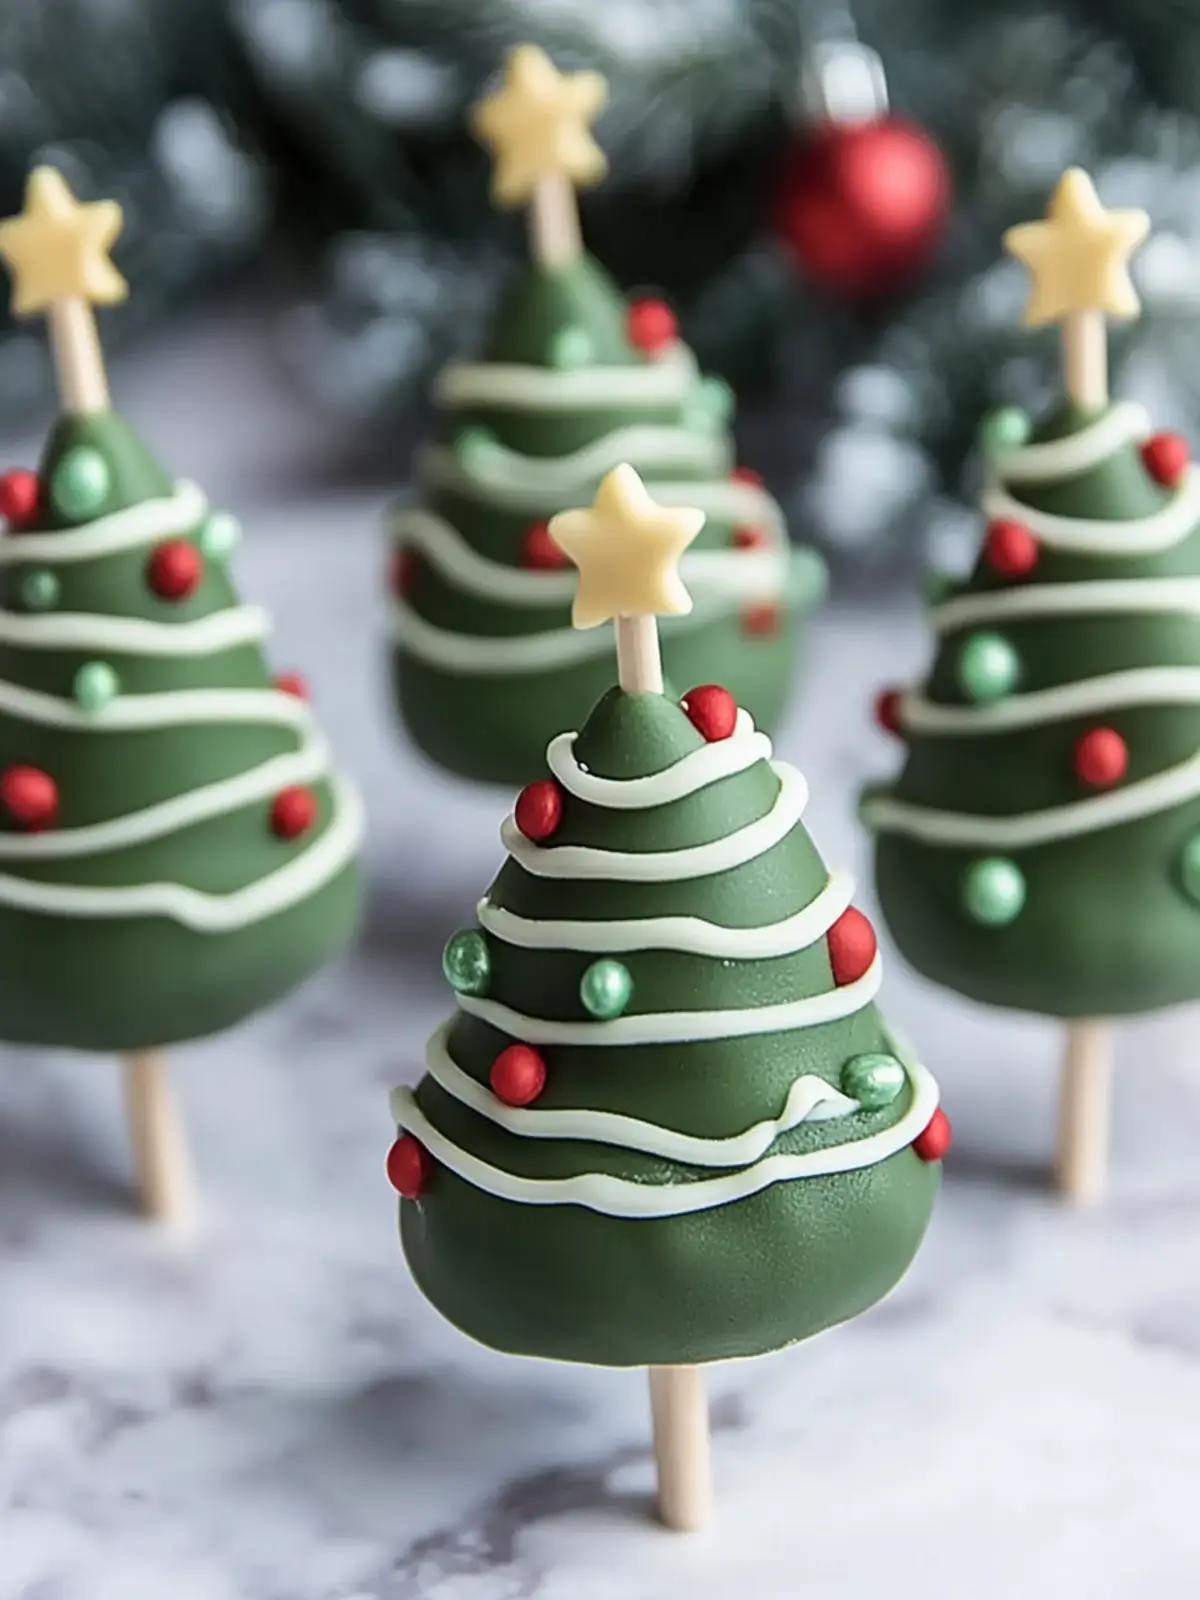
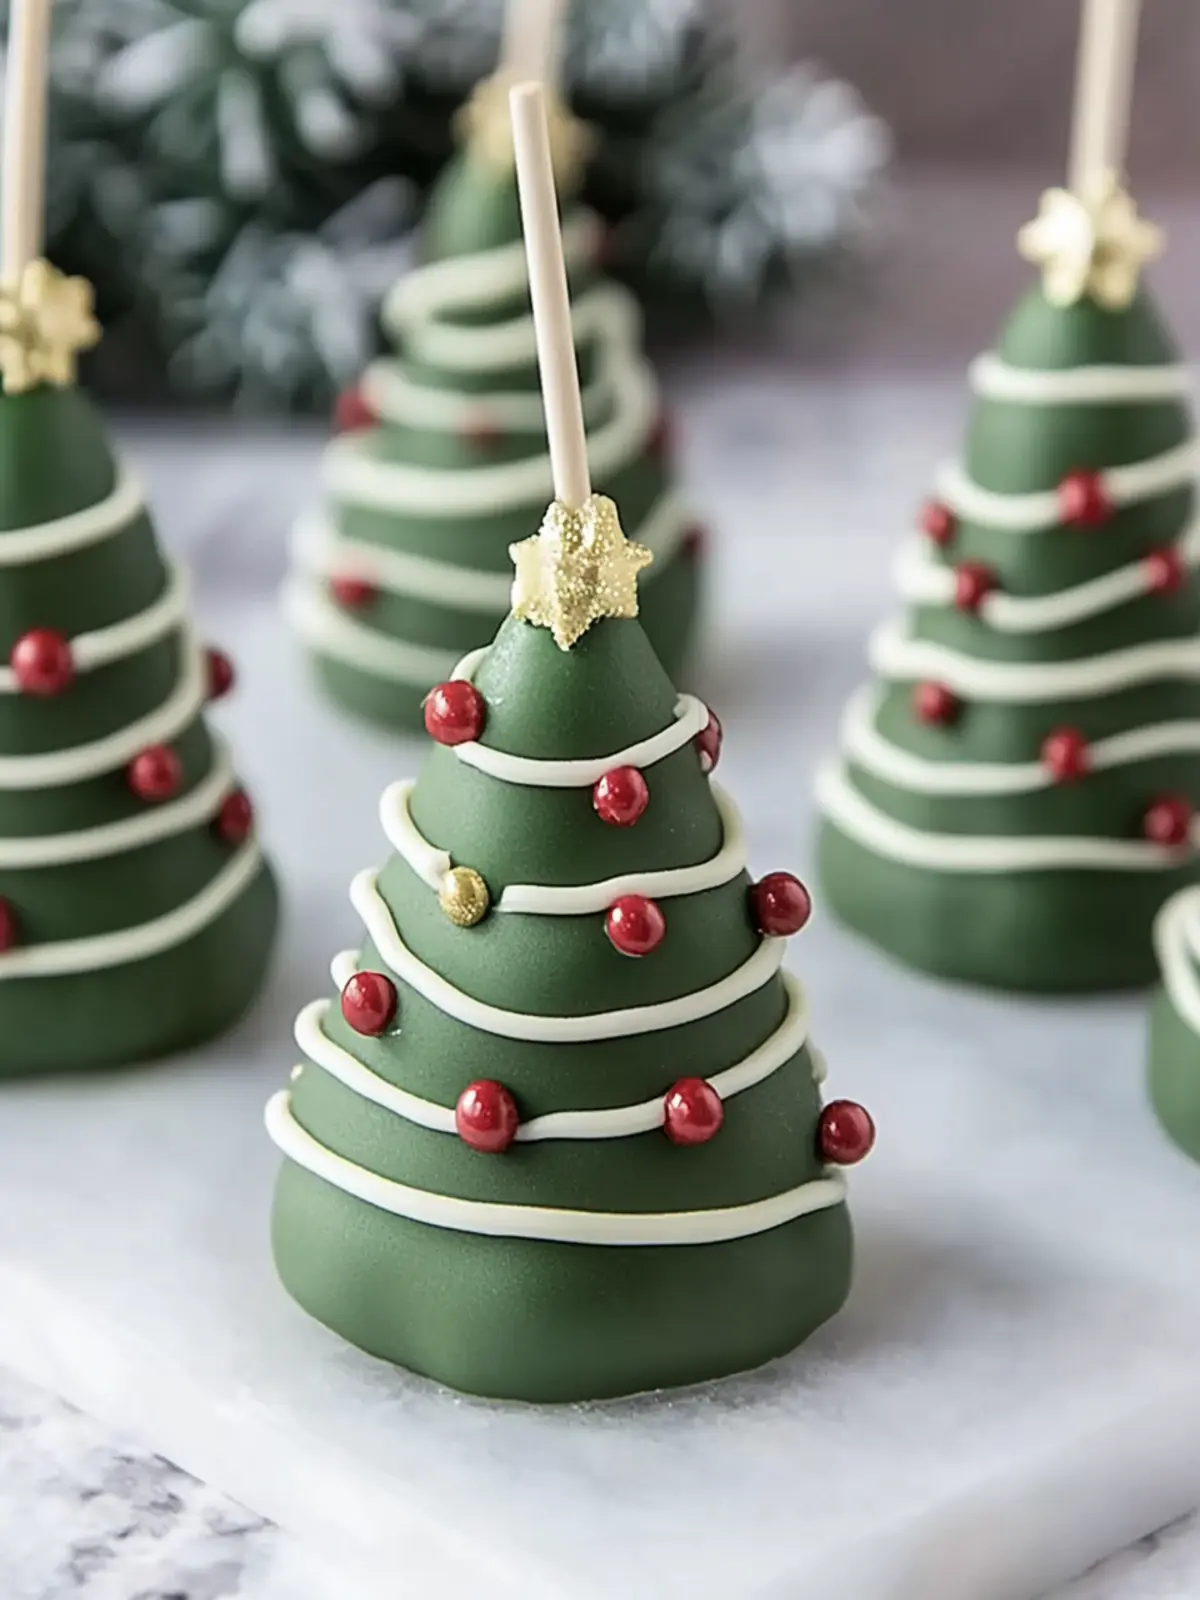
As the holiday season approaches, I can’t help but get swept up in the festive spirit that fills the air. The first hint of pine and the twinkling lights in store windows remind me of joyous gatherings with family and friends—but nothing brings out the holiday cheer quite like a platter of delightful treats. That’s where these Christmas Tree Cake Pops come into play!
Imagine little, vibrant green trees peeking out from your dessert table, each one an enticing burst of sweetness just waiting to be devoured. With a soft, cake-like interior and a luscious candy coating, these bites of holiday magic are perfect for celebrations or simply sweetening up a cozy night in. Best of all? They’re super easy to make, ensuring that even novice bakers can create a whimsical masterpiece that kids and adults alike will adore. So grab your cake, frosting, and sprinkles, and let’s transform your kitchen into a winter wonderland!
Why are Christmas Tree Cake Pops the best treat?
Festive and Fun: These cake pops not only taste amazing but also double as cheerful decorations on your holiday table.
Easy to Make: With simple instructions, you’ll whip these up in no time, making them perfect for busy schedules.
Crowd-Pleasing: Whether at a holiday party or family gathering, they’re sure to delight guests of all ages.
Customizable: Choose your favorite cake flavor and toppings for a unique twist each time you make them.
Make-Ahead Friendly: Prepare these tasty treats in advance and store them for when you need a sweet touch during the holidays! Embrace the full holiday experience with these delicious treats, and if you’re in the mood for more sweet ideas, check out our Gingerbread Crinkle Cookies.
Christmas Tree Cake Pops Ingredients
For the Cake
• Cake (Vanilla or Chocolate) – Base flavor and structure; consider using store-bought for a quick option or make your own!
• Frosting (Vanilla or Cream Cheese) – Binds the crumbled cake; cream cheese adds tang and is great for shaping your Christmas Tree Cake Pops.
For the Coating
• Green Candy Melts – Provides a festive green outer coating; thin with coconut oil if it thickens for easy dipping.
• Coconut Oil – Optional, for achieving a smooth coating when melting green candy melts.
• White Chocolate – Drizzle to mimic tinsel on your trees for an extra touch of holiday charm.
For Decorations
• Sprinkles (Holiday Colors) – Adds a joyful decoration to resemble Christmas ornaments on your trees.
• Marshmallows – Holds cake pops upright while drying; a simple trick for perfect presentation!
These ingredients come together to create delightful Christmas Tree Cake Pops that will brighten your holiday celebrations!
How to Make Christmas Tree Cake Pops
-
Prepare the Cake: Start by baking your chosen cake (vanilla or chocolate). Allow it to cool completely before moving on to the next step. A well-cooled cake is key for perfect cake pops!
-
Crumble the Cake: Break the cooled cake into fine crumbs using your hands or a fork. Aim for a texture that resembles sand; this ensures your cake pops hold together beautifully.
-
Mix the Ingredients: Gradually add your frosting to the cake crumbs. Mix until the mixture reaches a dough-like consistency, which helps shape the cake pops easily without falling apart.
-
Shape the Trees: Scoop out portions of the mixture and mold them into cone shapes to resemble mini Christmas trees. Place each tree on parchment paper and pop them in the freezer for at least 30 minutes to firm up.
-
Melt the Coating: Melt the green candy melts in a microwave-safe bowl, adding a spoonful of coconut oil to achieve a smooth and easy-to-dip consistency. Heat in short bursts, stirring in between, until melted.
-
Insert the Sticks: Dip the end of each cake pop stick into the melted candy and insert it into the base of each chilled cake tree. This helps secure the stick in place. Chill again for about 10 minutes.
-
Dip the Cake Pops: Submerge each tree in the melted candy, ensuring it is completely coated. Allow any excess to drip off before setting the cake pops upright to dry.
-
Decorate with Delight: While the coating is still wet, add festive sprinkles and drizzle with white chocolate to mimic tinsel. Top each tree with a small piece of red candy or a star for that holiday finishing touch!
Optional: For a fun twist, try using edible glitter for extra sparkle!
Exact quantities are listed in the recipe card below.
Expert Tips for Christmas Tree Cake Pops
-
Chill Thoroughly: Ensure the cake cones are completely chilled before dipping to achieve a smooth, even coating of candy melts.
-
Dipping Technique: Use a tall glass for dipping to make coating easier; it allows for full coverage with minimal mess.
-
Frosting Balance: Be mindful of how much frosting you add; too much can make the mixture difficult to shape into the tree cones.
-
Decorative Drizzle: Drizzle white chocolate quickly before the candy coating sets to enhance the festive look of your Christmas Tree Cake Pops.
-
Storage Tips: Keep your cake pops in a cool place or the refrigerator, loosely covered to maintain their shape and flavor.
Christmas Tree Cake Pops Variations
Ready to sprinkle some creativity into your Christmas Tree Cake Pops? Let’s explore fun and festive twists to make them uniquely yours!
-
Chocolate Cake: Swap vanilla for chocolate cake for a richer, deeper flavor perfect for chocolate lovers.
-
Cream Cheese Frosting: Substitute vanilla frosting with cream cheese frosting for a tangy twist that pairs beautifully with chocolate cake.
-
Nut-Free: Use sunflower seed butter instead of frosting for a nut-free base that maintains that delightful consistency.
-
Lemon Zest: Add a hint of lemon zest to your frosting for a fresh, bright flavor that balances the sweetness wonderfully.
Chopped nuts can also add a delightful crunch. But be mindful of your guests’ allergies when serving!
-
Spicy Kick: Mix cinnamon or a pinch of cayenne pepper into the cake batter for a warm, unexpected kick that pairs perfectly with holiday drinks.
-
Coconut Coating: Roll the finished pops in shredded coconut for a tropical twist that adds a fun texture and flavor contrast.
-
Edible Glitter: For that extra sparkle, dust your cake pops with edible glitter before serving—perfect for festive celebrations!
These variations invite you to celebrate the season in style while ensuring your Christmas Tree Cake Pops are as unique as your holiday spirit!
Storage Tips for Christmas Tree Cake Pops
Room Temperature: Store the cake pops at room temperature for up to 2 days in a cool, dry place, loosely covered to maintain their shape without sticking.
Fridge: You can keep the Christmas Tree Cake Pops in the refrigerator for up to a week, loosely covered to avoid drying out while preserving that fresh flavor.
Freezer: For longer storage, place the cake pops in an airtight container and freeze them for up to 3 months. Allow them to thaw in the fridge before enjoying.
Reheating: There’s no need to reheat these cake pops, as they’re best enjoyed chilled or at room temperature. Simply take them out of the fridge or freezer before serving!
What to Serve with Christmas Tree Cake Pops?
Create a delightful dessert spread that captures the essence of the holidays and complements these festive treats.
-
Hot Chocolate Bar: Features rich, creamy hot chocolate with toppings like whipped cream and marshmallows, enhancing the sweet experience. It’s cozy, warm, and invites guests to indulge.
-
Gingerbread Cookies: These spiced cookies bring a traditional holiday flavor that pairs wonderfully with the sweetness of cake pops. Their crunchy texture contrasts nicely with the soft cake interior.
-
Milk (or Eggnog): A classic pairing, either fresh milk or a spiced eggnog creates a comforting balance to the sweetness of the cake pops. The creamy texture enhances every delightful bite.
-
Mini Fruit Tarts: Adding a refreshing touch, the tartness of fresh fruit offsets the rich sweetness of the cake pops. They add a pop of color and variety to your dessert table.
-
Peppermint Bark: This chocolatey, minty treat adds a festive touch that complements the vibrant flavors of the cake pops. Its crunchy texture is a delightful contrast.
-
Festive Fruit Platter: A mix of colorful winter fruits adds freshness to the table, providing a light counterpart to the sweet richness of the cake pops. Think pomegranate seeds and clementines!
By mixing these sweet treats and beverages, you’ll create an inviting atmosphere filled with holiday cheer, perfect for gatherings or cozy evenings at home!
Make Ahead Options
These Christmas Tree Cake Pops are perfect for busy home cooks looking to save time during the festive season! You can prepare the cake mixture and shape it into tree cones up to 24 hours in advance. Simply mold the cones, place them on a parchment-lined baking sheet, and store them in the freezer. Then, when you’re ready to serve, melt the green candy coating and dip your chilled cake pops, adding your sprinkles and white chocolate drizzle right after. This method ensures they maintain their delightful shape and flavor, leaving them just as delicious as if made fresh! Embrace the ease of meal prep and enjoy more time with loved ones this holiday season!
Christmas Tree Cake Pops Recipe FAQs
What type of cake is best for Christmas Tree Cake Pops?
I recommend using either vanilla or chocolate cake, depending on your personal preference. For convenience, you can use store-bought cake or even Little Debbie Christmas Tree Cakes as a quick alternative that adds a nostalgic touch!
How long can I store my Christmas Tree Cake Pops?
You can keep your Christmas Tree Cake Pops at room temperature for up to 2 days. If you want them to last longer, store them in the refrigerator for up to a week. Just make sure they are loosely covered to keep them moist and maintain their shape.
Can I freeze Christmas Tree Cake Pops?
Absolutely! For longer storage, place your cake pops in an airtight container and freeze them for up to 3 months. To enjoy, simply transfer them to the refrigerator to thaw overnight. This makes them super convenient for holiday gatherings!
What should I do if my candy melts are too thick for dipping?
If your melted candy melts become thick, don’t fret! Just add a spoonful of coconut oil and stir until it reaches a smooth, pourable consistency. Heating in small increments in the microwave can help ensure it melts evenly without burning.
Are there any dietary considerations for these cake pops?
If you’re concerned about allergies, be aware that cake pop ingredients may contain gluten, dairy, or nuts, depending on your cake and frosting choices. For a gluten-free option, use gluten-free cake mix and ensure your chocolate and sprinkles are also gluten-free. Additionally, avoid sprinkles with possible allergens if gifting to friends or family.
How can I make my Christmas Tree Cake Pops look more festive?
Get creative with your decorations! Use colorful holiday-themed sprinkles for an eye-catching appearance. You can also drizzle edible glitter or incorporate mini ornaments made from candy to give them that extra festive flair. The more the merrier when it comes to decorating these delightful treats!
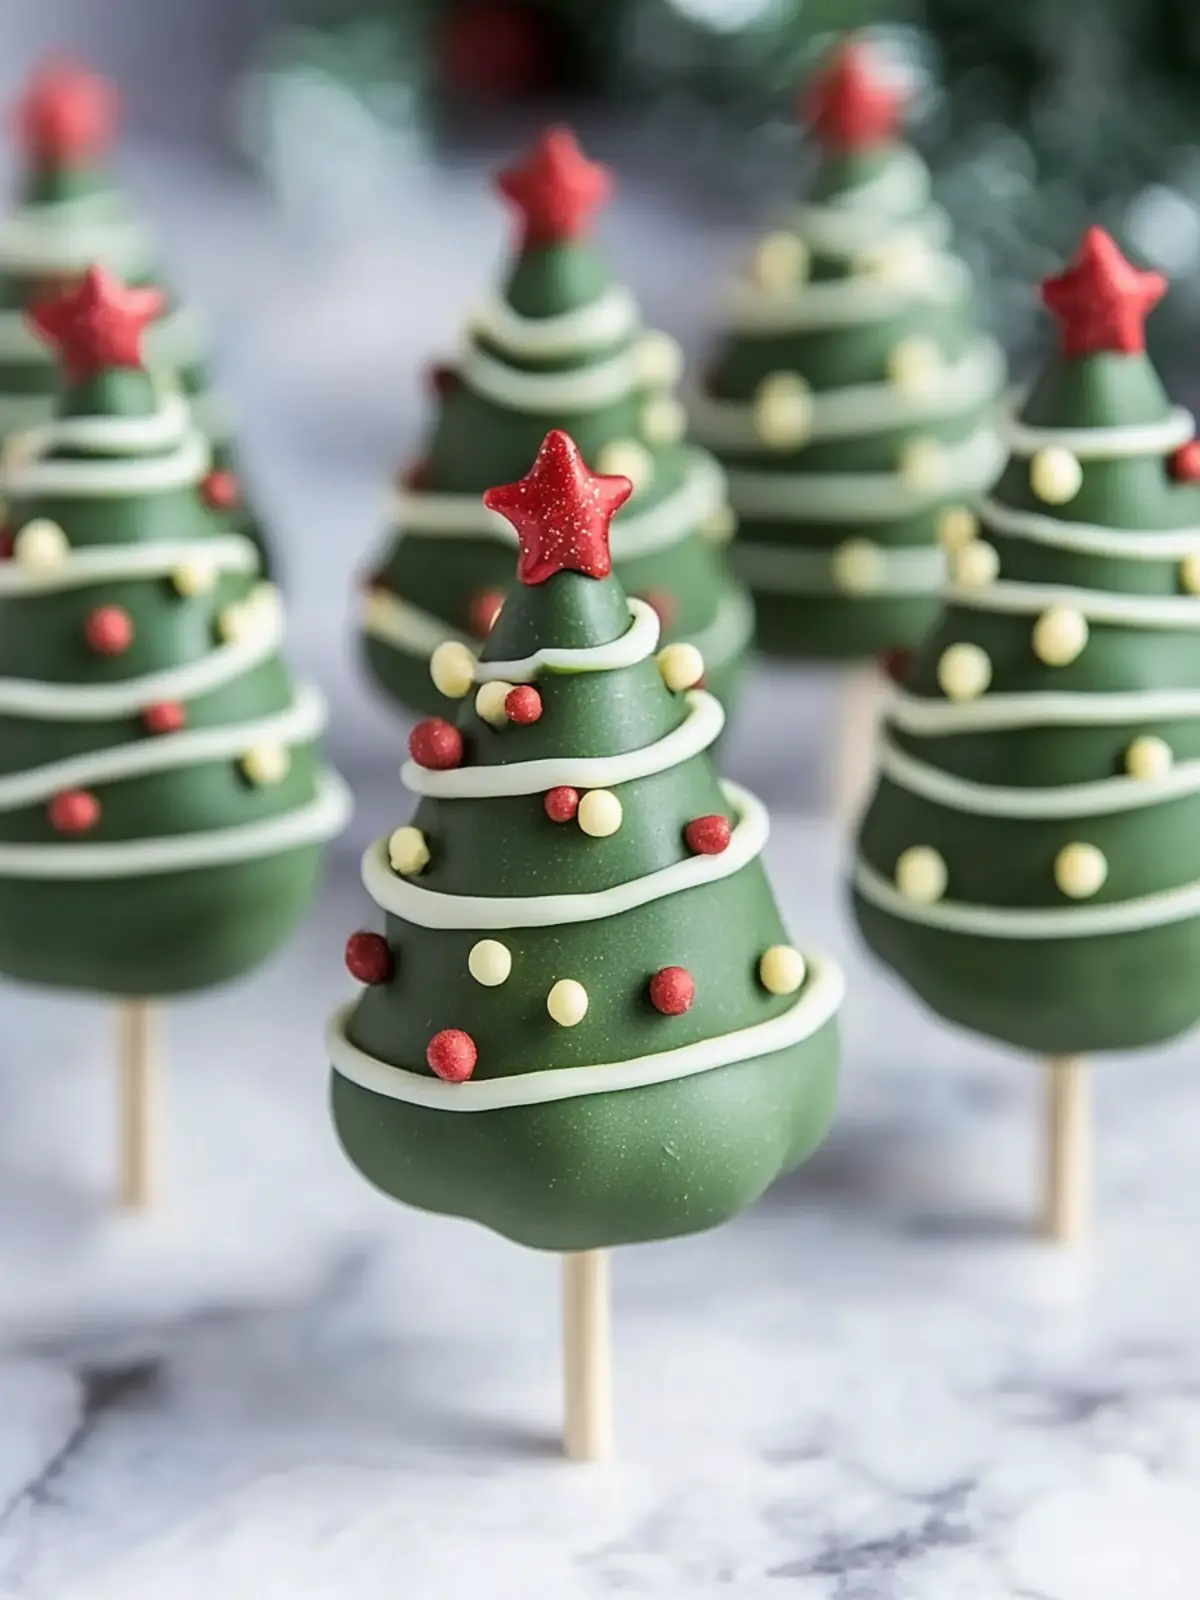
Festive Christmas Tree Cake Pops to Brighten Your Holiday!
Ingredients
Equipment
Method
- Prepare the Cake: Start by baking your chosen cake (vanilla or chocolate). Allow it to cool completely before moving on to the next step.
- Crumble the Cake: Break the cooled cake into fine crumbs. Aim for a texture that resembles sand.
- Mix the Ingredients: Gradually add your frosting to the cake crumbs. Mix until it reaches a dough-like consistency.
- Shape the Trees: Mold the mixture into cone shapes to resemble mini Christmas trees. Freeze for at least 30 minutes.
- Melt the Coating: Melt the green candy melts, adding coconut oil for consistency.
- Insert the Sticks: Dip the end of each cake pop stick into the melted candy and insert it into the base of each chilled cake tree.
- Dip the Cake Pops: Submerge each tree in the melted candy, ensuring it is completely coated.
- Decorate with Delight: While coating is wet, add sprinkles and drizzle with white chocolate.

