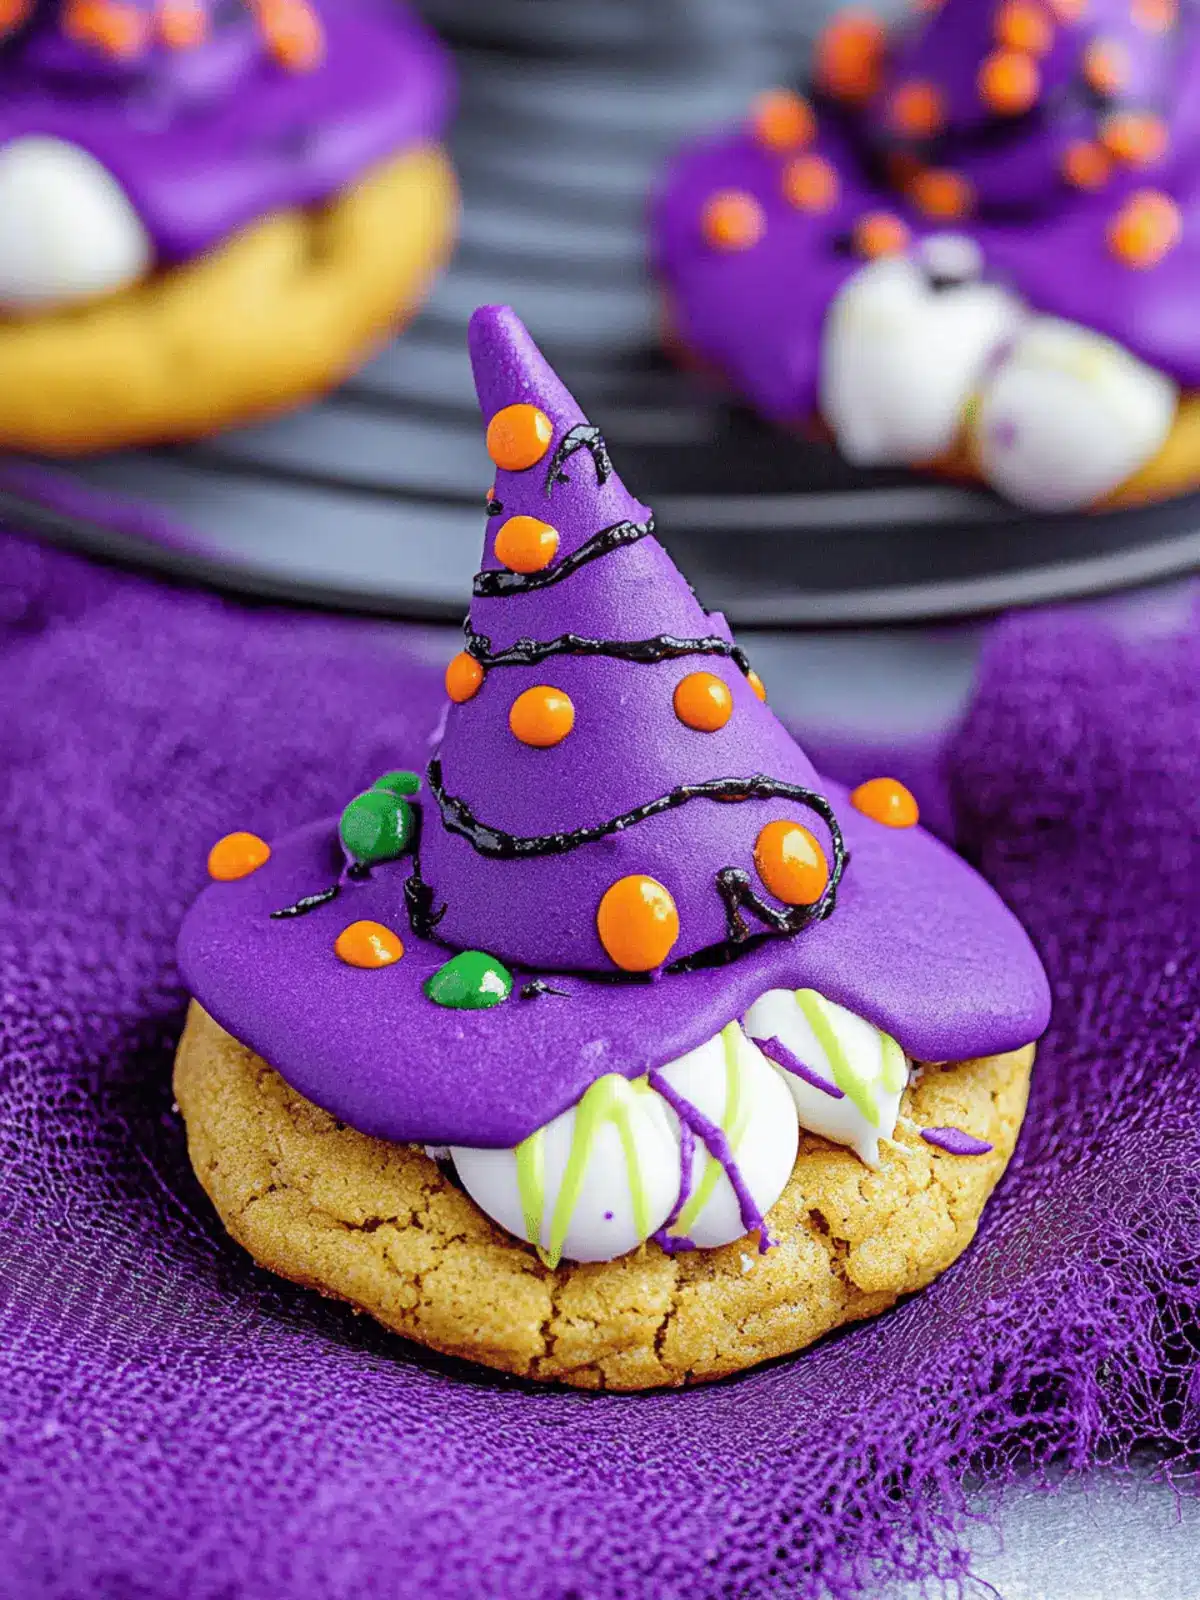
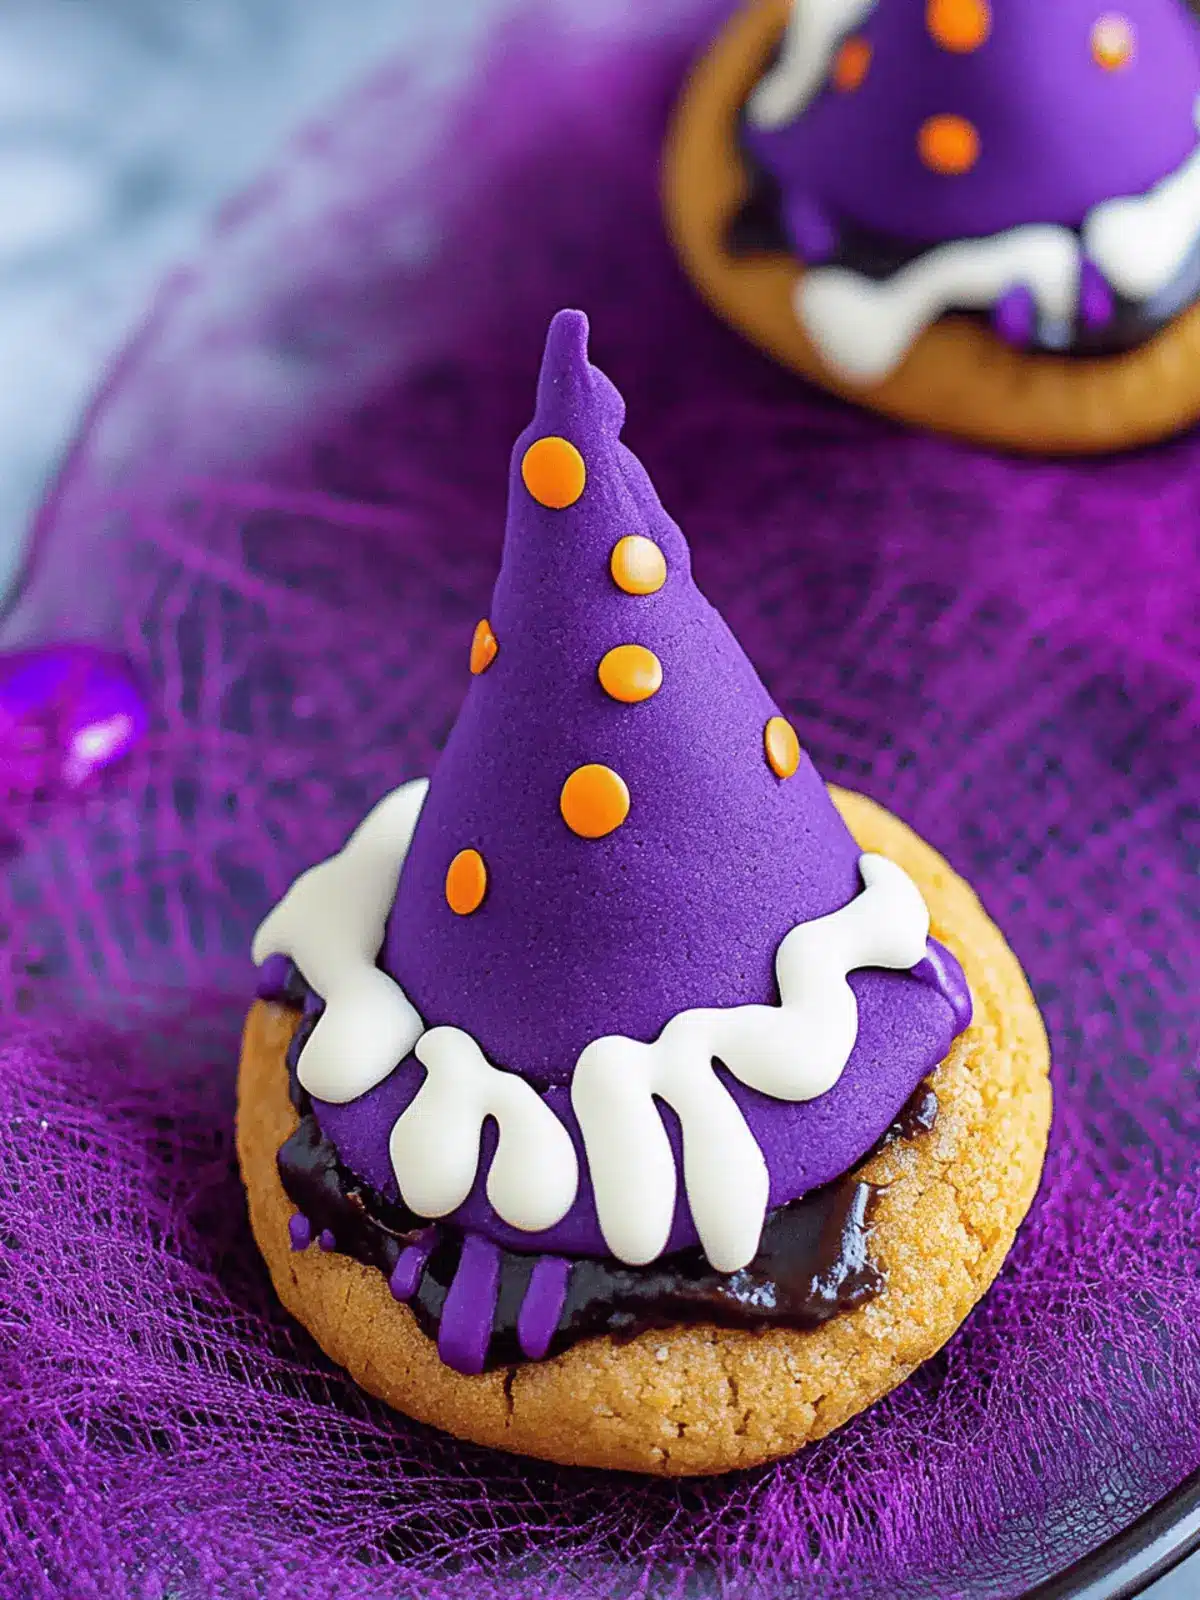
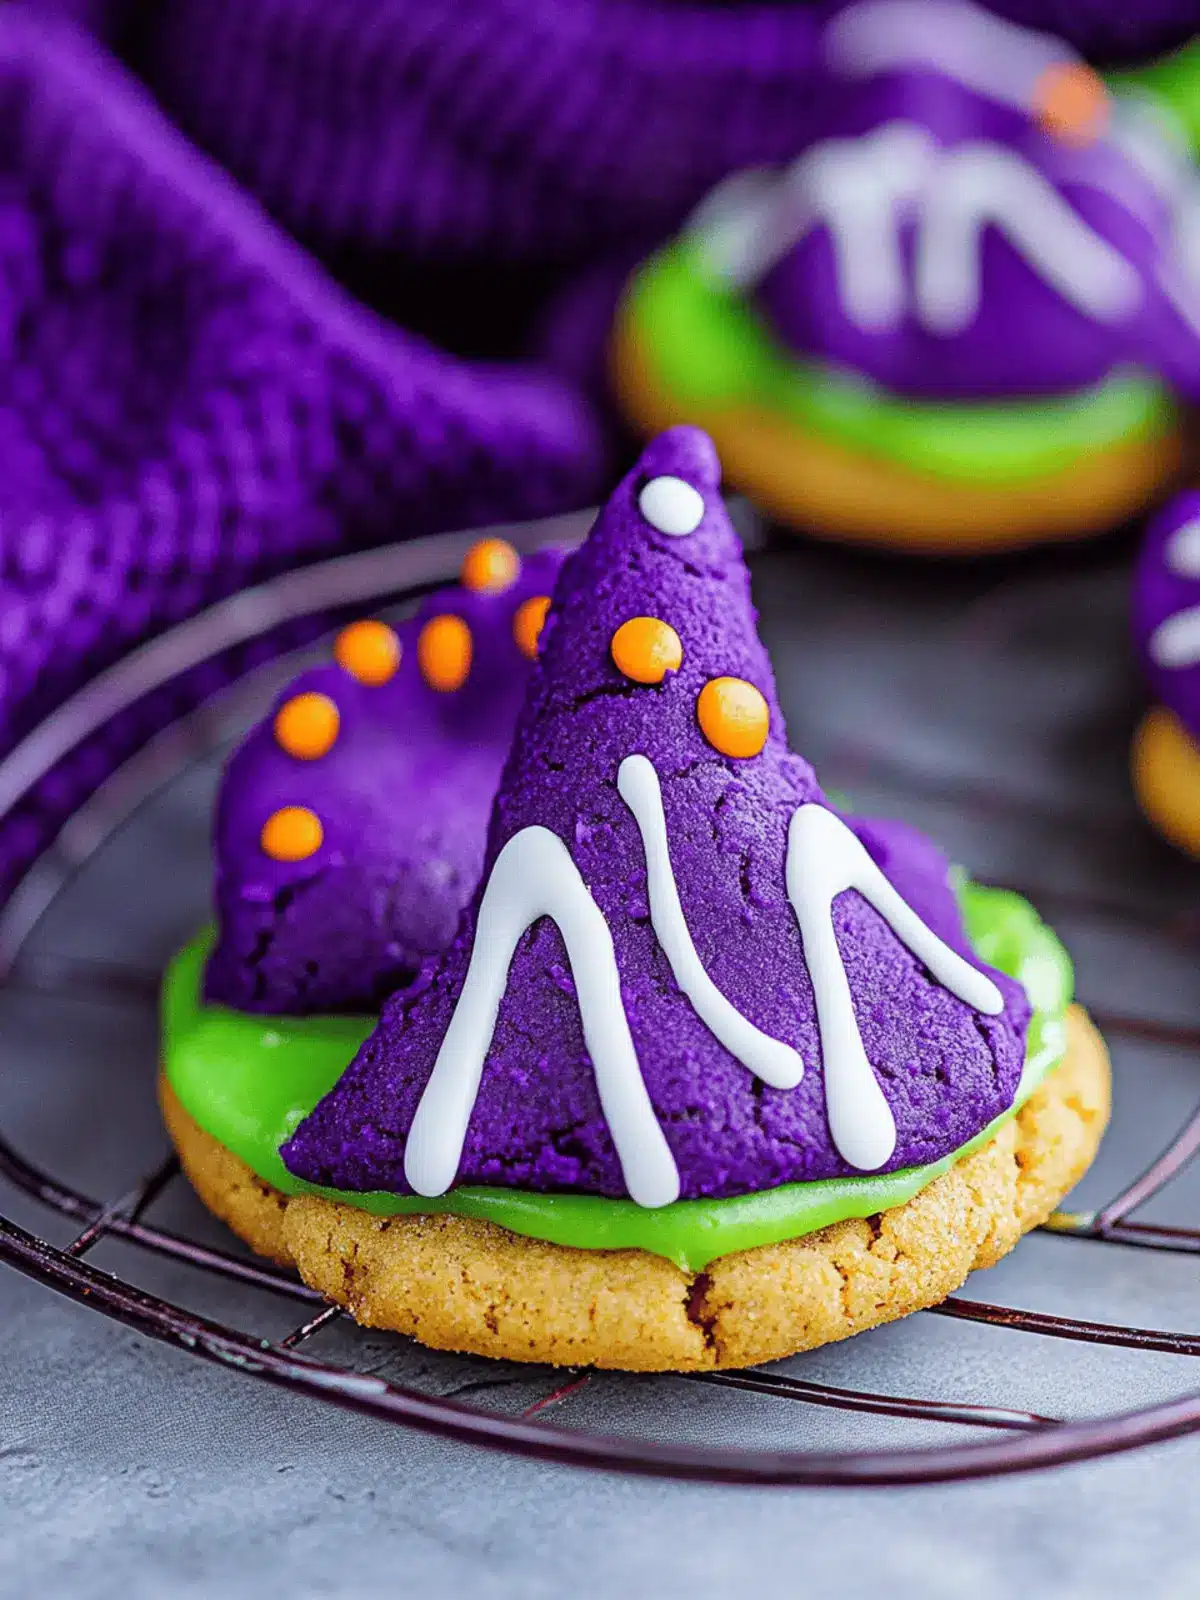
As Halloween approaches and the air fills with the scent of autumn, there’s an unmistakable thrill that comes with crafting festive treats. Picture this: the kids bustling around, their imaginations ignited by tales of witches and magic while you whip up a batch of these charming Easy Witch Hat Cookies. The soft, chewy texture of homemade peanut butter cookies forms the base of your spooky creations, inviting everyone to indulge in the whimsical charm of the season. With vibrant purple dough topped with a classic Hershey’s Kiss, these cookies not only satisfy a sweet craving but also leave a lasting impression at any Halloween gathering. Whether you’re hosting a spirited party or simply looking to add some festive flair to your family’s snack table, these delightful cookies promise to enchant and delight all who dare to take a nibble!
Why are Easy Witch Hat Cookies a must-try?
Ease of Preparation: With simple steps and common ingredients, these cookies are perfect for bakers of all skill levels.
Nostalgic Flavor: Experience the comforting taste of homemade peanut butter cookies, evoking memories of autumn treats.
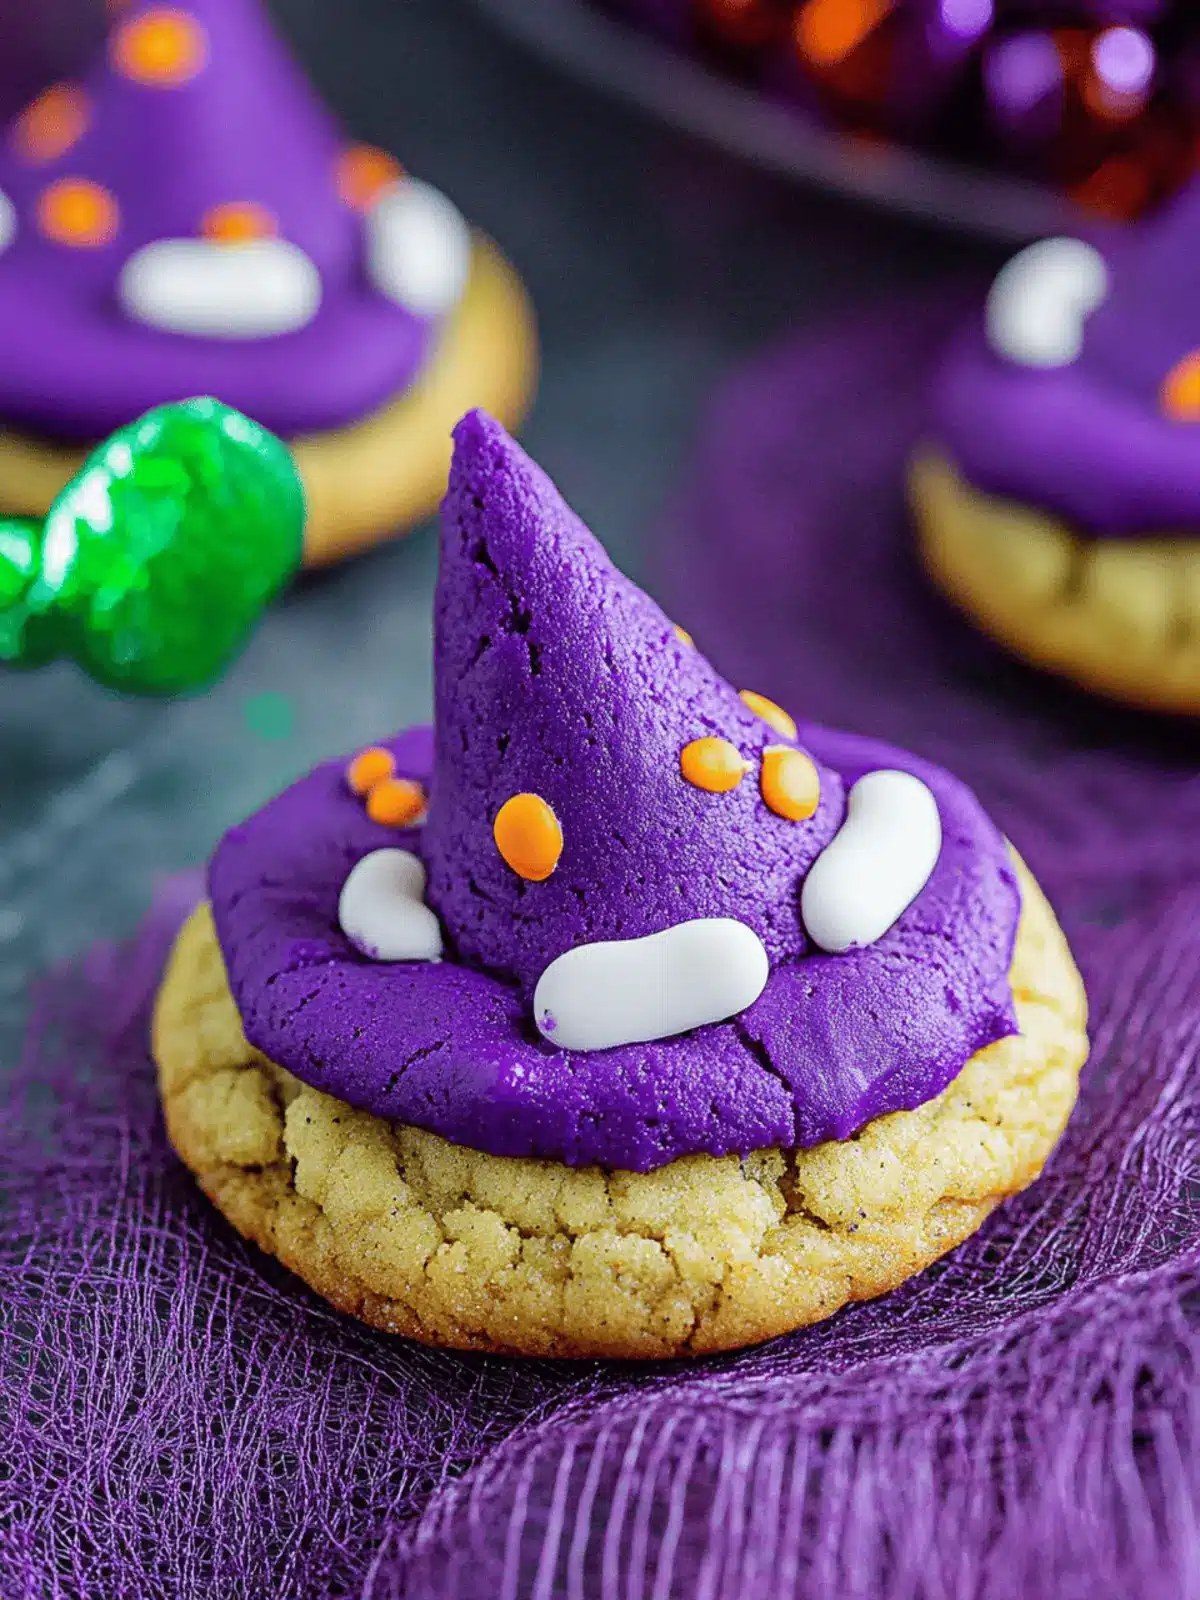
Visually Striking: The vibrant purple color combined with the iconic Hershey’s Kiss makes them a stunning addition to your festive spread.
Kid-Friendly Fun: Great for involving children in the kitchen—let them shape the cookies and decorate!
Versatile for Occasions: These cookies can be easily adapted for other holidays, simply by changing the color or theme.
Indulge this Halloween with more festive treats that will thrill your friends and family!
Easy Witch Hat Cookies Ingredients
For the Cookie Base
- All-Purpose Flour – Provides the structure and stability for your cookies; accurate measuring is key.
- Cornstarch – Ensures a tender texture for delightful chewiness.
- Baking Soda – Helps the cookies rise gently as they bake.
- Baking Powder – Adds a little puffiness without creating a dense texture.
- Fine Sea Salt – Balances the sweetness and enhances flavor.
- Unsalted Butter – Adds richness; using softened butter makes blending smoother.
- Granulated Sugar – Sweetens the dough and contributes to the perfect cookie texture.
- Large Egg – Binds everything together and adds moisture to the mix.
- Creamy Peanut Butter – The stars of this recipe; opt for a quality brand for the best flavor.
- Vanilla Extract – Adds warm sweetness and enhances the cookie’s flavor.
For the Festive Touch
- Purple Gel Food Coloring – A crucial component for the spooky witch hat effect; avoid liquid coloring to maintain consistency.
- Halloween Sprinkles or Purple Sanding Sugar – Adds an appealing and festive crunch to the cookie’s exterior.
- Chocolate Kisses or Hugs – Forms the iconic tip of the witch hat; don’t forget to unwrap them beforehand for easy decorating.
Dive into making these Easy Witch Hat Cookies as a thrilling Halloween treat!
How to Make Easy Witch Hat Cookies
-
Prep: Start by lining a sheet tray with parchment paper to prevent sticking and ensure easy cleanup. This is where your delightful cookies will come to life!
-
Mix Dry Ingredients: In a bowl, whisk together the all-purpose flour, cornstarch, baking soda, baking powder, and fine sea salt. This forms the essential base for your cookies and helps keep them light and airy.
-
Cream Butter Mixture: In a large mixing bowl, beat the softened unsalted butter and granulated sugar together until smooth and fluffy. Then, add in the large egg, creamy peanut butter, and vanilla extract, mixing until fully combined.
-
Combine Mixtures: Gradually add the dry mixture to the butter mixture, stirring gently until just combined. Take care not to overmix, as this can affect the texture of the finished cookies.
-
Color Dough: Add the purple gel food coloring to the dough, mixing until you achieve your desired shade of spooky purple. This is where the fun begins—watch the dough transform!
-
Chill Dough: Scoop out portions of the dough and place them onto the prepared sheet tray. Cover and refrigerate for at least 2 hours, or overnight if possible. Chilling prevents the cookies from spreading too much during baking.
-
Preheat Oven: Preheat your oven to 350°F (175°C). This is the perfect temperature for baking your cookies to perfection!
-
Sugaring: Roll each chilled dough ball in Halloween sprinkles or purple sanding sugar for a festive touch before placing them on another prepared tray, leaving space between each cookie.
-
Bake Cookies: Bake in the preheated oven for about 9-11 minutes. Look for the cookies to puff up and start cracking on top, a sign of their chewy goodness!
-
Add Candy: Once baked, allow the cookies to cool for 5 minutes. Gently press a chocolate kiss in the center of each cookie, then freeze briefly to help set the candy.
Optional: Drizzle with white chocolate for an extra touch of sweetness!
Exact quantities are listed in the recipe card below.
Make Ahead Options
These Easy Witch Hat Cookies are perfect for busy home cooks looking to save time! You can prepare the dough up to 24 hours in advance by following the first five steps of the recipe, then tightly wrap the dough and refrigerate it. For a longer option, you can freeze the dough for up to 3 months. Just remember to thaw it in the fridge overnight before baking. When ready to bake, roll the chilled dough in Halloween sprinkles or purple sanding sugar and follow the remaining instructions for baking and decorating. This ensures that your cookies are just as delicious and visually captivating, allowing you more time to enjoy the festivities!
Tips for the Best Easy Witch Hat Cookies
- Chill the Dough: Refrigerating the dough for at least two hours prevents cookies from spreading too much during baking, ensuring they maintain their witch hat shape.
- Quality Ingredients: Use high-quality creamy peanut butter for the best flavor—this will make a noticeable difference in your cookies’ taste.
- Measure Accurately: Properly measuring all-purpose flour and other ingredients is key to achieving the desired texture of your cookies. Too much flour can lead to dry cookies.
- Gel Coloring Only: Stick to purple gel food coloring for consistent coloring; liquid food coloring can affect dough consistency and texture.
- Don’t Overmix: When combining the mixtures, mix just until combined to keep the texture soft and chewy—overmixing can lead to tough cookies.
What to Serve with Easy Witch Hat Cookies?
As you prepare to impress with these enchanting treats, consider a few delightful accompaniments that will complement their whimsical charm.
-
Spicy Pumpkin Latte: The warm, spiced flavors of pumpkin and cinnamon contrast beautifully with the rich peanut butter cookies, creating a cozy pairing perfect for the season.
-
Apple Cider Donuts: These soft, sugary, and slightly spiced donuts evoke autumn vibes, adding a delightful texture to your Halloween spread. Imagine sipping cider with a witch hat cookie in hand!
-
Marshmallow Hot Chocolate: A creamy, decadent cup of hot chocolate topped with fluffy marshmallows is a fantastic way to balance the sweetness of the cookies.
-
Caramel Corn: The buttery crunch of caramel corn offers a festive twist, providing a delightful contrast to the soft and chewy texture of the cookies.
-
Black Cat Cupcakes: Whip up some adorable themed cupcakes for a fun dessert spread that mirrors the witchy theme and captures the imaginations of kids and adults alike!
-
Spooky Cheese Platter: Include black olives, sharp cheeses, and Halloween-inspired crackers to balance out the sweetness with some savory bites—perfect for those not craving sweets!
Pairing your Easy Witch Hat Cookies with any of these treats will surely create a memorable and festive Halloween gathering that everyone will adore!
Easy Witch Hat Cookies Variations
Feel free to get creative and put your own spin on these festive cookies! The exciting flavors and vibrant colors can be adjusted to match your tastes and celebrate the spirit of the season.
-
Nut-Free: Substitute peanut butter with sunflower seed butter for a nut-free alternative that still delights.
This twist ensures all friends can enjoy these treats during gatherings where allergies might be a concern. -
Chocolate Lovers: Add mini chocolate chips to the dough for an extra decadence that chocolate lovers will adore.
Each bite will be a surprise of rich chocolatey goodness paired with the iconic peanut butter flavor. -
Pumpkin Spice: Incorporate 1 teaspoon of pumpkin spice for a warm, fall-inspired taste that evokes cozy autumn vibes.
The addition brings an inviting aroma that fills your kitchen and warms the heart during Halloween baking. -
Fruit Infusion: Mix in dried cranberries or mini M&Ms to bring bursts of color and flavor to each bite.
These fruity bits add a delightful chewiness that complements the soft-cooked cookie texture beautifully. -
Vegan Variation: Substitute eggs with flaxseed meal mixed with water and use plant-based butter for a vegan-friendly treat.
Everyone deserves a taste of Halloween magic, no matter their dietary preferences, which ensures everyone can join in on the fun! -
Different Colors: Change the gel food coloring to green or orange to match various holiday themes or personal preferences.
This simple swap instantly adjusts the visual appeal and adds a splash of festive color to your cookie display. -
Spicy Kick: Add a pinch of cayenne pepper or a dash of cinnamon into the dough for a surprising burst of warmth.
This unexpected hint will delight those looking for a twist on traditional sweet flavors, adding an exciting zing!
How to Store and Freeze Easy Witch Hat Cookies
Airtight Container: Store your cookies in an airtight container at room temperature for up to 5 days to maintain their soft and chewy texture.
Freezer: For longer storage, freeze the cookies in a single layer on a baking sheet, then transfer to a freezer-safe container or bag for up to 3 months.
Dough Freezing: You can also freeze the cookie dough before baking. Scoop the dough into balls, freeze until solid, then store in a bag; allow to thaw before baking.
Reheating: If the cookies become slightly firm, simply reheat them in the microwave for 10-15 seconds to bring back their delightful softness.
Easy Witch Hat Cookies Recipe FAQs
How do I choose ripe and fresh ingredients for my Easy Witch Hat Cookies?
Absolutely! When picking out your ingredients, especially the creamy peanut butter, look for a brand that has a rich, deep color and no added sugars or oils. Ensure your all-purpose flour is fresh by checking the expiration date, as using old flour can affect both flavor and texture. For your baking powder and baking soda, a simple freshness test is to add a bit of water to the baking powder or vinegar to the baking soda; if they fizz, they’re good to go!
How should I store my Easy Witch Hat Cookies, and how long will they last?
Very! To keep your cookies soft and chewy, store them in an airtight container at room temperature. They’ll stay delicious for up to 5 days. If you live in a humid environment, it’s best to use a container with a desiccant packet to absorb moisture and preserve freshness.
Can I freeze my Easy Witch Hat Cookies? If so, how?
Absolutely! To freeze your cookies, allow them to cool completely after baking. Then, lay them in a single layer on a baking sheet and freeze until firm. Once frozen, transfer them to a freezer-safe container or bag. They can be stored this way for up to 3 months. When you’re ready to enjoy, just thaw at room temperature or reheat in the microwave for a few seconds to bring back their delightful softness!
What should I do if my cookies spread too much while baking?
If your cookies spread out too much while baking, it’s likely due to insufficient chilling or too much butter in the dough. To fix this in the future, be sure to chill the dough for at least 2 hours or even overnight. You can also slightly reduce the butter to maintain the proper balance for the dough. Additionally, ensure that you’re accurately measuring your dry ingredients, as too much flour can also lead to spreading.
Are there any dietary considerations I should keep in mind?
Yes, it’s essential to think about allergies or dietary restrictions! These cookies contain common allergens like peanuts and eggs, so they may not be suitable for anyone with peanut allergies. If you’re looking for alternatives, consider using sunflower seed butter in place of peanut butter for a nut-free option and a flax egg as a substitute for eggs. Just mix 1 tablespoon of ground flaxseed with 2.5 tablespoons of water and let it sit for a few minutes to thicken.
How can I enhance the festive look of my Easy Witch Hat Cookies?
To add more flair, consider drizzling melted white chocolate over the tops after placing the Hershey Kisses. This not only enhances the visual appeal, making them more festive, but it also adds another layer of sweetness that pairs wonderfully with the peanut butter base. You could also play with different colors of sanding sugar or sprinkles based on other holidays or themes!
Delight in Easy Witch Hat Cookies Everyone Will Love
Ingredients
Equipment
Method
- Line a sheet tray with parchment paper for easy cleanup.
- In a bowl, whisk together all-purpose flour, cornstarch, baking soda, baking powder, and fine sea salt.
- In a large mixing bowl, beat softened unsalted butter and granulated sugar together until smooth. Add egg, creamy peanut butter, and vanilla extract. Mix until combined.
- Gradually mix the dry ingredients into the butter mixture until just combined.
- Add purple gel food coloring and mix until desired shade is achieved.
- Scoop dough portions onto the prepared sheet and refrigerate for at least 2 hours.
- Preheat oven to 350°F (175°C).
- Roll each chilled ball in Halloween sprinkles before placing on another tray.
- Bake for 9-11 minutes until cookies puff up and crack.
- Cool for 5 minutes, then gently press a chocolate kiss on each cookie.
