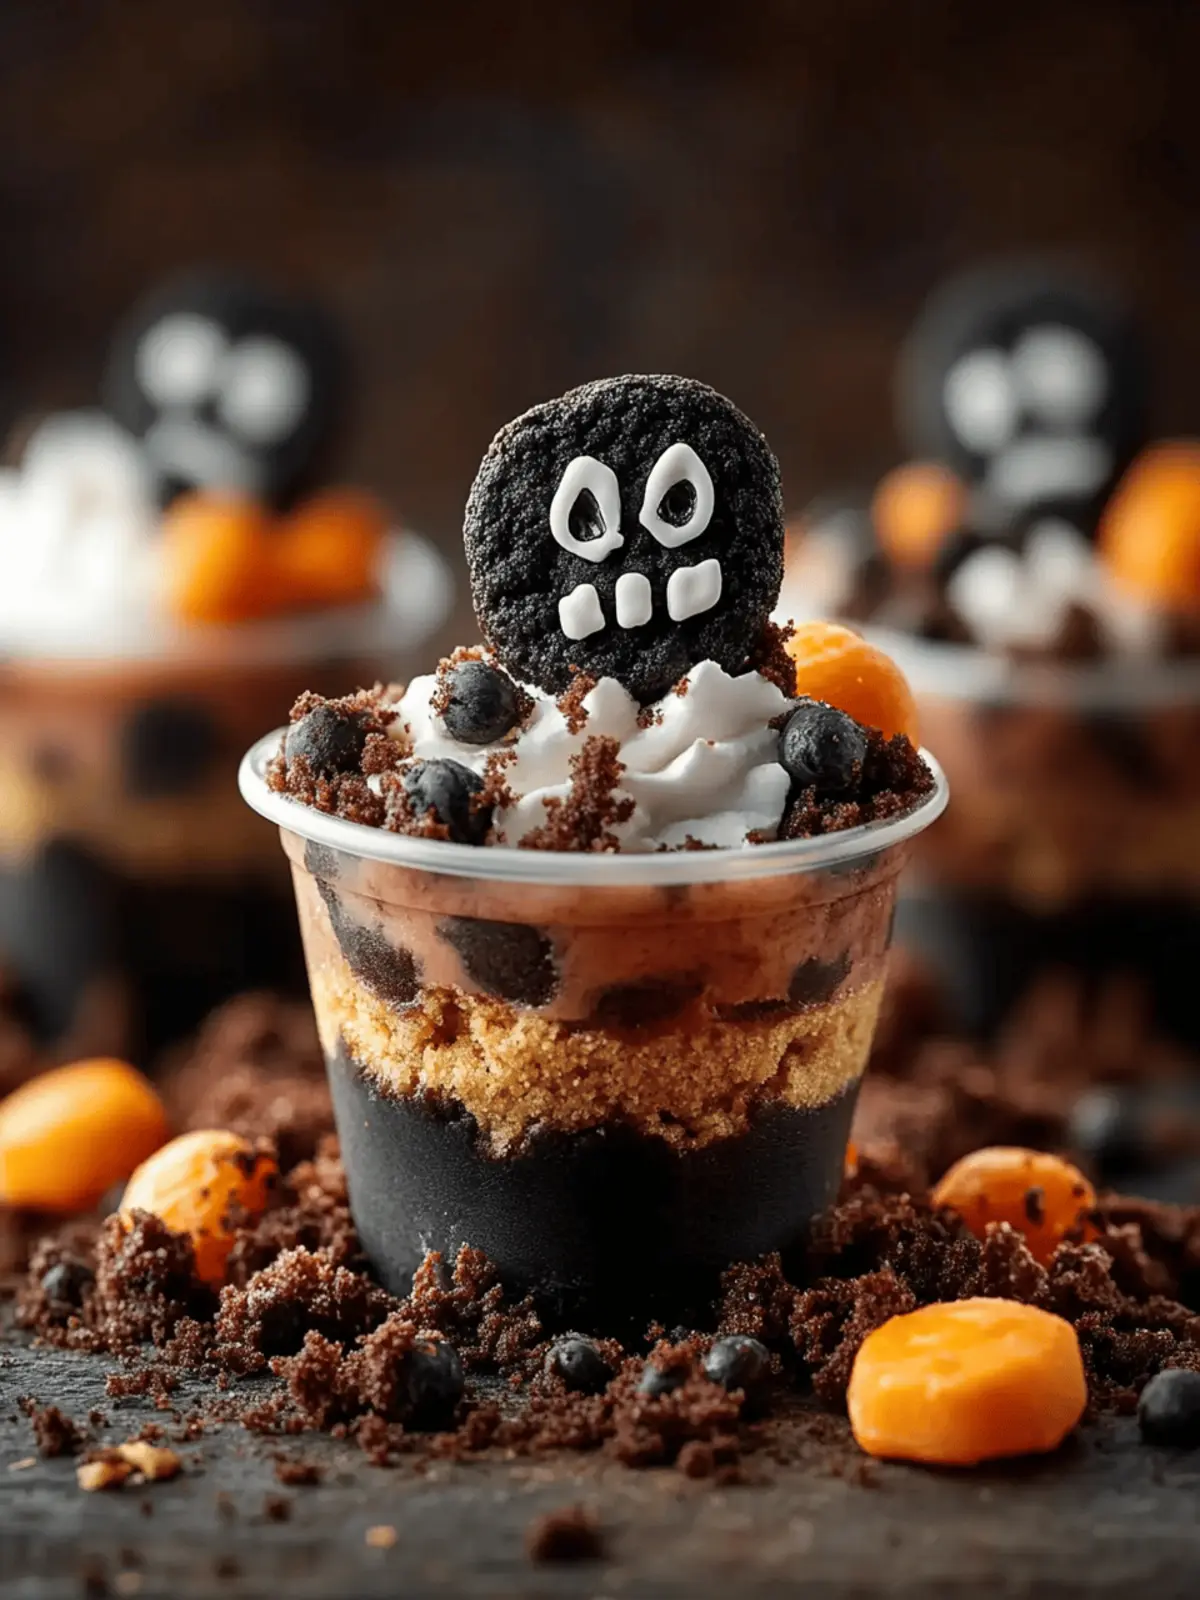
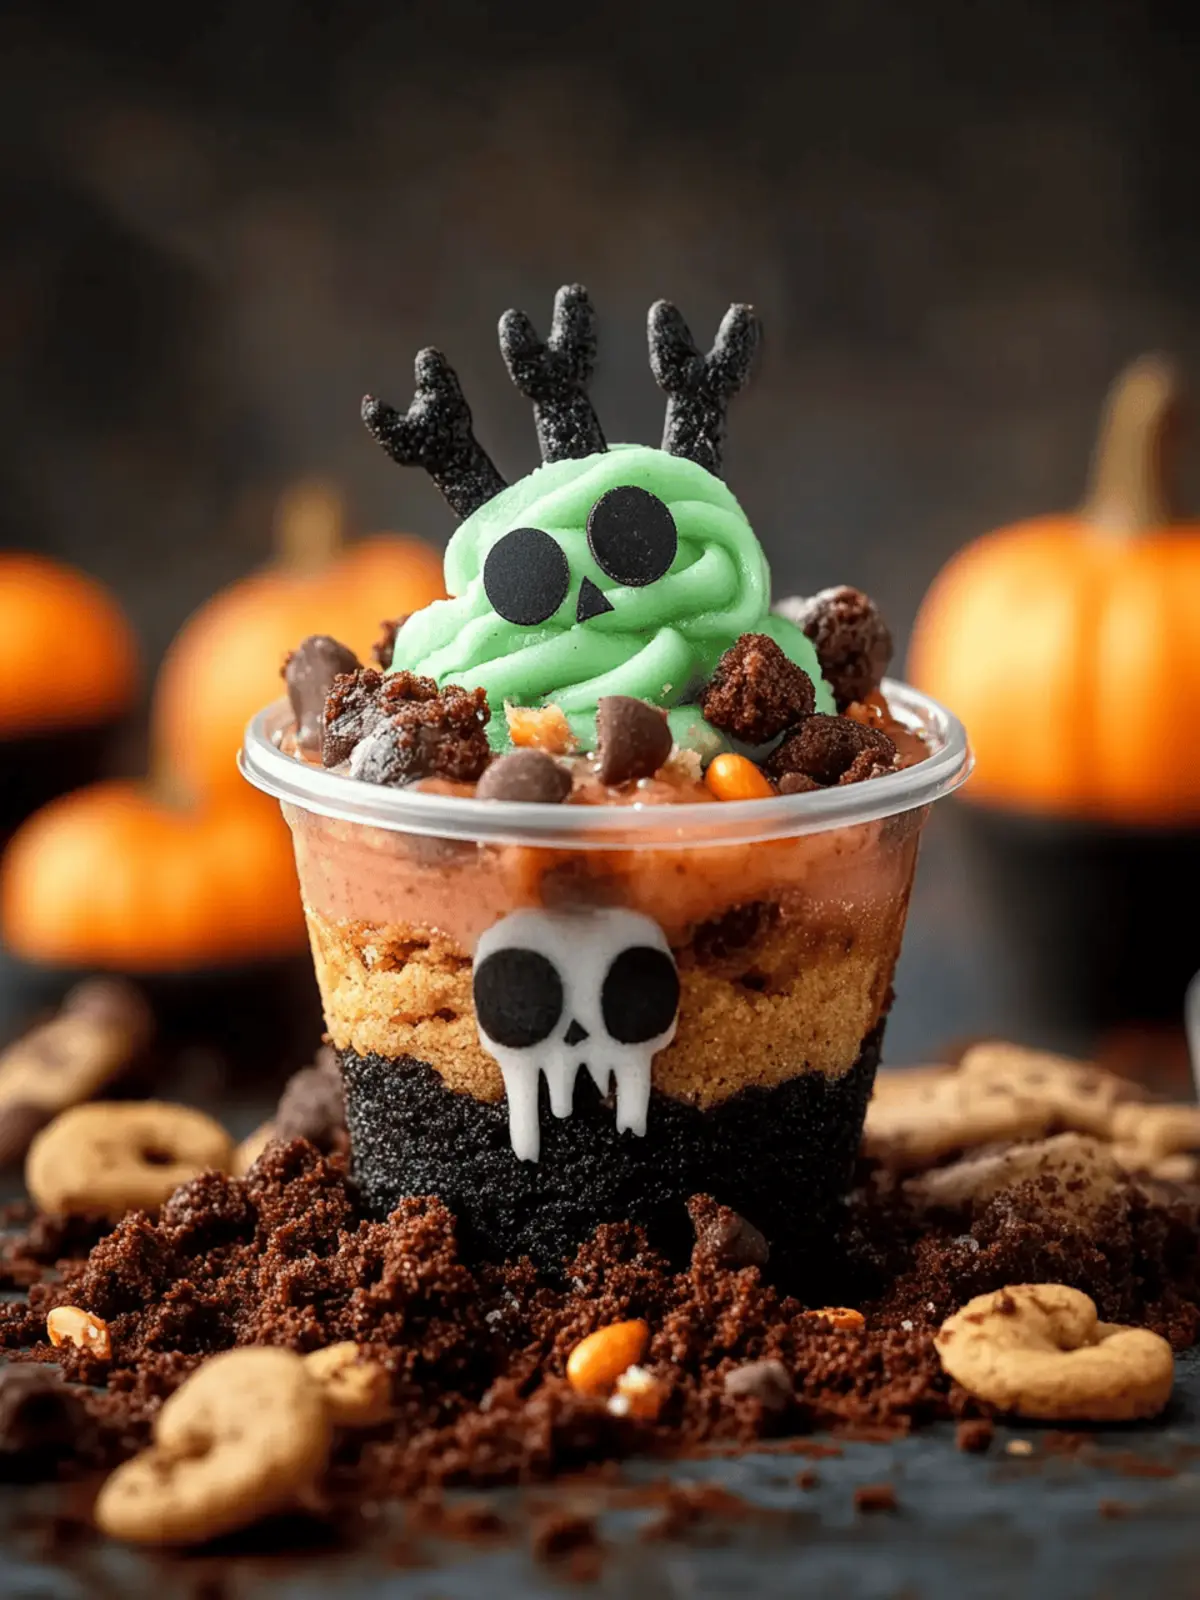
As Halloween approaches, the anticipation of spooky festivities fills the air, and what better way to celebrate than with a treat that’s eerily delightful? I can still hear the giggles of my kids as they helped me craft these Graveyard Pudding Cookie Cups—fun, layered, and eerily impressive. The layers of rich chocolate pudding nestled between crunchy Oreo “dirt” evoke images of playful ghosts and ghouls, while charming candy decorations add a whimsical touch.
These cups are more than just a sweeting; they bring laughter and creativity to the kitchen without any fuss. Perfect for family gatherings or Halloween parties, they’re so easy to assemble that even little hands can join in on the fun. So let’s dive into this graveyard of flavors and create a dessert that’s as thrilling to make as it is to eat!
Why are Graveyard Pudding Cookie Cups a must-have?
Spooktacular fun: These cups transform your kitchen into a Halloween playground, bringing joy to both kids and adults alike.
Effortless assembly: Quick and easy to put together, making them perfect for last-minute gatherings.
Unique layers: The delightful contrast of creamy pudding, crunchy Oreo dirt, and whimsical decorations creates an unforgettable visual and taste experience.
Family-friendly treat: Everyone can participate in the crafting, ensuring a memorable bonding moment. They’re the ideal addition to any Halloween bash!
Make-ahead option: Prepare them in advance, saving you time on the big day while ensuring freshness.
Versatile decoration: Customize with different candies for an extra personal touch, letting your creativity shine!
Graveyard Pudding Cookie Cups Ingredients
For the Pudding Layer
• Chocolate Instant Pudding Mix – Provides rich chocolate flavor and creamy texture. Alternative: Can use homemade pudding.
• Milk – Thins the pudding mix to the desired consistency. Option: Whole or low-fat milk for different creaminess.
• Cool Whip – Adds lightness and fluffiness to the pudding layers. Substitution: Whipped cream can be used instead.
For the Dirt Layer
• Oreo Cookies – Crushed to create a dirt-like topping which adds texture and flavor. Note: Any chocolate cookies can be used as an alternative.
For the Tombstones
• Milano Double Chocolate Cookies – Used as tombstones for decoration. Alternative: Any sturdy cookie could work.
• Black Frosting or Edible Marker – Used for writing “RIP” on tombstone cookies. Substitution: Dark chocolate can be melted and used for writing.
For Decorations
• Candy Pumpkins – Cute decorations adding a festive touch. Optional; can replace with any other Halloween-themed candy.
• Googly Eyes (edible) – Enhance the spooky effect. Optional.
• Gummy Worms – Optional addition for more Halloween flair. Note: Can be omitted if desired.
How to Make Graveyard Pudding Cookie Cups
-
Prepare the Tombstones: Start by writing “RIP” on the Milano cookies using black frosting or an edible marker. This sets the spooky tone for your dessert!
-
Mix the Pudding: In a mixing bowl, whisk together the chocolate pudding mix and milk until the mixture thickens, achieving a creamy consistency. This should take about 2 minutes.
-
Fold in the Cool Whip: Gently fold the Cool Whip into the pudding until fully combined, creating a light and fluffy layer for your cups. This adds a delightful texture!
-
Crush the Oreos: Take the Oreo cookies and crush them into fine crumbs to create a dirt-like topping. You want a texture that resembles actual dirt—so get those crumbles nice and fine!
-
Assemble the Cups: In clear cups, start layering your ingredients. Begin with a layer of crushed Oreos, then place googly eyes against the sides, and add a layer of pudding. Repeat this layering until your cups are filled—all the way to the top!
-
Add the Dirt Layer: Finish the cups by topping them with more crushed Oreos to resemble dirt. This is where the magic comes together, all the spooky feels!
-
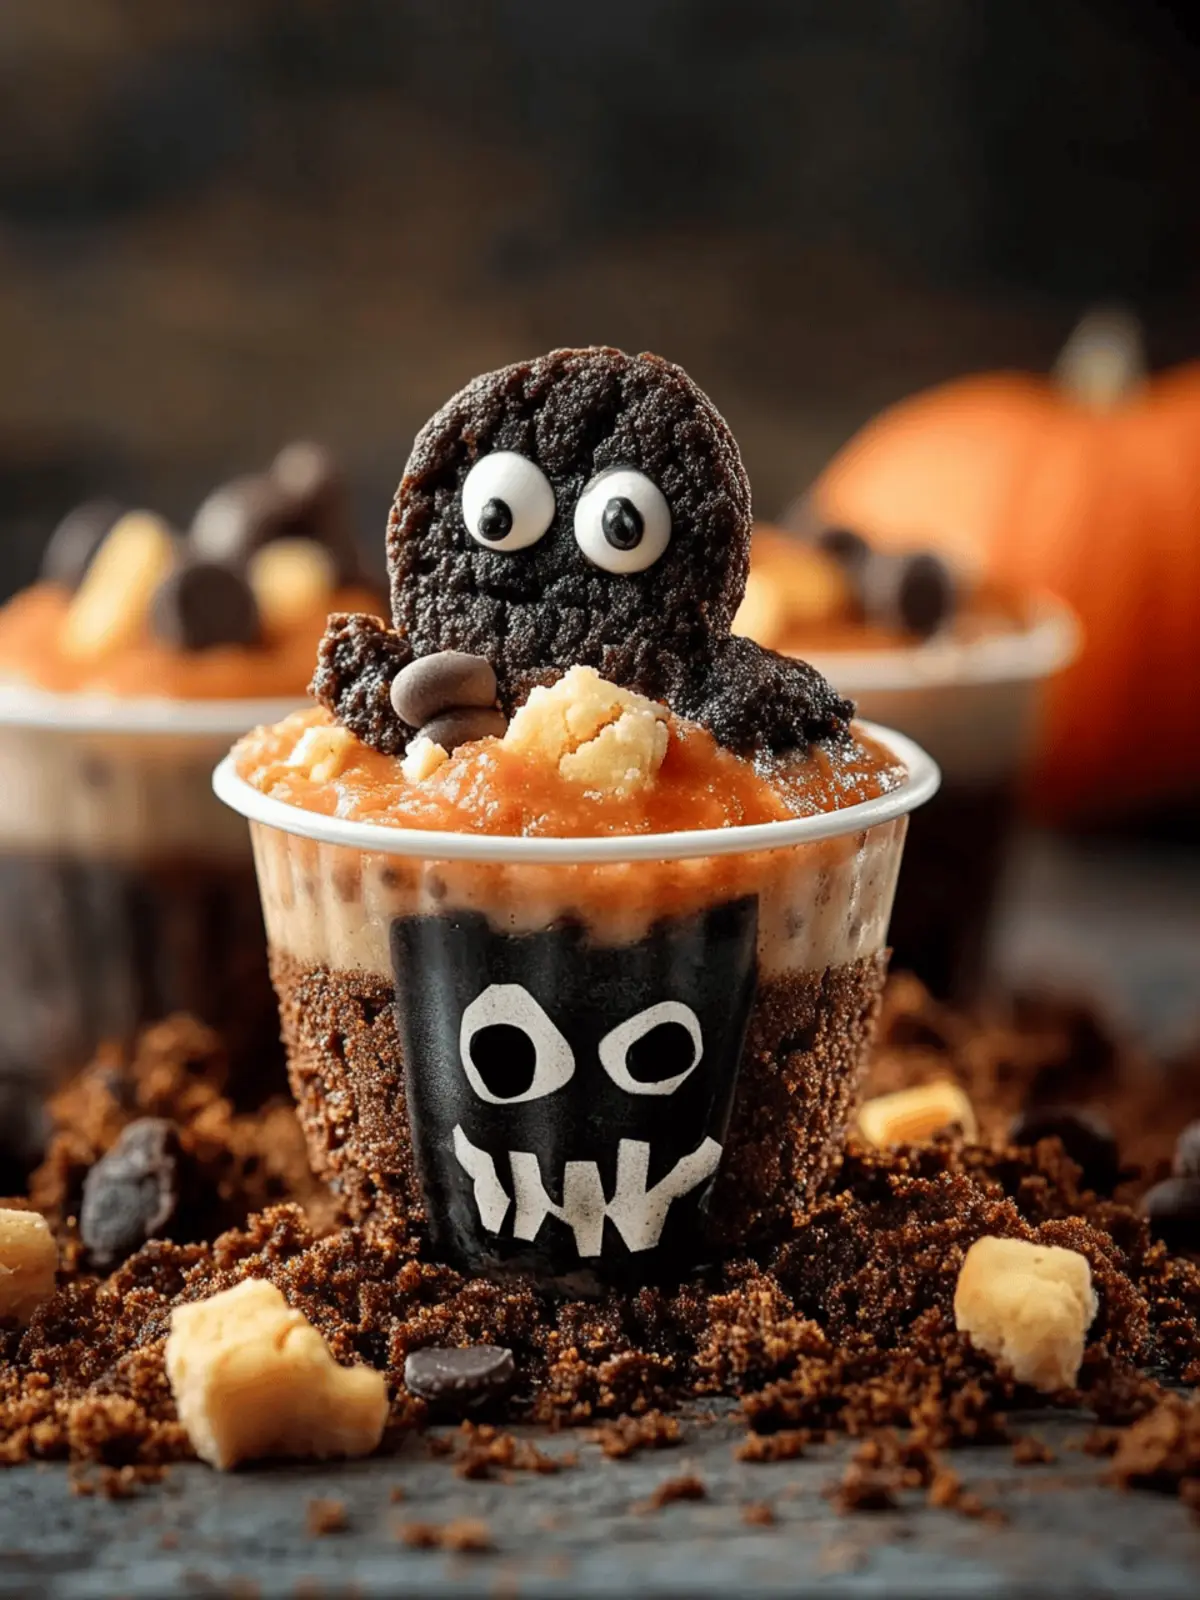
Insert the Tombstones & Decorate: Carefully insert the Milano tombstone cookies into the cups and add candy pumpkins and gummy worms if you’re using them. Your spooktacular graveyard is coming to life!
-
Chill Before Serving: Refrigerate the assembled cups for at least 30 minutes prior to serving. This allows the layers to set, ensuring a beautiful presentation and deliciously creamy texture.
Optional: Top with additional candy bones for an extra spooky touch!
Exact quantities are listed in the recipe card below.
What to Serve with Graveyard Pudding Cookie Cups?
As the spirit of Halloween creeps in, imagine a table adorned with all things deliciously spooky, perfectly complementing your festive dessert.
-
Witch’s Brew Punch: A fun, themed drink combining sparkling cider and lime sherbet. Its vibrant color mirrors the playfulness of your pudding cups!
-
Mummy Dogs: Mini hot dogs wrapped in crescent dough, giving a savory contrast to the sweet treats. They’re easy to make and a crowd favorite.
-
Spider Deviled Eggs: Classic deviled eggs topped with olive “spiders” provide a protein-packed option that contrasts beautifully with your dessert’s sweetness.
-
Pumpkin Bread: Moist and spiced, it serves as a comforting treat that echoes the flavors of the season. Slice it up for an aromatic addition to your spread!
-
Ghostly Fruit Cups: Fresh fruit with yogurt “ghosts” add a refreshing element and lighten the dessert table while keeping the Halloween spirit alive.
-
Spooky Cheese Board: A board arranged with black olives, orange cheeses, and creepy crackers offers a savory counterbalance. Pair it with a meteorite pumpkin dip for extra flair.
Let your celebration be as enchanting as your Graveyard Pudding Cookie Cups!
Make Ahead Options
These Graveyard Pudding Cookie Cups are perfect for busy home cooks looking to save time during Halloween celebrations! You can prepare the pudding layer and crushed Oreo “dirt” up to 24 hours in advance. Simply mix the chocolate pudding with milk as instructed, fold in the Cool Whip, and refrigerate. Store the crushed Oreos in an airtight container to maintain their crunch. When you’re ready to serve, layer the pudding and Oreo crumbs in clear cups, then add the tombstones and decorations just before your guests arrive. This way, your cupcakes will be just as delicious as if made fresh, while allowing you to enjoy the Halloween fun!
How to Store and Freeze Graveyard Pudding Cookie Cups
Refrigerator: Keep the assembled cups covered in the fridge for up to 24 hours; they taste best fresh. This ensures the creamy layers remain intact and delicious!
Freezer: If you need to store them longer, consider freezing the pudding mixture (without the toppings) for up to 3 months. Thaw in the fridge before assembly.
Leftovers: If you have leftover cups, squeeze any excess air out of the container to prevent freezer burn and keep the flavors fresh.
Reheating: These treats are best eaten cold, so no reheating is necessary! Enjoy straight from the fridge for the ultimate spooky delight!
Expert Tips for Graveyard Pudding Cookie Cups
- Presentation Matters: Use clear cups to showcase the beautiful layers and googly eyes, making each cup a visual delight that draws in your guests.
- Refrigerate Wisely: Allow at least 30 minutes in the fridge for optimal texture and presentation. This step helps the layers set perfectly!
- Avoid Soggy Layers: Be sure to crush the Oreos finely enough; larger pieces can prevent even layering and look less appealing.
- Customize Creatively: Switch out candies or add festive sprinkles for unique takes on your Graveyard Pudding Cookie Cups that make it truly yours!
- Prep Ahead: Assemble the layers the day before, but wait to add decorations until just before serving for maximum freshness.
Graveyard Pudding Cookie Cups Variations
Feel free to get creative and customize your Graveyard Pudding Cookie Cups for a unique flair that suits your taste buds!
-
Dairy-Free: Substitute almond or coconut milk and use non-dairy whipped topping for a creamy, plant-based delight.
-
Cookie Swap: Change up the flavor by using different cookies like chocolate wafers or even ginger snaps for an autumn twist.
-
Pudding Flavor: Try butterscotch or vanilla pudding for a different taste experience. It’s all about your preference!
-
Crunchy Twist: Add crushed nuts or granola between the pudding layers for an unexpected crunch that surprises with each bite.
-
Spooky Sprinkles: Use Halloween-themed sprinkles on top for extra color and festivity, adding both flair and fun variance.
-
Gummy Creatures: Instead of worms, consider using gummy bats or spiders for an extra spooky effect that ties in perfectly with Halloween.
-
Layer Up: Create additional layers with different textures—like adding a layer of fruity jelly or colored coconut to represent grass for a vibrant touch.
-
Chocolate Drizzle: Finish with a drizzle of melted chocolate or caramel over the top for a rich, decadent element that enhances the overall flavor experience.
Graveyard Pudding Cookie Cups Recipe FAQs
What type of chocolate pudding mix should I use?
You can use any brand of chocolate instant pudding mix for these Graveyard Pudding Cookie Cups. If you’re feeling adventurous, I highly recommend making homemade chocolate pudding for an even creamier texture—just be sure to let it cool properly before layering.
How long can I store the assembled pudding cups?
You can keep the assembled Graveyard Pudding Cookie Cups in the refrigerator for up to 24 hours, covered tightly. While they’re best enjoyed fresh, this storage method will keep the layers intact. Just avoid making them too far in advance, as the Oreos may lose their crunch over time.
Can I freeze the pudding mixture for later use?
Absolutely! You can freeze the chocolate pudding mixture without the toppings for up to 3 months. To freeze, pour the pudding into an airtight container, pressing out as much air as possible to prevent freezer burn. When you’re ready to use it, thaw the pudding in the fridge overnight and assemble your cups with fresh toppings.
What if my Oreos aren’t crushing properly?
If your Oreo cookies aren’t crushing into fine crumbs, try using a food processor for a smoother outcome. Alternatively, you can place them in a zip-top bag and crush them with a rolling pin. Make sure you’re applying even pressure, so you get those perfect “dirt-like” crumbs!
Are there any dietary considerations for these treats?
These Graveyard Pudding Cookie Cups can easily be adapted for various dietary needs. For lactose-free options, use dairy-free pudding mix and a non-dairy whipped topping. If allergies are a concern, ensure that the candy decorations do not contain allergens like nuts or gluten. Always double-check packaging to keep your little ghouls safe!
Can I make the layers ahead of time?
Yes! You can prepare the pudding and crush the Oreos a day in advance. Store each component in separate airtight containers in the refrigerator. When you’re ready to assemble, it’ll be a breeze! Just layer your cups and add the decorations just before serving for the best freshness and presentation.
Graveyard Pudding Cookie Cups: A Spooktacular Halloween Treat
Ingredients
Equipment
Method
- Prepare the Tombstones: Start by writing “RIP” on the Milano cookies using black frosting or an edible marker.
- Mix the Pudding: In a mixing bowl, whisk together the chocolate pudding mix and milk until thickened, about 2 minutes.
- Fold in the Cool Whip: Gently fold the Cool Whip into the pudding until fully combined.
- Crush the Oreos: Crush Oreo cookies into fine crumbs to create a dirt-like topping.
- Assemble the Cups: Layer the ingredients in clear cups, starting with crushed Oreos, then pudding, and repeat.
- Add the Dirt Layer: Top with more crushed Oreos to resemble dirt.
- Insert the Tombstones & Decorate: Insert Milano cookies and add candy pumpkins and gummy worms.
- Chill Before Serving: Refrigerate for at least 30 minutes before serving.
