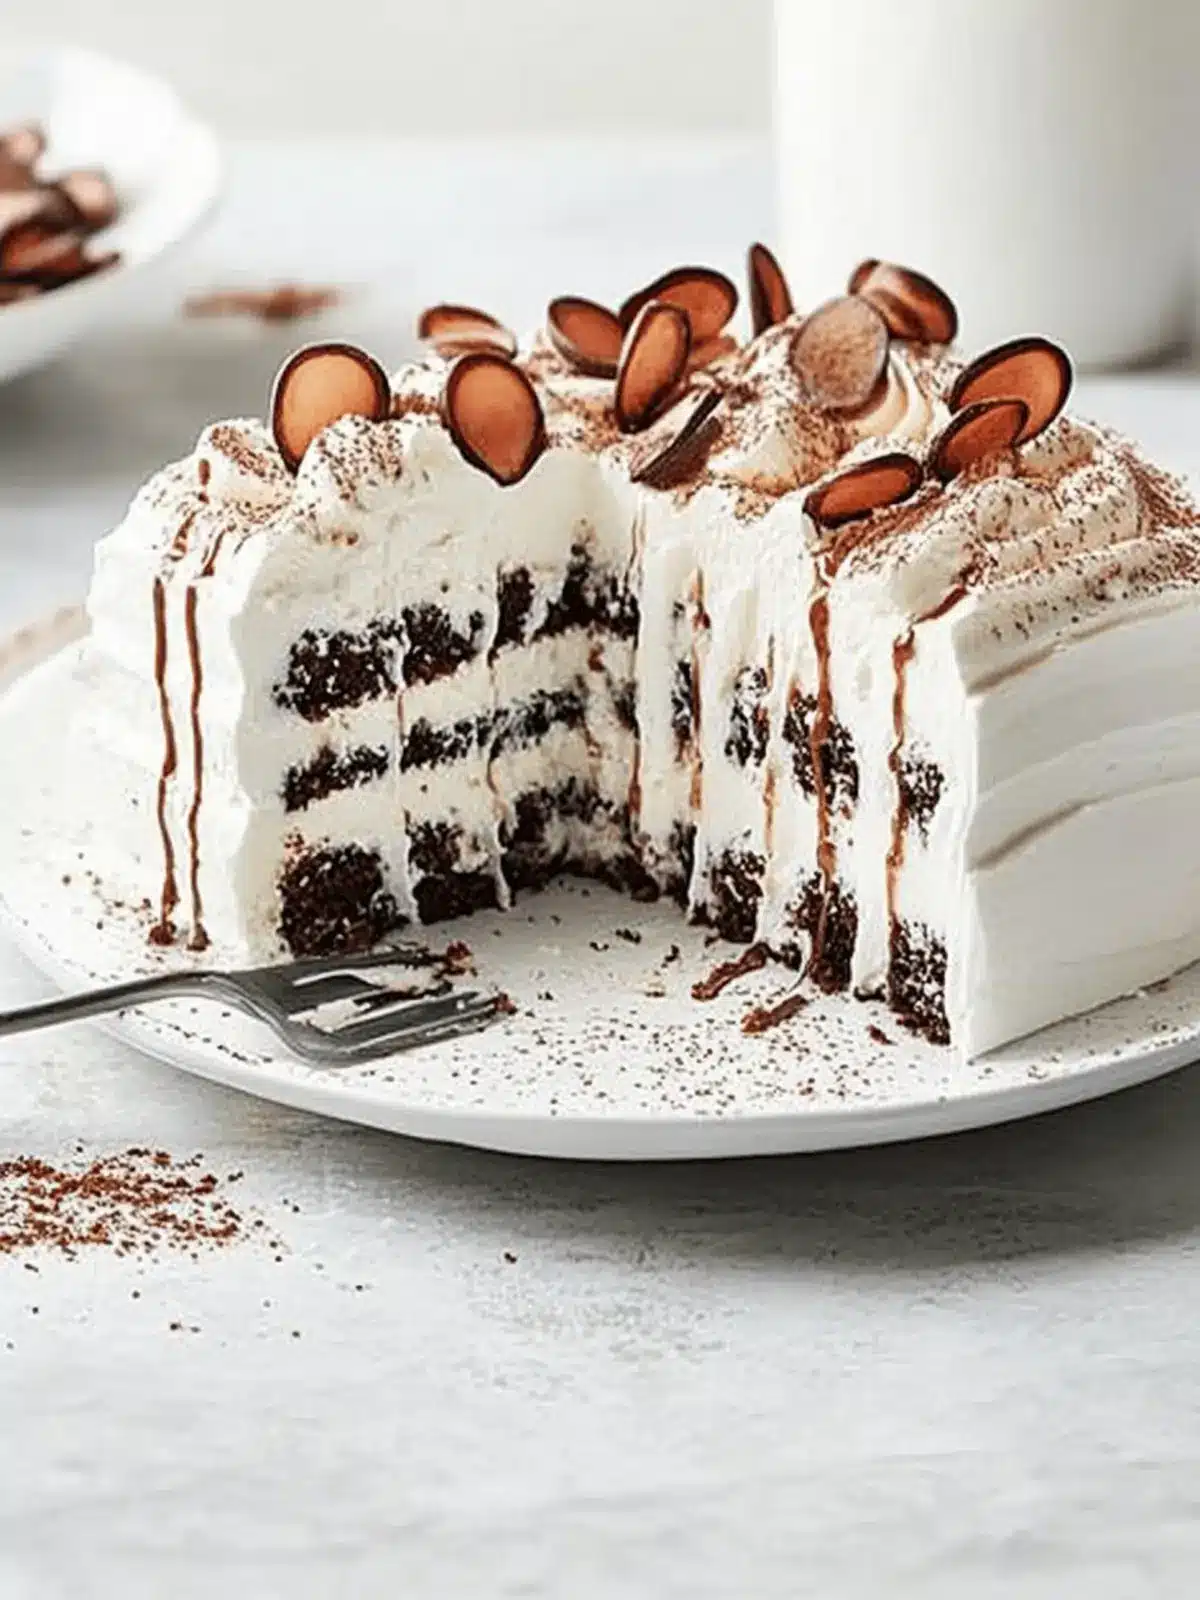
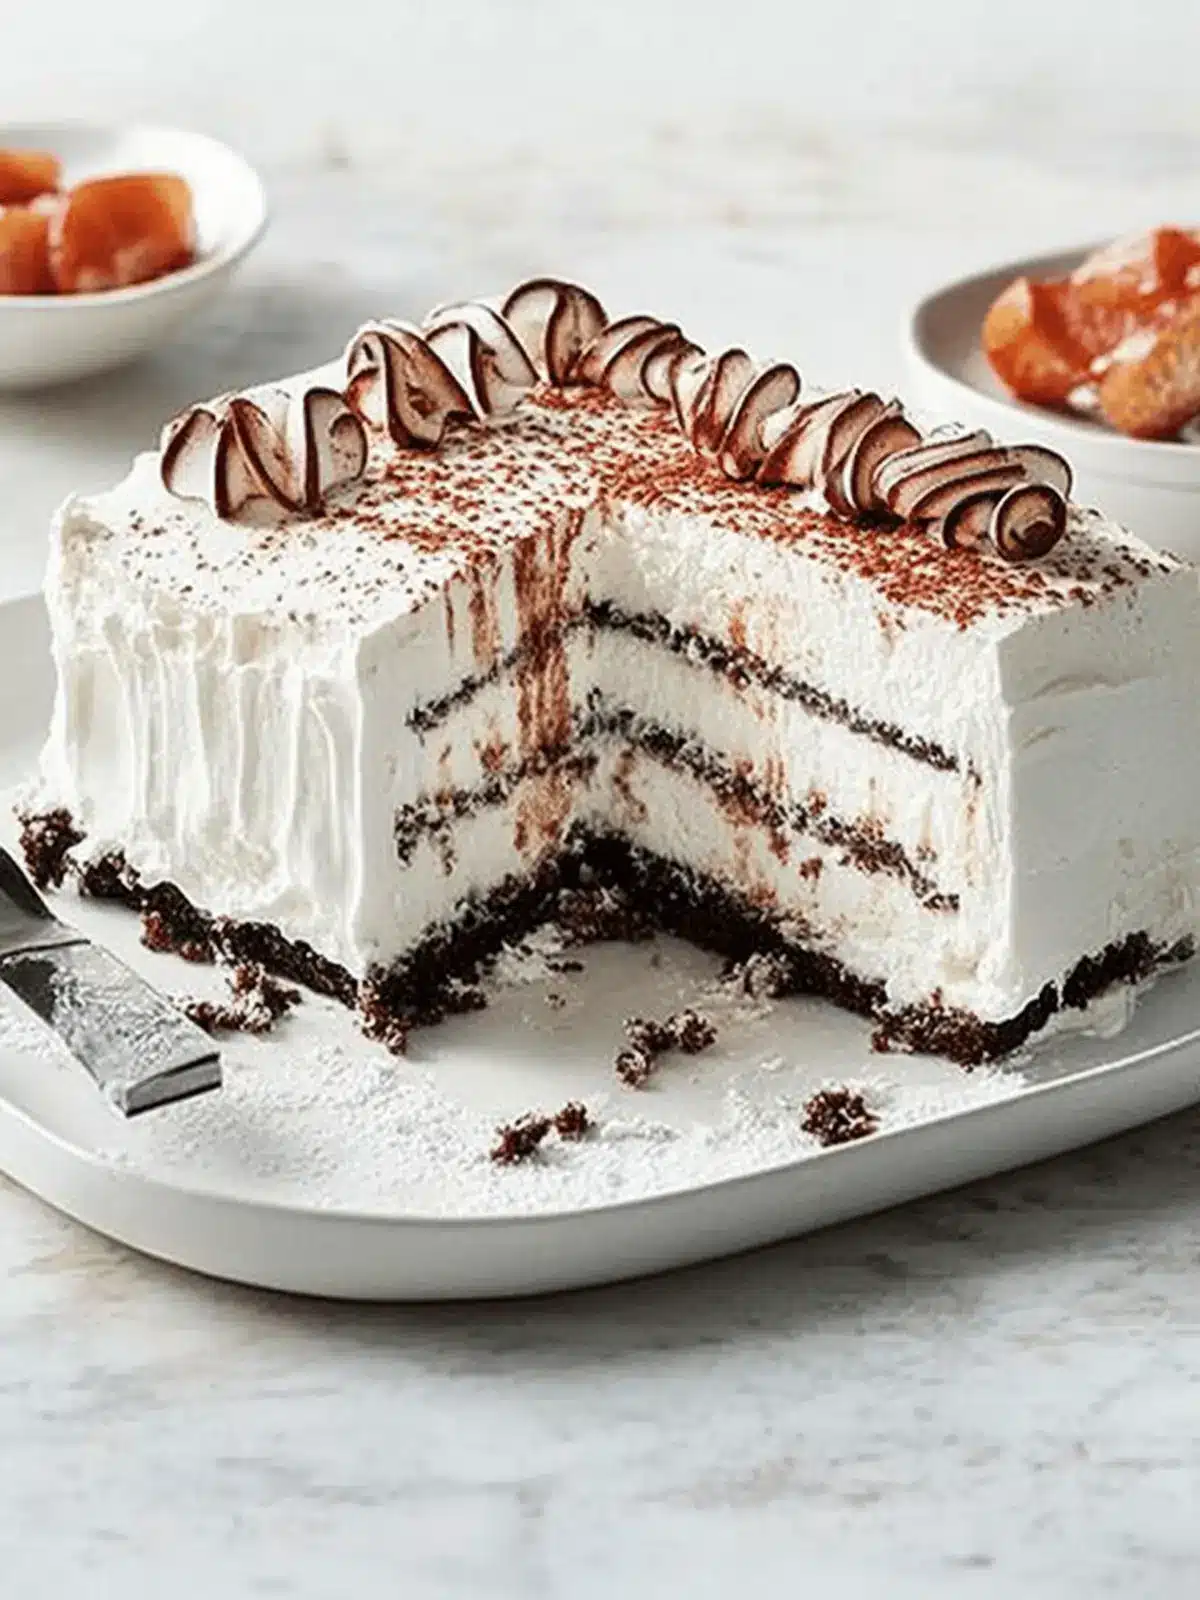
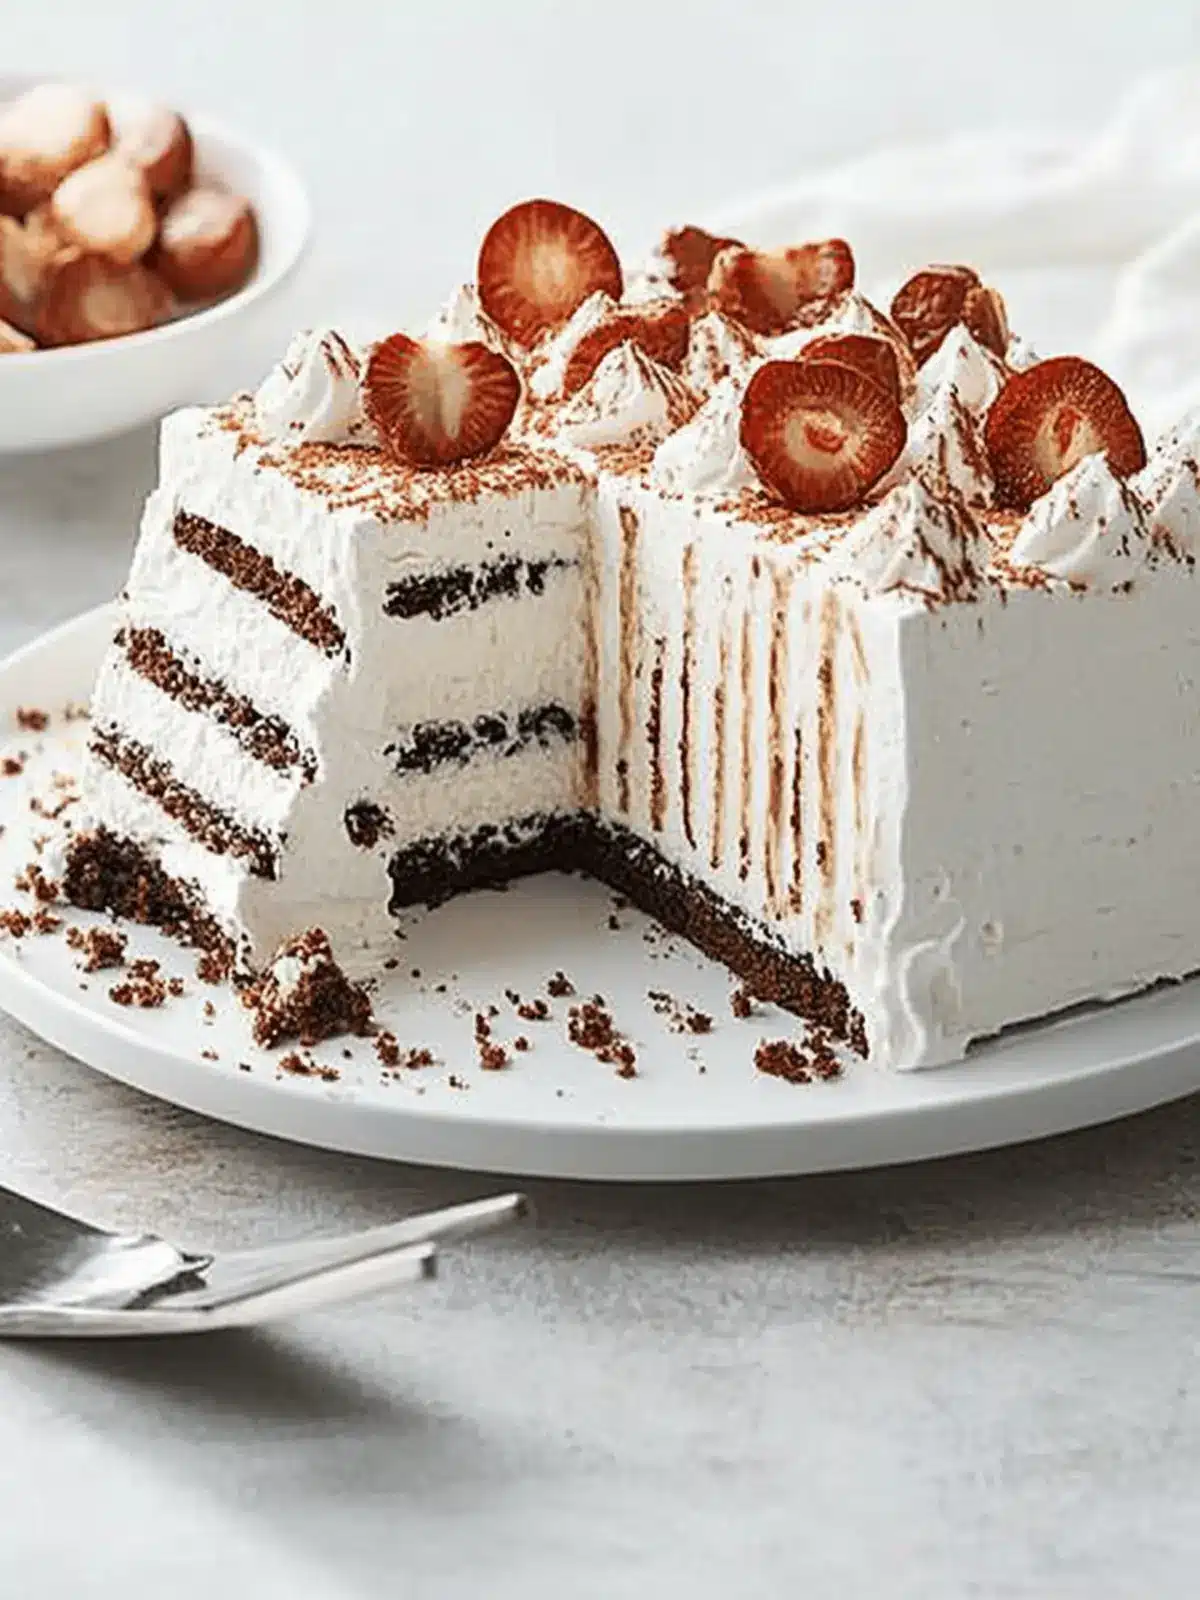
There’s a certain delight that comes from whipping up a dessert that requires little effort but delivers big on taste, and this Oreo Whipped Cream Icebox Cake is just that! Picture this: a velvety combination of heavy cream, gentle hints of vanilla, and crunchy Oreo Thins, all layered together for a sweet treat that literally melts in your mouth. On busy evenings or when the dessert craving hits unexpectedly, this recipe shines.
I stumbled upon this gem while searching for a no-fuss dessert to impress friends and family, and it has quickly become my go-to. With only 15 minutes of prep time and a chilling period to build anticipation, there’s hardly an easier way to satisfy that sweet tooth. Plus, it serves as a fun canvas for creativity—feel free to top it with chocolate curls or sift cocoa powder for an elegant finish. Whether you’re hosting a potluck or simply treating yourself, this Icebox Cake will leave everyone craving more. Let’s dive into how to make this delightful dessert!
Why You’ll Love This Icebox Cake Recipe
Ease of Preparation: This Icebox Cake requires only 15 minutes of hands-on time, making it perfect for busy folks craving a homemade dessert!
Luxurious Flavor: The rich blend of whipped cream and Oreo Thins creates a deliciously creamy treat that everyone will rave about.
Crowd-Pleasing Dessert: Whether it’s a family gathering or a friendly get-together, this dessert is sure to be the star of the show!
Versatile Options: Top it with chocolate curls or sift cocoa powder for that extra flair, personalizing it to suit your occasion.
Chill Time Builds Anticipation: The two-hour chilling period allows the flavors to meld beautifully, ensuring each bite is pure bliss!
If you enjoy simple yet impressive desserts, don’t miss out on trying this delightful recipe. It’s a game-changer for any dessert lover!
Icebox Cake Ingredients
For the Whipped Cream Mixture
• Heavy whipping cream – 3 cups will provide a rich, airy texture that forms the base of your Icebox Cake.
• Confectioners’ sugar – 1/4 cup adds just the right amount of sweetness to the whipped cream.
• Vanilla extract – 1 teaspoon enhances the overall flavor and brings warmth to this dessert.
For the Oreo Layer
• Oreo Thins – 1 package (11.78 ounces), approximately 48 cookies, offers a crunchy layer that balances the creaminess beautifully.
Optional Garnish
• Chocolate curls – Use these to add an elegant touch on top for visual delight and an extra chocolatey bite.
• Cocoa powder – A light dusting elevates the presentation and adds a rich cocoa flavor, making your Icebox Cake even more enticing.
How to Make Icebox Cake
-
Whip Cream: In a large bowl, whip the heavy whipping cream until it reaches soft peaks. This should take about 3-5 minutes at medium speed; watch for a fluffy texture.
-
Sweeten and Flavor: Gradually add the confectioners’ sugar and vanilla extract while continuing to whip. Keep mixing until you see stiff peaks form, which will take an additional 2-3 minutes.
-
Crush Oreos: Take the Oreo Thins and crush them into fine crumbs. You can use a food processor or place them in a sealed bag and crush them with a rolling pin.
-
Combine: Gently fold the crushed Oreos into the whipped cream mixture until evenly combined. Be careful not to deflate the cream; this ensures a light, airy dessert.
-
Spoon Mixture: Transfer the Oreo whipped cream mixture into a serving dish. Use a spatula to smooth the top, creating an appealing surface to show off your creation.
-
Chill: Refrigerate the dish for at least 2 hours. This chilling time lets the flavors meld perfectly and helps the dessert set up beautifully.
-
Garnish (Optional): Before serving, feel free to sprinkle some cocoa powder or add chocolate curls on top for that extra flair.
Optional: For an added touch, drizzle chocolate sauce over the top just before serving.
Exact quantities are listed in the recipe card below.
Expert Tips for Icebox Cake
-
Choose Quality Oreos: Select fresh Oreo Thins for the best flavor. Stale cookies can lead to a less enjoyable crunch and flavor in your Icebox Cake.
-
Whipping Technique: Avoid over-whipping the cream; it should hold stiff peaks without becoming grainy. This perfect texture is crucial for a light dessert.
-
Layering Matters: When folding in the crushed Oreos, do so gently to retain the air in the whipped cream. This ensures your Icebox Cake stays fluffy and light.
-
Chill Well: Don’t skimp on the chilling time—two hours allows the flavors to meld. If you’re in a rush, consider 30 more minutes for a thicker texture.
-
Creative Garnishes: Feel free to experiment with toppings beyond the cocoa powder and chocolate curls—try fresh berries or crushed nuts for added texture and flavor.
How to Store and Freeze Icebox Cake
Fridge: Store any leftover Icebox Cake in an airtight container in the refrigerator for up to 3 days to maintain its creamy texture and flavor.
Freezer: You can freeze the Icebox Cake for up to 1 month. Wrap individual portions tightly in plastic wrap, then place them in a freezer-safe container.
Thawing: To enjoy frozen Icebox Cake, transfer it to the refrigerator and let it thaw overnight before serving. This gentle thawing method preserves the dessert’s lightness.
Reheating: There’s no need to reheat this dessert; simply enjoy it cold for the best experience!
Make Ahead Options
These delightful Icebox Cakes are perfect for busy home cooks who want to save time without sacrificing flavor! You can prepare the whipped cream mixture and crush the Oreo Thins up to 24 hours in advance. Simply whip the cream, sweeten it, and fold the crushed Oreos, then transfer it to your serving dish and cover it tightly with plastic wrap to maintain freshness. Refrigerate until you’re ready to chill it for at least 2 hours before serving. The longer the dessert sits (up to 3 days), the more the flavors blend beautifully, resulting in a treat that’s just as delicious as when you first made it. When it’s time to serve, garnish with chocolate curls or cocoa powder for that perfect finishing touch!
Icebox Cake Variations & Substitutions
Feel free to get creative and customize this delightful Icebox Cake recipe to suit your taste and dietary needs!
- Dairy-Free: Substitute heavy whipping cream with coconut cream for a vegan-friendly twist full of tropical flavor.
- Gluten-Free: Use gluten-free Oreo cookies instead of Oreo Thins to keep this dessert accessible for those with gluten sensitivities.
- Flavor Boost: Add a tablespoon of espresso powder to the whipped cream mixture for a rich mocha flavor that pairs beautifully with Oreos.
- Texture Twist: Fold in crushed nuts like walnuts or pecans for a delightful crunch that adds another layer of texture to your creamy layers.
- Fruit Infusion: Incorporate fresh berries into the whipped cream mixture for a burst of tartness that balances the sweet creaminess.
- Heat it Up: Drizzle a little spicy chocolate sauce on top to introduce a warm, zesty kick that will surprise and delight your taste buds!
- Nutty Delight: Try adding almond or hazelnut extract instead of vanilla for a unique nutty aroma that elevates the overall flavor profile.
- Layer It Up: Instead of just Oreos, alternate with layers of chocolate cake or crumbled brownies for a decadent twist that will leave everyone wanting more!
What to Serve with Oreo Whipped Cream Dessert?
Looking for delightful accompaniments to enhance your sweet creation? Here are some delicious ideas!
-
Fresh Berries: Their natural tartness balances the creamy sweetness of the dessert, adding a pop of color and flavor. Try serving with strawberries, raspberries, or blueberries for a vibrant touch.
-
Chocolate Sauce: Drizzling a rich chocolate sauce on top brings an irresistible chocolate indulgence that pairs perfectly with the Oreos. It’s a decadent finishing touch that chocolate lovers will adore.
-
Coffee or Espresso: A warm cup of coffee or a shot of espresso enhances the chocolatey notes in the dessert, creating a perfect harmony of flavors. The bitterness of the coffee complements the sweetness beautifully.
-
Vanilla Ice Cream: A scoop of vanilla ice cream adds a luscious creaminess that elevates your dessert experience. It’s a classic combo that never fails to impress!
-
Caramel Sauce: Adding a drizzle of sweet caramel creates a delightful contrast to the Oreo whipped cream. This sweet twist will have your guests coming back for seconds!
-
Homemade Whipped Cream: Go all out with an extra dollop of freshly whipped cream on top to amplify the airy texture. Add a sprinkle of cocoa powder or crushed Oreos for that extra flair.
-
Mint Leaves: A few fresh mint leaves not only add a refreshing hint but also brighten the presentation. Their vibrant green color and subtle flavor create a lovely contrast against the rich dessert.
-
Sparkling Water: For a light and refreshing drink, pair your dessert with sparkling water. The bubbles cleanse your palate between sweet bites, making it an elegant touch to your serving.
Oreo Whipped Cream Dessert Recipe FAQs
How do I choose the best Oreos for this Icebox Cake?
Absolutely! Opt for fresh Oreo Thins, as stale cookies can lead to a chewy texture and may not incorporate well into the whipped cream. The brighter the packaging and the farthest expiration date, the better!
How should I store the Icebox Cake after making it?
Make sure to keep any leftovers in an airtight container in the refrigerator, where it will stay fresh for up to 3 days. Keeping the dessert well-sealed helps to maintain its creamy texture and delightful flavor.
Can I freeze the Icebox Cake?
Very! You can freeze the Icebox Cake for up to 1 month. Wrap individual portions tightly in plastic wrap to prevent freezer burn, then place them in a freezer-safe container. To thaw, simply transfer the frozen cake to the refrigerator and let it thaw overnight before serving.
What should I do if my whipped cream isn’t forming stiff peaks?
If you find that your whipped cream isn’t reaching stiff peaks, it could be due to the temperature of the cream or the bowl. Ensure your heavy cream is very cold (chilling it beforehand helps), and use a clean mixing bowl free of any fat residues. If you’re still having trouble, consider using a bit of powdered sugar or cornstarch; they can help stabilize your whipped cream and achieve that desired fluffiness.
Is this Icebox Cake suitable for people with allergies?
It’s essential to note that while this recipe contains common allergens like dairy and gluten from the Oreo Thins, you can make adjustments. I recommend using a dairy-free whipping cream alternative and gluten-free Oreos for those with sensitivities. Always check the labels for any unexpected allergens.
How long does it take for the Icebox Cake to set in the refrigerator?
The chilling period is key to achieving the best texture! I recommend refrigerating the Icebox Cake for at least 2 hours. However, if you have the time, letting it chill a little longer can deepen the flavors even more—up to 4 hours is marvelous if you can wait.
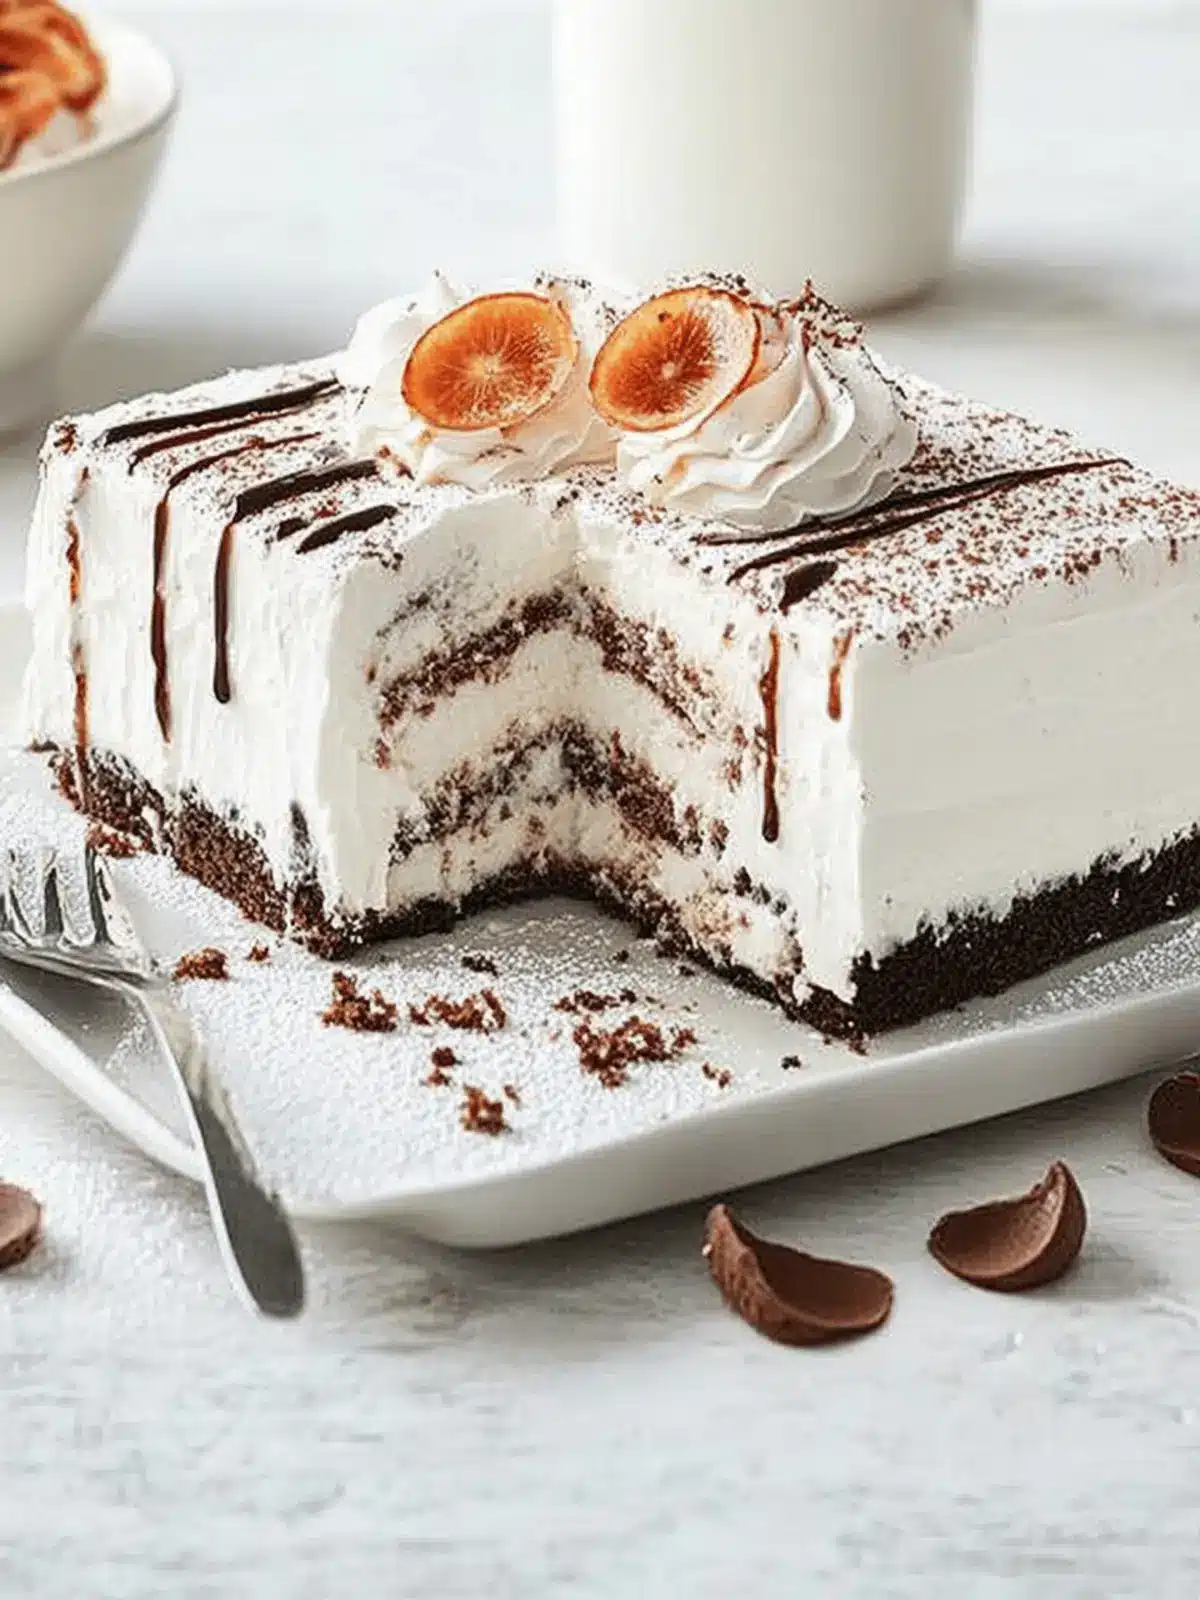
Decadent Icebox Cake with Oreo Whipped Cream Bliss
Ingredients
Equipment
Method
- In a large bowl, whip the heavy whipping cream until soft peaks form.
- Gradually add confectioners' sugar and vanilla extract, whipping until stiff peaks form.
- Crush the Oreo Thins into fine crumbs.
- Gently fold the crushed Oreos into the whipped cream mixture.
- Transfer the Oreo whipped cream mixture into a serving dish, smoothing the top.
- Refrigerate for at least 2 hours to allow flavors to meld.
- Before serving, add optional cocoa powder or chocolate curls on top.

