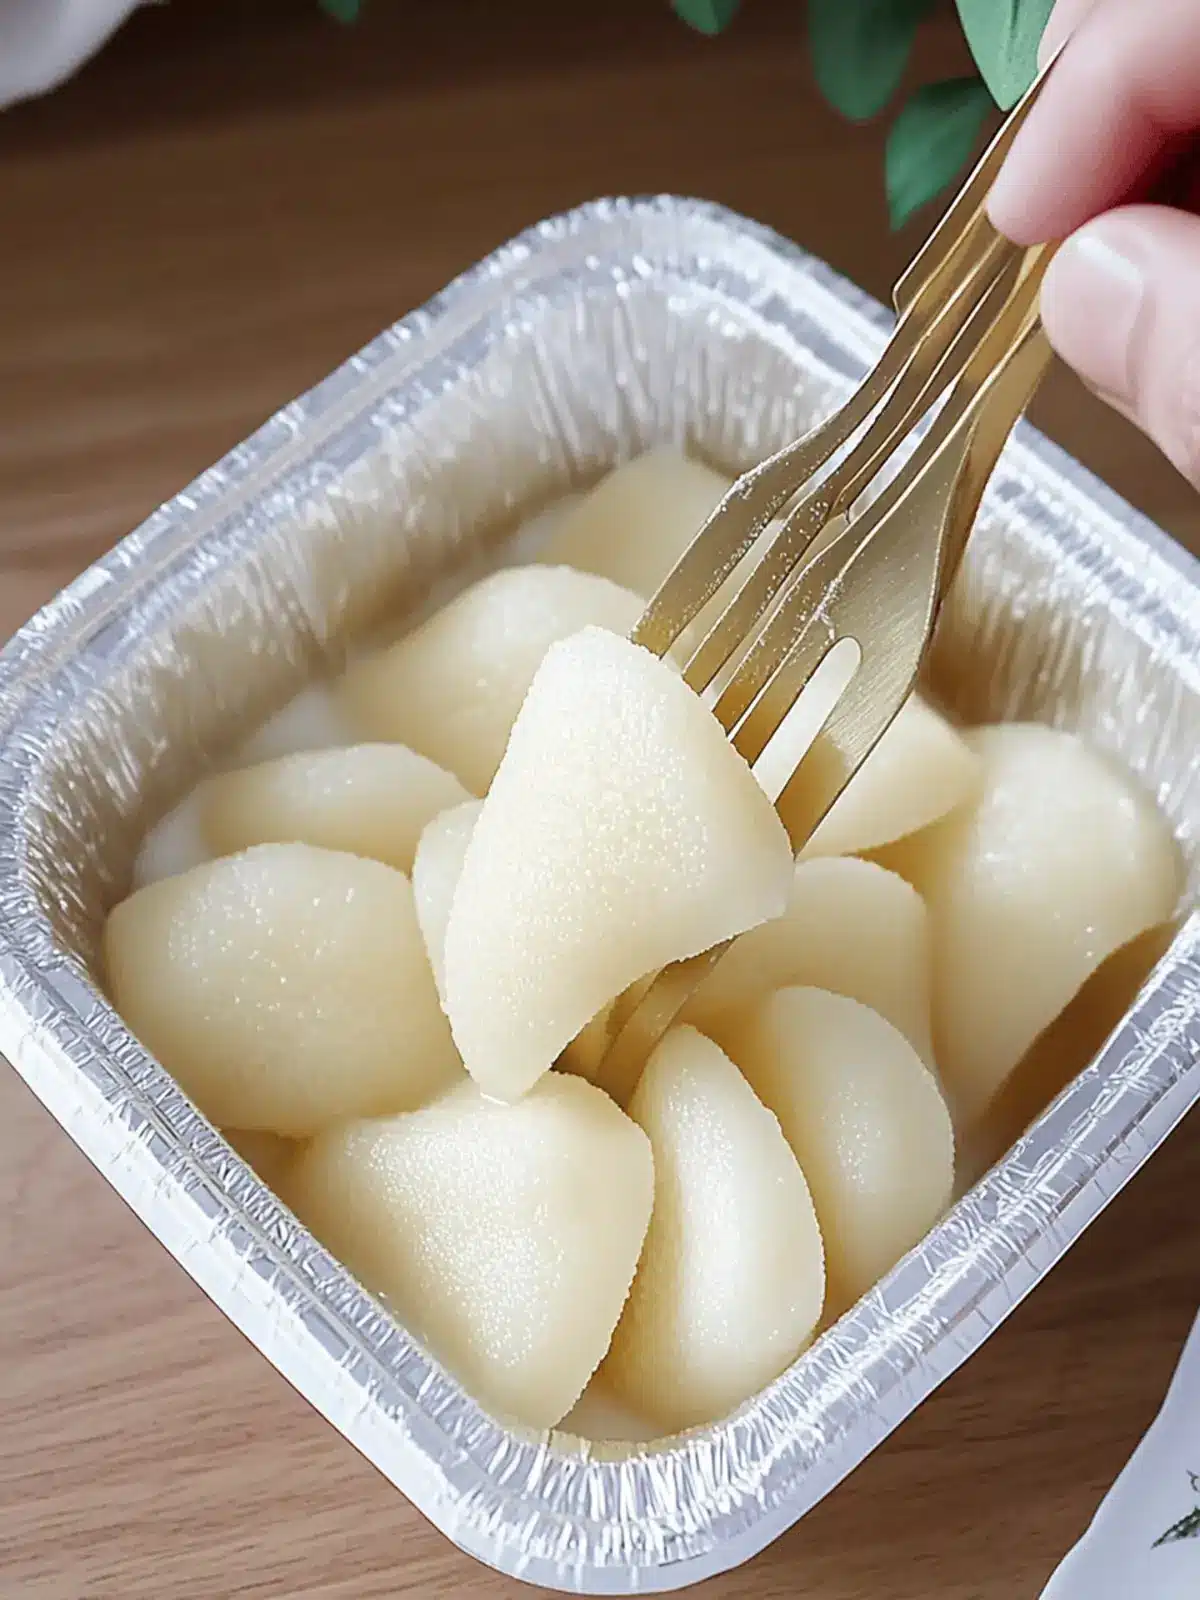
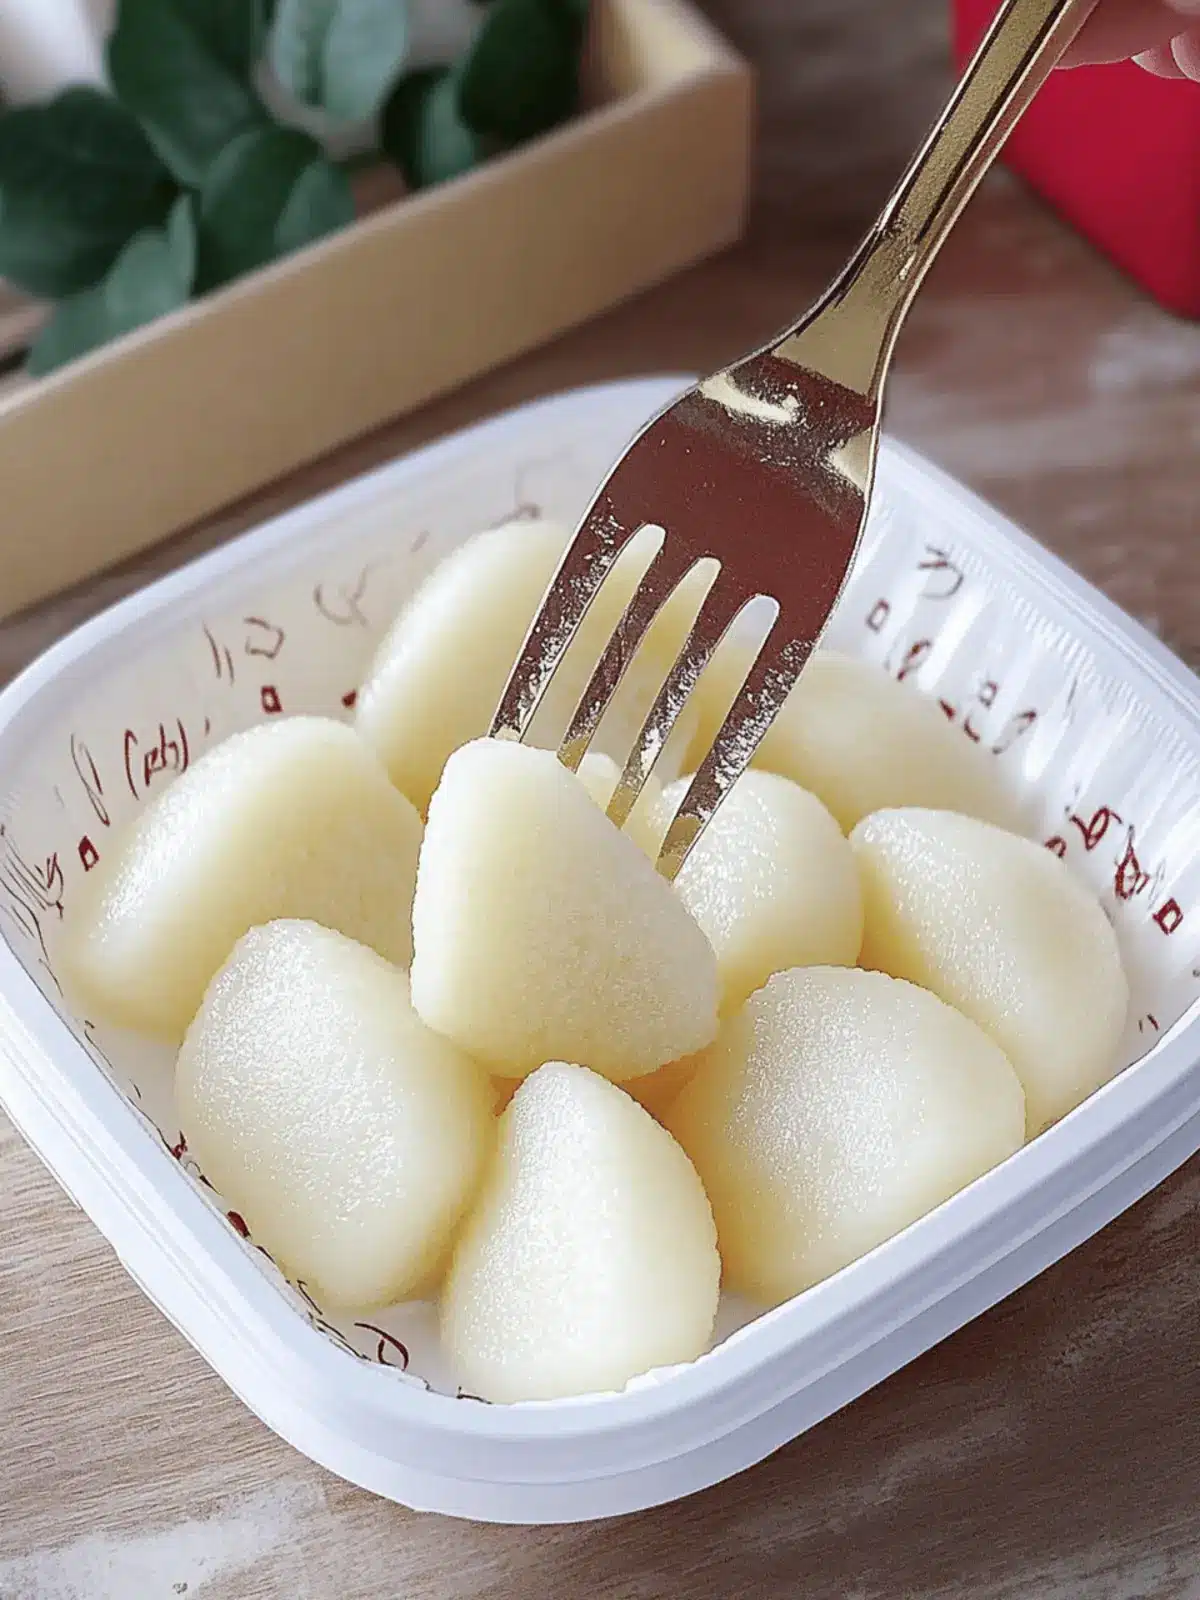
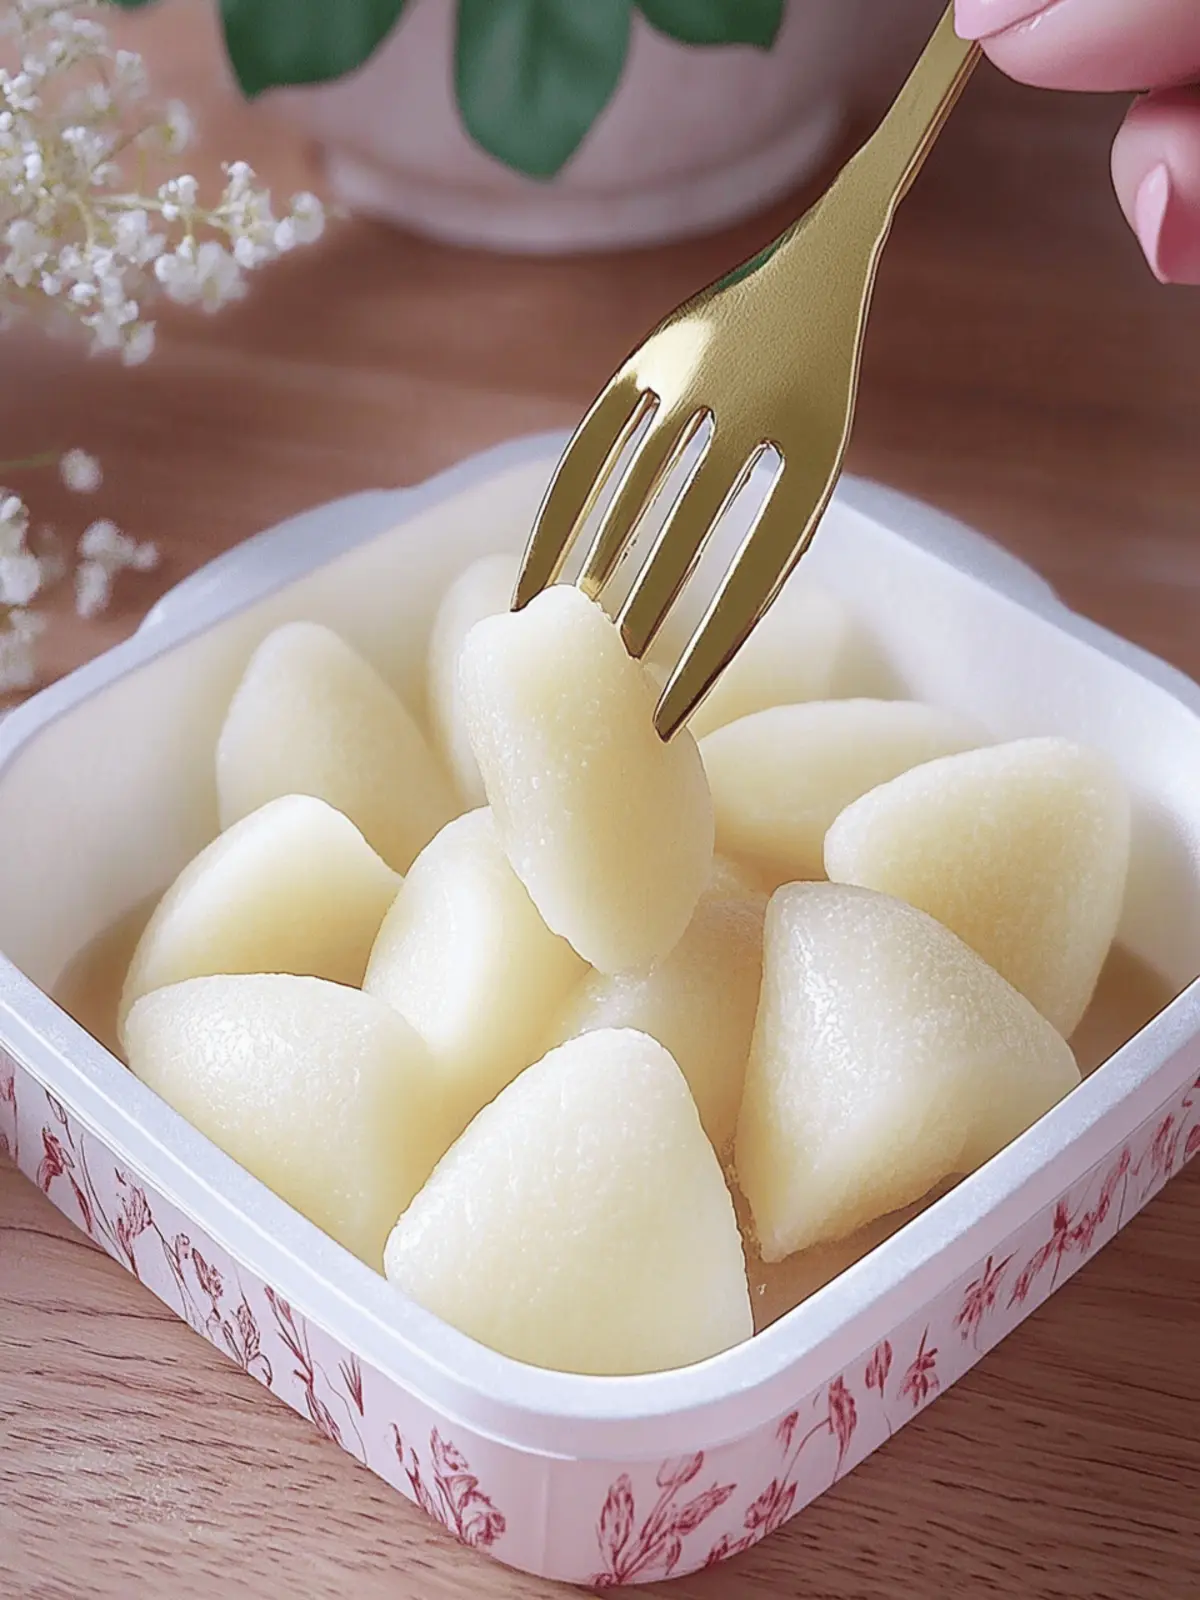
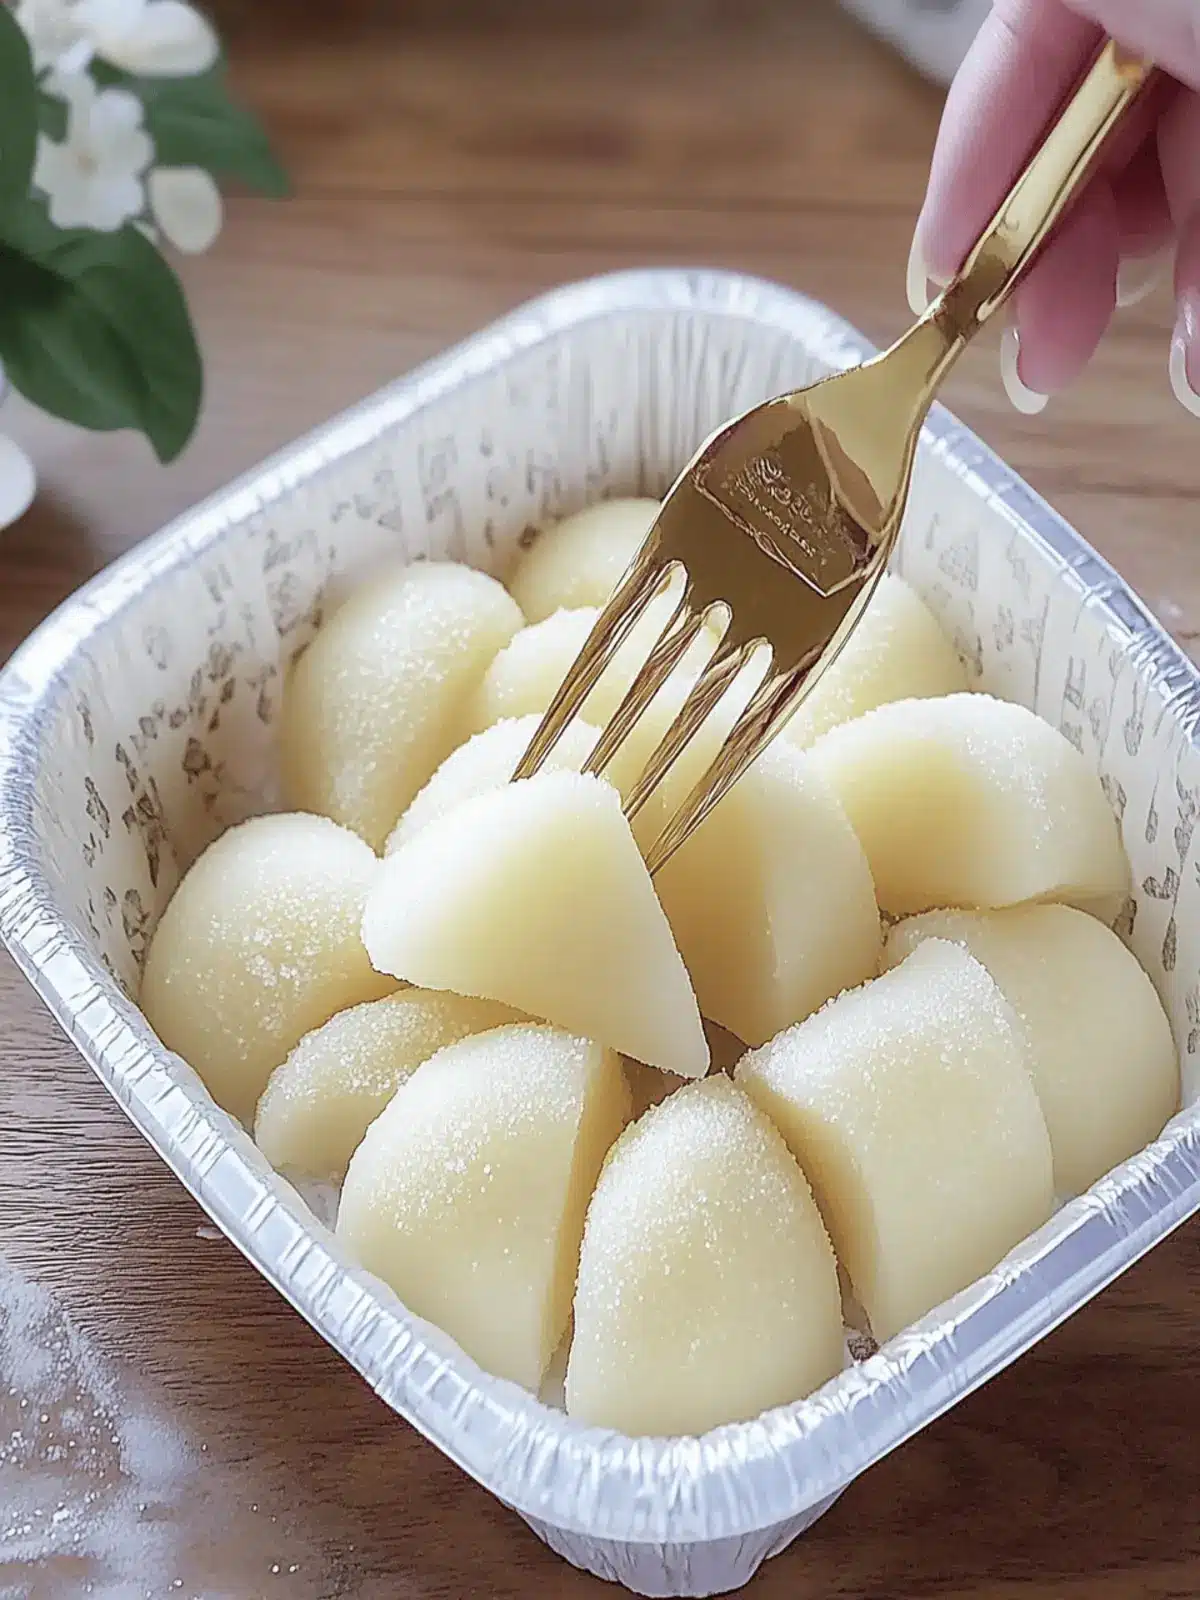
As I poured the silky milk into the mixing bowl, I couldn’t help but smile at the simplicity of what I was about to create. This Milk Mochi is a delightful twist on a traditional Japanese dessert, showcasing the creamy richness of milk in a chewy dough that’s as comforting as it is delicious. Perfect for anyone tired of fast food or looking for an easy dessert, this recipe transforms pantry staples into a sweet treat that the whole family will adore.
After a long week, there’s nothing quite like the satisfaction of making a dessert that not only tastes amazing but also fills my home with warmth and sweet aromas. Imagine the joy of sharing these delightful, tender morsels—each one dusted with roasted soybean flour—over tea with friends or as a fun family snack. Whether you’re a seasoned chef or someone just starting to explore the world of homemade sweets, this Milk Mochi offers a perfect balance of flavor and ease. So, roll up your sleeves and let’s dive into this deliciously simple recipe!
Why is Milk Mochi a Must-Try?
Deliciousness that delights the senses: This Milk Mochi offers a unique twist on a beloved classic, delivering a creamy flavor that melts in your mouth.
Simplicity at its finest: With just a few pantry staples and easy steps, you’ll create an impressive dessert.
Family-friendly fun: Get everyone involved in the making process—it’s a perfect way to bond over a shared love for sweets.
Versatile options: Feel free to customize with different extracts or fillings, making it truly your own.
Perfect for sharing: Impress your guests with these tender morsels, ideal for gatherings or as a sweet treat after dinner.
Dive into this delightful world of homemade desserts and enjoy the satisfaction of crafting your own Milk Mochi today!
Milk Mochi Ingredients
• Discover what makes this Milk Mochi oh-so-delicious!
For the Dough
- Glutinous Rice Flour – Essential for that chewy texture, feel free to use sweet rice flour as a substitute!
- Cornstarch – Helps achieve tenderness; you can swap in more glutinous rice flour if necessary.
- Sugar – Balances the milk’s sweetness; try honey or a sugar alternative for a lower-calorie option.
- Corn Oil – Keeps the dough moist and prevents sticking; melted coconut oil or vegetable oil work too.
- Whole Milk – Provides a rich, creamy flavor; go for almond or oat milk for a dairy-free treat!
For Coating
- Roasted Soybean Flour – This traditional coating prevents sticking and adds a nutty flavor for a delightful finish.
How to Make Milk Mochi
-
Combine Ingredients: In a large bowl, mix 150g glutinous rice flour, 30g cornstarch, 25g sugar, 20g corn oil, and 290g whole milk until everything is well blended. If desired, strain the mixture for a smoother texture.
-
Pour the Mixture: Transfer the mixture into a non-stick pan, ensuring it spreads evenly across the base.
-
Cook Gently: Over low heat, stir continuously for 20-25 minutes. You’ll know it’s ready when it forms a cohesive mass, thickening up beautifully.
-
Knead the Dough: Remove from heat and let the dough cool slightly before using gloves to knead. Knead until it’s elastic and smooth, which should take about 5 minutes.
-
Shape the Mochi: Roll the dough into a log shape and cut it into your desired pieces, whether they’re triangular or another fun shape.
-
Coat with Soybean Flour: Finally, dust each piece with roasted soybean flour to keep them from sticking together and add a delightful nutty finish.
Optional: You can add sprinkles for a fun, festive touch!
Exact quantities are listed in the recipe card below.
Expert Tips for Making Milk Mochi
-
Stir Continuously: This ensures even cooking and prevents burning, essential for achieving the perfect Milk Mochi texture.
-
Wear Gloves: Protect your hands while kneading hot dough; this is crucial for soft, elastic mochi that won’t burn you in the process.
-
Check the Consistency: If your dough seems too sticky, knead a bit longer until shiny; this helps develop that desired chewy texture.
-
Cool Before Cutting: Allow the mochi to cool slightly before shaping; this helps it maintain its form and makes cutting easier.
-
Coat Generously: Don’t skimp on the roasted soybean flour; it not only prevents sticking but adds a flavorful touch to your Milk Mochi.
What to Serve with Milk Mochi?
Imagine gathering around the table to enjoy a sweet treat that not only satisfies your cravings but also sparks connection and joy.
- Green Tea: The light and earthy tones of green tea perfectly balance the rich creaminess of the mochi, creating a harmonious experience.
- Fruity Sorbet: The refreshing and vibrant flavors of sorbet offer a delightful contrast, making each bite of mochi feel even more indulgent.
- Red Bean Paste: This traditional Japanese treat complements Milk Mochi’s sweetness, introducing a subtle nuttiness that enhances the overall flavor.
- Matcha Latte: A soothing, frothy matcha latte brings warmth and a hint of bitterness that beautifully balances the mochi’s sweetness.
- Fresh Berries: Juicy strawberries or blueberries introduce brightness and freshness, offering a pop of flavor that elevates each taste.
- Yuzu Citrus Dressing: Drizzling a tangy yuzu sauce over your mochi adds a spark of zest that electrifies the palate and creates a unique culinary experience.
- Sesame Oil Drizzle: A light drizzle of toasted sesame oil adds a nutty undertone that complements the mochi’s sweetness and provides an exquisite depth.
- Chilled Coconut Milk: Pouring chilled coconut milk over your mochi enhances its creamy texture, adding a tropical twist that feels indulgent and comforting.
- Sweet Dumplings: Consider serving them alongside traditional sweet dumplings for a delightful dessert spread that invites exploration.
- Mochi Ice Cream: Why not double down on the mochi experience? Pair your Milk Mochi with a scoop of mochi ice cream for a chewy and creamy treat.
Make Ahead Options
These Milk Mochi are perfect for busy home cooks looking to save time! You can prepare the dough up to 24 hours in advance; simply follow the initial steps of combining and cooking the ingredients. After kneading, allow the mochi to cool before wrapping it tightly in plastic wrap and refrigerating. When you’re ready to serve, just roll out the chilled dough, cut it into pieces, and dust them with roasted soybean flour. This prep-ahead technique helps maintain quality, ensuring your mochi is just as delicious as made fresh. Enjoy the benefits of a simple dessert that’s ready to impress with minimal effort!
Milk Mochi Variations
Embrace your creative side and personalize this delightful dessert to suit your taste buds!
-
Dairy-Free: Substitute whole milk with almond or oat milk for a creamy vegan version without sacrificing flavor. Enjoy the same comforting texture, just tailored for plant-based diets.
-
Chocolate Delight: Add 2 tablespoons of cocoa powder to the dough for a rich, chocolatey twist that chocolate lovers will adore. Pair it with a scoop of vanilla ice cream for an indulgent treat!
-
Matcha Magic: Incorporate 1-2 teaspoons of matcha powder into the dough for a beautifully colored and subtly earthy flavor. This makes your mochi not only unique but adds a healthy twist too!
-
Fruit-Filled: For a fun surprise, fill the center of each mochi piece with sweet red bean paste or fresh fruit slices before sealing. This adds an exciting burst of flavor with every bite!
-
Honey Sweetness: Replace sugar with honey for a more natural sweetness. This may deepen the color of the dough slightly, adding to the rustic charm of your homemade treats!
-
Extra Texture: Sprinkle finely chopped nuts, like pistachios or walnuts, into the mixture for a delightful crunch that contrasts beautifully with the mochi’s soft chewiness.
-
Spicy Kick: Add a dash of cayenne pepper or a few drops of chili oil for an unexpected heat that balances the sweetness. This daring twist will surprise and impress adventurous eaters!
-
Tropical Twist: Incorporate shredded coconut or a splash of coconut milk into the dough for a sweet, tropical vibe that whispers of island getaways. The added texture makes it a delightful treat!
Feel free to experiment and create your own unique interpretations, making this Milk Mochi recipe a delightful canvas for your culinary artistry!
Storage Tips for Milk Mochi
Room Temperature: Store leftover Milk Mochi in an airtight container at room temperature for up to 2 days to maintain its delightful chewiness.
Fridge: While refrigeration isn’t recommended as it alters the texture, if necessary, place in a container for up to 3 days. Allow it to come to room temperature before enjoying.
Freezer: For longer storage, freeze pieces of Milk Mochi wrapped individually in plastic wrap, then store in a freezer-safe container for up to 2 months.
Reheating: When ready to enjoy frozen mochi, simply let it thaw at room temperature for about 30 minutes, or microwave for 10-15 seconds for a warm, chewy treat.
Milk Mochi Recipe FAQs
How do I choose the right ingredients for Milk Mochi?
Absolutely! When selecting glutinous rice flour, look for a brand that specifically states it’s for mochi or dessert making; this ensures the right texture. Whole milk adds creaminess, but if you’re looking for a vegan alternative, almond or oat milk are perfect substitutes. Make sure any additional flavorings or coatings you choose, like roasted soybean flour, are fresh to enhance taste and quality!
How should I store leftover Milk Mochi?
For optimum freshness, keep any leftover Milk Mochi in an airtight container at room temperature for up to 2 days. This helps to maintain that delightful chewiness. If you absolutely need to refrigerate them, ensure they are well-covered to avoid dryness, but consume them within 3 days for the best experience.
Can I freeze Milk Mochi, and if so, how?
Yes, you can! To freeze Milk Mochi, individually wrap each piece tightly in plastic wrap to prevent freezer burn, then place them in a freezer-safe container for up to 2 months. When you’re ready to enjoy them, let the mochi thaw at room temperature for about 30 minutes, or for a quick fix, microwave them for 10-15 seconds. This will give you that warm, chewy texture you love!
What should I do if my Milk Mochi turns out too sticky?
If your Milk Mochi is too sticky, don’t worry—this is a common issue! I recommend kneading the dough longer until it becomes shiny and elastic. If the dough remains problematic, consider adding a touch more cornstarch to help balance the moisture. Additionally, ensure you’re cooking the mixture long enough over low heat, as this drying process is crucial for achieving that perfect chewy texture.
Is Milk Mochi safe for people with allergies?
Great question! Milk Mochi contains gluten, so it’s not suitable for those with gluten sensitivities or celiac disease. Additionally, if you’re using standard milk, it’s not suitable for lactose intolerant individuals. However, you can easily substitute with dairy-free options like almond or oat milk for a treat that everyone can enjoy! Always check the ingredients of coatings, such as soybean flour, for any potential allergens.
How can I customize my Milk Mochi?
The more the merrier! You can add cocoa powder to the dough for a chocolatey twist or infuse it with flavored extracts like vanilla or matcha. For a fun surprise, try filling the mochi with ice cream or fruit before sealing them up. Get creative with colorful toppings, sprinkles, or even different flour coatings for added variety and fun!

Delicious Milk Mochi Recipe: A Simple Sweet Treat at Home
Ingredients
Equipment
Method
- In a large bowl, mix 150g glutinous rice flour, 30g cornstarch, 25g sugar, 20g corn oil, and 290g whole milk until everything is well blended. If desired, strain the mixture for a smoother texture.
- Transfer the mixture into a non-stick pan, ensuring it spreads evenly across the base.
- Over low heat, stir continuously for 20-25 minutes. You'll know it's ready when it forms a cohesive mass, thickening up beautifully.
- Remove from heat and let the dough cool slightly before using gloves to knead. Knead until it's elastic and smooth, which should take about 5 minutes.
- Roll the dough into a log shape and cut it into your desired pieces, whether they’re triangular or another fun shape.
- Dust each piece with roasted soybean flour to keep them from sticking together and add a delightful nutty finish.


