The spooky season is creeping in, and there’s something utterly delightful about transforming a classic dessert into a festive treat! When I first whipped up this Mummy Cheesecake, I could hardly contain my excitement as the velvety cream cheese filling baked to perfection. The aroma of sugar and vanilla wafted through my kitchen, promising a scrumptious bite ahead.
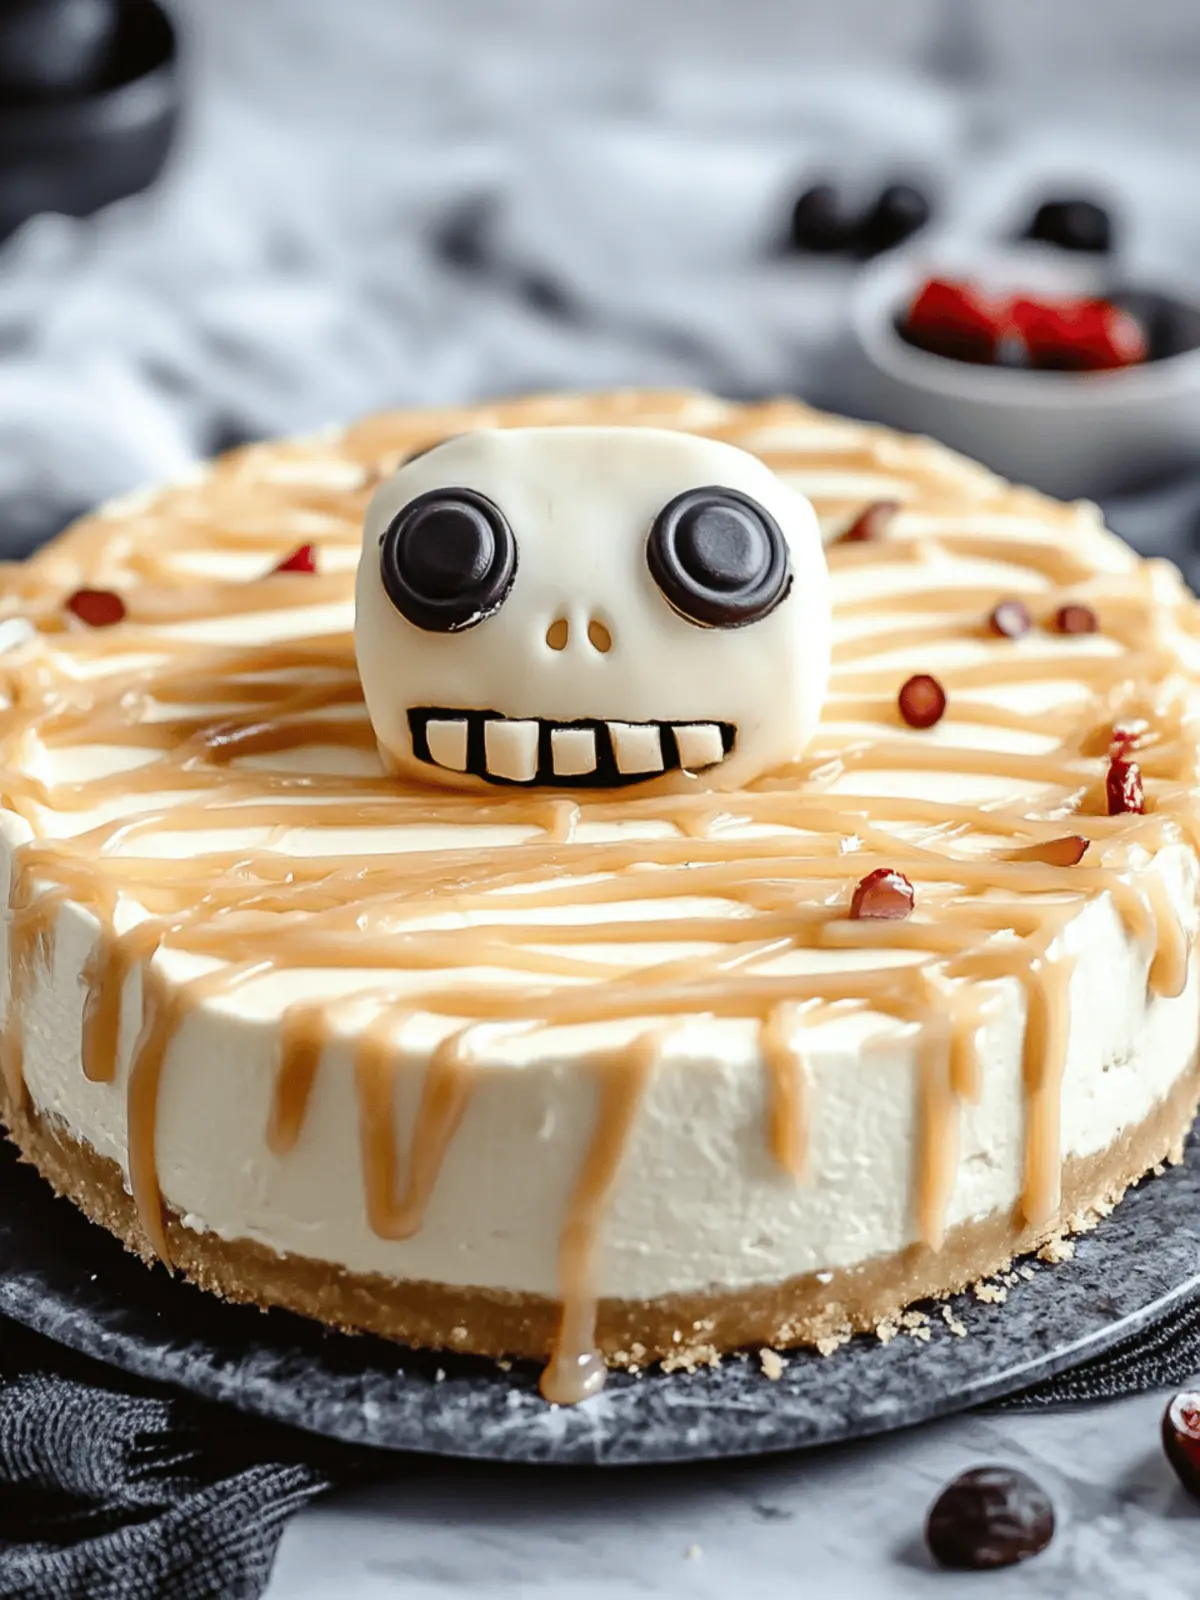
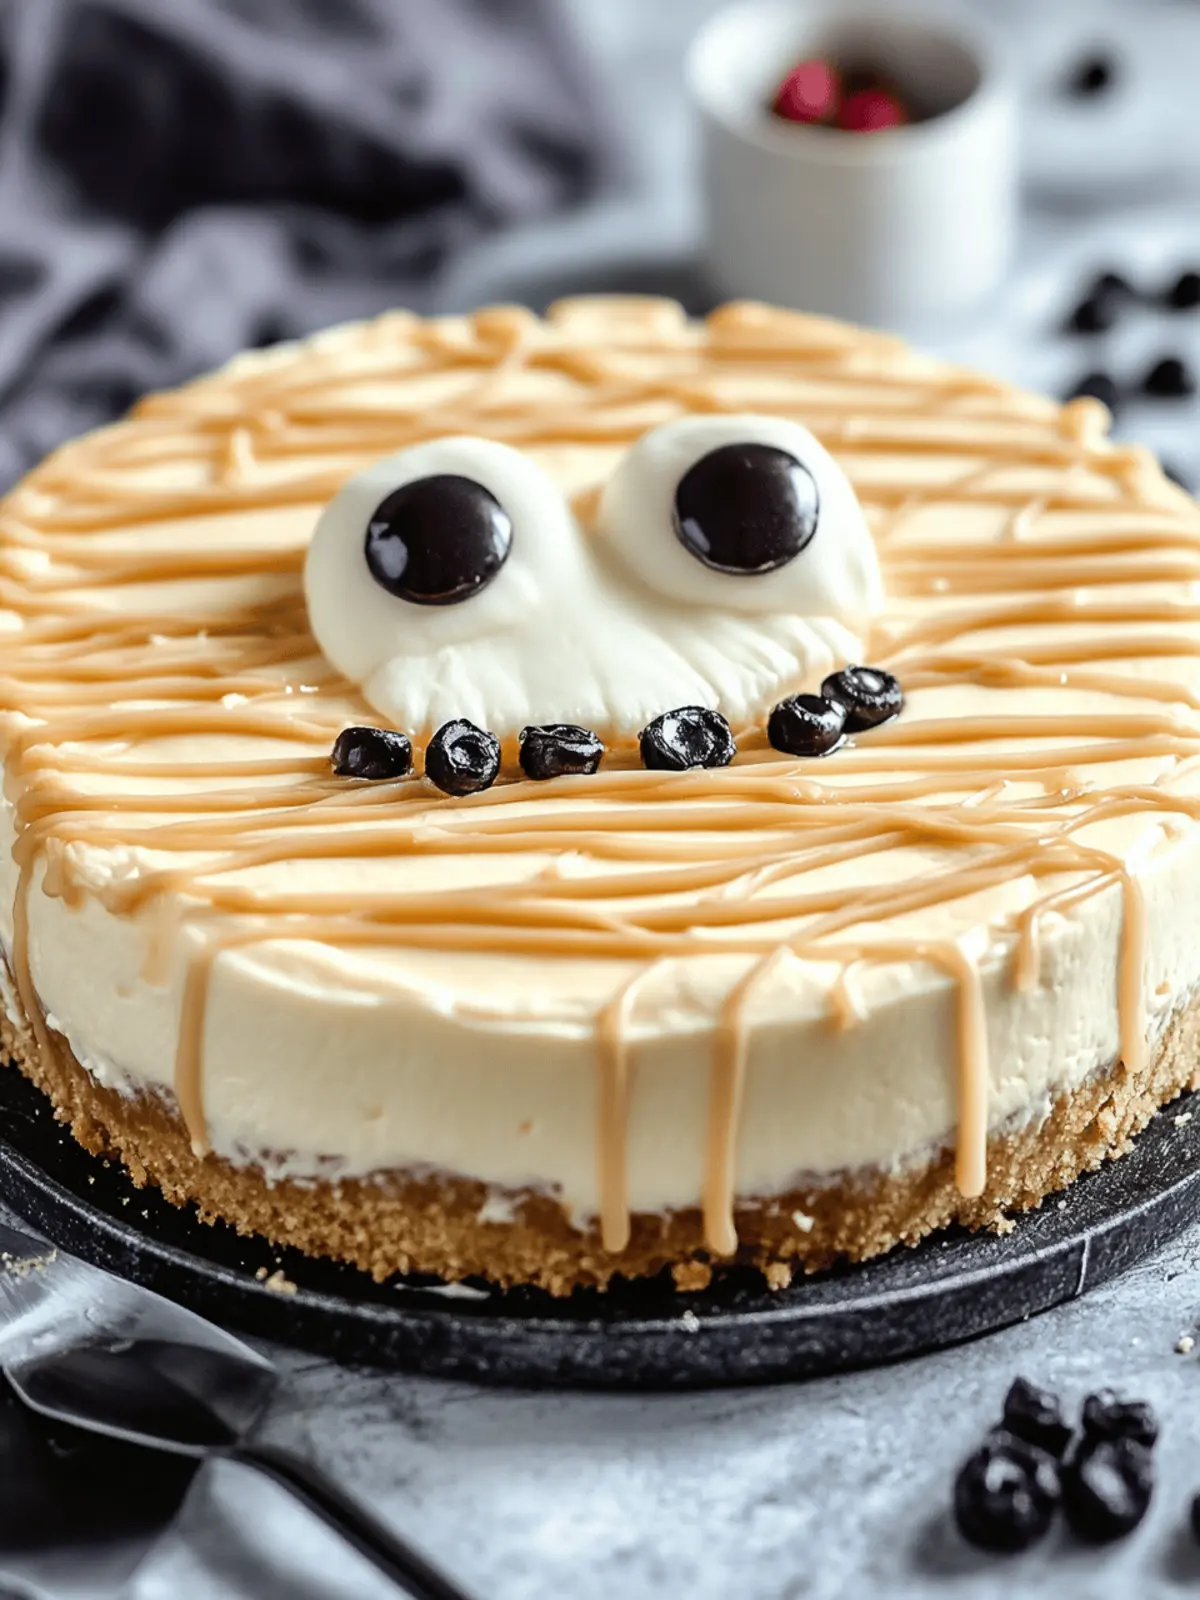
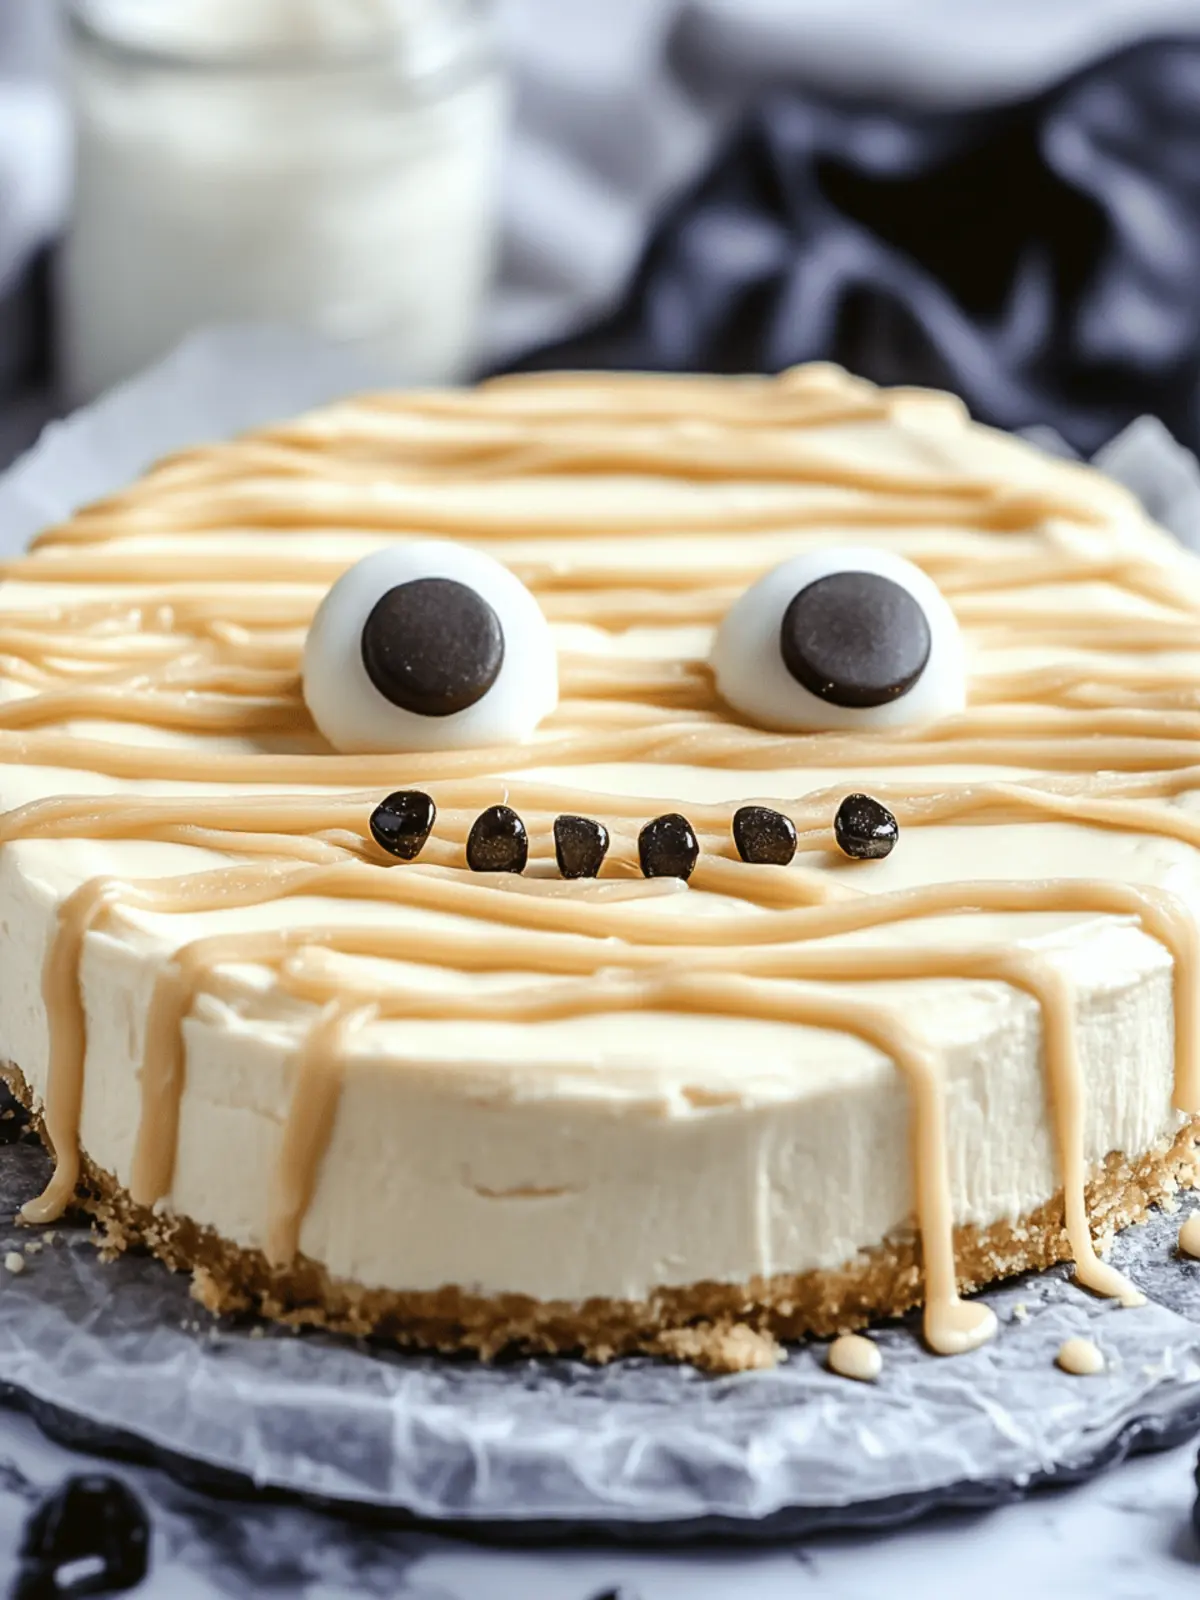
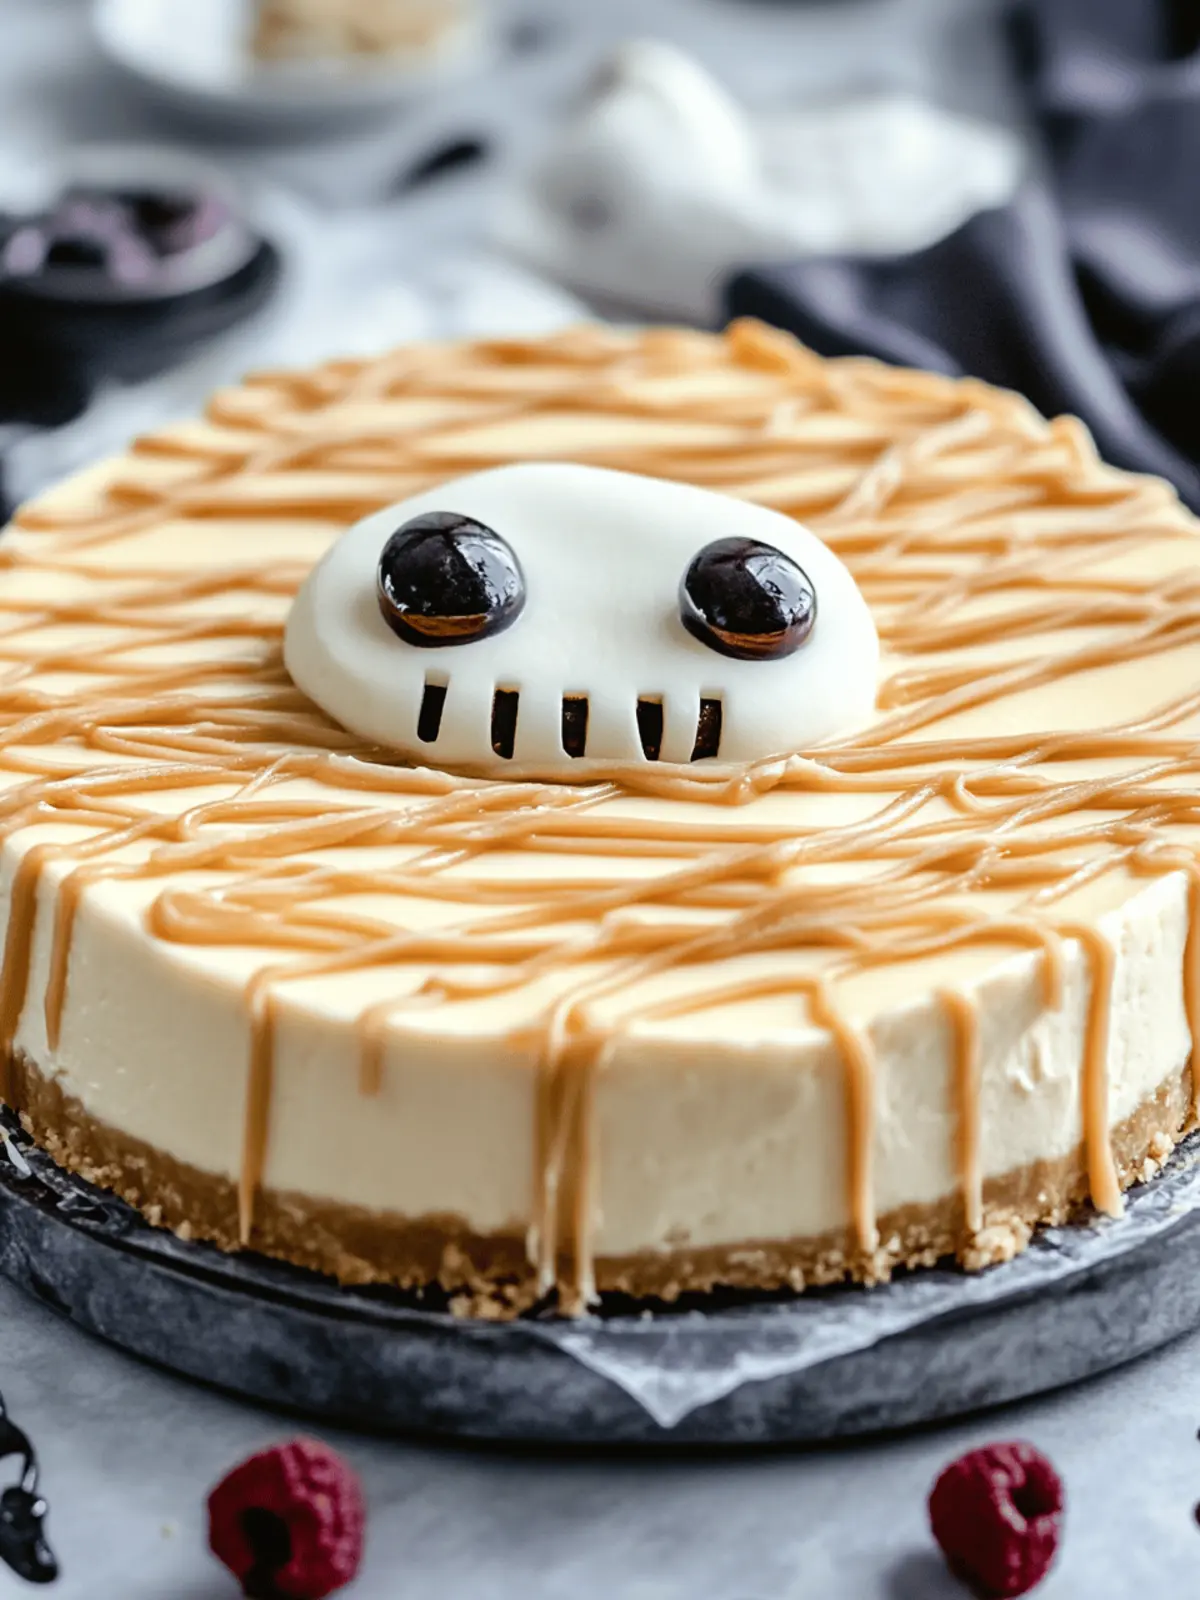
This cheesecake is a twist on the traditional, combining rich flavors with a playful presentation. Just picture it: a creamy center nestled in a buttery graham cracker crust, topped with drizzled white chocolate that mimics bandages, all crowned with adorable candy eyes! It’s perfect for Halloween gatherings or any fall get-together where you want to impress without the hassle.
Whether you’re an experienced chef or a cooking novice looking to elevate your dessert game, this Mummy Cheesecake offers the ideal blend of ease and flavor. So grab your apron, and let’s turn your kitchen into a haunted (yet delicious) masterpiece!
Why is Mummy Cheesecake a Must-Make?
Mummy Cheesecake is more than just a dessert; it’s a showstopper! Decadent cream cheese filling delivers that classic cheesecake richness you love. Quick prep means you can whip it up without spending hours in the kitchen. Festive appeal makes it a delightful centerpiece for Halloween or fall gatherings. Fun for all ages, kids will adore helping to decorate with candy eyes. Plus, the buttery graham cracker crust provides the perfect, satisfying crunch beneath that creamy layer. Don’t forget to check out my tips on Halloween dessert ideas for more spooky fun!
Mummy Cheesecake Ingredients
For the Crust
- Graham cracker crumbs – adds a delightful crunch and flavor contrast to the creamy filling.
- Melted butter – helps bind the crumbs together and enhances the crust’s richness.
For the Cheesecake Filling
- Cream cheese – the star of the show for a smooth, decadent texture.
- Sugar – sweetens the filling to balance the cream cheese’s tanginess.
- Large eggs – provide structure and stability as the cheesecake sets.
- Vanilla extract – infuses the filling with warm, inviting flavors.
For the Topping
- White chocolate chips – melts down beautifully to create the “bandages” on your mummy.
- Candy eyes – the perfect whimsical finishing touch to make your Mummy Cheesecake come alive!
Get ready to delight your guests with this creative treat that combines all the flavors you love in a cheesecake with a fun, seasonal spin!
How to Make Mummy Cheesecake
-
Preheat your oven to 325°F (160°C). This step is crucial to ensure that your cheesecake bakes evenly and doesn’t crack. Grease a 9-inch springform pan to prevent sticking.
-
Combine graham cracker crumbs and melted butter in a bowl. Mix well until the crumbs are evenly moistened. Press this mixture firmly into the bottom of the greased pan to form a sturdy crust.
-
Beat cream cheese and sugar together in a large mixing bowl. Use an electric mixer on medium speed until the mixture is smooth and creamy. This process will help eliminate any lumps for a velvety filling.
-
Add in the eggs one at a time, along with the vanilla extract. Mix just until combined. It’s important to avoid over-mixing at this stage to keep your cheesecake light and airy.
-
Pour the cheesecake batter over the prepared crust in the pan. Use a spatula to smooth the top, ensuring an even surface for baking.
-
Bake for 50-55 minutes, or until the edges are set and the center is slightly jiggly. The jiggly center is a good sign that your cheesecake will firm up perfectly during cooling.
-
Cool the cheesecake completely at room temperature. Then, transfer it to the refrigerator and chill for at least 4 hours. This chilling step is vital for achieving the right texture and making it easier to slice.
-
Melt white chocolate chips in a microwave-safe bowl, stirring every 30 seconds until smooth. Drizzle this melted chocolate over the cooled cheesecake in a crisscross pattern, mimicking mummy bandages.
-
Decorate with candy eyes placed randomly across the surface. This adds that playful, spooky touch to your cheesecake!
Optional: Serve with a dollop of whipped cream for an extra touch of sweetness!
Exact quantities are listed in the recipe card below.
What to Serve with Mummy Bandaged Cheesecake?
Transform your dessert into a festive feast with these delightful accompaniments that will elevate your dining experience!
-
Spiced Apple Cider: The warm, sweet spices in cider create a cozy vibe, complementing the creamy sweetness of the cheesecake perfectly. This drink is a classic fall favorite that warms the heart.
-
Ginger Snap Cookies: These crunchy cookies add a delightful spiciness that contrasts beautifully with the rich, creamy cheesecake. Try crumbling a few on top for an extra flavor boost!
-
Whipped Cream: A dollop of light, fluffy whipped cream adds airy sweetness that beautifully balances the dense texture of the cheesecake. It’s simple but effective!
-
Pumpkin Pie Ice Cream: You can’t go wrong with this seasonal treat! The pumpkin spices mirror the cheesecake’s flavors while introducing a refreshing, creamy contrast.
-
Chocolate Drizzle: Enhance the presentation and flavor with a rich chocolate drizzle on the cheesecake. It adds a luxurious touch that chocolate lovers will adore.
-
Chocolate Milkshakes: For a fun twist, serve chilled chocolate milkshakes on the side. Their cool, velvety texture pairs wonderfully with the creamy cheesecake!
-
Autumn Fruit Salad: A mix of crisp apples, juicy pears, and tart cranberries brings a bright, fresh flavor to the table, cutting through the decadence of the cheesecake.
-
Hot Cocoa: This is a comforting choice for a cozy gathering, and the sweet chocolate notes can provide a perfect contrast to the savory richness of the dessert.
Let these pairings create a delightful and memorable experience that will wow your guests while enjoying your Mummy Cheesecake!
Expert Tips for Mummy Cheesecake
-
Room Temperature Cream Cheese: Allow the cream cheese to soften at room temperature for smoother mixing. Cold cheese can lead to lumps in your filling.
-
Avoid Overmixing: Once you add the eggs, mix just until combined. Overmixing can cause the cheesecake to crack during baking, so be gentle!
-
Water Bath: For an extra creamy texture and to prevent cracks, consider baking your cheesecake in a water bath. Wrap the pan in foil and place it in a larger pan filled with hot water.
-
Chill Thoroughly: Don’t rush the chilling process! Ensuring your Mummy Cheesecake chills for at least 4 hours (or overnight) helps it set beautifully, making slicing easier.
-
Decorate with Care: For a fun twist, let kids help place the candy eyes! This makes for a delightful family activity while decorating your spooky cheesecake.
Mummy Cheesecake Variations
Get ready to make this crowd-pleaser truly your own with some fun and easy tweaks!
-
Chocolate Mummy: Swap half of the cream cheese for chocolate cream cheese to add a rich chocolatey flavor. This variation brings a decadent twist that chocolate lovers will adore!
-
Pumpkin Spice: Add 1 cup of pureed pumpkin and 1 tsp of pumpkin pie spice to your cream cheese mixture for a seasonal flair. The warm spices combined with creamy pumpkin create a cozy dessert for fall gatherings.
-
Nutty Crunch: Mix in 1/2 cup of chopped nuts, like walnuts or pecans, into the crust for an extra layer of crunchy texture. This addition complements the chewy cheesecake beautifully, ensuring every bite is satisfying.
-
Fruit-Filled Surprise: Fold 1 cup of fresh blueberries or raspberries into the cheesecake batter before baking for a fruity burst. The tangy berries add a refreshing contrast to the rich creaminess, making your cheesecake even more delightful!
-
Peanut Butter Drizzle: Blend 1/3 cup of creamy peanut butter into the cheesecake batter for a nutty twist. Finish with a drizzle of melted peanut butter on top for a delightful flavor extravaganza.
-
Dairy-Free Delight: Substitute the cream cheese with dairy-free cream cheese and the butter with a dairy-free alternative like coconut oil. This ensures everyone can enjoy a delicious slice!
-
Minty Fresh: Incorporate 1/2 tsp of peppermint extract into the filling for a minty cheesecake experience. Top it off with crushed peppermint candies for that additional festive flair!
With these variations, your Mummy Cheesecake will delight and surprise every guest, making it a beloved treat at any gathering!
How to Store and Freeze Mummy Cheesecake
Fridge: Store your Mummy Cheesecake in an airtight container for up to 3 days. If uncut, it’s best to leave it in the springform pan for freshness.
Freezer: Wrap the cheesecake tightly in plastic wrap and then in aluminum foil for up to 2 months. Thaw it overnight in the fridge before serving.
Reheating: While cheesecake is best served cold, if you prefer a warm slice, let it sit at room temperature for about 30 minutes before enjoying.
Serving: For the best flavor, serve the Mummy Cheesecake chilled to maintain its creamy texture and delightfully spooky appearance!
Make Ahead Options
These Mummy Cheesecakes are perfect for busy home cooks looking to save time without sacrificing flavor! You can prepare the crust and filling up to 24 hours in advance. Simply press the graham cracker crust into the pan, then wrap it tightly with plastic wrap and refrigerate. The filling can also be mixed ahead of time; just store it in an airtight container in the fridge. When you’re ready to bake, pour the filling over the crust and proceed as instructed. This way, you’ll enjoy the delightful flavors of your Mummy Cheesecake with minimal effort on the day of your gathering—just melt the white chocolate, drizzle it over the cooled cheesecake, decorate with candy eyes, and serve!
Mummy Cheesecake Recipe FAQs
How do I choose the right cream cheese for my cheesecake?
Absolutely! When selecting cream cheese, look for full-fat varieties as they yield the creamiest texture. Brands with a reputation for cheesecake, such as Philadelphia, are often preferred. Ensure the cream cheese is softened to room temperature, as it mixes more smoothly, preventing lumps in your filling.
How should I store leftover Mummy Cheesecake?
Very! You can keep your Mummy Cheesecake in an airtight container in the fridge for up to 3 days. If it remains uncut, leaving it in the springform pan will help it stay fresh longer. Just remember to cover it to avoid absorbing any unwanted odors from the refrigerator.
Can I freeze Mummy Cheesecake, and how do I do it?
Certainly! To freeze your cheesecake, first, ensure it is completely cooled and set. Wrap it tightly in plastic wrap, then in aluminum foil to prevent freezer burn. Store it for up to 2 months. When ready to enjoy, thaw it overnight in the fridge before serving. This method helps maintain its creamy texture.
What can I do if my cheesecake cracks during baking?
No worries! If your cheesecake cracks, it’s often due to overmixing or baking at too high a temperature. To avoid this, mix the batter gently after adding the eggs. If it does crack, you can cover it with the white chocolate drizzle, which adds a decorative touch while minimizing the visual impact of the crack.
Is this Mummy Cheesecake safe for pets or those with allergies?
Great question! This cheesecake contains ingredients that may not be suitable for pets, especially sugar and chocolate chips, which can be harmful to dogs and cats. Additionally, if there are allergies in your household, be cautious of cream cheese and white chocolate; both can be associated with dairy allergies. Always check for specific allergies before serving.
What if I want to make a lighter version of Mummy Cheesecake?
Absolutely! For a lighter cheesecake, try using Neufchâtel cheese instead of cream cheese, which has less fat but a similar taste. You can also reduce the sugar by substituting half with a low-calorie sweetener. Just be aware that the texture might be slightly different, but it will still be delicious!
Irresistible Mummy Cheesecake that'll Wow Your Guests
Ingredients
Equipment
Method
- Preheat your oven to 325°F (160°C) and grease a 9-inch springform pan.
- Combine graham cracker crumbs and melted butter in a bowl, then press firmly into the pan.
- Beat cream cheese and sugar together until smooth, then add in eggs and vanilla until just combined.
- Pour the batter over the crust, smoothing the top. Bake for 50-55 minutes until edges are set.
- Cool the cheesecake completely, then chill in the refrigerator for at least 4 hours.
- Melt white chocolate chips and drizzle over the cooled cheesecake in a crisscross pattern.
- Decorate with candy eyes placed randomly across the surface.
