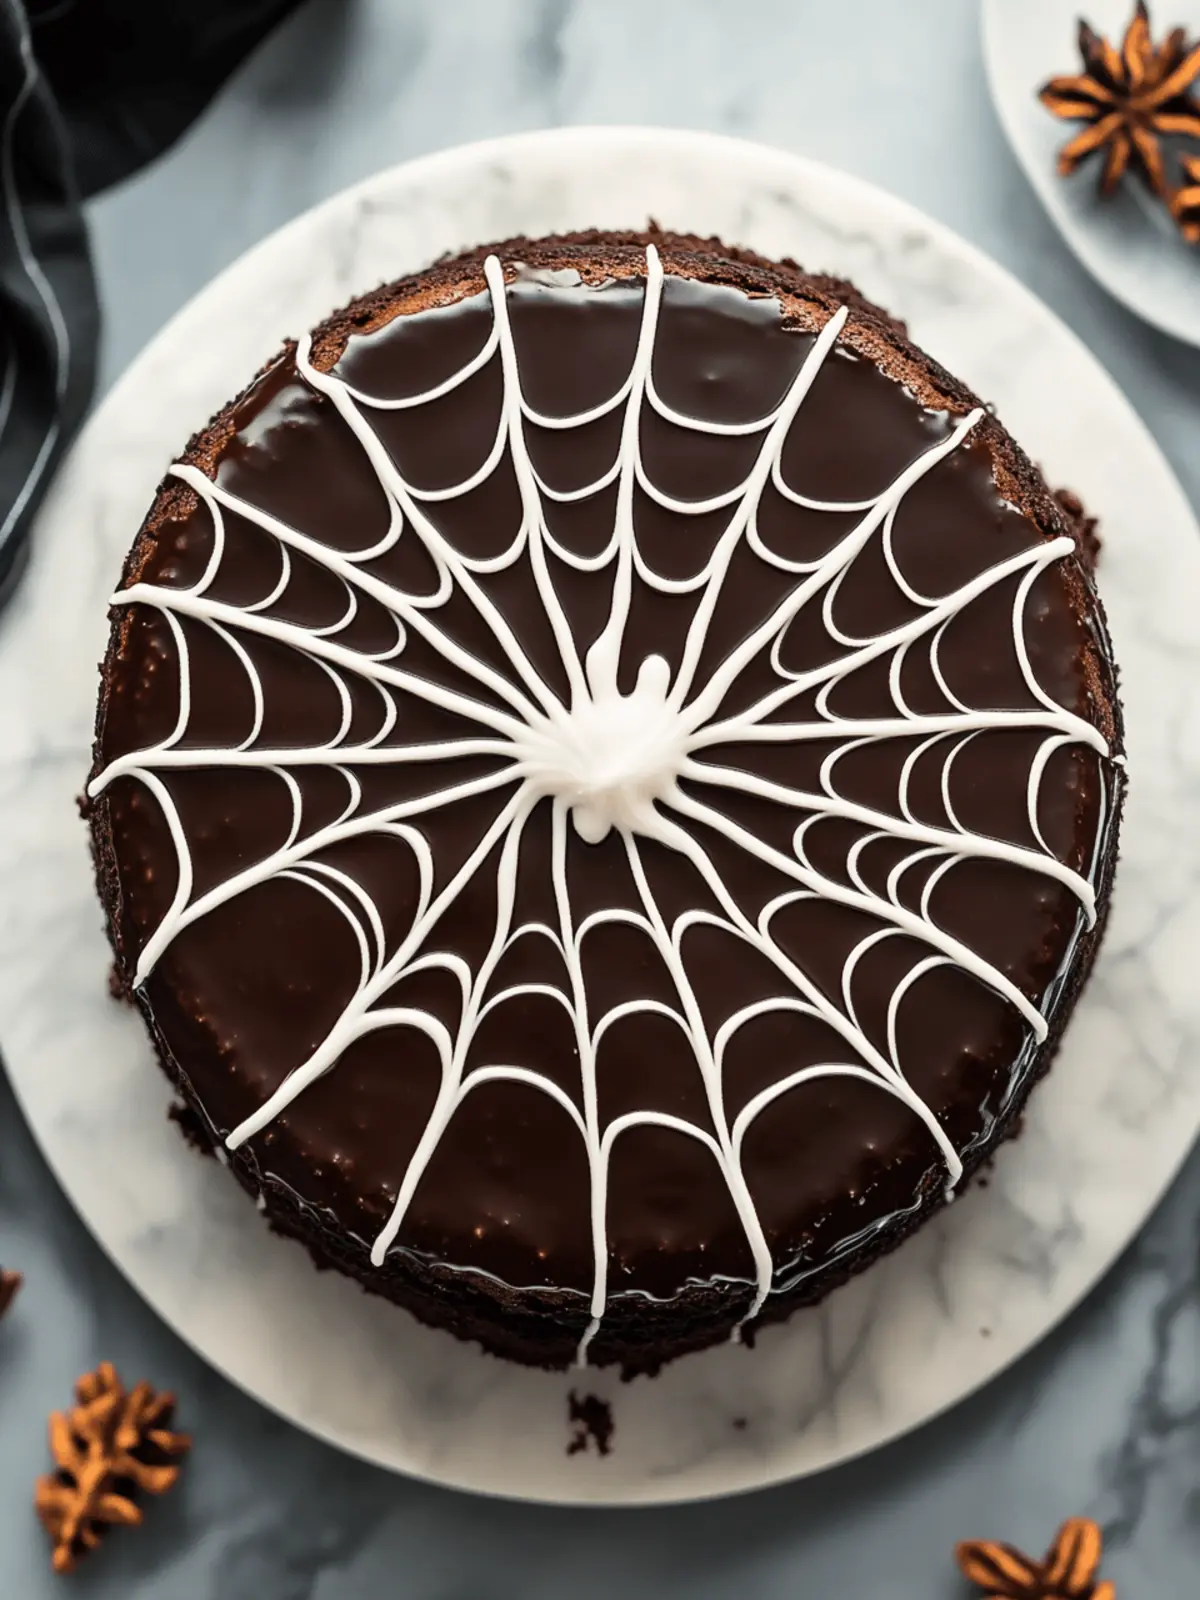
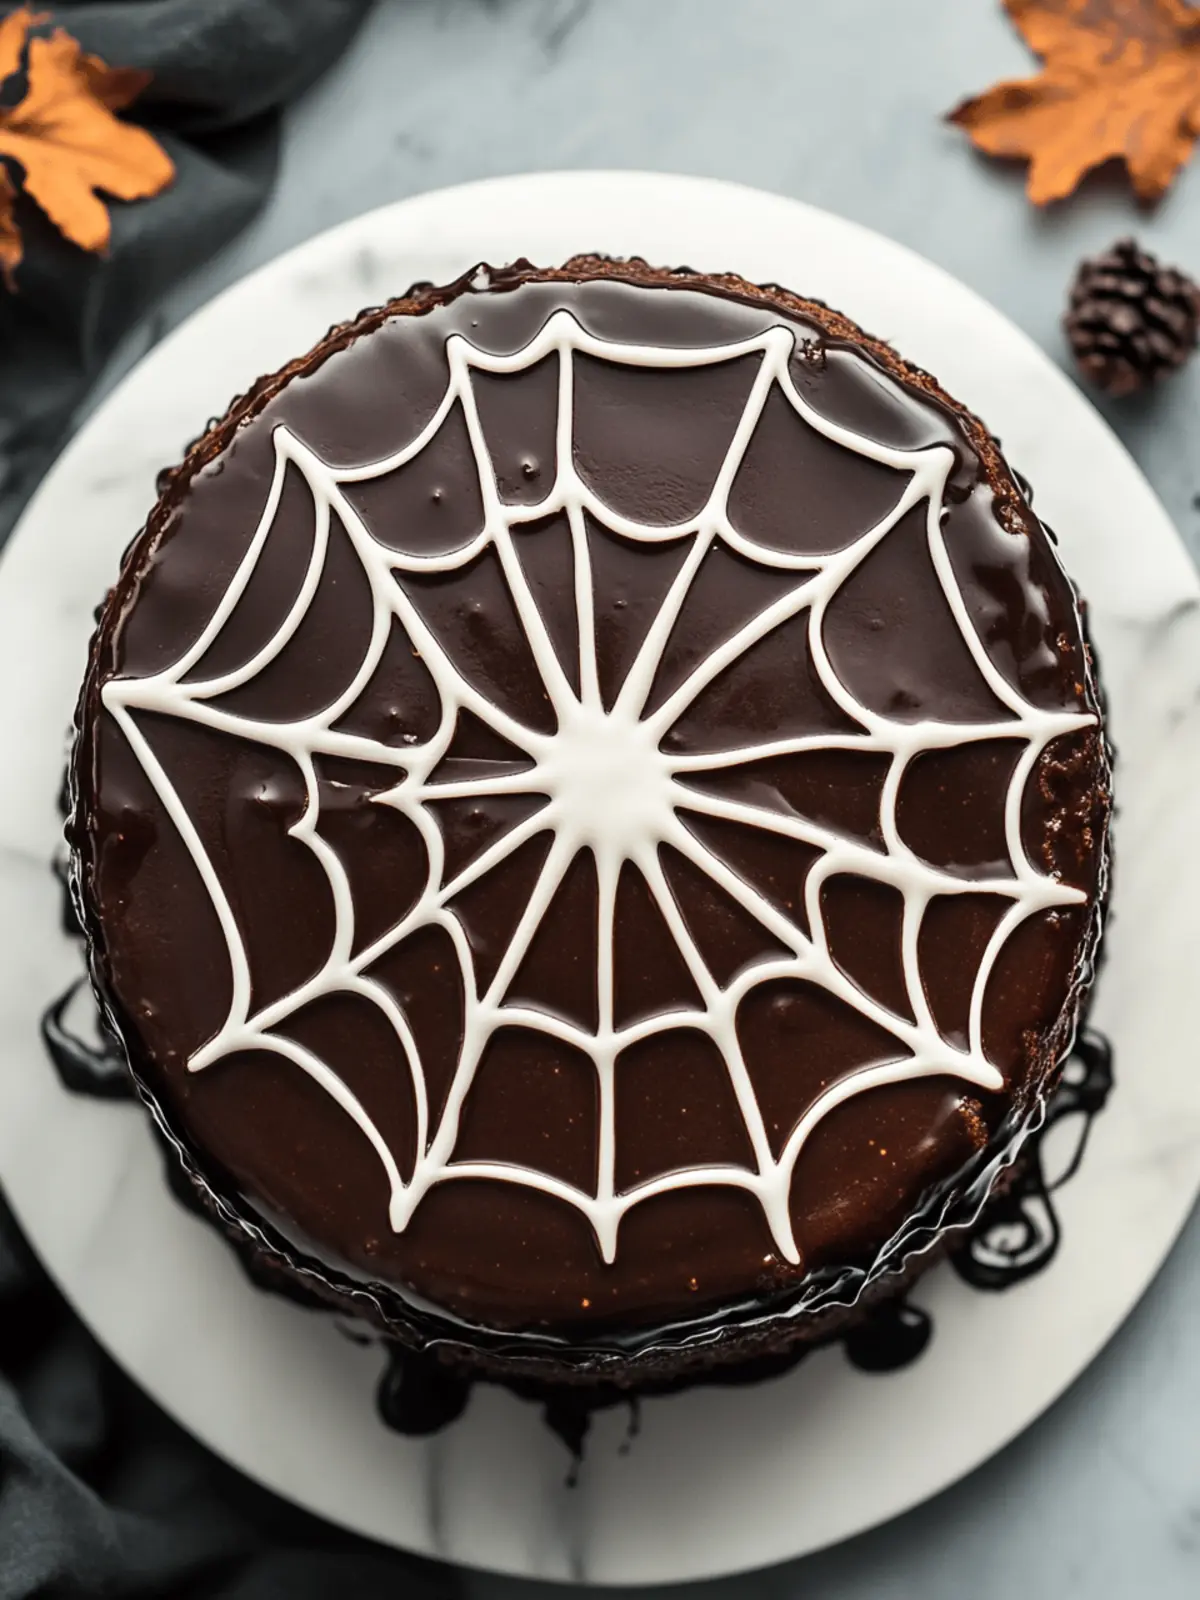
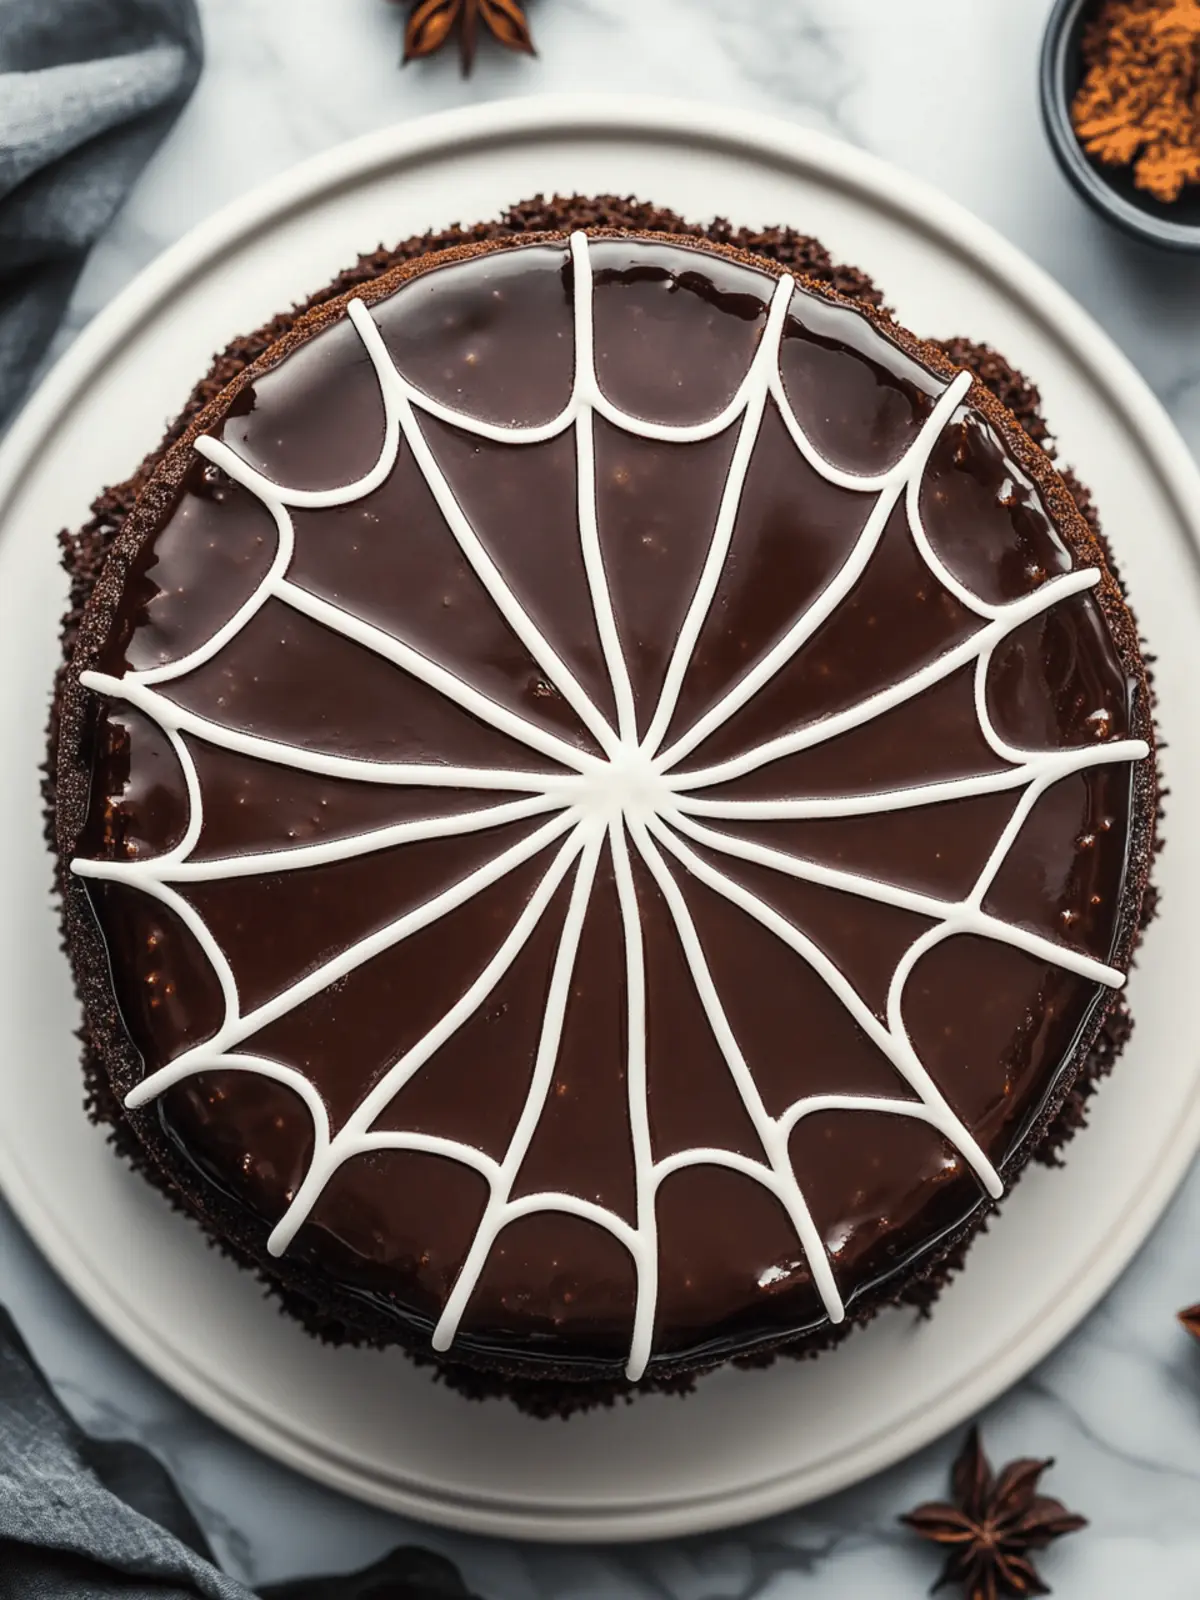
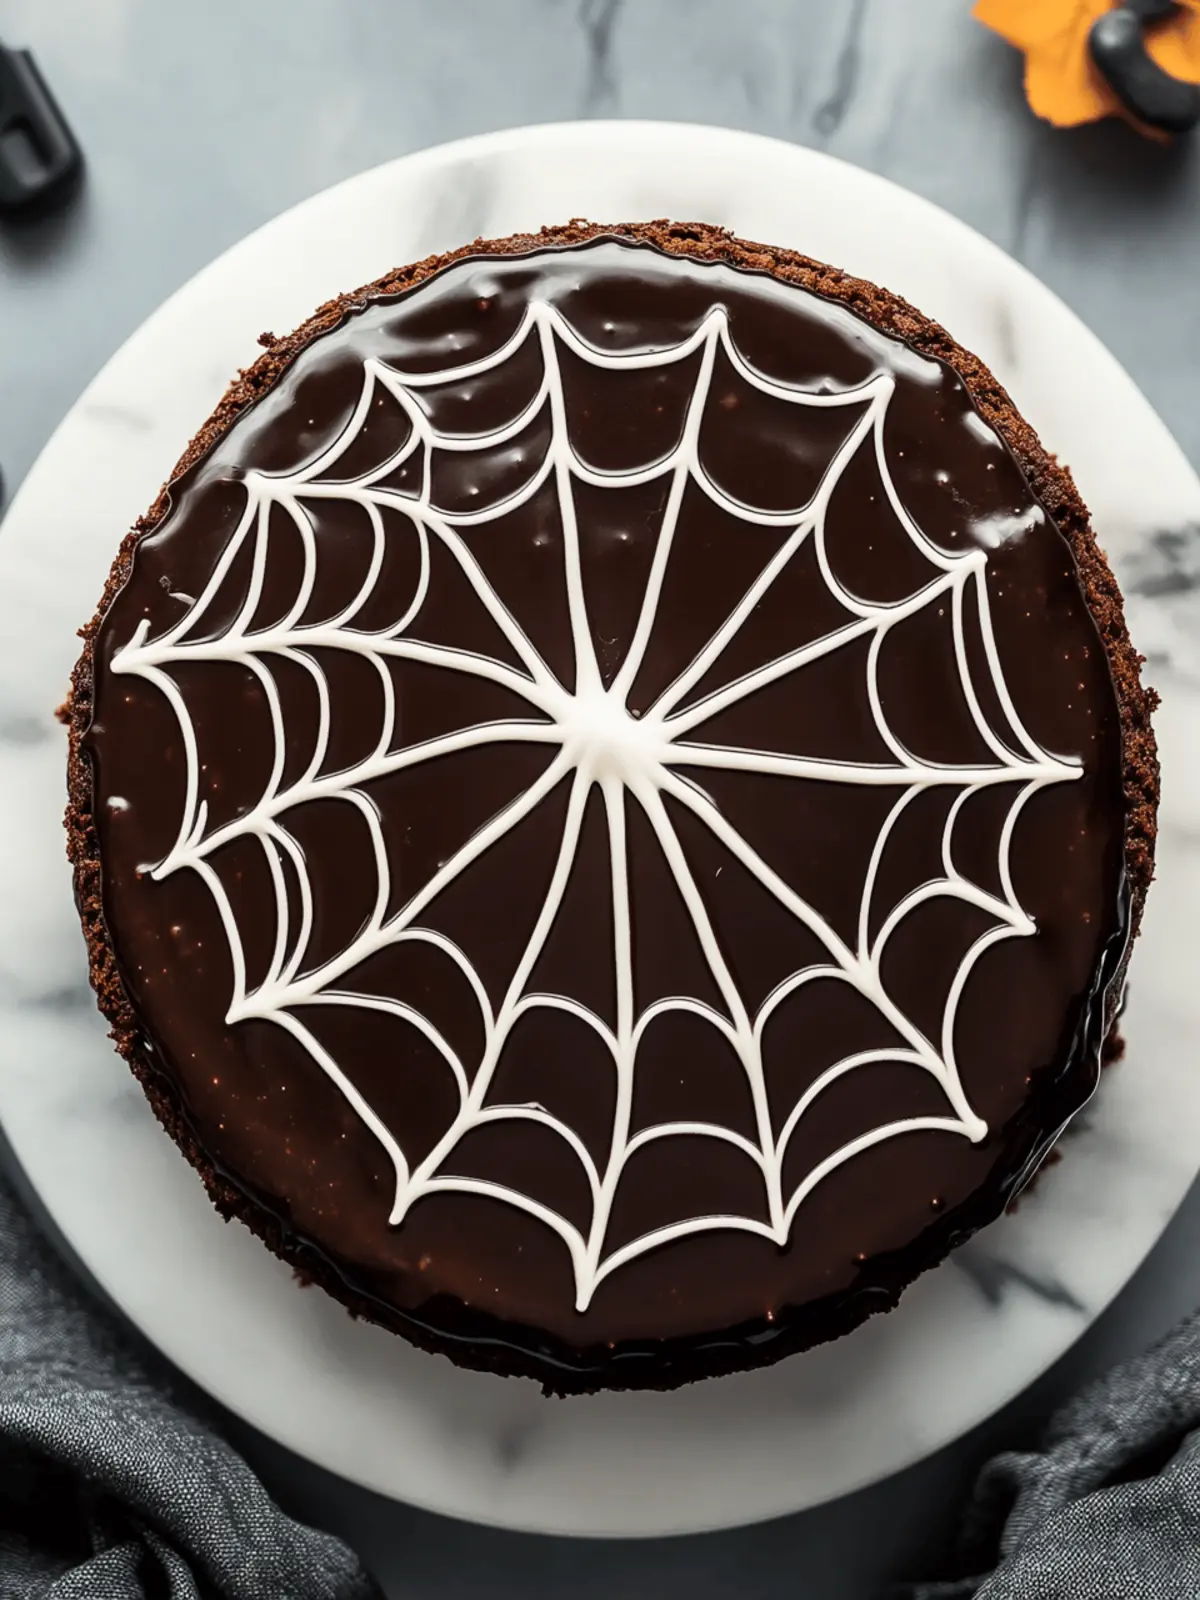
With Halloween around the corner, my kitchen has transformed into a mini baking wonderland, teeming with spooky treats. The idea of crafting a Spiderweb Chocolate Cake came to me as I rummaged through my pantry, searching for inspiration. The sweet smell of chocolate was calling, and the thought of bringing a little theatrical flair to our dessert table was simply irresistible. This cake is not only delicious; it’s a stunning centerpiece that delights both kids and adults alike.
Imagine a rich, moist chocolate cake embellished with a delicate white chocolate spiderweb drizzled on top—it’s as spectacular as it is scrumptious. Best of all, you won’t need to be a pastry chef to create this masterpiece; it’s surprisingly simple to assemble. Whether you’re hosting a Halloween gathering, a birthday bash, or simply craving something sweet after a long week, this Spiderweb Chocolate Cake is sure to impress. Let’s dive into the recipe and create something sweetly spooky together!
Why is Spiderweb Chocolate Cake a must-try?
Irresistible Charm: This cake is not only visually stunning, but it also tantalizes the taste buds with its rich chocolate flavor.
Easy to Make: You won’t need advanced skills—just a few simple steps to craft this showstopper in your own kitchen.
Perfect for Any Occasion: Whether it’s Halloween or a special celebration, this cake suits any event perfectly.
Fun for Everyone: Ideal for both kids and adults, it’ll create lasting memories around the dessert table.
Gourmet Touch: The delicate white chocolate spiderweb elevates an already classic cake into a total masterpiece!
For tips on frosting this delicious cake, check out our guide on making the perfect chocolate frosting.
Spiderweb Chocolate Cake Ingredients
Ready to whip up a delightful Spiderweb Chocolate Cake? Let’s grab what you need!
For the Cake
- All-purpose flour – 1 3/4 cups – Creates the structure for a moist, tender cake.
- Sugar – 1 1/2 cups – Adds sweetness and helps achieve that perfect texture.
- Cocoa powder – 3/4 cup – Infuses rich chocolate flavor for an indulgent treat.
- Baking powder – 1 1/2 tsp – Ensures the cake rises beautifully.
- Baking soda – 1 1/2 tsp – Works wonders alongside the baking powder for that perfect lift.
- Salt – 1 tsp – Balances sweetness and enhances the overall flavor.
- Eggs – 2 large – Acts as a binding agent, giving the cake its delightful fluffiness.
- Milk – 1 cup – Adds moisture for a rich, tender crumb.
- Vegetable oil – 1/2 cup – Keeps the cake moist and adds to its delectable texture.
- Vanilla extract – 2 tsp – A must-have for a warm, aromatic sweetness.
- Boiling water – 1 cup – Helps to intensify the chocolate flavor and ensures a smooth batter.
For the Decoration
- Chocolate frosting – Use your favorite recipe to create a luscious, rich topping.
- White chocolate chips – 1/2 cup, melted – Creates the stunning spiderweb effect that makes this Spiderweb Chocolate Cake a showstopper!
Gather these ingredients, and you’re one step closer to creating a dessert that’ll wow your guests!
How to Make Spiderweb Chocolate Cake
-
Preheat: Begin by preheating your oven to 350°F (175°C). This step is crucial to ensure even baking and a cakey texture.
-
Mix Dry Ingredients: In a large mixing bowl, combine the all-purpose flour, sugar, cocoa powder, baking powder, baking soda, and salt. Whisk together until blended, ensuring a well-balanced chocolate flavor.
-
Add Wet Ingredients: Integrate the eggs, milk, vegetable oil, and vanilla extract into the dry mix. Stir with love until everything is well combined, creating a luscious batter that’s a joy to behold.
-
Incorporate Boiling Water: Carefully pour in the boiling water and gently stir until the batter is smooth. This hot addition enriches the chocolate taste, making it irresistibly rich.
-
Prepare the Pans: Grease and flour your cake pans. This will help the cakes release beautifully once baked, ensuring your creation holds its gorgeous shape.
-
Bake: Pour the batter evenly into the prepared pans. Bake in the preheated oven for 30-35 minutes, or until a toothpick inserted in the center comes out clean and the tops spring back lightly.
-
Cool: Once done, allow the cakes to cool in their pans for about 10 minutes. Then, transfer them to a wire rack to cool completely before frosting.
-
Frost & Decorate: Frost the cooled cakes with your favorite chocolate frosting. For added flair, drizzle the melted white chocolate over the frosting to create a stunning spiderweb design.
Optional: Top with chocolate shavings for an extra touch of elegance!
Exact quantities are listed in the recipe card below.
Make Ahead Options
These Spiderweb Chocolate Cakes are a lifesaver for busy home cooks looking to streamline their meal prep! You can prepare the cake layers up to 3 days in advance. Simply bake the cakes, allow them to cool completely, and then wrap them tightly in plastic wrap before refrigerating. This will keep them moist and delicious! The chocolate frosting can also be made ahead and stored in the fridge for up to 5 days; just let it come to room temperature before frosting the cakes. When you’re ready to serve, simply frost the cooled cakes and drizzle the melted white chocolate for that showstopping spiderweb effect—your guests will be none the wiser about how early you started!
What to Serve with Spiderweb Chocolate Cake?
Indulging in a rich dessert like this will make you want to create a whole feast around it!
- Fresh Berries: Bright, juicy strawberries or raspberries add a refreshing contrast to the dense chocolate, creating a delightful balance.
- Whipped Cream: Light and airy, a dollop of homemade whipped cream enhances the cake’s richness while adding a creamy texture.
- Vanilla Ice Cream: The classic pairing of warm cake with cold ice cream delivers an unforgettable experience that’ll leave everyone asking for seconds.
- Espresso or Coffee: A strong cup of coffee complements the chocolate beautifully, enhancing its flavors while giving an extra kick for energy.
- Chocolate-Covered Strawberries: Elevate your dessert table further with these sweet bites that mirror the chocolatey goodness of the cake.
- Chocolate Ganache: Drizzling warm ganache over each slice creates an extravagant finish that will surely impress your guests.
- Mint Leaves: A sprinkle of fresh mint adds a pop of color and a refreshing note that lightens the overall richness of the dessert.
- Nutty Cookie Crumble: Crushed nuts or cookies sprinkled on top adds a delightful crunch, elevating the texture of each bite.
Create a beautiful spread alongside your Spiderweb Chocolate Cake that will entice the palate and create lasting memories!
How to Store and Freeze Spiderweb Chocolate Cake
Room Temperature: Keep the cake covered with a cake dome or plastic wrap for up to 3 days to maintain its moisture.
Fridge: If you have leftovers, store them in an airtight container in the fridge for up to 5 days. Be sure to allow the cake to come to room temperature before serving for the best flavor.
Freezer: You can freeze the Spiderweb Chocolate Cake for up to 3 months. Wrap individual slices in plastic wrap and then in aluminum foil for extra protection.
Reheating: To enjoy the cake warm, let it thaw overnight in the fridge and bring it to room temperature before gently reheating in the microwave for about 10-15 seconds.
Spiderweb Chocolate Cake Variations
Feel free to make this delightful cake your own with these creative twists!
-
Gluten-Free: Substitute all-purpose flour with a 1:1 gluten-free flour blend to enjoy the same moist texture without gluten.
-
Vegetarian: Swap out the eggs for flaxseed meal mixed with water (1 tbsp flaxseed + 2.5 tbsp water) for a plant-based option. It works beautifully!
-
Extra Chocolatey: Add 1 cup of chocolate chips to the batter for a melty, gooey surprise in every slice. Chocolate lovers will be thrilled!
-
Nutty Texture: Mix in 1 cup of chopped nuts (like walnuts or pecans) for a delightful crunch and added flavor that complements the chocolate perfectly.
-
Coffee Enhancer: Substitute half the boiling water with brewed coffee. This subtle tweak intensifies the chocolate flavor, making it even richer and more indulgent.
-
Spicy Kick: Add a teaspoon of cayenne pepper or a dash of cinnamon to the batter for a warm, spicy twist. It adds a tantalizing surprise that dances on the palate!
-
Berry Burst: Incorporate 1 cup of fresh raspberries or strawberries into the batter for a fruity touch that balances the richness of chocolate wonderfully.
-
Vegan Delight: Use almond milk in place of regular milk and replace the eggs with unsweetened applesauce (1/4 cup per egg) to create a fully vegan dessert that everyone can enjoy!
Embrace your creativity and let your taste buds guide you!
Expert Tips for Spiderweb Chocolate Cake
- Moisture Matters: Make sure to measure your ingredients accurately, especially the milk and oil, to keep your cake fluffy and moist.
- Hot Water Trick: Always use boiling water when mixing into your batter; it helps enhance the chocolate flavor beautifully, building that rich taste.
- Oven Check: Keep an eye on your cake as it bakes; every oven is different. Check for doneness a few minutes early to avoid overbaking.
- Easy Release: For perfect cake removal, let them cool slightly in the pans, then run a knife around the edges before flipping them onto a wire rack.
- Frosting Fun: Don’t skip the cooling step before frosting! A warm cake can melt your chocolate frosting, spoiling that stunning look for your Spiderweb Chocolate Cake.
Spiderweb Chocolate Cake Recipe FAQs
What type of cocoa powder should I use for the Spiderweb Chocolate Cake?
Absolutely! For this cake, I recommend using unsweetened cocoa powder to achieve a rich, deep chocolate flavor. You could experiment with Dutch-processed cocoa for a slightly smoother taste, but stick to unsweetened for the best results in this recipe.
How should I store leftover Spiderweb Chocolate Cake?
You can store your leftover Spiderweb Chocolate Cake at room temperature by covering it with a cake dome or plastic wrap for up to 3 days. If you want to keep it longer, transfer it to an airtight container and place it in the fridge for up to 5 days. Let it come to room temperature before enjoying to revive its flavors!
Can I freeze Spiderweb Chocolate Cake?
Absolutely! Freezing is a great way to save any extra cake. Wrap individual slices tightly in plastic wrap and then in aluminum foil for extra protection. You can keep it in the freezer for up to 3 months. When you’re ready to indulge, thaw the slices overnight in the fridge and let them come to room temperature before enjoying.
What can I do if my Spiderweb Chocolate Cake is dry?
If your cake turns out a bit dry, don’t worry! A light drizzle of simple syrup (made from equal parts sugar and water) can help moisten it right up. Simply mix together 1 part sugar with 1 part water, heat until dissolved, and then brush it on the cake layers before frosting. For next time, try ensuring the cake isn’t baked too long—check it a few minutes before the suggested bake time.
Are there any allergens in the Spiderweb Chocolate Cake recipe?
Yes, this recipe contains common allergens such as eggs and dairy (from milk and chocolate). If you’re catering to someone with an egg allergy, you can substitute eggs with a flaxseed meal (1 tbsp ground flaxseed mixed with 2.5 tbsp water per egg) or use a commercial egg replacer. Dairy-free milk and vegan chocolate frosting can replace conventional ingredients for a delightful dairy-free version!
How can I make the spiderweb decoration for the cake?
To create the spiderweb decoration, simply melt white chocolate chips in the microwave in 30-second increments, stirring between each until smooth. Once melted, use a piping bag or a zip-top plastic bag with a corner snipped off to drizzle the white chocolate over the frosted cake in a circular pattern. Then, go back through the middle with a toothpick to create the spiderweb effect. Enjoy the fun of decorating!

Spiderweb Chocolate Cake That’ll Wow Your Guests Today
Ingredients
Equipment
Method
- Preheat your oven to 350°F (175°C).
- In a large mixing bowl, combine the all-purpose flour, sugar, cocoa powder, baking powder, baking soda, and salt. Whisk together until blended.
- Integrate the eggs, milk, vegetable oil, and vanilla extract into the dry mix. Stir until combined.
- Carefully pour in the boiling water and gently stir until the batter is smooth.
- Grease and flour your cake pans.
- Pour the batter evenly into the prepared pans. Bake for 30-35 minutes.
- Allow the cakes to cool in their pans for about 10 minutes, then transfer to a wire rack to cool completely.
- Frost the cooled cakes with your favorite chocolate frosting. Drizzle the melted white chocolate over the frosting to create a spiderweb design.


