
There’s a certain charm that wafts through the kitchen when baking sugar snails, reminiscent of cozy weekends spent with loved ones over warm cups of coffee. The simple act of rolling out dough and sprinkling it with sweetness brings about a sense of nostalgia that feels both comforting and indulgent. Picture this: as soon as those soft, spiraled pastries emerge from the oven, the buttery aroma fills the air, and you can’t help but feel your heart warm.
I stumbled upon this recipe during a particularly quiet Sunday morning when all I wanted was something sweet to brighten the day. With just a few pantry staples, I crafted these delightful treats that are as pleasing to the palate as they are to the eye. Sugar snails are incredibly versatile—whether you choose the classic version or opt for a quick puff pastry alternative, they’re bound to impress your brunch crowd or simply make your day a little sweeter. Join me in discovering how to bring this irresistible blend of flakiness and melt-in-your-mouth goodness to your kitchen!
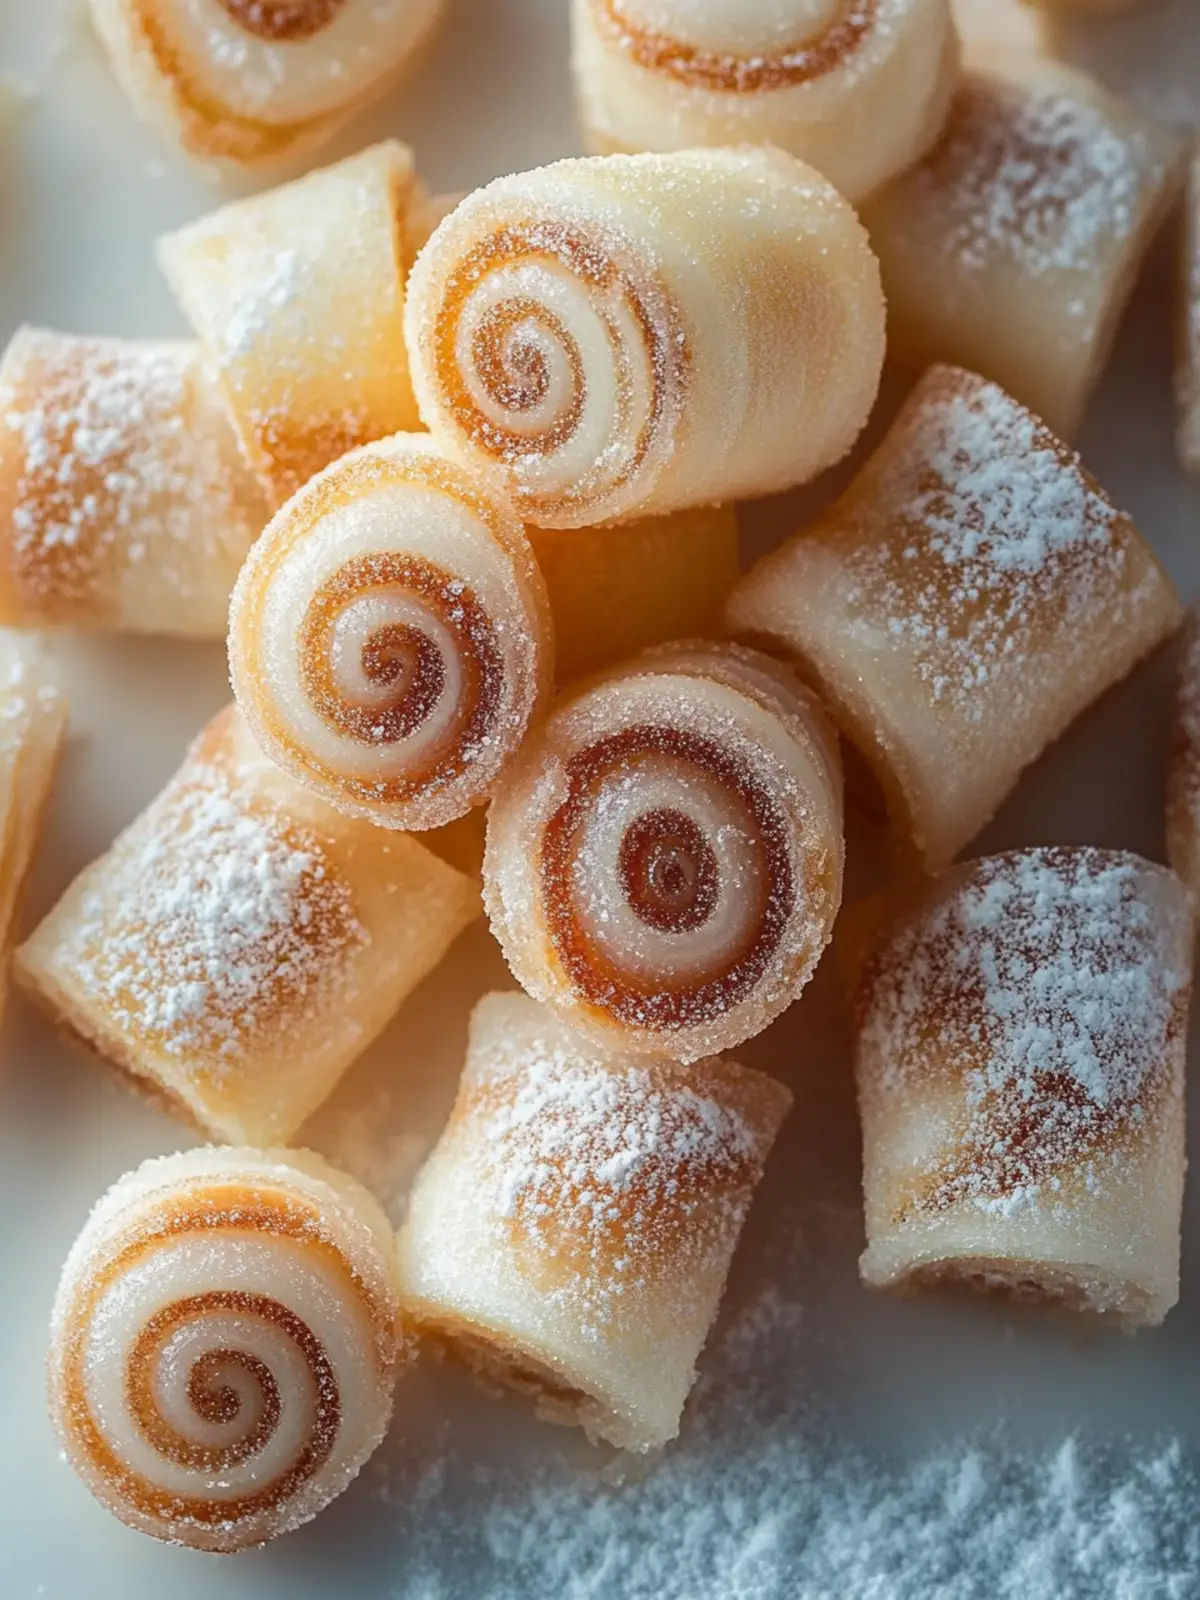
Why Are Sugar Snails a Must-Try?
Irresistible Flakiness: The texture of sugar snails is simply unmatched; each bite reveals layers of softness and buttery goodness.
Quick to Prepare: With minimal ingredients, you’ll have these pastries ready in no time, making them perfect for last-minute brunch plans.
Versatile Delight: Customize with flavors like cinnamon or lemon, ensuring there’s a version for every craving.
Nostalgic Comfort: Baking these treats evokes warm memories, turning any morning into a cozy experience.
Perfect for Sharing: Whether it’s friends or family, sugar snails are sure to please and spark joy among your loved ones!
Sugar Snails Ingredients
For the Dough
- All-Purpose Flour – Provides structure while keeping the dough soft; measure carefully to avoid dryness.
- Yeast – Active dry or instant yeast works well; ensure it’s fresh for optimal rise.
- Whole Milk – Adds richness; warm it slightly to activate the yeast effectively.
- Unsalted Butter – Essential for spreading and flavor control; soften for easy incorporation.
- Granulated Sugar – Crucial for sweetness and creates that signature caramelization in sugar snails.
- Egg – Adds richness and binds the dough; use a large egg for consistency.
- Salt – Enhances overall flavor; never skip it, as it balances the sweetness.
For the Topping
- Additional Granulated Sugar – Sprinkle on before baking for a delightful crunch; can substitute with brown sugar for a deeper flavor.
- Ground Cinnamon (optional) – Mix into the sugar for added warmth and spice in your classic sugar snails.
For Glaze (Optional)
- Powdered Sugar – Combine with milk or water for a simple glaze that enhances sweetness and presentation.
Now, gather these ingredients, and let’s create something special that will fill your home with delightful aromas and fond memories!
How to Make Sugar Snails
-
Prepare Dough: Warm the milk until it’s just warm, then mix in the yeast and a teaspoon of sugar. Let it sit for about 5–10 minutes until it becomes foamy and bubbly.
-
Mix Ingredients: In a large bowl, combine the remaining sugar, egg, melted butter, salt, and all-purpose flour with the yeast mixture. Stir until a soft, cohesive dough forms.
-
Knead: Lightly flour your work surface and knead the dough for 8-10 minutes until it’s smooth, elastic, and slightly tacky to the touch.
-
First Rise: Transfer the dough into a greased bowl, cover it with a towel, and let it rise in a warm spot until it has doubled in size, which should take about 1-1.5 hours.
-
Shape Snails: Roll the dough into a rectangle, then spread softened butter over the surface. Generously sprinkle with granulated sugar (and cinnamon if desired) before rolling it into a log. Slice it evenly into pinwheels.
-
Second Rise: Arrange the slices in a greased baking dish, cover with a towel, and allow them to rise for another 30-45 minutes until they look puffy and delightful.
-
Bake: Preheat your oven to 350°F (175°C). Bake the sugar snails for 20-25 minutes, or until they have a lovely golden color and fill your kitchen with a mouthwatering aroma.
-
Cool: Allow the sugar snails to cool for about 10 minutes before serving—this will help the sugar set nicely and make them easier to manage.
Optional: Drizzle with a light powdered sugar glaze for an extra sweet touch!
Exact quantities are listed in the recipe card below.
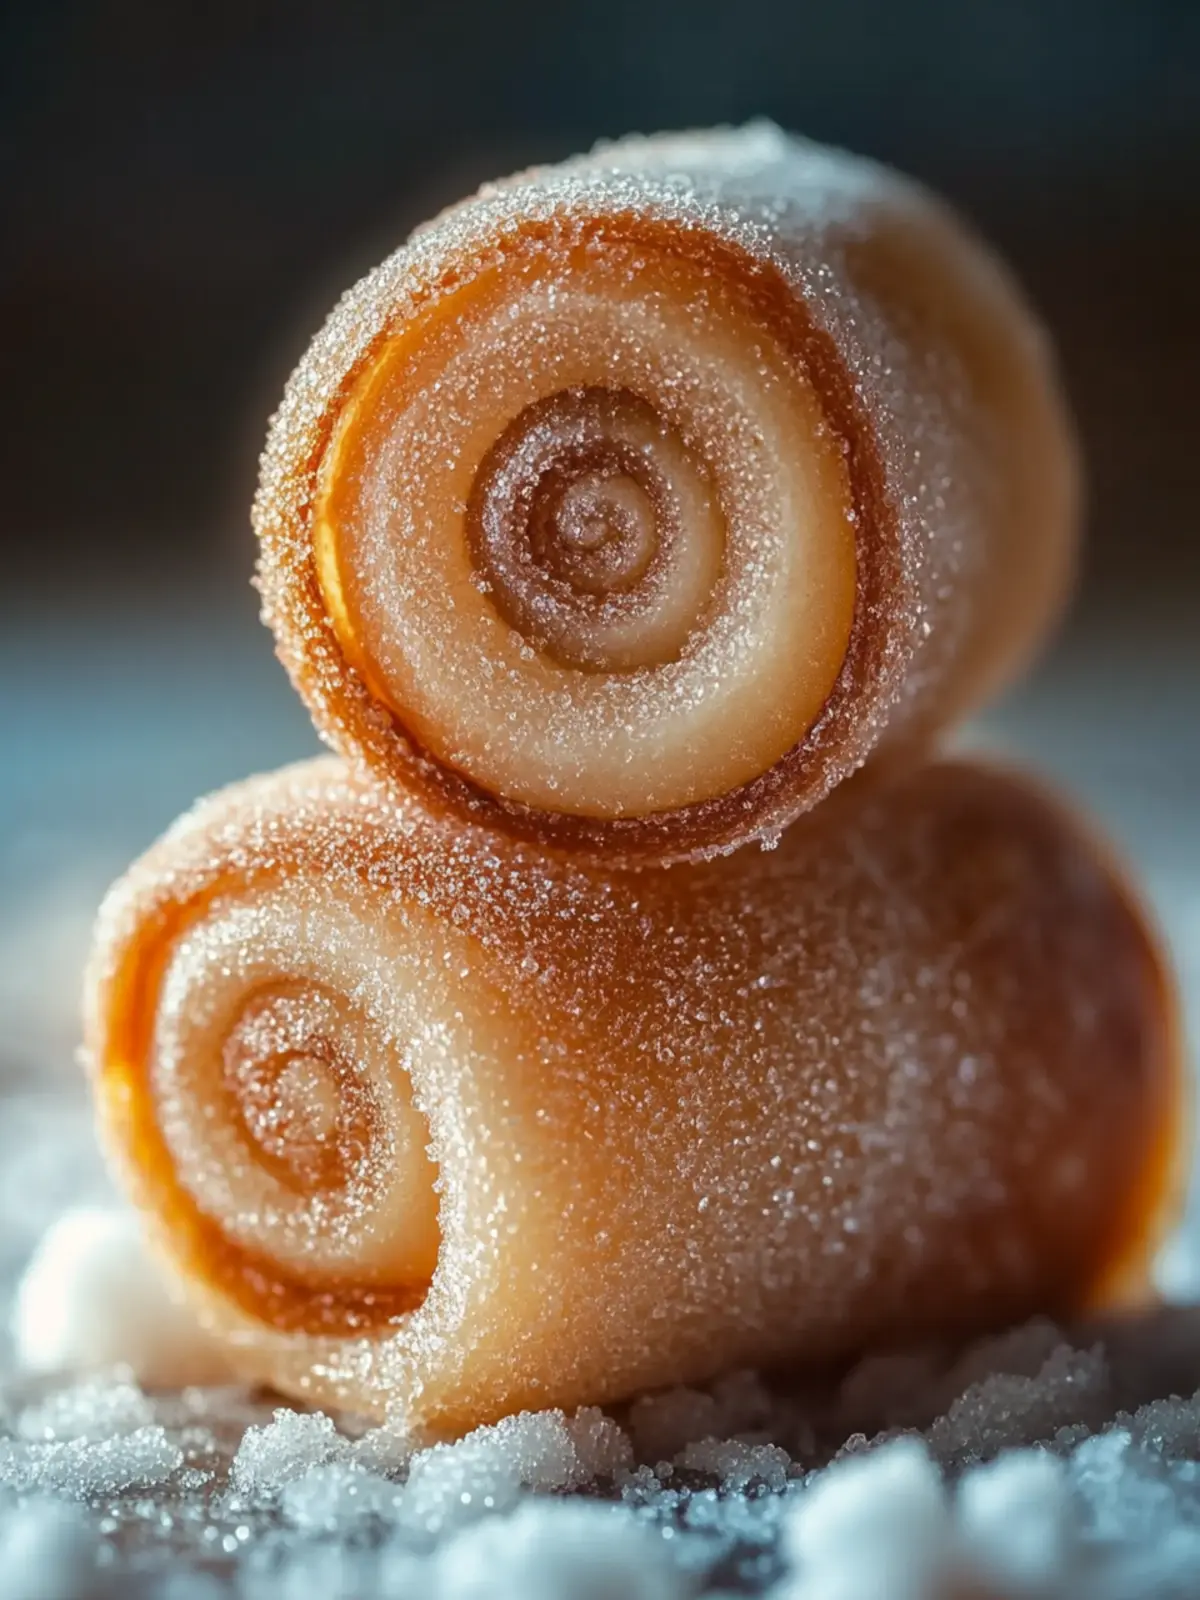
Sugar Snails Variations & Substitutions
Feel free to experiment and customize these delightful pastries to suit your unique taste preferences!
-
Cinnamon Sugar Snails: Add ground cinnamon to the sugar mixture for a warm, spicy flavor that everyone loves. This classic twist enhances the sweetness while introducing a cozy aroma.
-
Lemon Sugar Snails: Incorporate lemon zest into the sugar mix for a bright and refreshing taste that lifts the sweetness beautifully. The zesty aroma adds a cheerful touch to your baking.
-
Nutty Sugar Snails: Sprinkle finely chopped almonds or pecans onto the sugar before rolling for a delightful crunch and nutty flavor. This variation introduces an extra layer of texture while complementing the sweetness.
-
Glazed Sugar Snails: Drizzle with a light powdered sugar glaze after baking for a touch of elegance and extra sweetness. It transforms each snails into an eye-catching treat!
-
Chocolate Chip Snails: Mix in chocolate chips with the sugar filling for a decadent twist that chocolate lovers will adore. The melting chocolate adds richness, making each bite even more indulgent.
-
Dairy-Free Snails: Swap whole milk with any plant-based milk and use vegan butter for a delicious alternative that everyone can enjoy. You won’t lose the fluffiness or flavor with this simple change.
-
Spicy Sugar Snails: Add a pinch of cayenne pepper to the sugar for a surprising kick that contrasts perfectly with the sweetness. This bold option is sure to awaken your taste buds!
-
Puff Pastry Snails: For a quicker version, use store-bought puff pastry instead of homemade dough. Simply roll it out, add your filling, and proceed with baking. These snails will be flakier and ready in no time!
Expert Tips for Sugar Snails
Measuring Flour: Always spoon and level your flour to avoid dense, dry pastries; accurate measurement is key to achieving soft, flaky sugar snails.
Fresh Yeast: Check the expiration date on your yeast; using fresh yeast ensures your dough rises beautifully and yields light, airy pastries.
Warm Milk: Make sure the milk is just warm—not hot—when added to yeast, as excessive heat can kill the yeast, preventing proper rise and texture.
Baking Time: Keep a close eye on the baking time; overbaking can lead to dry sugar snails. Aim for a golden color and delicious aroma!
Cutting Technique: Use unflavored dental floss to slice the rolled dough; it provides clean cuts and preserves the spiral shape of your sugar snails.
Make-Ahead: For busy mornings, prepare the sugar snails the night before and bake them fresh in the morning for a delightful treat!
What to Serve with Sugar Snails?
These delightful pastries deserve a beautiful spread, creating an unforgettable brunch experience that everyone will love.
-
Freshly Brewed Coffee: The rich, robust flavor of coffee perfectly complements the sweetness of sugar snails, making each bite and sip a delightful pairing.
-
Seasonal Fruit Salad: A vibrant mix of berries, melons, and citrus adds a refreshing brightness that contrasts beautifully with the flaky, sugary pastries. It’s a joyful burst of color on your plate!
-
Whipped Cream: A light dollop of freshly whipped cream enhances the sugar snails’ sweetness while adding a delightful creaminess that makes every bite even more indulgent.
-
Cream Cheese Frosting: Drizzling a tangy cream cheese frosting over the warm sugar snails creates a harmonious balance of flavors, elevating the treat to a decadent dessert status.
-
Chai Latte: The spiced, aromatic notes of a chai latte beautifully complement the sweet, buttery flavors of sugar snails, adding warmth and coziness to your brunch table.
-
Lemon Curd: A side of tangy lemon curd provides a zesty contrast to the sweet pastries, making for an exciting burst of flavor that awakens the palate.
-
Sparkling Juice: A bubbly citrus or berry sparkling juice adds a festive touch, perfect for celebrating special mornings or time spent with loved ones over brunch!
Storage Tips for Sugar Snails
-
Room Temperature: Store baked sugar snails in an airtight container for up to 2 days to keep them fresh and soft. Avoid exposure to air to maintain their texture.
-
Fridge: If you need a little extra time, refrigerate sugar snails for up to 5 days. Reheat in the oven at 350°F (175°C) for about 5-10 minutes to refresh their softness.
-
Freezer: You can freeze unbaked sugar snails for up to 2 months. Just shape them and tightly wrap in plastic wrap before placing in a freezer bag. Thaw before baking.
-
Reheating: For reheating, place cooled sugar snails in a preheated oven at 350°F (175°C) for 5-10 minutes to restore their delightful flakiness and flavor.
Make Ahead Options
Sugar snails are perfect for meal prep enthusiasts, saving you time during busy mornings! You can prepare and shape the snails up to 24 hours in advance. Simply follow the recipe up to the second rise, then cover the baking dish tightly and refrigerate. This will allow the dough to develop flavor while keeping it fresh. When you’re ready to bake, let the snails sit at room temperature for about 30 minutes to regain warmth before popping them into a preheated oven. This way, you’ll still enjoy fluffy, delicious pastries that are just as delightful as if you’d made them that day!
Sugar Snails Recipe FAQs
What’s the best way to select ripe ingredients for sugar snails?
Absolutely! When choosing your ingredients, especially for fresh yeast, look for an expiration date that’s far out. For the milk, ensure it’s within its sell-by date and gently warm it; it shouldn’t be hot, just warm to the touch. For butter, make sure it’s softened but not melted to make spreading easier.
How should I store baked sugar snails for freshness?
Very simple! Store your baked sugar snails in an airtight container at room temperature for up to 2 days. If you wish to keep them fresher for longer, refrigerate them for up to 5 days. Just remember to reheat them in the oven for 5-10 minutes at 350°F (175°C) before serving for that lovely soft texture!
Can I freeze sugar snails, and if so, how?
Absolutely! You can freeze unbaked sugar snails for up to 2 months. After slicing them into pinwheels, wrap each piece tightly in plastic wrap and place them in a freezer-safe bag. When you’re ready to bake, simply thaw them in the fridge overnight, then let them rise at room temperature for 30-45 minutes before baking as directed.
What if my sugar snails don’t rise properly?
If your sugar snails don’t seem to rise, it could be due to inactive yeast. Make sure your yeast is fresh and the milk wasn’t too hot when mixed. Always create a warm, draft-free environment for rising. If necessary, place the covered dough in an oven that’s turned off but still warm for a better environment.
Are sugar snails suitable for any dietary restrictions?
Definitely! For those who are dairy-free, you can substitute the milk with a non-dairy option like almond or oat milk. To make them vegan, use a flax egg instead of a regular egg and dairy-free butter. Always check for specific allergies, especially with the toppings like nuts or glazes.
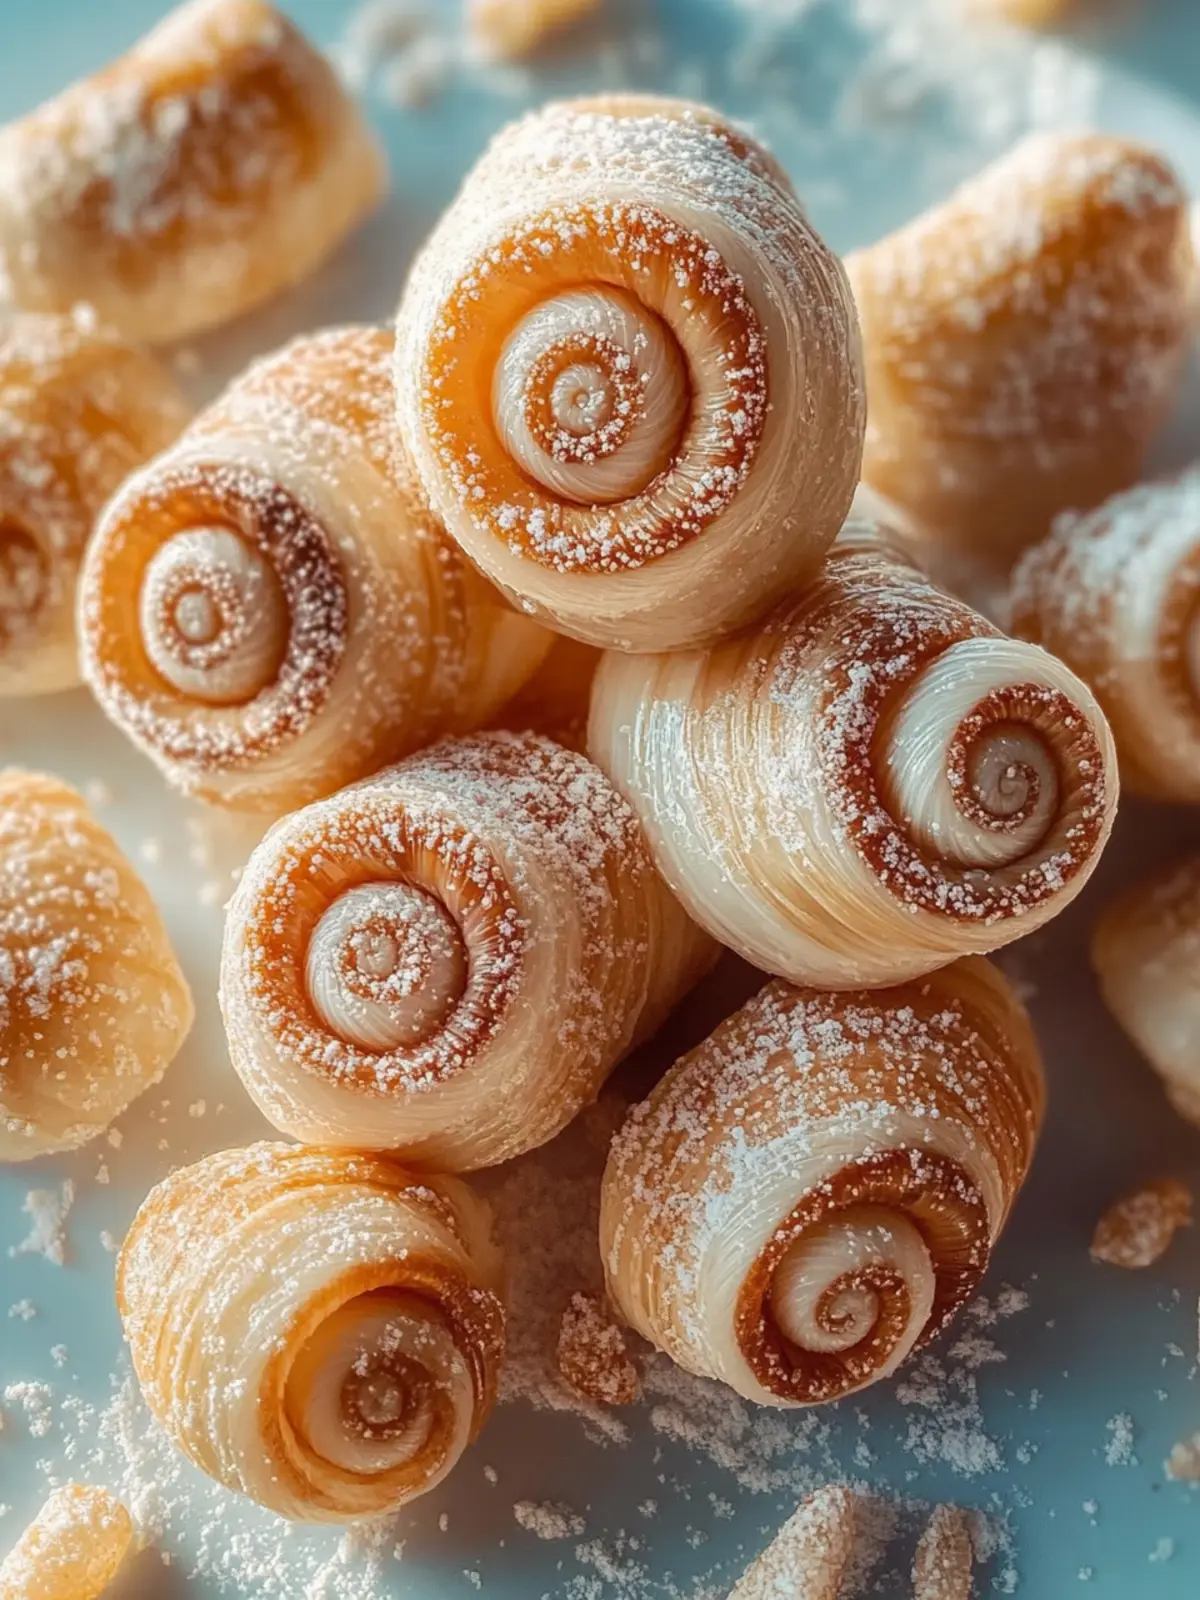
Delicious Sugar Snails: Bake Soft, Flaky Pastries at Home
Ingredients
Equipment
Method
- Warm the milk until it’s just warm, then mix in the yeast and a teaspoon of sugar. Let it sit for about 5–10 minutes until it becomes foamy and bubbly.
- In a large bowl, combine the remaining sugar, egg, melted butter, salt, and all-purpose flour with the yeast mixture. Stir until a soft, cohesive dough forms.
- Lightly flour your work surface and knead the dough for 8-10 minutes until it’s smooth, elastic, and slightly tacky to the touch.
- Transfer the dough into a greased bowl, cover it with a towel, and let it rise in a warm spot until it has doubled in size, about 1-1.5 hours.
- Roll the dough into a rectangle, spread softened butter over the surface, sprinkle with granulated sugar (and cinnamon if desired), then roll it into a log and slice into pinwheels.
- Arrange the slices in a greased baking dish, cover with a towel, and allow them to rise for another 30-45 minutes until they look puffy.
- Preheat your oven to 350°F (175°C). Bake the sugar snails for 20-25 minutes, or until golden and aromatic.
- Allow the sugar snails to cool for about 10 minutes before serving.