Go Back
+ servings
Vegan Mango Curd

Delicious Vegan Mango Curd in Just 10 Minutes

Experience the vibrant sweetness of Vegan Mango Curd, an easy, eggless, and dairy-free delight perfect for drizzling or enjoying by the spoonful.
Prep Time 10 minutes
Cook Time 5 minutes
Cooling Time 1 hour
Total Time 1 hour 15 minutes
Servings: 4 servings
Course: DESSERTS
Cuisine: Tropical
Calories: 120

Ingredients
  

For the Curd
  • 1 cup Mango Pulp Use ripe fresh mango or canned varieties like Alphonso.
  • 100 g Granulated Sugar Adjust sweetness as needed; increase to 150g if using tangy fresh mango.
  • 2 tablespoons Cornstarch Substitute with arrowroot powder if desired.
  • 2 tablespoons Lime Juice Freshly squeezed brings out the best flavor.
  • 50 g Vegan Unsalted Butter Ensure it's cold for a smooth finish.

Equipment

  • Blender
  • saucepan
  • whisk
  • small bowl
  • Airtight container

Method
 

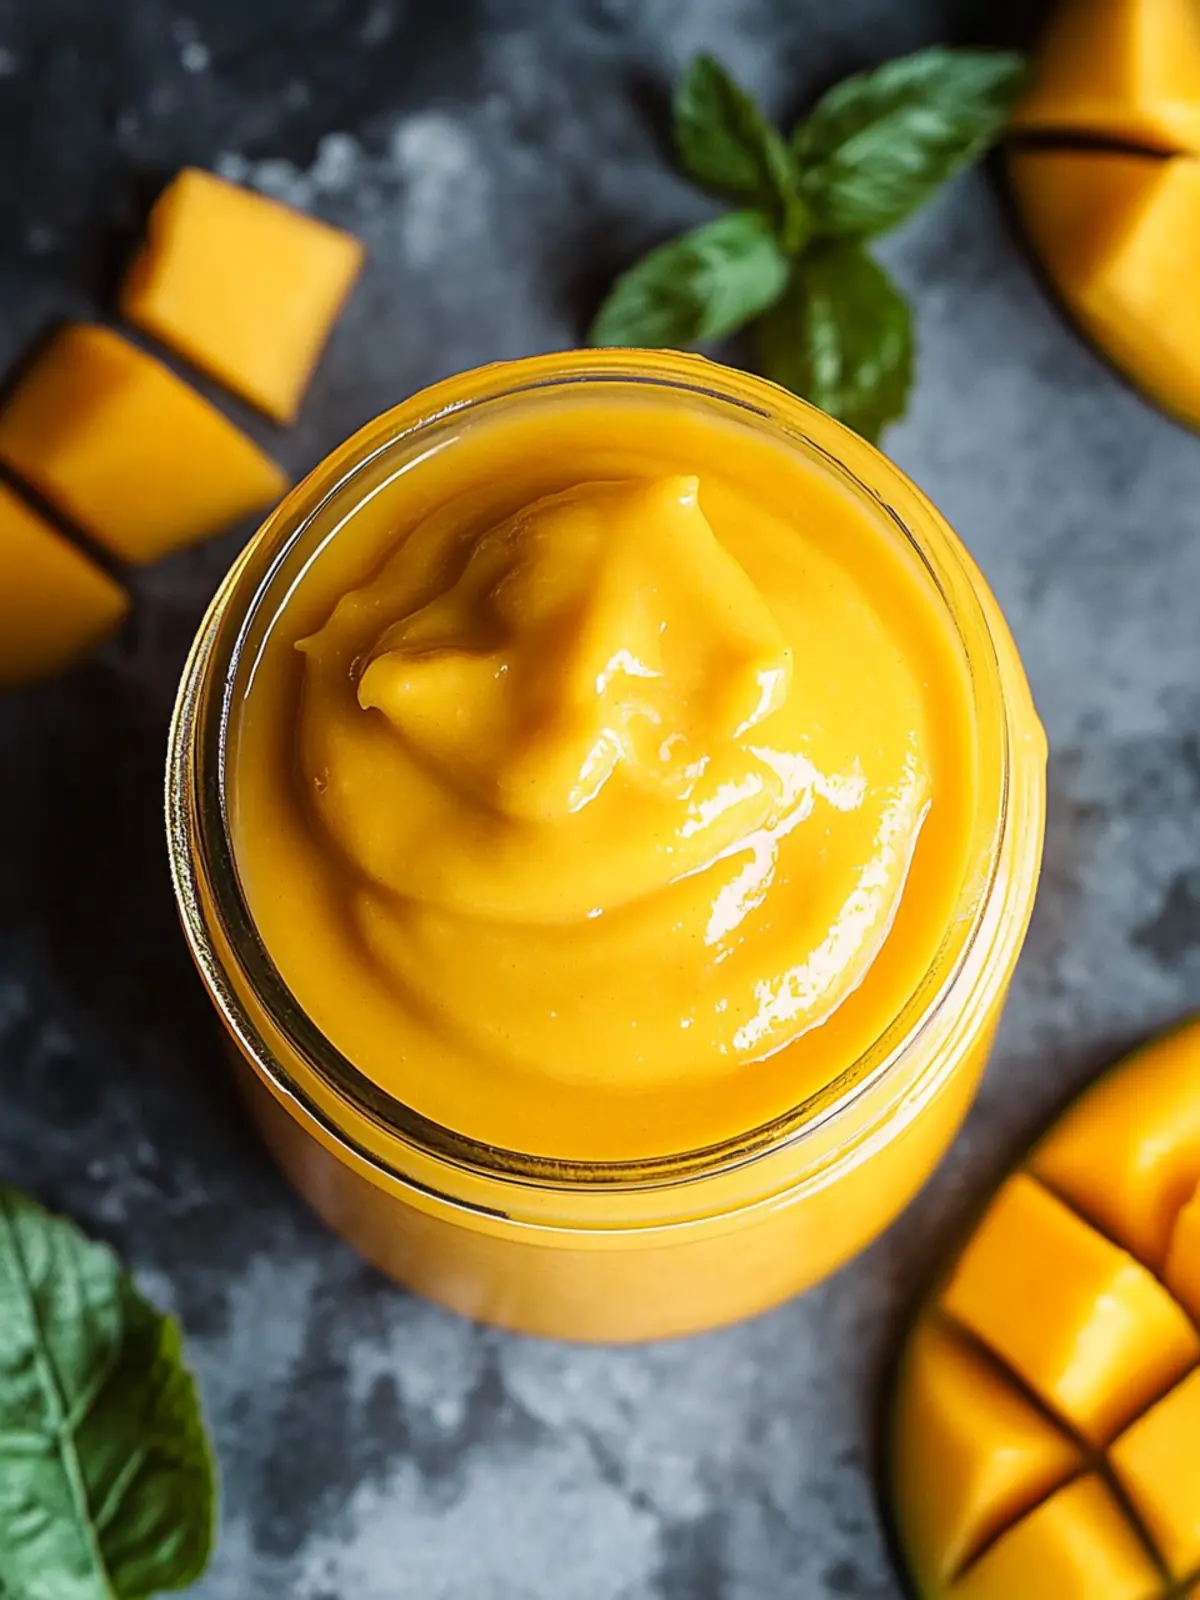
How to Make Vegan Mango Curd
  1. Puree Fresh Mango: Blend fresh mango until smooth to achieve about 1 cup of vibrant mango puree.
  2. Warm the Mango & Sugar: Combine mango pulp and granulated sugar in a saucepan over medium heat, stirring until sugar dissolves (2-3 minutes).
  3. Create the Slurry: Whisk together cornstarch and lime juice in a small bowl until smooth, then add to the warmed mango mixture.
  4. Thicken the Mixture: Cook and whisk the mixture for 3-5 minutes until it thickens enough to coat the back of a spatula.
  5. Incorporate Vegan Butter: Remove from heat and whisk in cold vegan butter until fully melted and curd is smooth.
  6. Cool and Set: Cover the curd with plastic wrap to prevent skin formation, cool slightly, then refrigerate for at least an hour to set.

Nutrition

Serving: 1servingCalories: 120kcalCarbohydrates: 22gProtein: 1gFat: 4gSaturated Fat: 1gPolyunsaturated Fat: 0.5gMonounsaturated Fat: 2.5gSodium: 5mgPotassium: 200mgFiber: 1gSugar: 15gVitamin A: 1000IUVitamin C: 30mgCalcium: 5mgIron: 0.5mg

Notes

Store Vegan Mango Curd in an airtight container in the fridge for up to a week or freeze for longer storage.

Tried this recipe?

Let us know how it was!