
As the sun sets and the golden light spills into my kitchen, I can’t help but think of the rich, buttery aroma dancing through the air. This Crispy Singapore Butter Chicken has a way of transforming an ordinary evening into an unforgettable culinary experience. Picture this: tender, juicy chicken coated in a crispy layer, all enveloped in a creamy, flavorful sauce that perfectly balances sweetness with a hint of heat.
It all started when I was seeking something more than just a quick meal. I craved the comfort of homemade food that didn’t compromise on taste or simplicity. Enter this recipe, born from my love for vibrant flavors and ease of preparation. Each bite is like a mini celebration, perfect for family dinners or impressing guests at your next gathering.
With just a handful of ingredients and simple steps, you can create a dish that looks and tastes like it took hours to make. So, roll up your sleeves and let’s dive into a cooking adventure that’s sure to leave your taste buds singing!
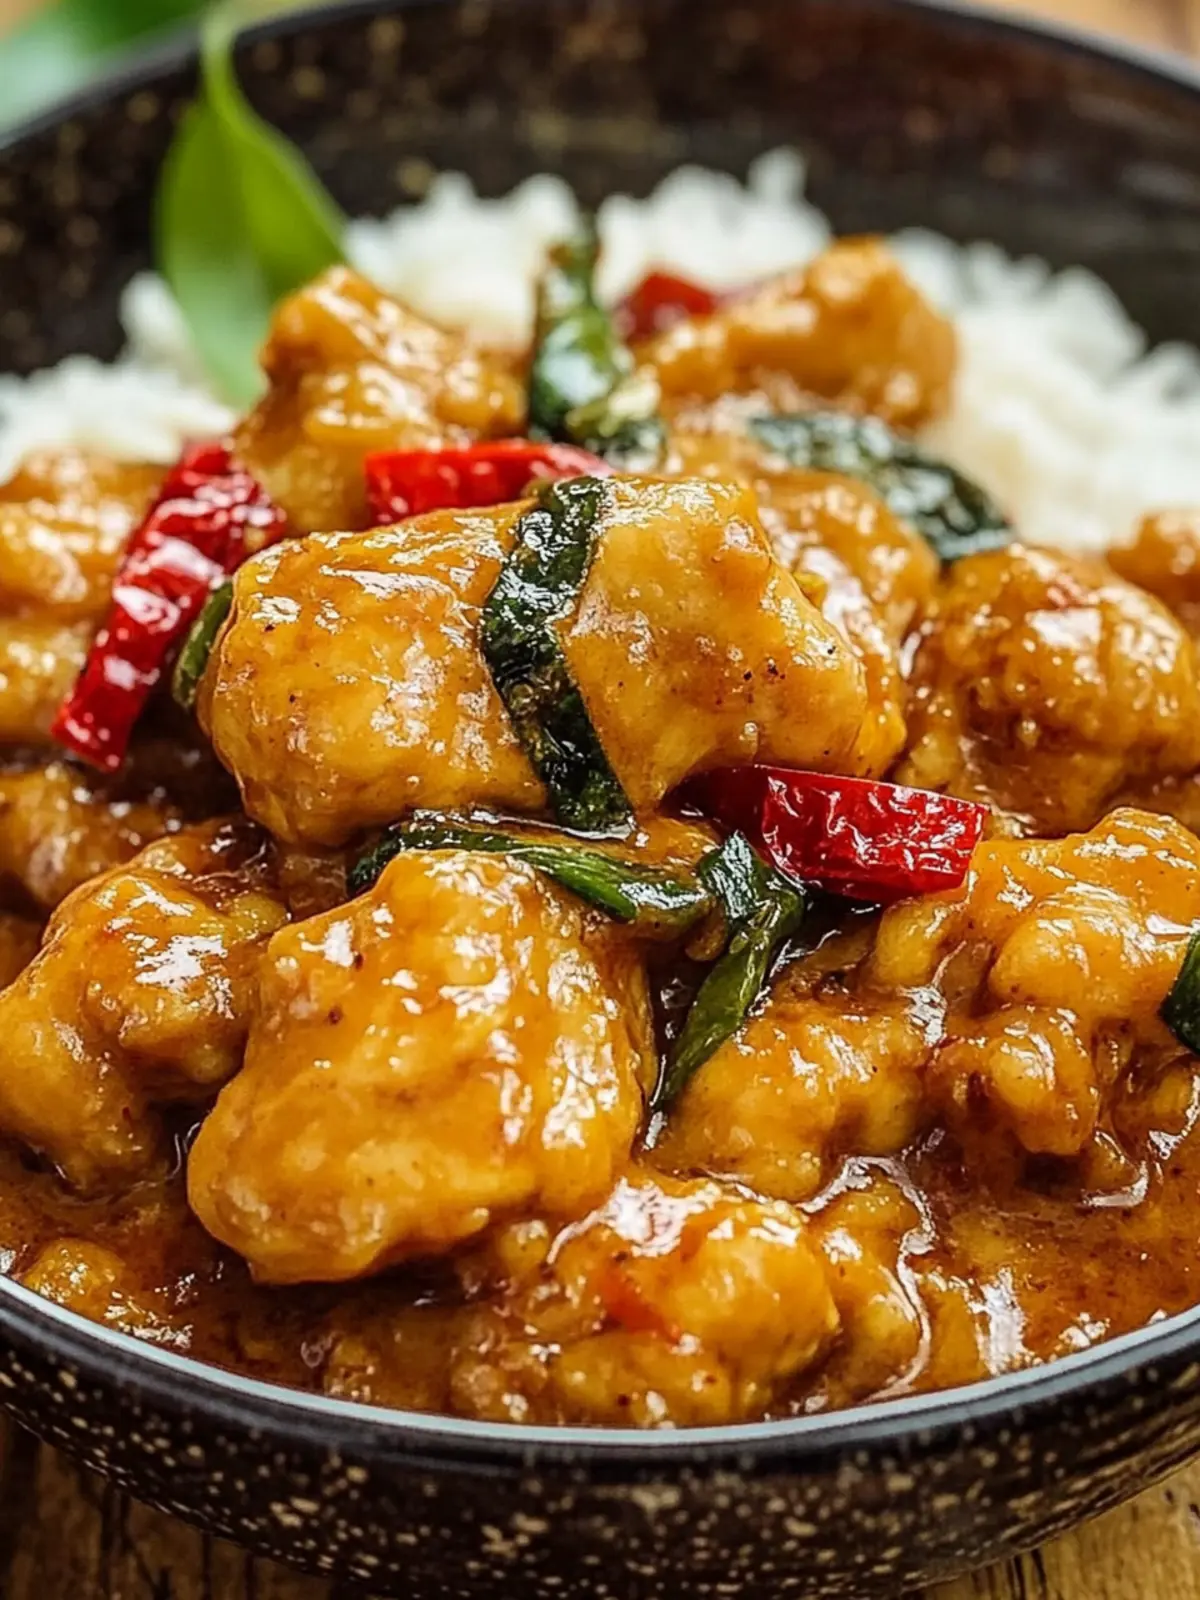
Why is Crispy Singapore Butter Chicken a must-try?
Flavor Explosion: Each bite offers a burst of buttery richness and a perfect hint of spice, making it a dish that tantalizes your taste buds.
Easy Preparation: With uncomplicated steps, you’ll spend less time in the kitchen and more time enjoying your meal.
Versatile Dish: Perfect for casual family dinners or elegant gatherings, this chicken is sure to impress guests.
Crowd Favorite: The unique blend of flavors appeals to everyone, transforming ordinary evenings into special occasions.
Comfort Food: Savor the coziness of homemade goodness, leaving you feeling satisfied and happy.
Get ready for a culinary adventure that redefines your mealtime with this delightful recipe!
Crispy Singapore Butter Chicken Ingredients
• Get ready to make magic in your kitchen!
For the Chicken
- 300 grams chicken – choose boneless thighs for juicy results.
- 1 egg – helps create a crispy coating that locks in moisture.
- 1 tsp salt – enhances the flavors of the chicken beautifully.
- 1 tsp pepper – adds a touch of warmth to the dish.
- 1 tbsp oyster sauce – provides a rich umami flavor essential for the sauce.
- 2 tbsps cornstarch – ensures a delightfully crispy texture.
- Extra cornstarch – for coating; it helps achieve that perfect crunch.
- 1 tbsp oil – use vegetable or canola oil for a high smoke point.
For the Butter Sauce
- 2-3 tbsps unsalted butter – adds a creamy richness to the sauce.
- 2 cloves garlic, chopped – infuses the sauce with aromatic goodness.
- 2 Thai bird’s eye chilis – provides an exciting heat; adjust to preference.
- 2 stalks of curry leaves – add a fragrant, earthy note to the dish.
- 1 cup evaporated milk – adds creaminess and sweetness for a luxurious texture.
- 1 tbsp sweetened condensed milk – balances the savory elements with a hint of sweetness.
- 1 tsp salt, or to taste – adjust based on your preference for seasoning.
Dive into this Crispy Singapore Butter Chicken recipe that promises to elevate your meal to new heights!
How to Make Crispy Singapore Butter Chicken
-
Coat the chicken thoroughly with cornstarch, ensuring an even layer. This step is essential for that coveted crispy texture when cooked.
-
Beat the egg in a bowl, then add in salt, pepper, oyster sauce, and curry powder if desired. Mix until well combined, creating a flavorful batter for the chicken.
-
Combine the coated chicken with the egg mixture, ensuring every piece is generously coated. This helps lock in moisture and enhances the texture when cooked.
-
Heat oil in a spacious pan over medium heat. Once the oil is shimmering, add the chopped garlic and Thai chilis, sautéing for about 1-2 minutes until fragrant and slightly golden.
-
Melt the butter in the pan with the garlic and chilis, allowing it to blend beautifully with the flavors. Your kitchen will be filled with a delicious aroma!
-
Stir in the curry leaves, evaporated milk, and sweetened condensed milk. Mix well and let simmer for a couple of minutes until the sauce thickens slightly, around 5 minutes.
-
Introduce the chicken to the luscious sauce, cooking until the chicken is fully cooked through. It should achieve a lovely golden-brown color, about 6-8 minutes.
Optional: Serve with a sprinkle of fresh herbs for an added burst of flavor.
Exact quantities are listed in the recipe card below.
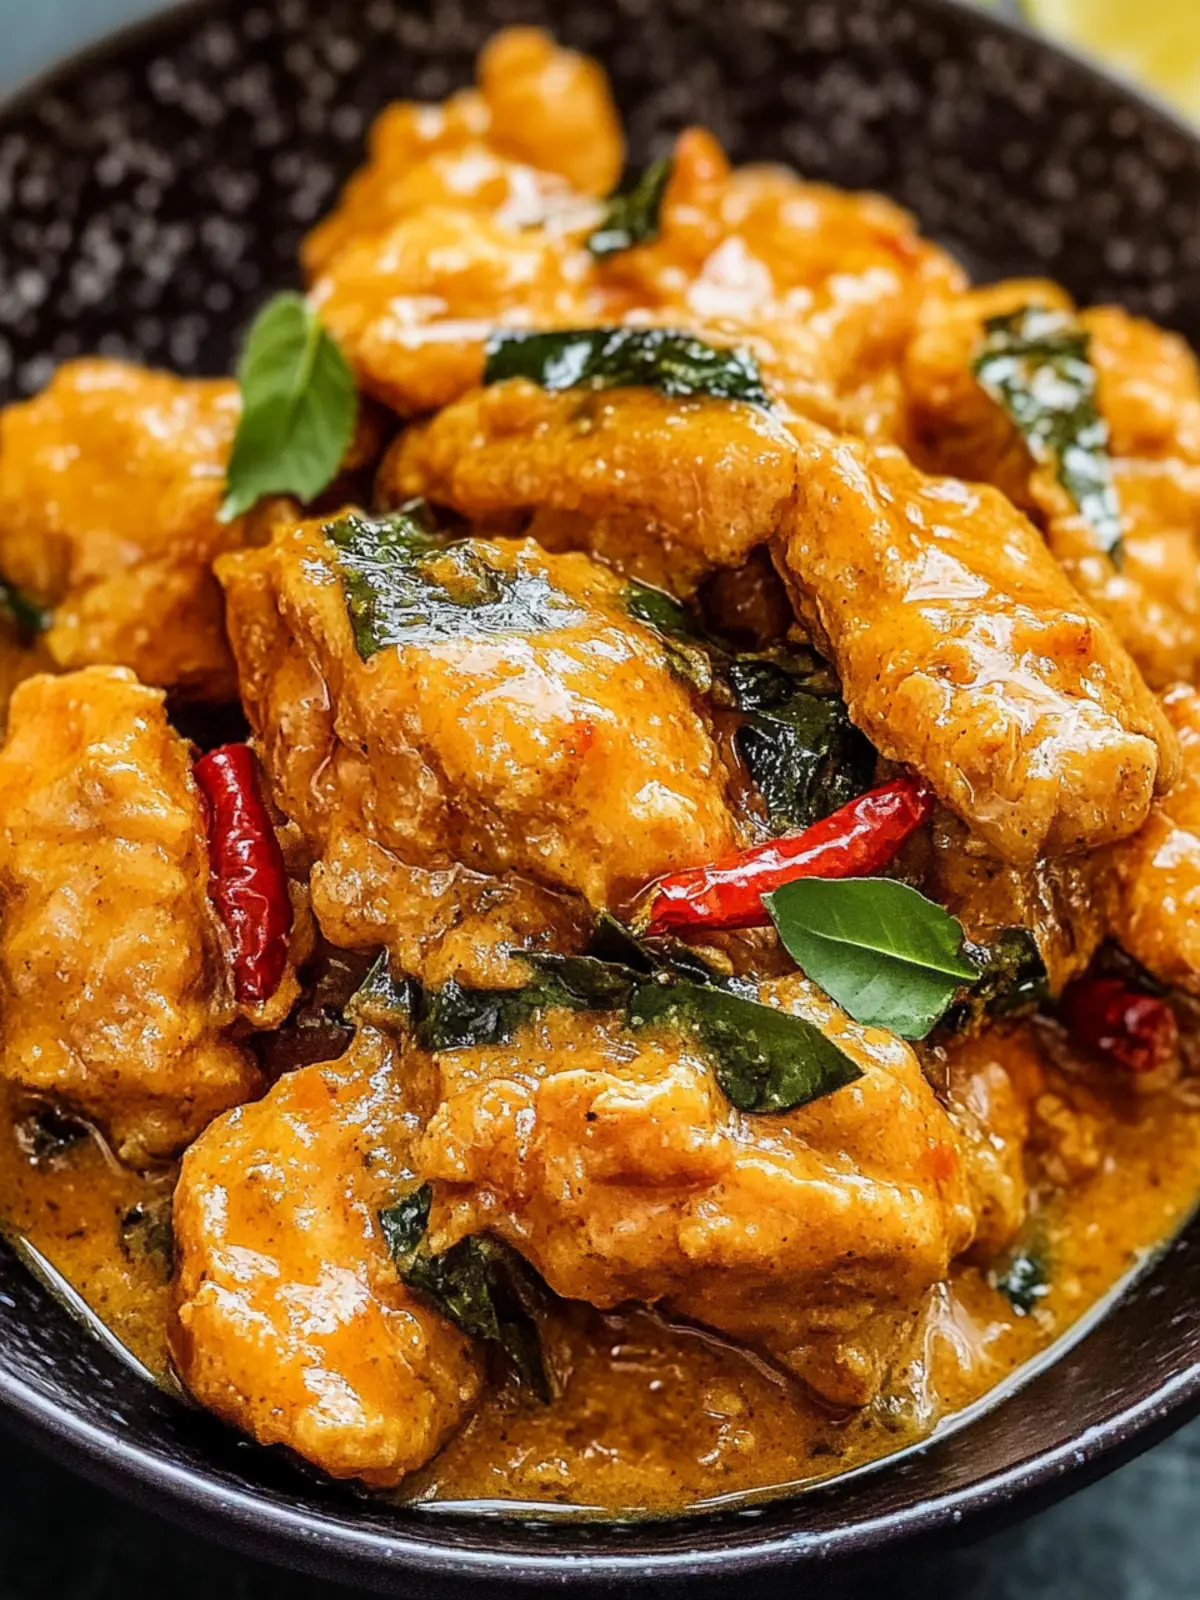
Expert Tips for Crispy Singapore Butter Chicken
-
Coating Perfection: Ensure an even layer of cornstarch on the chicken. This is crucial for achieving that irresistible crispy texture in your Crispy Singapore Butter Chicken.
-
Egg Mixture Magic: Beat the egg and mix it into a smooth batter. This helps the seasonings adhere better to the chicken and enhances flavors in each bite.
-
Careful Cooking: Monitor the heat while sautéing the garlic and chilis. Too high, and they can burn; too low, and they won’t release their aromatic goodness.
-
Simmer Timing: Allow enough time for the sauce to thicken slightly before adding the chicken. This step enhances the overall richness and flavors of the dish.
-
Golden Chicken: Cook the chicken until it reaches a lovely golden-brown color. This not only adds visual appeal but also ensures it’s juicy and tender.
What to Serve with Crispy Singapore Butter Chicken?
Pairing your meal with the right sides can elevate the entire dining experience, creating a symphony of flavors that dance on your palate.
-
Jasmine Rice: The fluffy grains absorb the sauce beautifully, providing a neutral base to balance the rich butter flavors.
-
Stir-Fried Vegetables: A colorful mix of bell peppers, broccoli, and snap peas adds crunch and freshness, enhancing the meal’s vibrancy.
-
Cucumber Salad: A cool, tangy cucumber salad offers a refreshing contrast, cleansing the palate with every bite of buttery chicken.
-
Roti Prata: This flaky flatbread is perfect for scooping up the creamy sauce, providing a delightful, chewy texture to complement your meal.
-
Thai Iced Tea: Smooth and sweet, this drink adds a touch of indulgence and complements the spices in the dish with its fragrant flavors.
-
Mango Sticky Rice: For dessert, this sweet treat balances the savory meal, creating a harmonious finish with its creamy and tropical notes.
Make Ahead Options
Preparing Crispy Singapore Butter Chicken ahead of time can be a game changer for busy weeknights! You can coat the chicken with cornstarch and marinate it in the egg mixture up to 24 hours in advance, ensuring that the flavors penetrate deeply and the texture remains crispy when cooked. Additionally, the butter sauce can be made and stored in the refrigerator for up to 3 days—just be sure to let it cool completely before refrigerating. When you’re ready to serve, simply reheat the sauce gently and cook the chicken fresh in the pan until golden brown. This way, you’ll enjoy restaurant-quality results with minimal effort and a lot less stress!
How to Store and Freeze Crispy Singapore Butter Chicken
Fridge: Store leftover Crispy Singapore Butter Chicken in an airtight container for up to 3 days. This keeps the flavors intact and maintains the dish’s creaminess.
Freezer: If you want to keep it longer, freeze the chicken in a freezer-safe container for up to 2 months. Separate the sauce if possible to prevent sogginess.
Reheating: When ready to enjoy, thaw overnight in the fridge. Reheat in a pan over low heat, stirring gently until warmed through, to keep that delightful buttery flavor.
Avoid microwaving: Microwaving can make the chicken less crispy, so opt for stovetop reheating for the best texture.
Crispy Singapore Butter Chicken Variations
Feel free to explore these creative twists to make your dish even more delightful!
-
Spicy Kick: Add more Thai bird’s eye chilis or a splash of Sriracha for an extra fiery punch. Your taste buds will be in for a treat!
-
Coconut Cream: Swap evaporated milk with coconut cream for a tropical flair. It adds delightful creaminess and a subtle coconut flavor.
-
Herb Infusion: Toss in fresh cilantro or Thai basil at the end for vibrant freshness that brightens the dish and adds color.
-
Vegetarian Option: Replace chicken with firm tofu, and follow the same cooking steps for a satisfying plant-based version. It’s just as delicious!
-
Sweet Tang: Mix in a tablespoon of lime juice or zest right before serving for a refreshing brightness that cuts through the richness.
-
Nutty Flavor: Incorporate a tablespoon of peanut or cashew butter into the sauce to add a delicious nutty dimension and extra creaminess.
-
Crispy Add-ons: Top with fried onions or toasted sesame seeds just before serving for added crunch and flavor contrast.
-
Low-carb: Substitute cornstarch with almond flour or crushed pork rinds to create a crispy crust with minimal carbs. Perfect for those watching their intake!
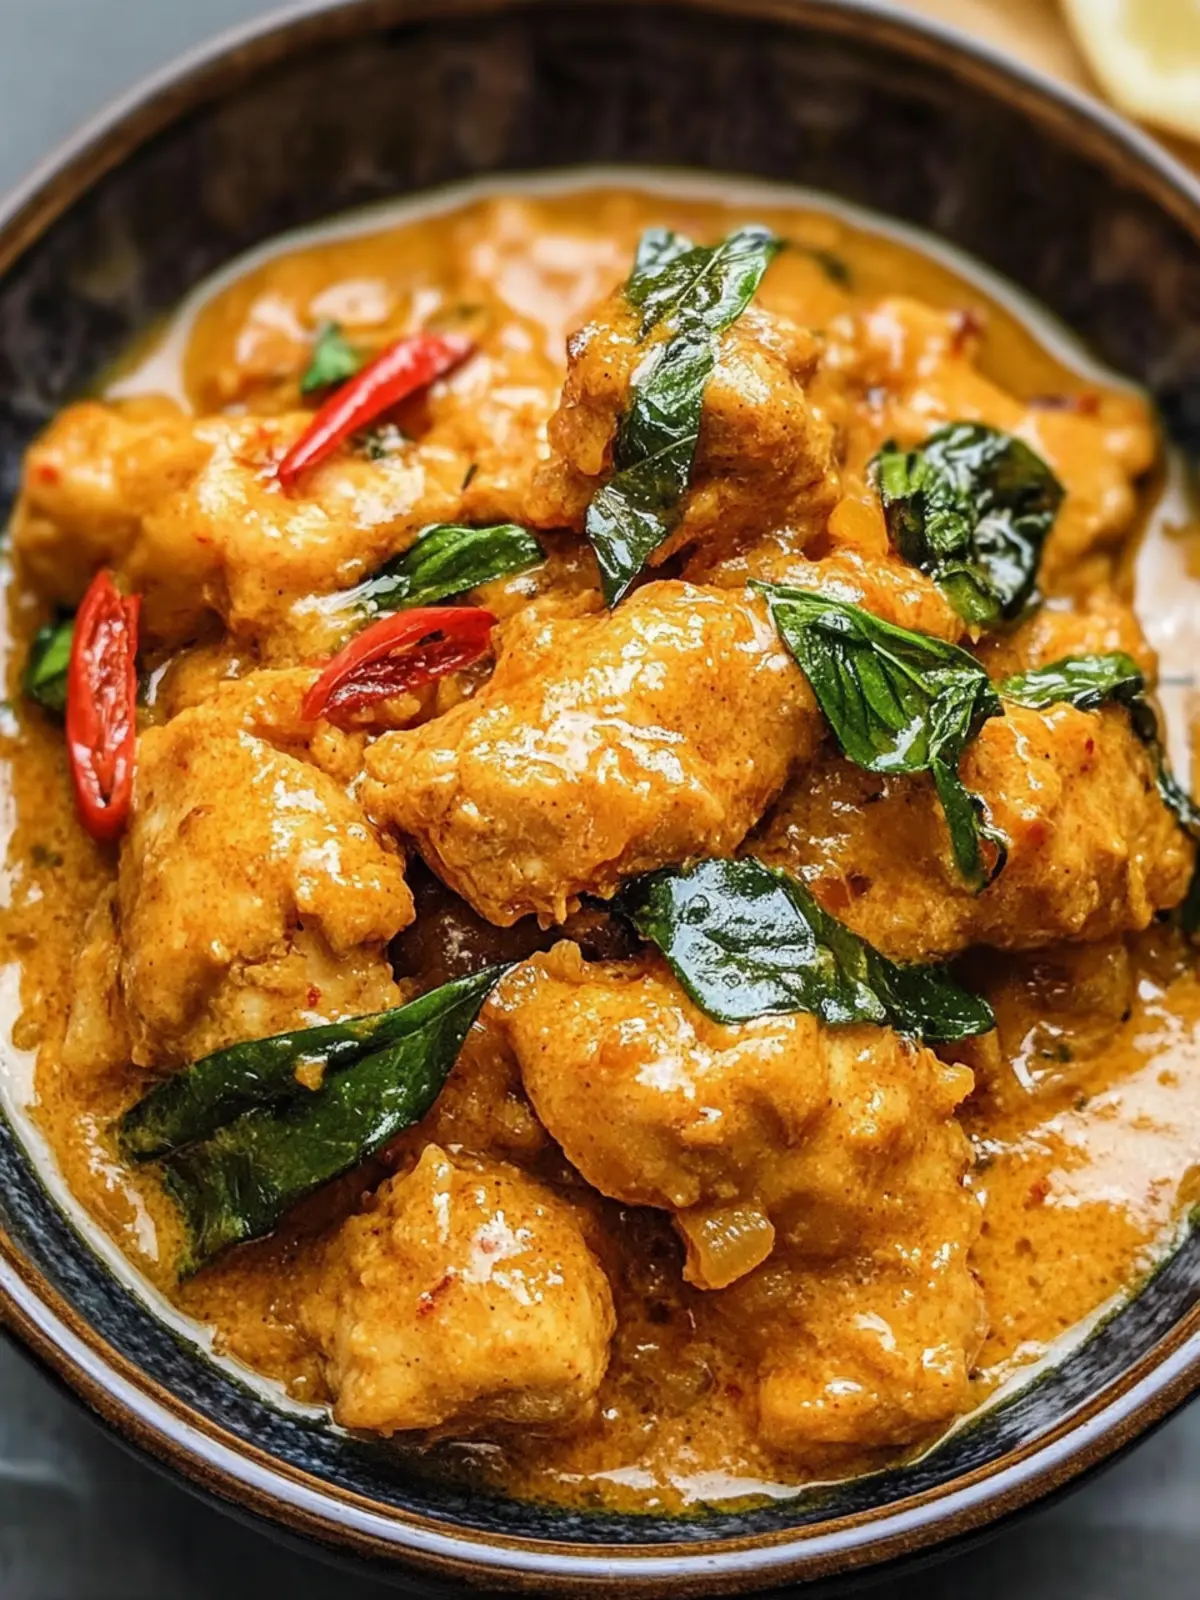
Crispy Singapore Butter Chicken Recipe FAQs
How do I choose the right chicken for this recipe?
Absolutely! I recommend using boneless chicken thighs for their tender and juicy texture. Look for chicken that’s pink and firm without any dark spots. Always check the sell-by date to ensure freshness!
How should I store leftover Crispy Singapore Butter Chicken?
Store any leftover chicken in an airtight container in the fridge for up to 3 days. This will help keep the creaminess and rich flavors intact. Allow it to cool to room temperature before sealing to avoid condensation inside the container.
Can I freeze my Crispy Singapore Butter Chicken?
Yes, you can! To freeze, separate the chicken from the sauce if possible. Place them in freezer-safe containers, and it will last for up to 2 months. Thaw overnight in the fridge before reheating.
What’s the best way to reheat the Crispy Singapore Butter Chicken?
To reheat, I recommend using the stovetop. Start by thawing the chicken overnight in the fridge, then place it in a pan over low heat. Stir gently until heated through, about 5-7 minutes. This keeps it crispy rather than soggy.
Is this dish suitable for those with allergies?
Great question! This recipe contains common allergens such as eggs and soy (from the oyster sauce). If you have dietary restrictions, consider using a vegan oyster sauce, or you can omit it altogether. Always check ingredient labels for unexpected allergens.
What if my butter sauce isn’t thickening?
If you find that your sauce isn’t thickening as it should, here’s what to do:
- Ensure you’ve simmered it long enough—at least 5 minutes is crucial.
- If it’s still too thin, mix 1 tablespoon of cornstarch with a little cold water to create a slurry, then add it slowly to the sauce while stirring.
- Allow it to simmer for another 2-3 minutes until it thickens to your liking.
Now you’re all set to enjoy making your Crispy Singapore Butter Chicken!
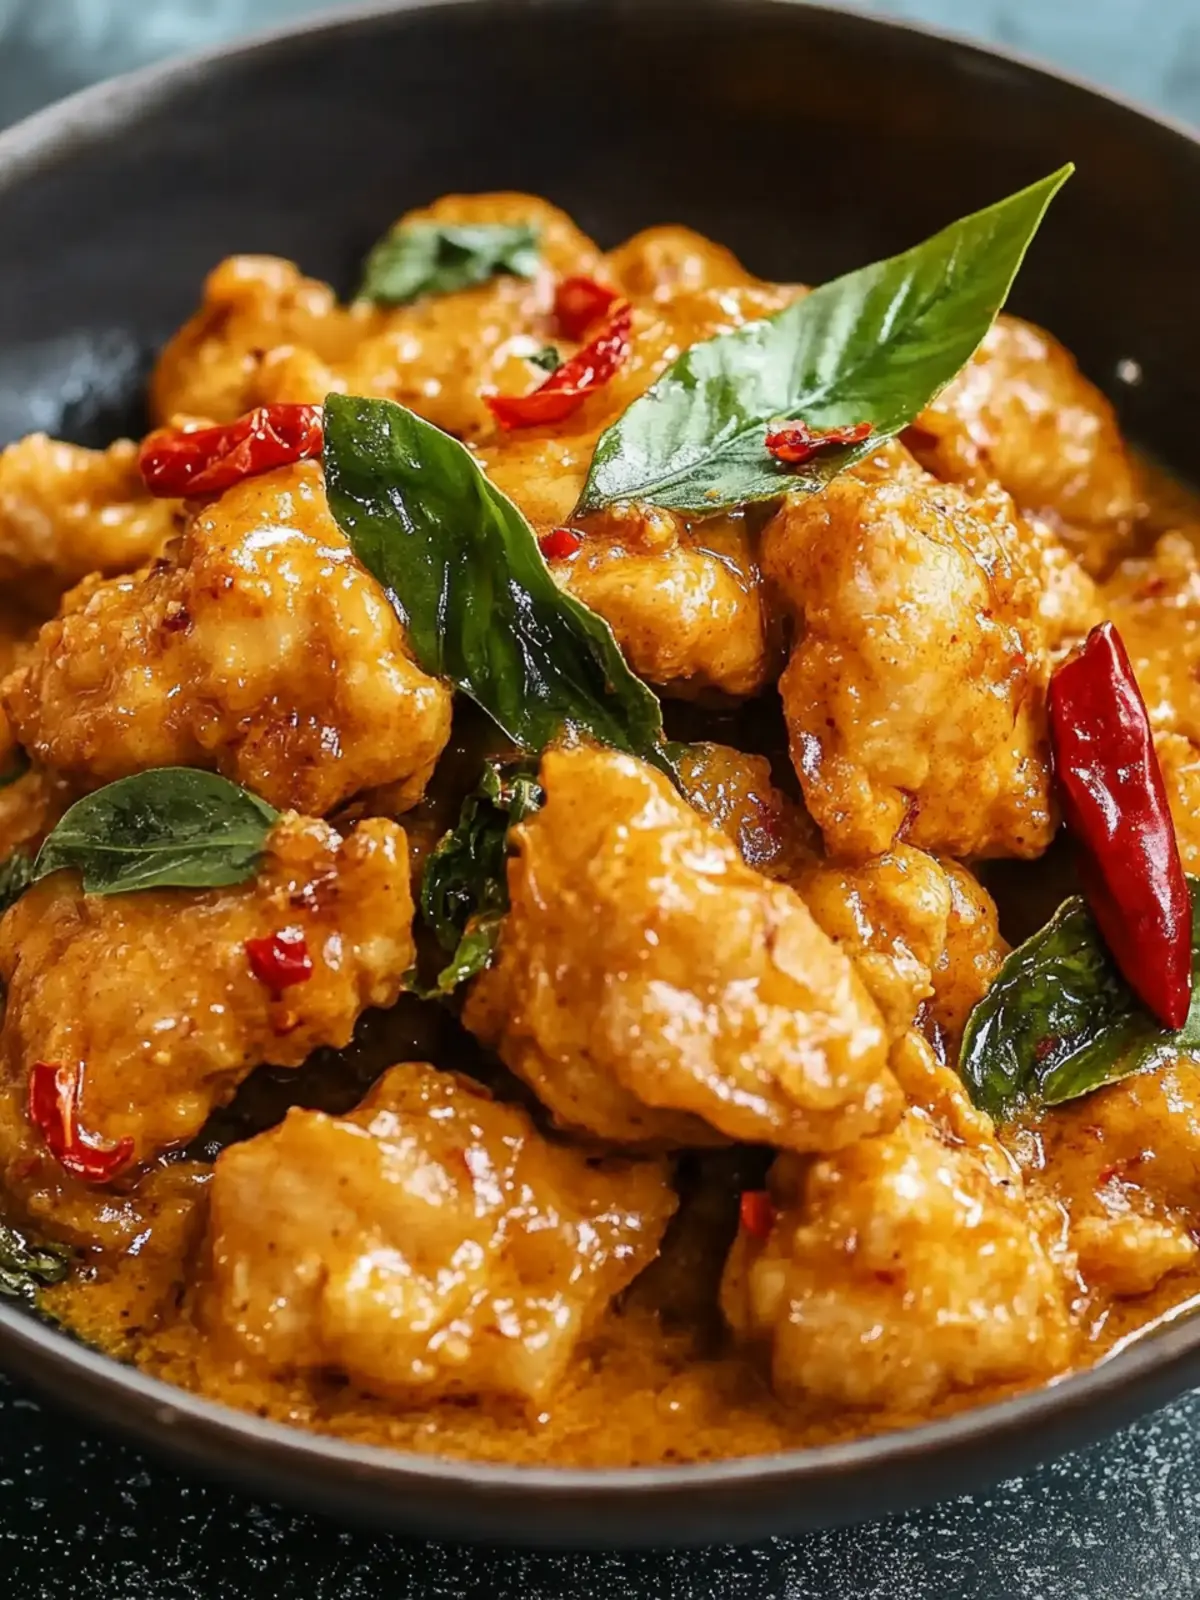
Crispy Singapore Butter Chicken That'll Wow Your Taste Buds
Ingredients
Equipment
Method
- Coat the chicken thoroughly with cornstarch, ensuring an even layer.
- Beat the egg in a bowl, then add in salt, pepper, oyster sauce, and mix until well combined.
- Combine the coated chicken with the egg mixture, ensuring every piece is generously coated.
- Heat oil in a spacious pan over medium heat. Add chopped garlic and Thai chilis, sauté for 1-2 minutes until fragrant.
- Melt the butter in the pan with the garlic and chilis, allowing it to blend beautifully.
- Stir in curry leaves, evaporated milk, and sweetened condensed milk. Mix well and let simmer until the sauce thickens.
- Introduce the chicken to the sauce, cooking until the chicken is fully cooked through.