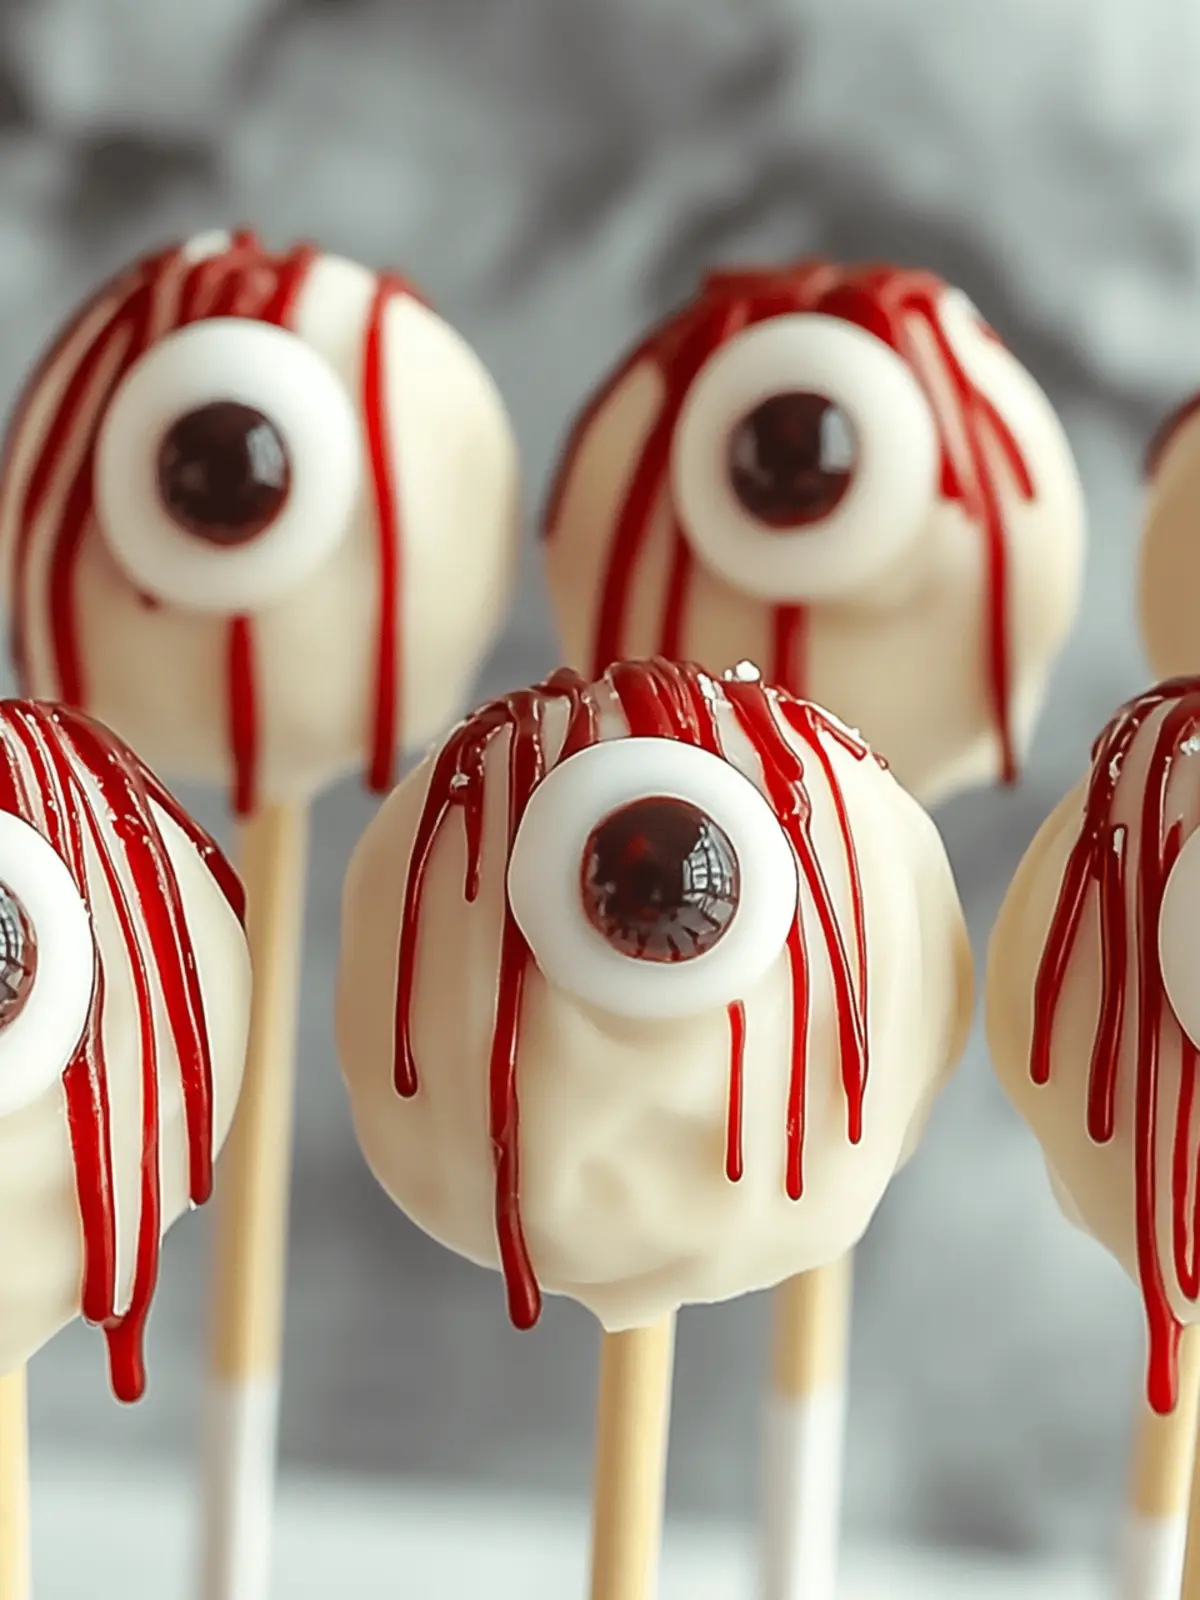
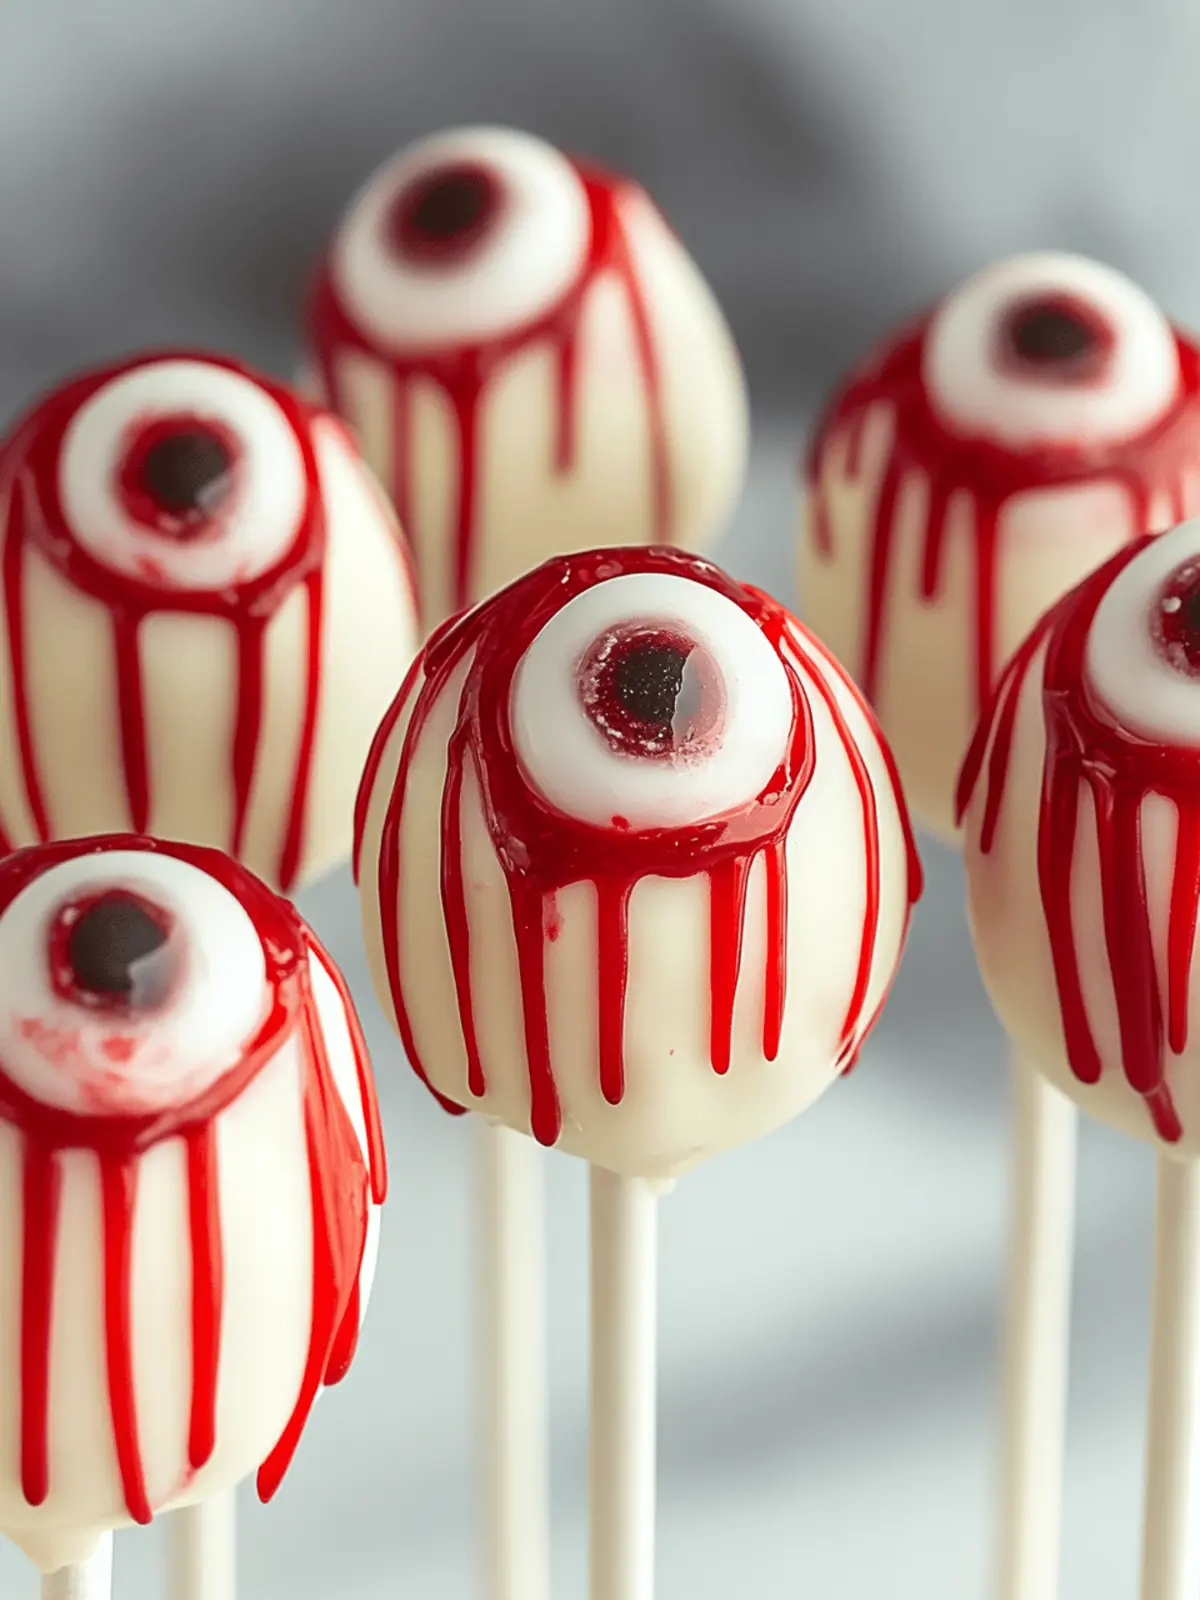
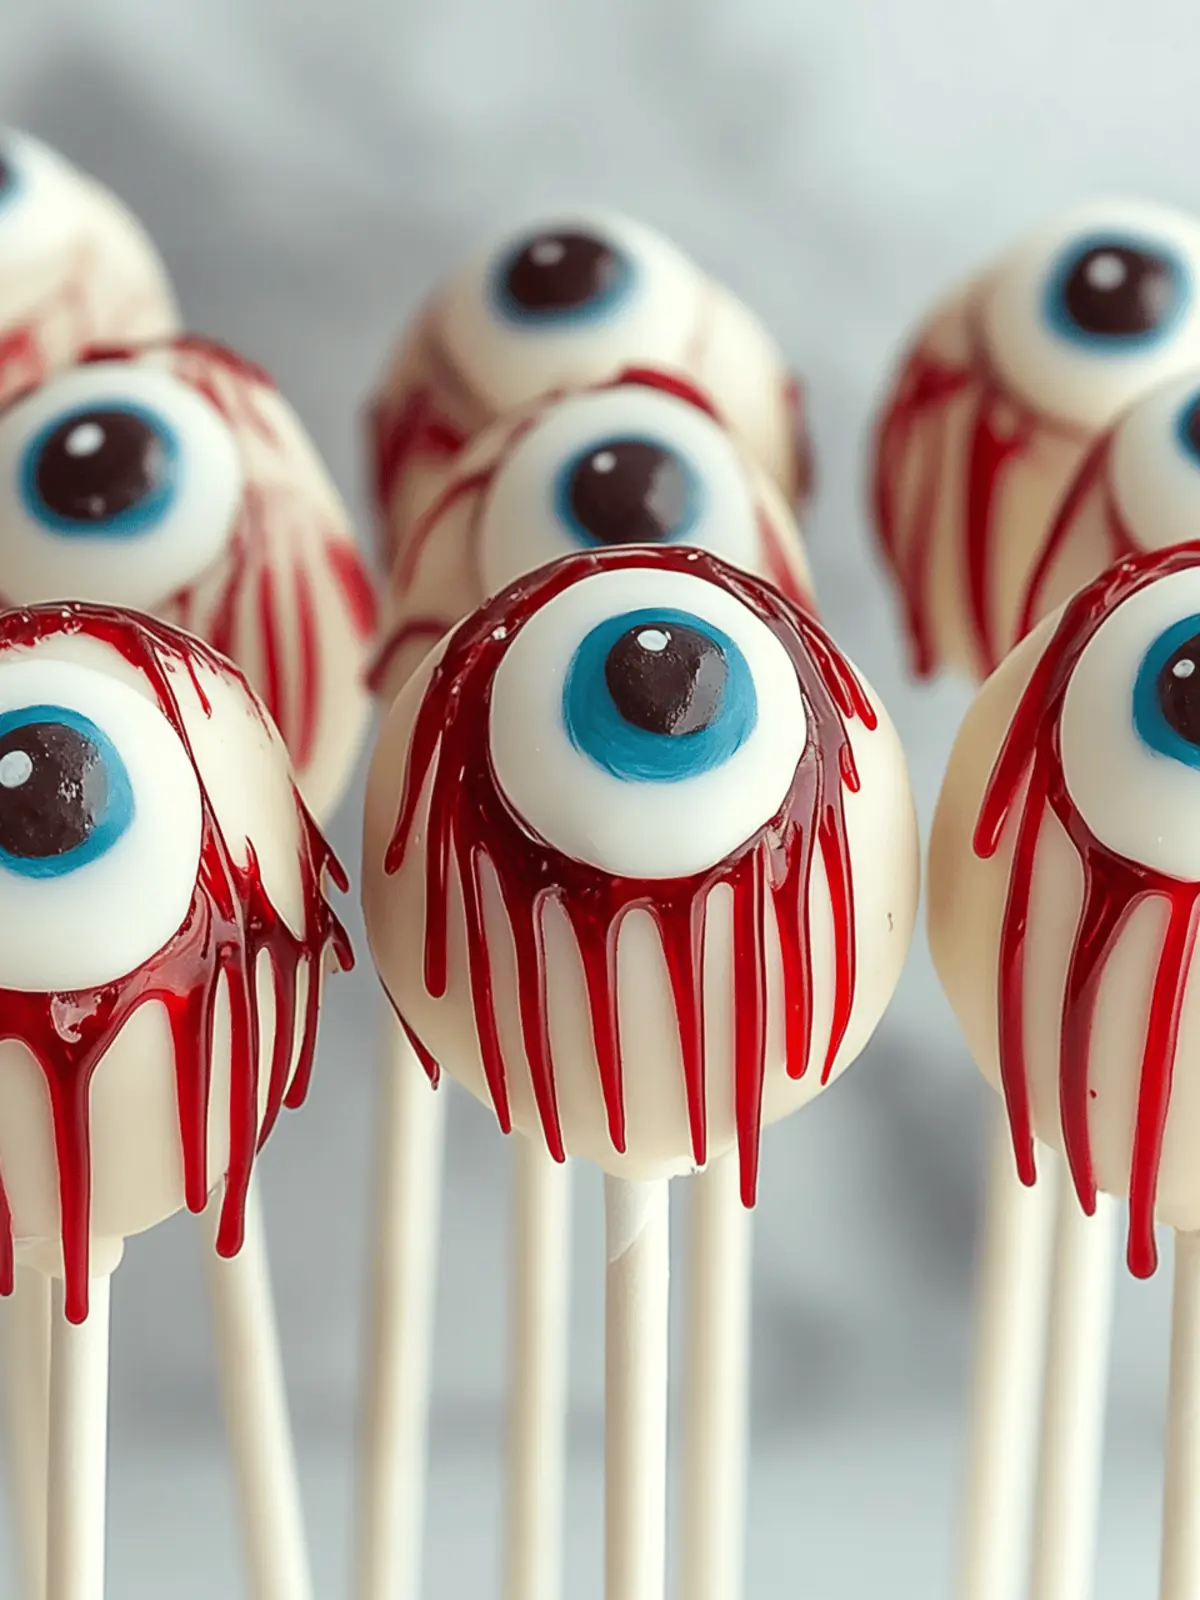
As October rolls in and the air turns crisp, it’s that time of year when creativity in the kitchen takes center stage. I recently unearthed a festive idea that perfectly marries fun and fright: Eyeball Cake Pops! These whimsical treats are not just cakes on a stick; they’re a delightful centerpiece for any Halloween gathering, filled with rich flavors and a touch of ghoulish charm.
Imagine the delighted squeals of children and the amused laughter of your guests as they spot these spooky delights. They’re incredibly easy to make—no baking degree required! Whether you’re a seasoned baker or a novice looking to impress, each bite offers a thrilling combination of moist cake and rich chocolate coating, all while embodying a playful spirit that captures the essence of Halloween. So, roll up your sleeves, grab your favorite cake mix, and let’s turn some simple ingredients into a hauntingly delicious masterpiece that will make your celebration unforgettable!
Why will you love Eyeball Cake Pops?
Festive and Fun: These Eyeball Cake Pops are a whimsical addition to any Halloween celebration, bringing a playful yet spooktacular touch that kids and adults will adore.
Easy to Create: No need for intricate baking skills; the simple process makes them perfect for both experienced bakers and beginners alike.
Deliciously Versatile: Customize the flavor with different cake mixes and frosting combinations, allowing you to adapt these treats to your taste!
Impressive Presentation: Their unique design not only catches the eye but also sparks conversations, making them an instant hit at parties.
Crowd-Pleasing Treats: Whether for a Halloween party, school event, or festive gathering, these cake pops are sure to be a favorite among guests.
Eyeball Cake Pop Ingredients
• Create your spooky treats with these simple ingredients!
For the Cake Mix
- Cake Mix – The foundation flavor of your Eyeball Cake Pops; choose chocolate for a rich taste or vanilla for a neutral base.
- Eggs – Adds moisture and binds the ingredients together; typically, you’ll need 2-3, depending on the mix.
- Water or Milk – Provides the necessary liquid for the cake mix; milk can add richness to the flavor.
For the Frosting
- Frosting – This binds the crumbled cake and adds sweetness; chocolate or cream cheese varieties work beautifully.
For the Chocolate Coating
- Chocolate Melts – Use dark, milk, or white chocolate for the outer shell; white chocolate can be dyed for a spooky effect.
For the Spooky Decorations
- Candy Eyes – Essential for turning your cake pops into creepy eyeballs; find various sizes for added fun!
- Red Icing – Use to create a “bloodshot” effect for your spooky eyeballs; just a drizzle adds character.
- Sprinkles or Edible Glitter – Optional for extra flair; fun colored sprinkles can give your pops a delightful touch.
With these ingredients, you’re ready to whip up some Eyeball Cake Pops that will not only look frightfully festive but also taste delicious!
How to Make Eyeball Cake Pops
-
Bake the Cake: Start by preparing the cake mix according to the package instructions, then let it cool completely. This step is crucial, as we need a nice, sturdy base for our cake pops!
-
Crumble the Cake: Once the cake has cooled, crumple it into a large bowl. Mix in the frosting until fully combined, creating a moist dough-like texture that holds together well.
-
Shape Pops: With clean hands, form the mixture into equal-sized balls (about the size of a golf ball) and place them on a baking sheet lined with parchment paper.
-
Chill: Pop the baking sheet into the refrigerator for about 30 minutes; this will ensure the cake pops firm up for easier coating.
-
Coat Pops: Melt your chocolate coating in the microwave until smooth. Dip each chilled pop into the melted chocolate, making sure they are fully covered. Tap gently to remove excess coating.
-
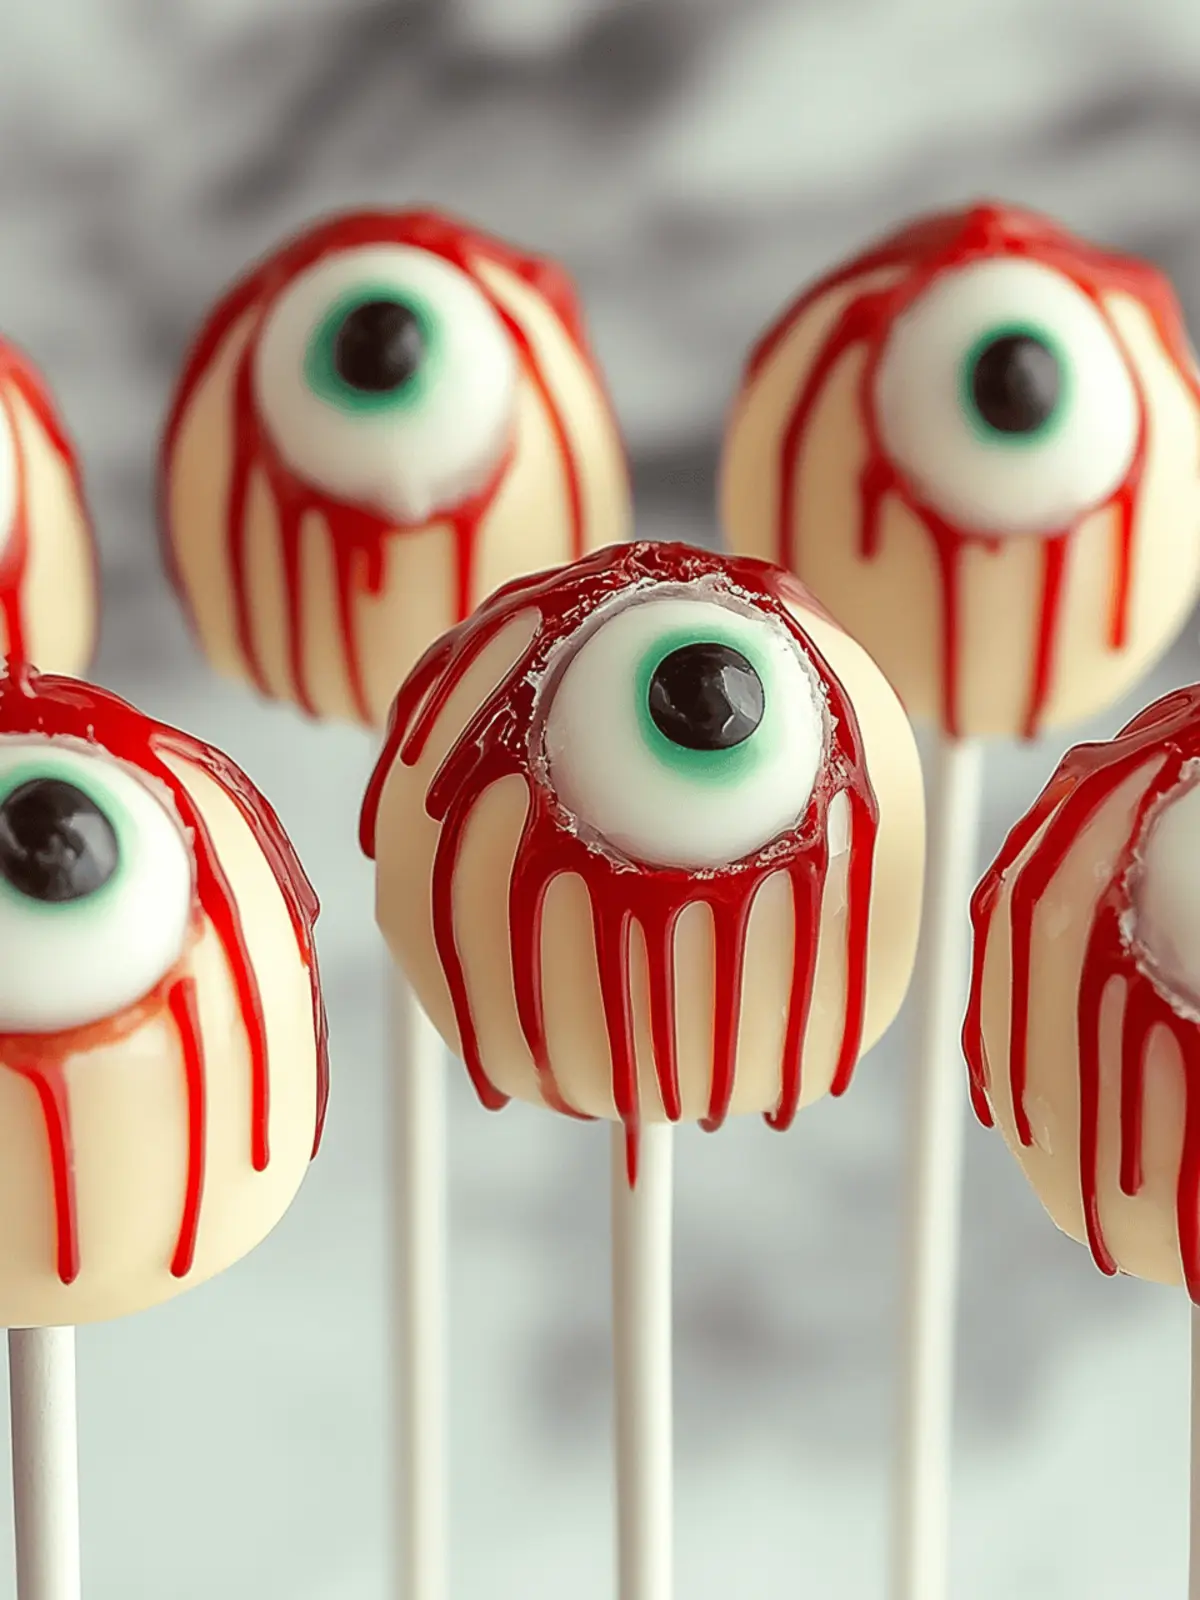
Decorate: While the chocolate is still wet, attach the candy eyes to each pop to transform them into eyeballs! Use red icing to create fun bloodshot effects if you’d like.
-
Set: Place the decorated pops upright in a styrofoam block or a cupcake holder until the chocolate sets completely.
Optional: Consider adding a sprinkle of edible glitter for an extra spooky touch!
Exact quantities are listed in the recipe card below.
Storage Tips for Eyeball Cake Pops
Fridge: Store your Eyeball Cake Pops in an airtight container in the refrigerator for up to one week to keep them fresh and delicious.
Freezer: For longer storage, freeze your cake pops in a single layer on a baking sheet, then transfer them to an airtight container, where they can last up to 3 months.
Thawing: When ready to enjoy, let the frozen cake pops thaw in the refrigerator for a few hours before serving—this helps maintain their texture and flavor.
Reheating: If desired, briefly microwave the pops for about 10-15 seconds to refresh their chocolate coating, but avoid overheating to prevent melting.
Make Ahead Options
These Eyeball Cake Pops are perfect for busy home cooks looking to save time! You can prep the cake mixture up to 24 hours in advance by crumbling the cooled cake and mixing it with frosting. Once shaped into balls, simply cover them in plastic wrap and refrigerate until you’re ready to coat. Alternatively, you can fully prepare the cake pops and refrigerate them for up to 3 days before serving. Just remember to keep them in an airtight container to maintain freshness. When you’re ready to serve, dip in melted chocolate and add your spooky decorations—your guests will be thrilled with these delightful treats, just as fresh and delicious as if they’d been made that day!
What to Serve with Eyeball Cake Pops?
These delightful treats are perfect companions for creating an enchanting Halloween feast.
-
Spooky Punch: A vivid, colorful drink can enhance the festive atmosphere while providing a refreshment that keeps guests cool and energized.
-
Mini Hot Dogs Wrapped in Puff Pastry: These bite-sized treats are both adorable and delicious, complementing the fun spirit of the eyeball cake pops.
-
Pumpkin Soup: The creamy, warm richness of pumpkin soup balances the sweetness of cake pops, providing a comforting contrast that enhances flavors.
Transform dinner into a thrilling experience by serving your pops alongside a festive charcuterie board full of Halloween-themed goodies. It creates a delightful visual display and offers a variety of textures and tastes!
-
Ghostly Cheese Platter: Arrange ghost-shaped cheese cuts paired with eerie crackers to tantalize your guests’ taste buds while adding to the spooky decor.
-
Witch’s Brew Salad: A vibrant green salad topped with edible flowers will not only look stunning beside the dessert but also bring freshness to the table.
-
Chocolate Milk Shakes: These rich, creamy shakes are comforting and kids’ favorites, creating a harmonious balance with your spooky treats, leaving everyone in Halloween bliss!
Expert Tips for Eyeball Cake Pops
-
Quality Ingredients: Use a good quality cake mix and frosting for richer flavor and better texture; don’t skimp on these basics.
-
Cool Cake First: Make sure the cake cools completely before crumbling; warm cake can cause your frosting to melt, making it difficult to form pops.
-
Chill for Success: Don’t skip the chilling step; it makes a world of difference by ensuring your Eyeball Cake Pops maintain their shape during coating.
-
Melt Chocolate Carefully: When melting your chocolate, do it in intervals to prevent burning; smooth and tempered chocolate will provide a lovely coating.
-
Decorate Quickly: Add candy eyes and other decorations while the chocolate is still wet; this ensures everything sticks properly for stunning Eyeball Cake Pops.
Variations & Substitutions for Eyeball Cake Pops
Feel free to unleash your creativity and customize these spooky delights to suit your taste and occasion!
-
Pumpkin Spice Cake: Swap out the traditional cake mix for a pumpkin spice cake to capture the essence of fall. Combined with cream cheese frosting, it creates a deliciously festive flavor!
-
Gluten-Free Option: Use a gluten-free cake mix to ensure everyone can indulge in these treats, making them suitable for guests with dietary restrictions.
-
Chocolate Coating Variety: Choose colored candy melts instead of traditional chocolate for a fun twist! Think green for Frankenstein or orange for Halloween spirit.
-
Fillings Galore: Add a chocolate or caramel center by molding the cake pops around a small chocolate truffle. Surprise your guests with delightful flavors in every bite!
-
Dairy-Free Delight: Use dairy-free chocolate and frosting to accommodate lactose intolerant friends. Your spooky cake pops can still be creamy and delicious without animal products!
-
Added Crunch: Incorporate crushed cookie crumbs or nuts into the cake mix for added texture. This twist creates a delightful crunch that complements the moist cake.
-
Ghostly Meringue Topping: Instead of chocolate, use whipped meringue for a light, airy topping—ideal for those who prefer a less rich option. Decorate with candy eyes for a ghostly vibe!
-
Spicy Eyeball Pops: For a kick, use flavored chocolate such as chili chocolate for the coating. It adds an enjoyable zing that balances the sweetness for adventurous eaters!
Eyeball Cake Pops Recipe FAQs
How do I select the best cake mix for my Eyeball Cake Pops?
Absolutely! Whether you choose chocolate or vanilla, ensure the cake mix is fresh. Look for a sell-by date on the box and opt for one that has a simple ingredients list for the best taste. For an extra festive touch, you can even use a pumpkin spice cake mix for a seasonal twist!
How do I store my Eyeball Cake Pops and how long do they last?
You can store your Eyeball Cake Pops in an airtight container in the refrigerator for up to one week. This keeps them fresh and ready for snacking! If you want to make them ahead of time, freeze them in a single layer on a baking sheet before transferring to an airtight container, where they will last for up to 3 months.
Can I freeze Eyeball Cake Pops and how do I do it?
Of course! To freeze your Eyeball Cake Pops, place them in a single layer on a lined baking sheet and freeze until solid, about 1-2 hours. Once frozen, prepare an airtight container, and layer the pops carefully with parchment paper between each layer to prevent sticking. When you’re ready to eat them, simply transfer them to the fridge for a few hours to thaw.
What should I do if my cake pops are falling apart?
If your cake pops are falling apart, don’t worry! It generally means the mix is too dry or crumbly. Make sure you’re mixing the crumbled cake and frosting thoroughly until a dough-like consistency forms. If they still seem too dry, you can add a little extra frosting, a tablespoon at a time, mixing until they hold together well.
Are Eyeball Cake Pops safe for pets?
Very! While the ingredients used for Eyeball Cake Pops are safe for humans, it’s best to avoid sharing them with pets, particularly due to the high sugar content from frosting and chocolate. Always keep sweet treats out of their reach, and consider making them a pet-friendly treat if you want to include them in your baking fun!
What are some common allergies to consider when making Eyeball Cake Pops?
When preparing Eyeball Cake Pops, be mindful of common allergens like gluten, dairy, and eggs. You can use gluten-free cake mixes and dairy-free frosting alternatives to accommodate those with sensitivities. Always check ingredient labels to ensure they meet dietary needs, and consider replacements that work well to maintain both flavor and texture!
Eyeball Cake Pops That'll Spook Your Halloween Party Fun
Ingredients
Equipment
Method
- Bake the Cake: Prepare the cake mix according to package instructions, then let it cool completely.
- Crumble the Cake: Once cooled, crumble it into a large bowl and mix in the frosting until fully combined.
- Shape Pops: Form the mixture into balls about the size of a golf ball and place them on a baking sheet lined with parchment paper.
- Chill: Refrigerate for about 30 minutes to firm up the cake pops.
- Coat Pops: Melt the chocolate coating in the microwave until smooth, then dip each chilled pop into it.
- Decorate: Attach candy eyes to each pop while the chocolate is still wet, and use red icing for bloodshot effects.
- Set: Place the decorated pops upright in a styrofoam block or cupcake holder until the chocolate sets.

