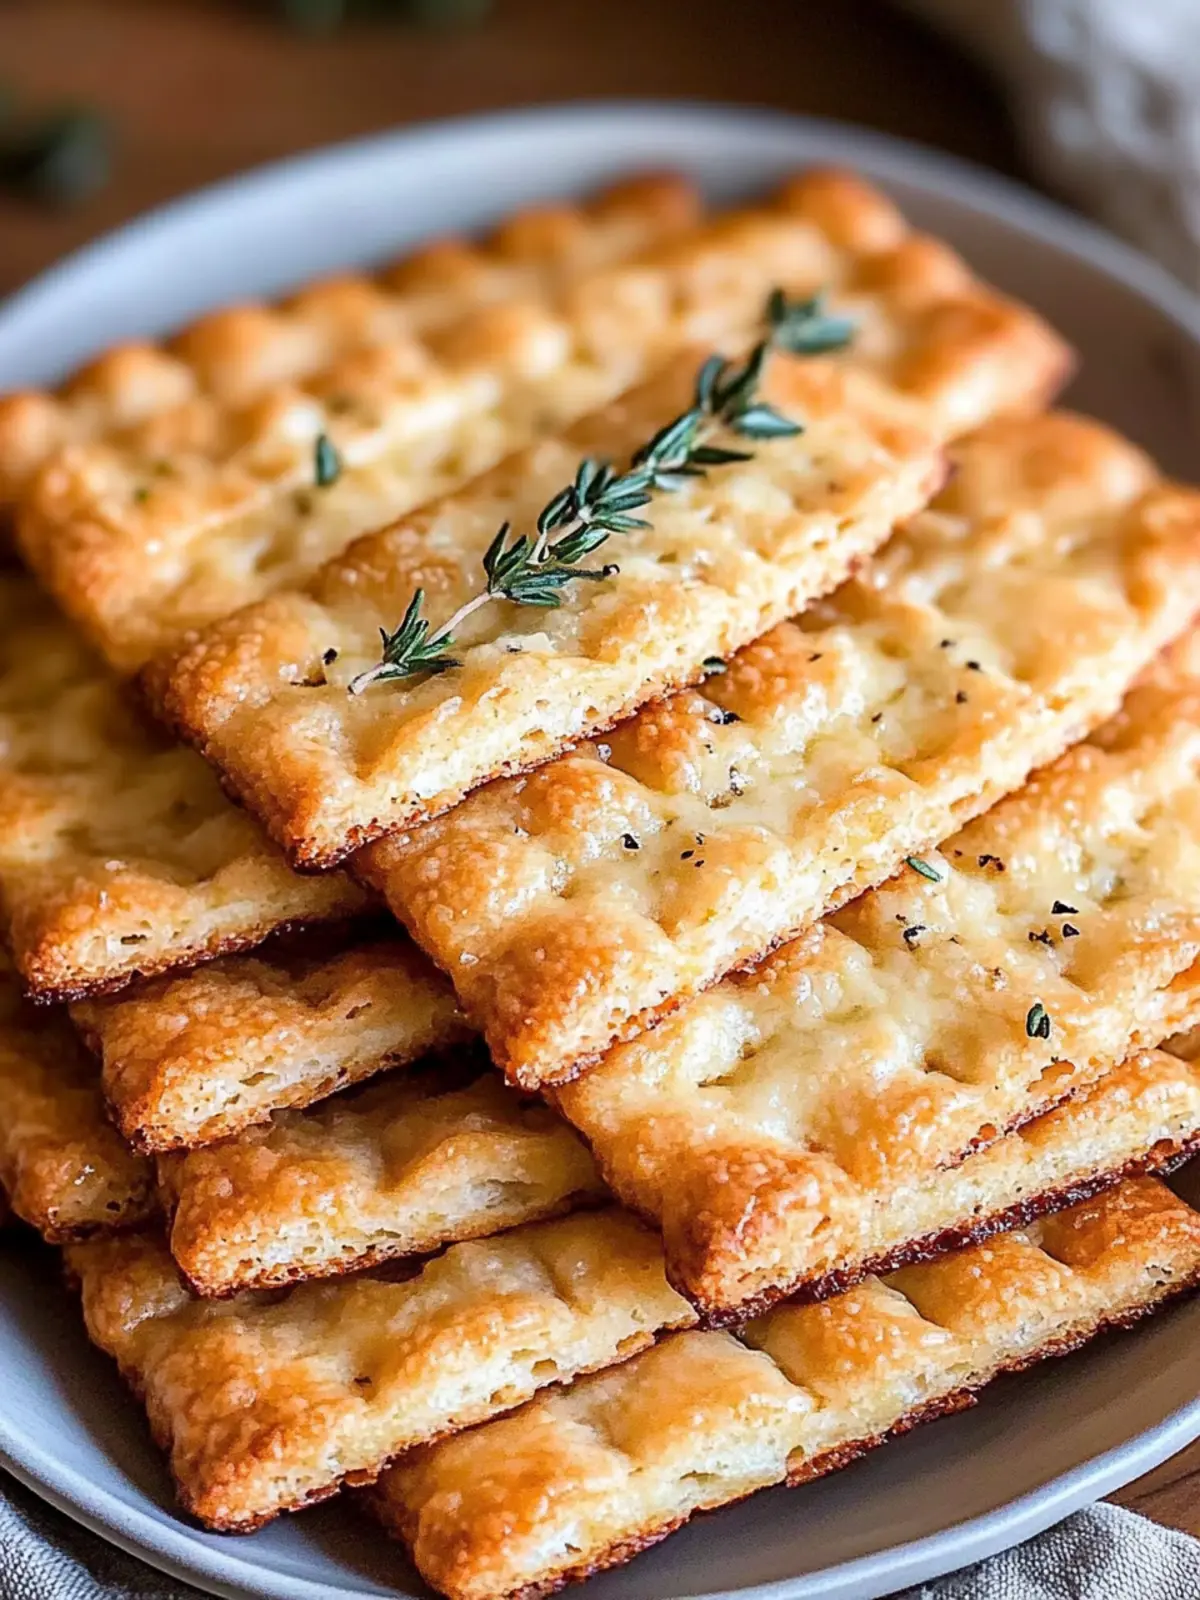
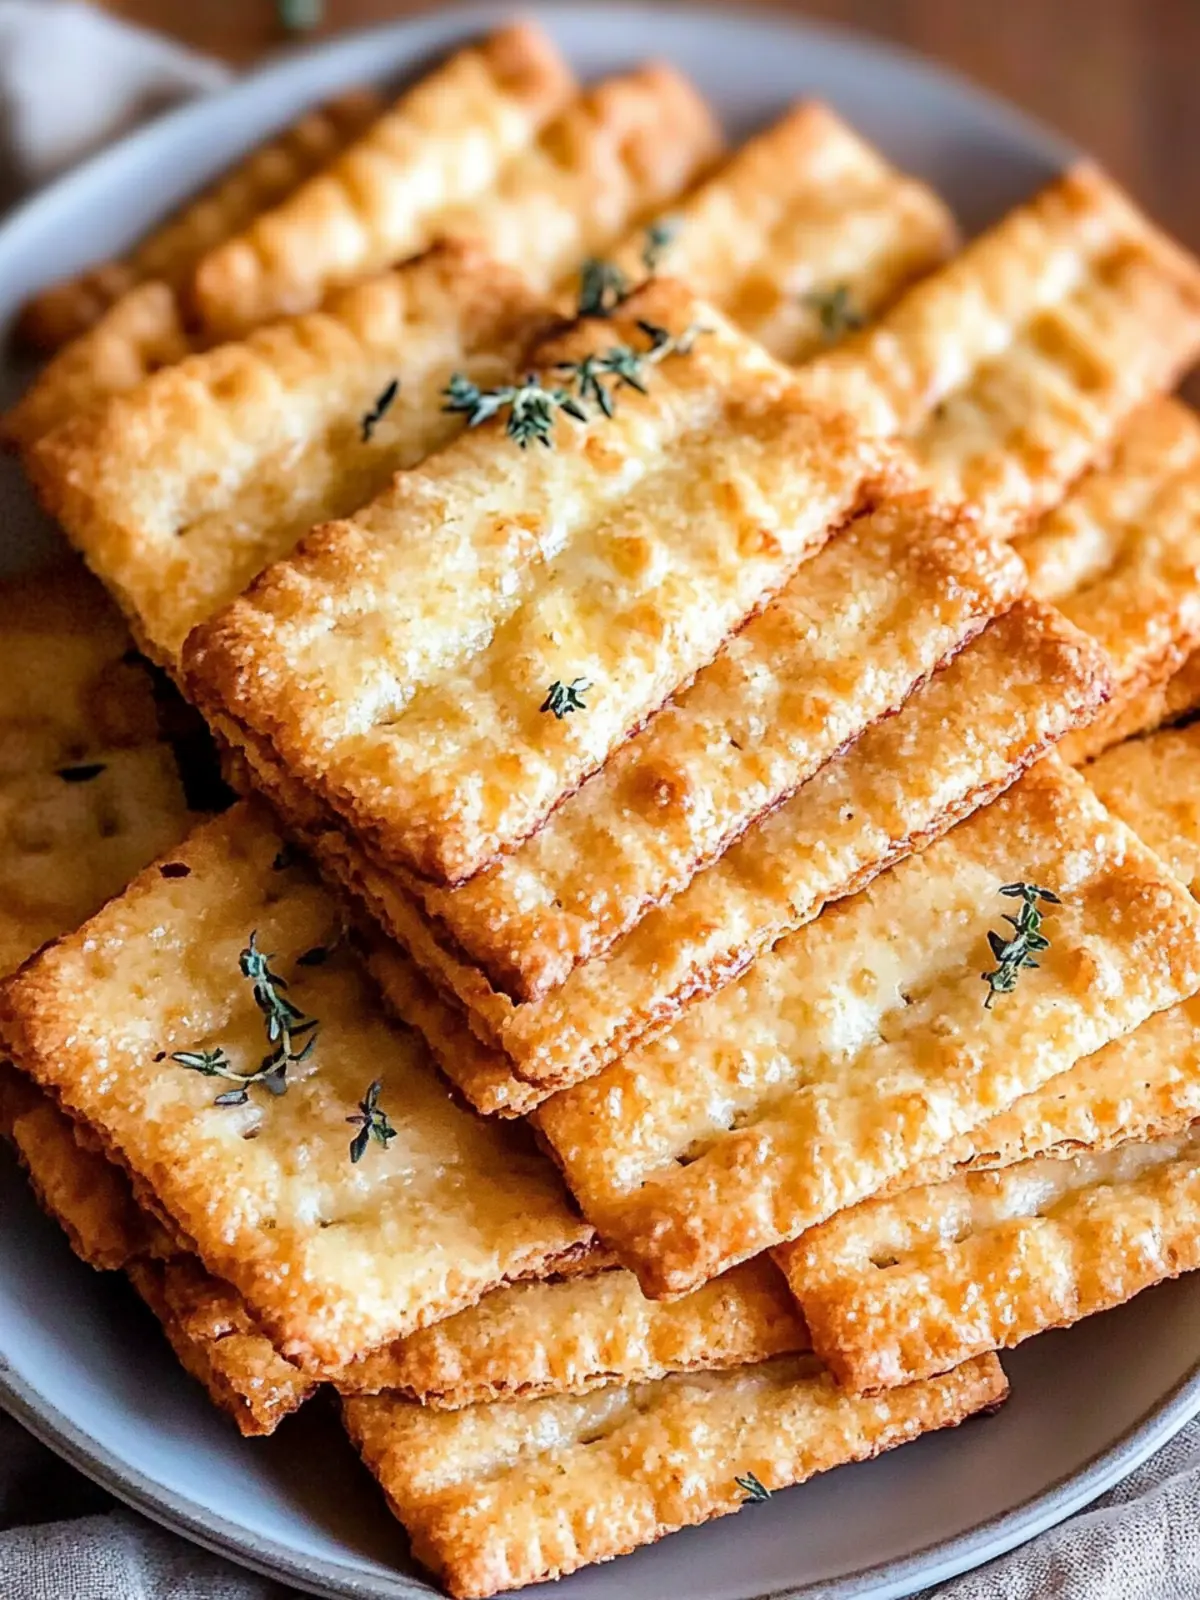
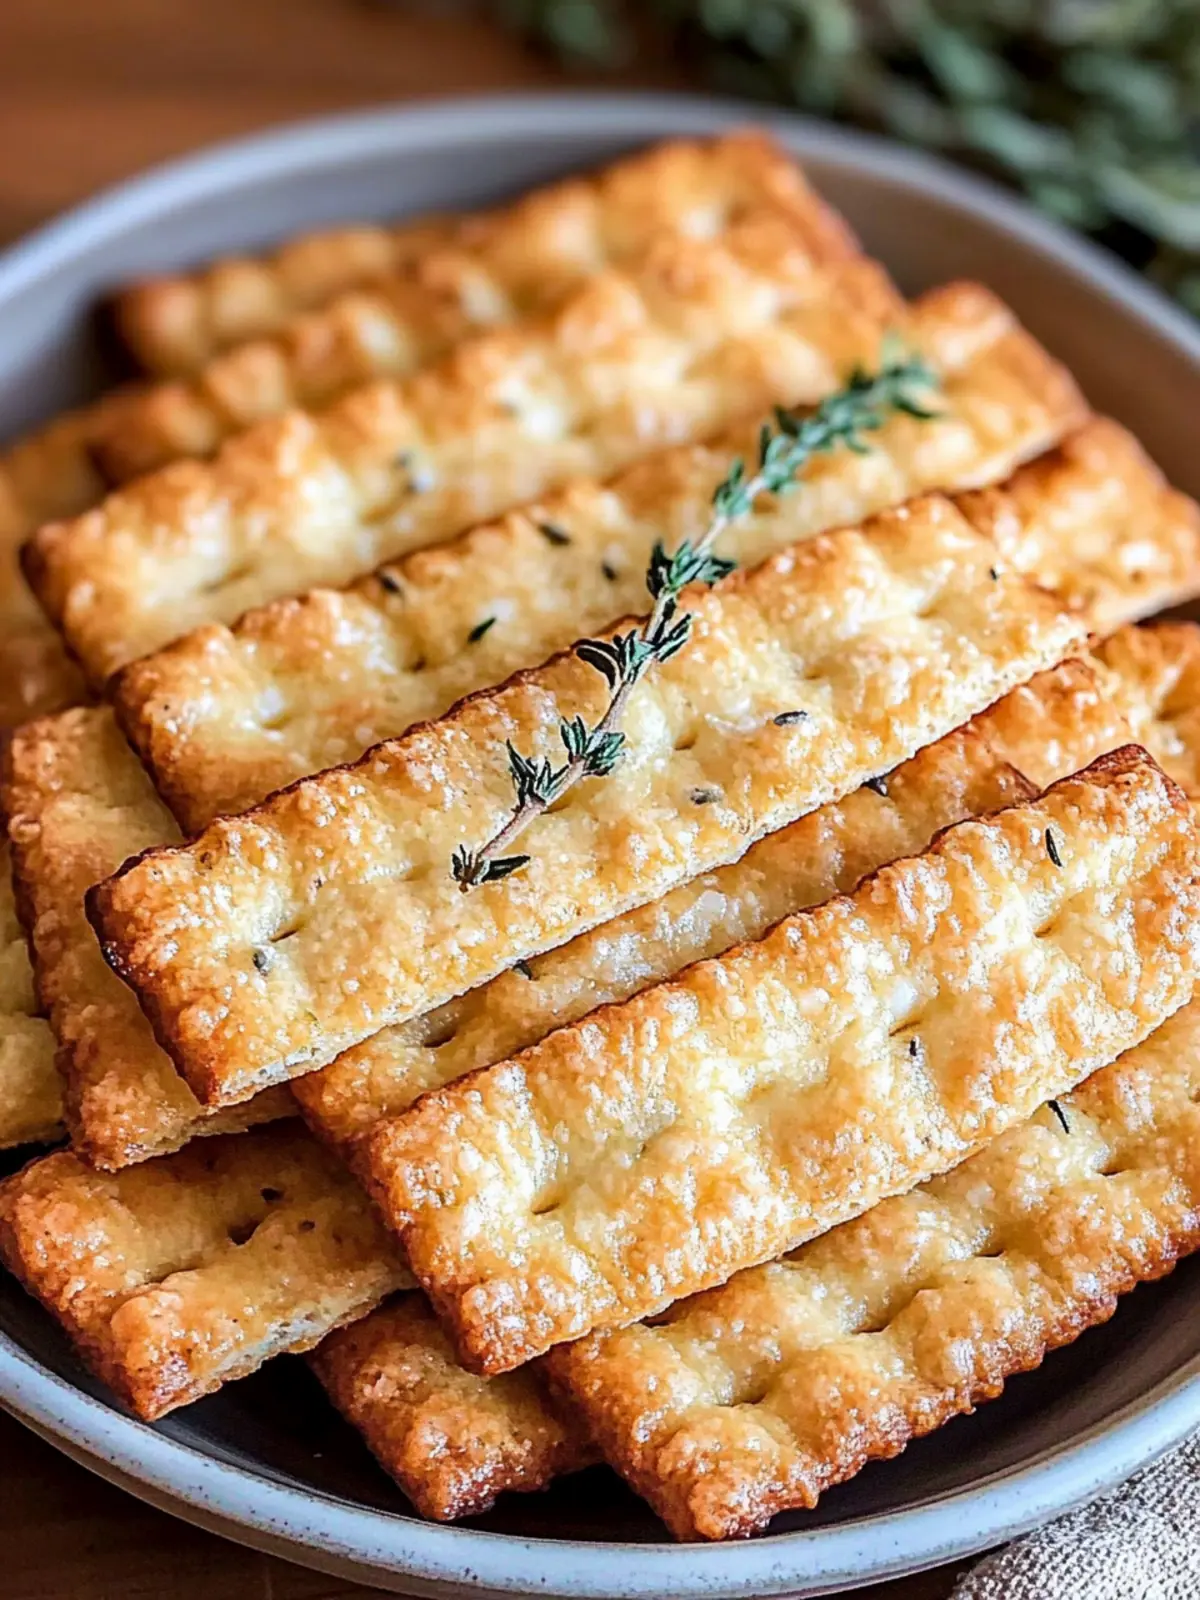
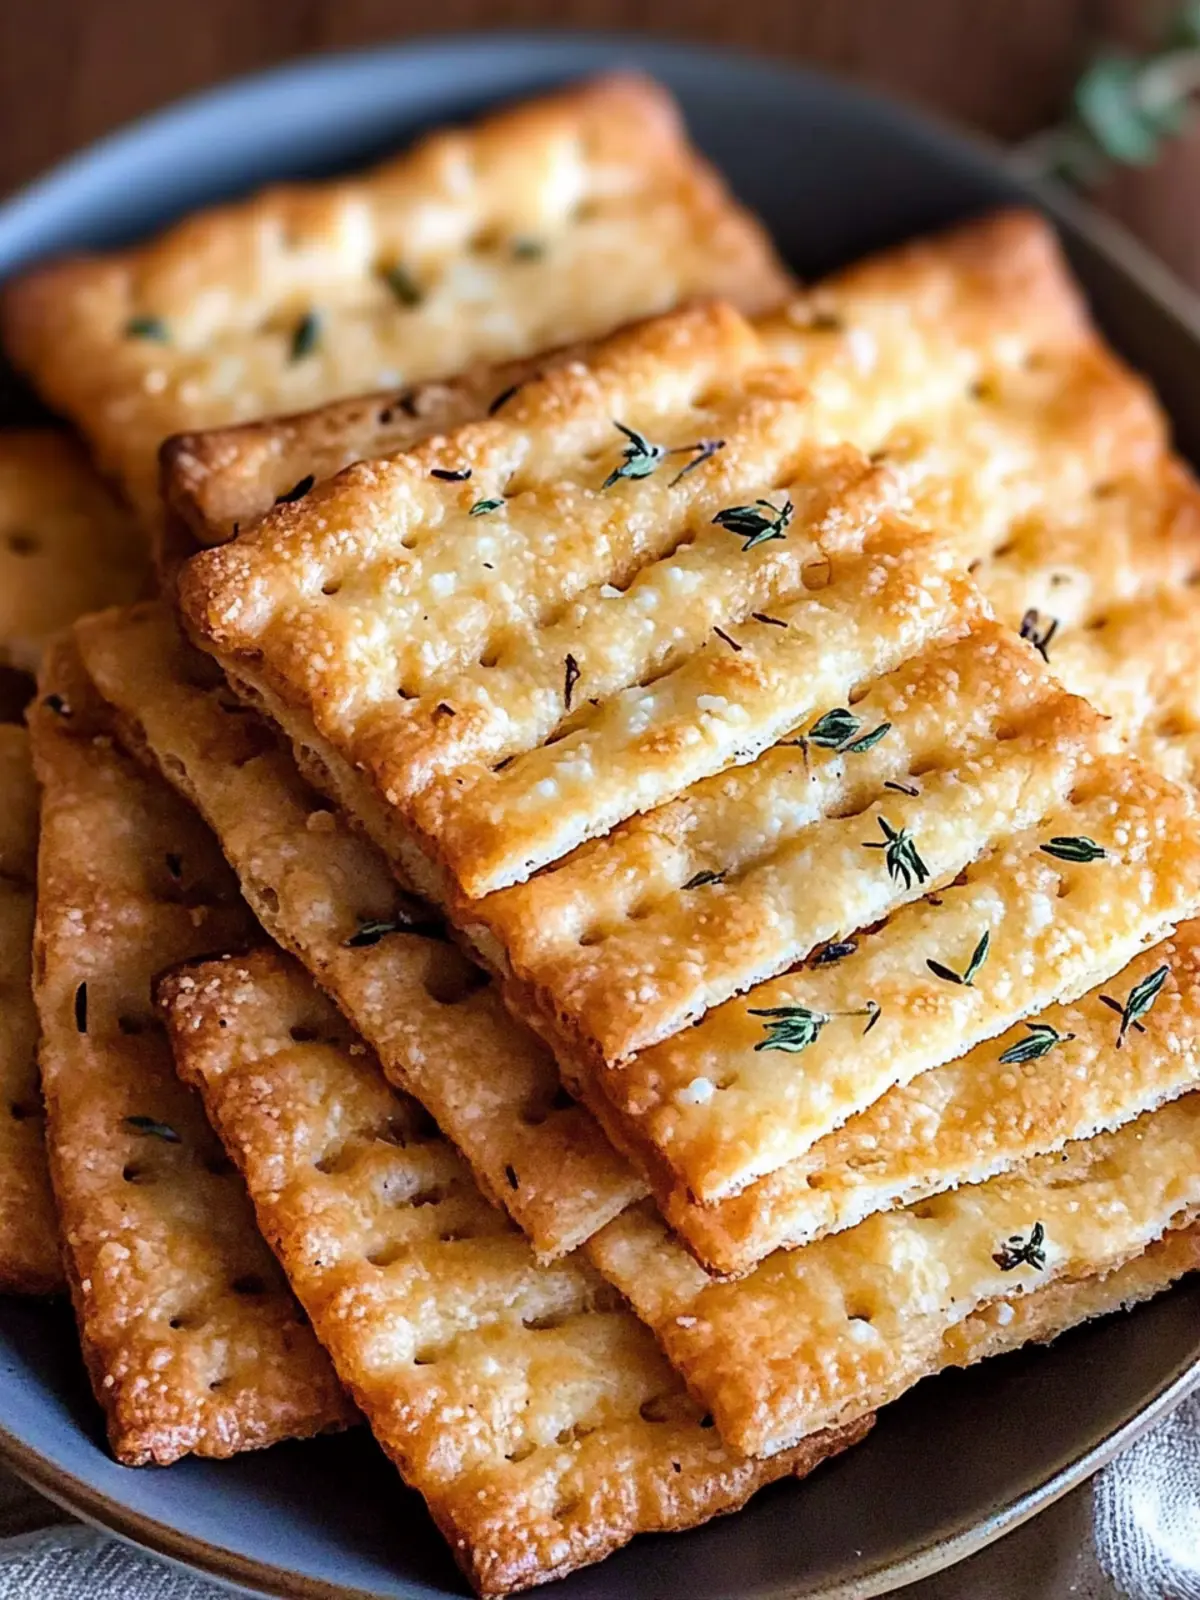
There’s something undeniably comforting about the sound of a fresh batch of homemade cheese crackers crisping up in the oven. Just the thought of those golden, buttery bites is enough to make anyone’s mouth water. After a busy day, whipping up these irresistible snacks is not only a delightful escape but also an excellent way to impress friends and family during game night or a cozy gathering. Plus, the beautiful thing about this recipe is its versatility – mix and match your favorite cheeses and seasonings to create the perfect flavor profiles that cater to everyone’s taste.
Imagine pulling a tray of warm, cheesy goodness out of the oven, each cracker perfectly crisp and bursting with flavor. Whether you’re a self-proclaimed cheese lover or simply seeking a satisfying alternative to fast food snacking, these homemade cheese crackers will soon become your go-to treat. And the best part? They can easily be tailored to fit gluten-free diets, making them accessible to all! Let’s dive into this easy recipe that will elevate your snacking to a whole new level!
Why are Homemade Cheese Crackers a Must-Try?
Irresistible Crunch: These cheese crackers achieve that perfect crispy texture, making them a delight with every bite.
Flavor Flexibility: Customize them by using different cheeses or adding herbs and spices to suit your palate.
Quick and Easy: With only a handful of ingredients and simple steps, you can whip these up in no time!
Versatile Pairing: Enjoy them standalone or as a companion to dips and charcuterie boards.
Healthy Alternative: Ditch processed snacks for these homemade goodies, which can easily be made gluten-free.
Crowd-Pleaser: Perfect for parties, game nights, or quiet evenings at home—everyone will love them!
Homemade Cheese Crackers Ingredients
For the Dough
- All-Purpose Flour – Provides structure for the crackers; substitute with gluten-free all-purpose flour for a gluten-free version.
- Salt – Enhances flavor; adjust according to taste or use a finer salt for a smoother flavor.
- Sharp Cheddar Cheese – Adds rich flavors; can substitute with gouda or parmesan for different cheeses.
- Unsalted Butter – Brings richness and moisture to the dough; use cold cubed butter for best texture.
- Cold Water – Helps form a cohesive dough; add gradually until the dough holds together without being sticky.
For Extra Flavor
- Cayenne Pepper (optional) – Adds a spicy kick; omit for a milder flavor or adjust the amount according to spice preference.
- Optional Herbs (e.g., rosemary, thyme) – For added flavor and aroma; experiment with fresh or dried herbs.
These homemade cheese crackers are not just a treat but an adventure in flavor and texture—perfect for any occasion!
How to Make Homemade Cheese Crackers
-
Preheat Oven: Set your oven to 350°F (175°C) before starting, ensuring your cheese crackers bake to a perfect golden brown.
-
Mix Dry Ingredients: In a large bowl, whisk together the all-purpose flour and salt. This step is vital for evenly distributing flavors throughout your crackers.
-
Combine Cheese and Butter: Add the sharp cheddar cheese to the flour mixture, then incorporate cold cubed unsalted butter. Stir until the mix resembles coarse crumbs, creating a rich dough.
-
Add Water: Gradually mix in cold water, one tablespoon at a time, until your dough forms a cohesive ball without being sticky. You want it manageable but firm.
-
Roll Dough: On a lightly floured surface, roll your dough out to about 1/8 inch thickness. This helps achieve that ever-so-crisp texture; cut into your desired shapes.
-
Bake: Lay the shaped crackers on a parchment-lined baking sheet and bake for 15-20 minutes. Watch closely until they turn golden brown to avoid any burning.
-
Cool and Store: Once baked, allow the crackers to cool slightly on the sheet before transferring them to a wire rack. Store in an airtight container at room temperature for maximum freshness.
Optional: Add a sprinkle of coarse sea salt on top before baking for an extra flavor boost.
Exact quantities are listed in the recipe card below.
Storage Tips for Homemade Cheese Crackers
Room Temperature: Store the crackers in an airtight container at room temperature for up to 1 week to keep them crunchy and fresh.
Freezer: For longer storage, freeze the crackers in a single layer, then transfer them to a resealable bag. They will last up to 2 months in the freezer.
Reheating: To refresh your homemade cheese crackers, reheat in the oven at 350°F for 5-10 minutes until they regain their crispiness.
Cooling: Ensure the crackers cool completely before storage to prevent moisture buildup, which can make them lose their delightful crunch.
Homemade Cheese Crackers Variations
Customize your homemade cheese crackers to suit your taste and dietary needs with these fun and flavorful ideas.
-
Gluten-Free: Substitute all-purpose flour with a gluten-free blend for an equally delicious snack. Enjoy the same crunch without the gluten!
-
Cheese Swap: Use gouda for a smoky flavor or pepper jack for a spicy kick. Each cheese brings its unique twist and delight to every bite.
-
Herb-Infused: Add fresh chives or dill for a burst of freshness. Experimenting with different herbs truly elevates the taste!
-
Spicy Kick: Mix in garlic powder or smoked paprika for a flavor explosion. Adjust the amounts according to your heat preference for a personalized touch.
-
Nutty Texture: Incorporate finely chopped nuts like almonds or walnuts for a delightful crunch. This adds not only texture but also a hint of nuttiness to your crackers!
-
Seeds Galore: Sprinkle sesame or sunflower seeds into the dough for an additional layer of flavor and crunch. These little gems make your crackers extra special.
-
Cheesy Topping: Before baking, sprinkle grated parmesan or nutritional yeast on top for an added cheesy layer. This provides extra richness and makes it feel gourmet!
-
Sweet Twist: Add a hint of honey or maple syrup for a sweet-savory combination that pairs beautifully with cheese platters. A touch of sweetness adapts the snack perfectly for varied tastes.
Tips for the Best Homemade Cheese Crackers
- Baking Watch: Keep an eye on the crackers as they bake; they can turn from golden to burnt in moments if left unattended.
- Chill Butter: For the best texture, ensure your unsalted butter is cold and cubed before mixing—it makes all the difference in the crumbly goodness of homemade cheese crackers.
- Enhance Flavor: Consider adding a sprinkle of coarse sea salt or some herbs on top before baking for an extra flavor boost, creating a gourmet experience at home.
- Rolling Technique: Roll the dough evenly to about 1/8 inch thick. Uneven thickness can lead to inconsistent baking results—thinner areas may burn while thicker parts remain undercooked.
- Cooling Time: Allow your crackers to cool completely on a wire rack after baking; this ensures they maintain their crispness and prevents steam from making them soggy.
- Make Ahead: These homemade cheese crackers store well—keep them in an airtight container for up to a week or freeze for longer storage, making them a convenient snack anytime!
What to Serve with Homemade Cheese Crackers?
Elevate your snacking experience by pairing these delightful cheese crackers with delicious accompaniments that complement their crunch and flavor.
- Creamy Hummus: This smooth dip offers a rich contrast to the crispy texture, perfect for a delightful bite.
- Savory Charcuterie Board: Include nuts, cured meats, and olives for a balanced mix of flavors, making your snack time extra special.
- Tangy Salsa: A zesty salsa brings a burst of freshness that pairs wonderfully with the buttery notes of the crackers, lighting up your taste buds.
- Pesto Dip: This herby dip adds a gourmet touch and enhances the cheesy richness while providing a vibrant color to your platter.
- Classic Guacamole: The creaminess of avocados combined with fresh lime makes for a refreshing pairing, enhancing each crunchy bite.
- Simple Cheese Platter: Present your favorite cheeses alongside a few of these homemade cheese crackers for a delightful medley of textures.
- Fresh Veggie Sticks: Carrot and cucumber sticks provide a crisp, refreshing contrast, balancing the rich flavors of your cheese crackers.
- Chilled White Wine: A light, chilled Sauvignon Blanc beautifully complements the flavors, creating a relaxing snacking atmosphere.
- Dark Chocolate Squares: The slight bitterness of dark chocolate pairs surprisingly well with cheesy snacks, turning your snack time into a decadent treat.
- Mixed Berries: Fresh berries bring a sweet and tangy touch that contrasts perfectly with savory bites, making it a colorful addition to your feast.
Make Ahead Options
These homemade cheese crackers are perfect for meal prep enthusiasts! You can prepare the dough up to 24 hours in advance by mixing all the ingredients together, wrapping it tightly in plastic wrap, and refrigerating it. This not only saves you time but helps the flavors meld beautifully for a richer taste. When you’re ready to bake, simply roll out the chilled dough, cut it into shapes, and bake according to the recipe instructions. To maintain their crispness, store baked crackers in an airtight container at room temperature for up to 3 days. With these make-ahead tips, you’ll enjoy fresh-tasting snacks anytime without the last-minute rush!
Homemade Cheese Crackers Recipe FAQs
How do I choose the right cheese for my homemade cheese crackers?
Absolutely! When selecting cheese for your crackers, choose one with a sharp flavor, like sharp cheddar, as it creates a rich taste. Alternatively, you can mix it up with gouda for a creamy touch or even pepper jack for a spicy kick. The key is to use high-quality cheese for the best flavor!
How should I store homemade cheese crackers?
For storing your homemade cheese crackers, keep them in an airtight container at room temperature for up to 1 week. This will help maintain their delightful crunch! If you need longer storage, consider freezing them. Just ensure they cool completely before freezing, then lay them flat in a single layer on a baking sheet until frozen. Transfer to a resealable bag after they’re solid, and they’ll last up to 2 months in the freezer.
Can I make these cheese crackers gluten-free?
Very much so! To make gluten-free homemade cheese crackers, simply substitute the all-purpose flour with a gluten-free all-purpose flour blend. This will provide the structure needed for the dough, and you shouldn’t notice a difference in texture or taste. I often make them this way for friends with dietary restrictions!
What should I do if my dough seems too crumbly?
If your dough is crumbly, don’t worry! Just add a little more cold water, one tablespoon at a time, mixing until it holds together. Make sure you’re not adding too much water at once, as you want the dough to be cohesive and manageable but not sticky. Remember, every flour can absorb water differently, so adjusting is sometimes necessary.
How can I refresh my homemade cheese crackers once they’ve become soft?
To breathe life back into your homemade cheese crackers, preheat your oven to 350°F (175°C). Spread the crackers on a baking sheet in a single layer and bake for 5-10 minutes. This will help restore their crispness and make them as delightful as when they were fresh out of the oven!
Can I add herbs or spices to my homemade cheese crackers?
Absolutely! These cheese crackers are incredibly versatile. You can incorporate dried herbs like rosemary or thyme directly into the dough for a delightful fragrance and flavor. Want some heat? Sprinkle some cayenne pepper into your mix! The more the merrier, so feel free to get creative!

Crunchy Homemade Cheese Crackers You Can’t Resist!
Ingredients
Equipment
Method
- Preheat your oven to 350°F (175°C).
- In a large bowl, whisk together the all-purpose flour and salt.
- Add the sharp cheddar cheese to the flour mixture, then incorporate cold cubed unsalted butter.
- Gradually mix in cold water, one tablespoon at a time, until the dough forms a cohesive ball.
- Roll your dough out to about 1/8 inch thickness on a floured surface.
- Cut into desired shapes and lay them on a parchment-lined baking sheet.
- Bake for 15-20 minutes until golden brown.
- Allow to cool slightly before transferring to a wire rack.


