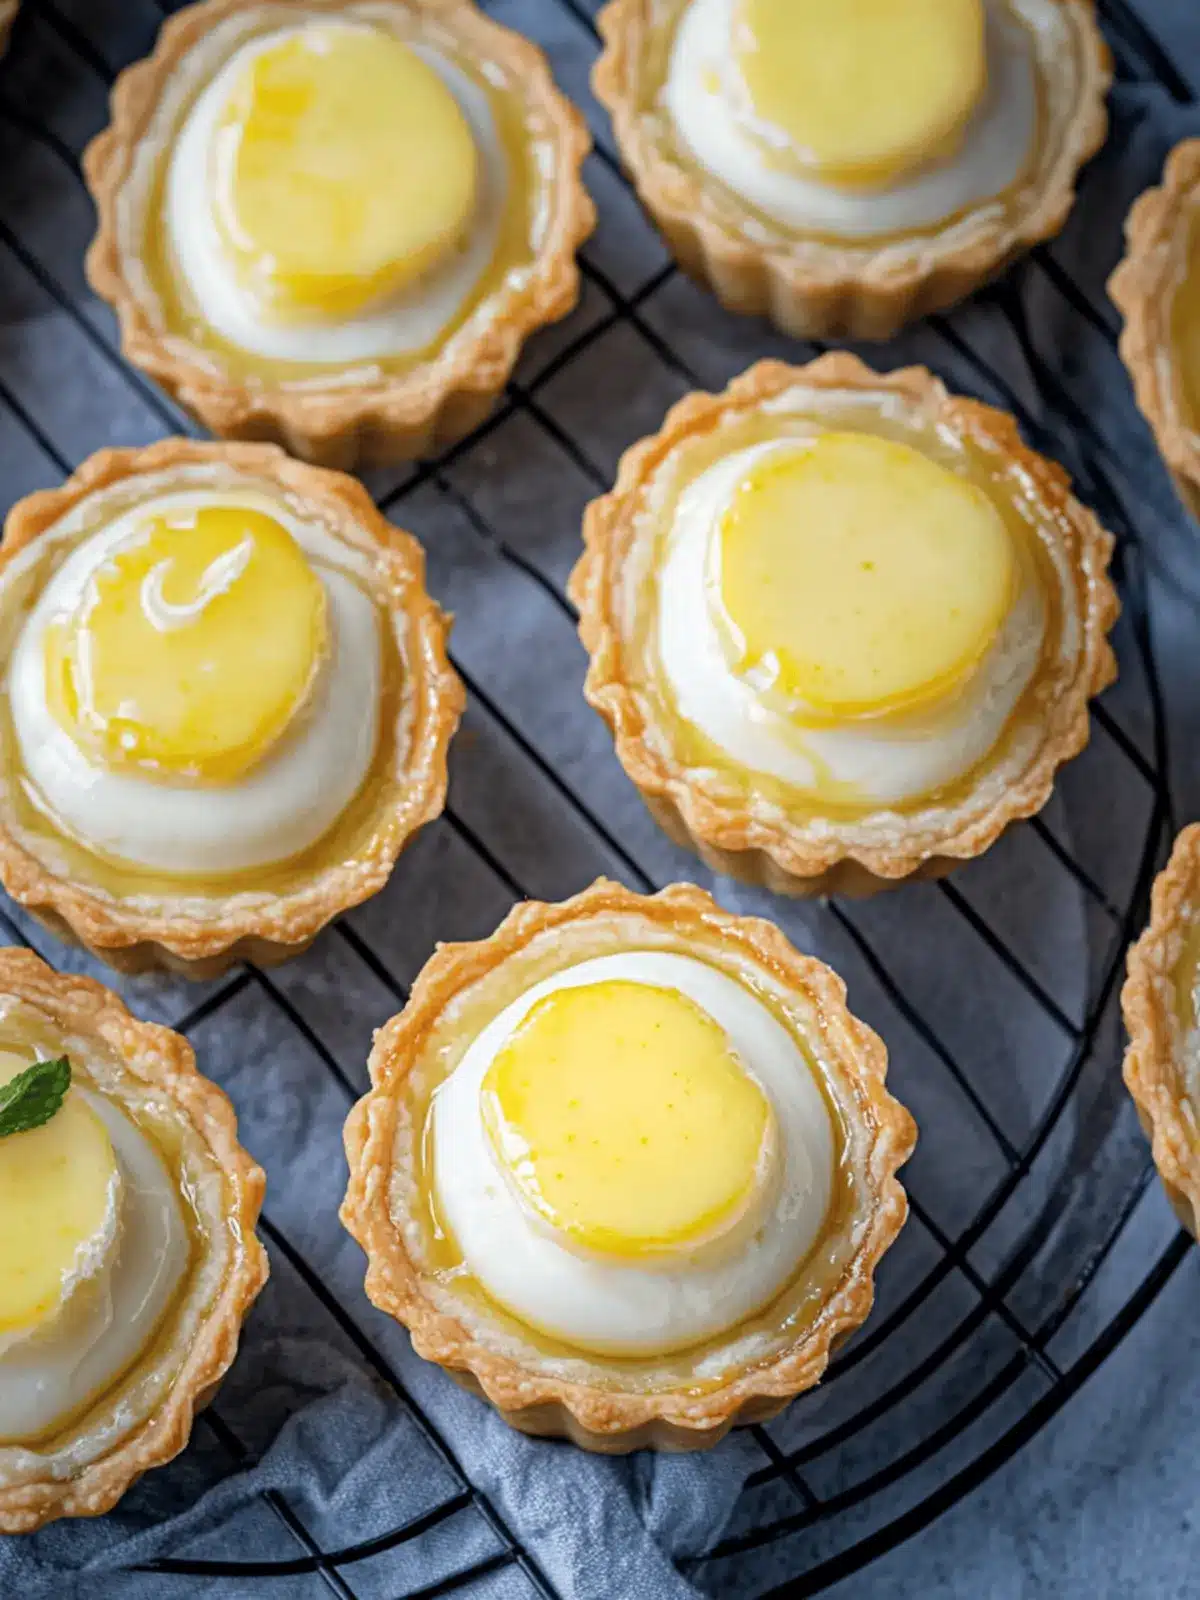
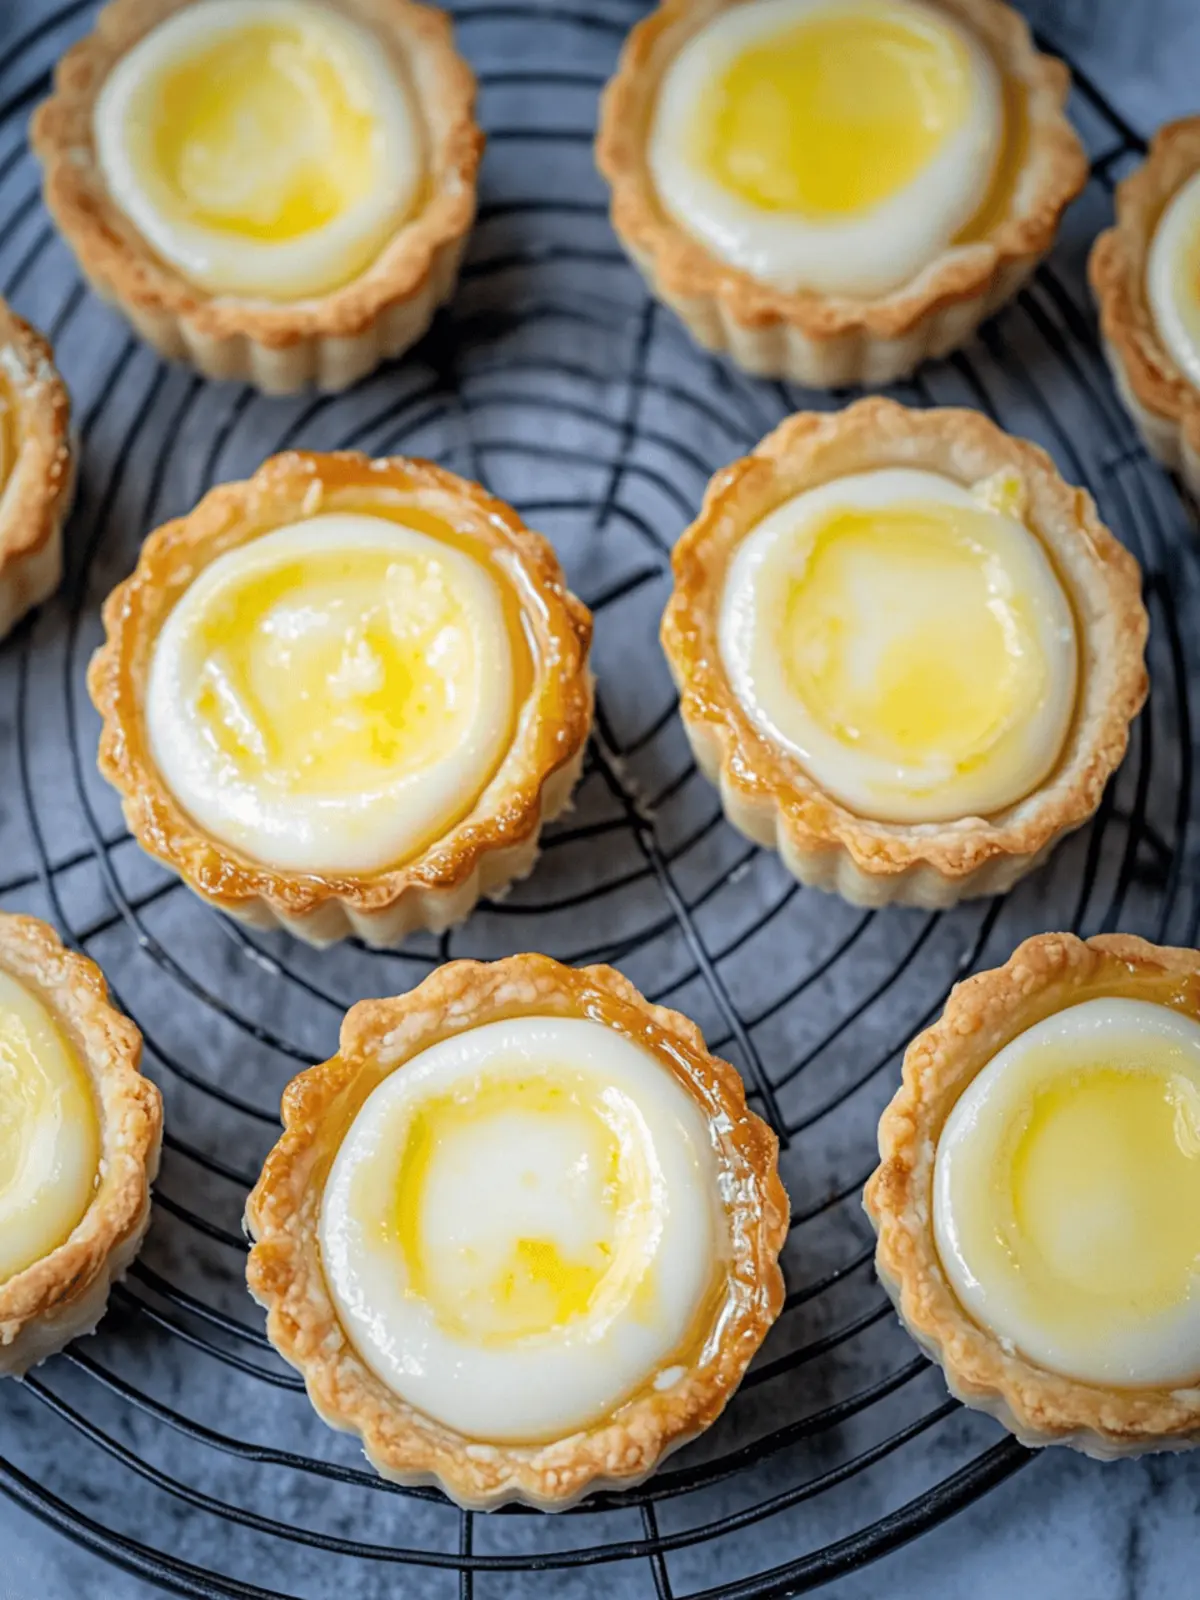
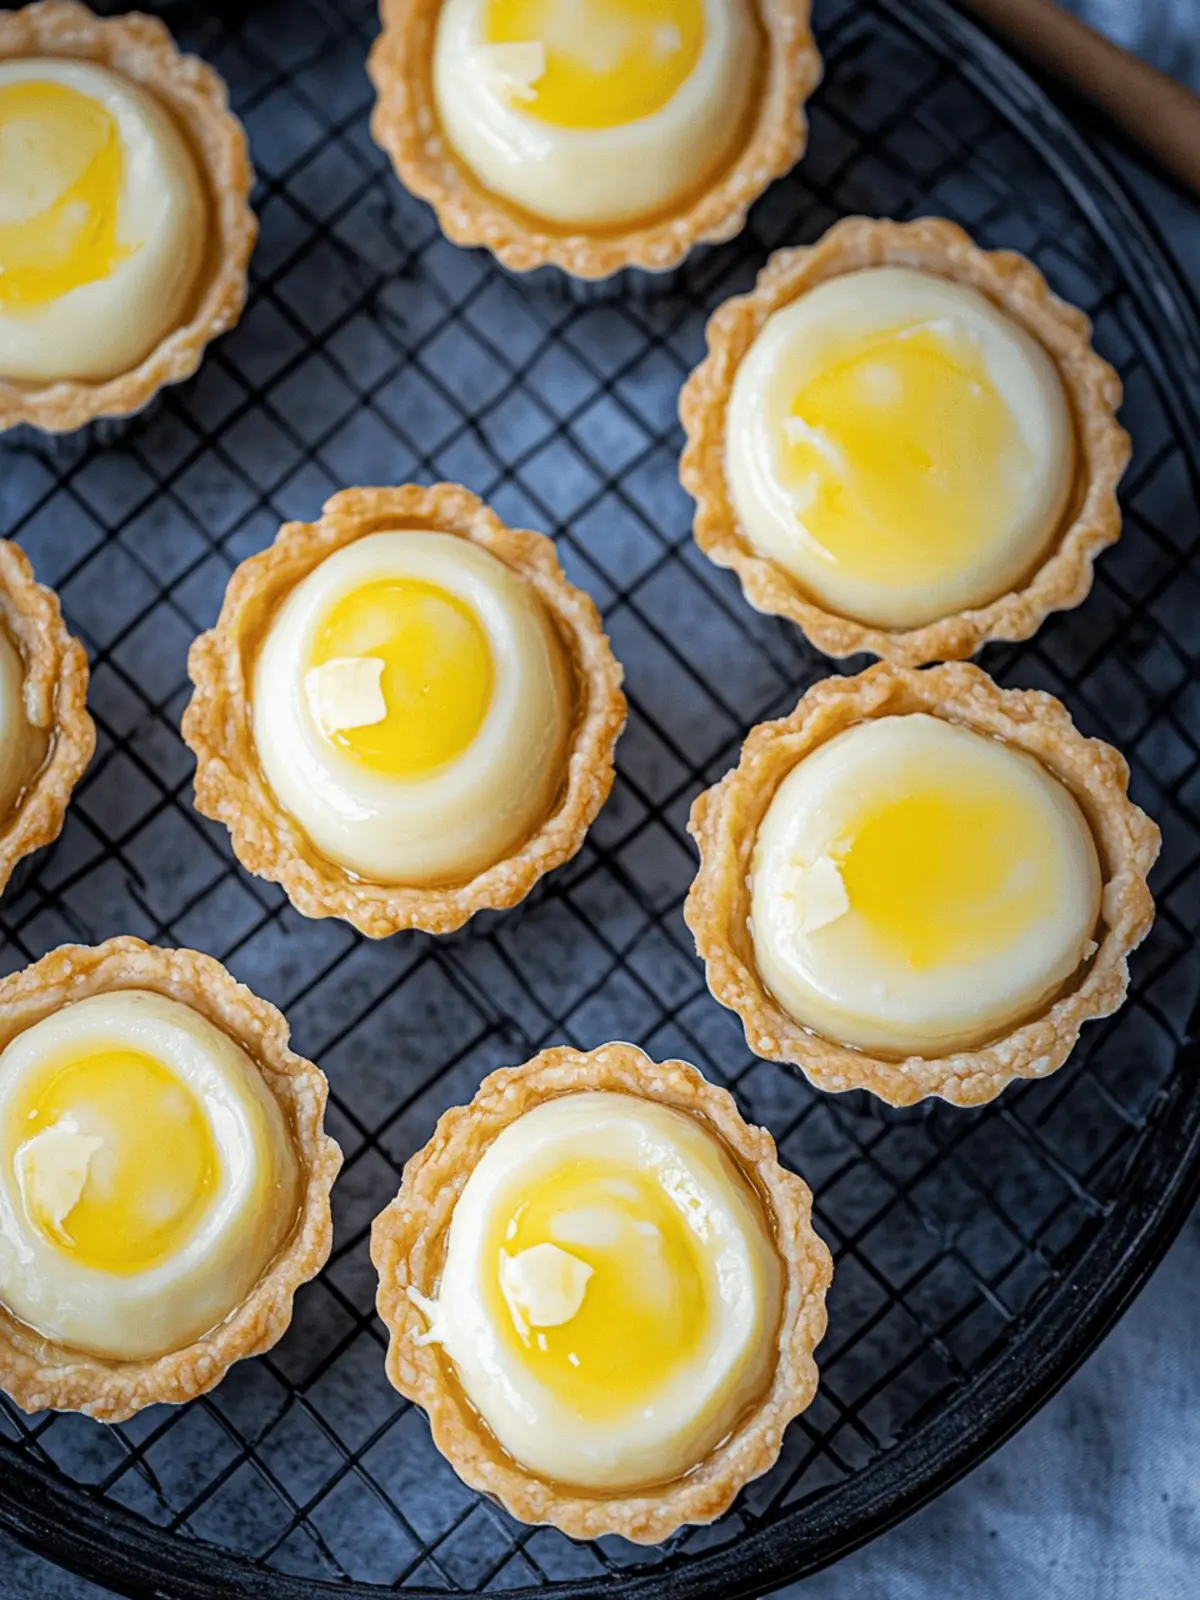
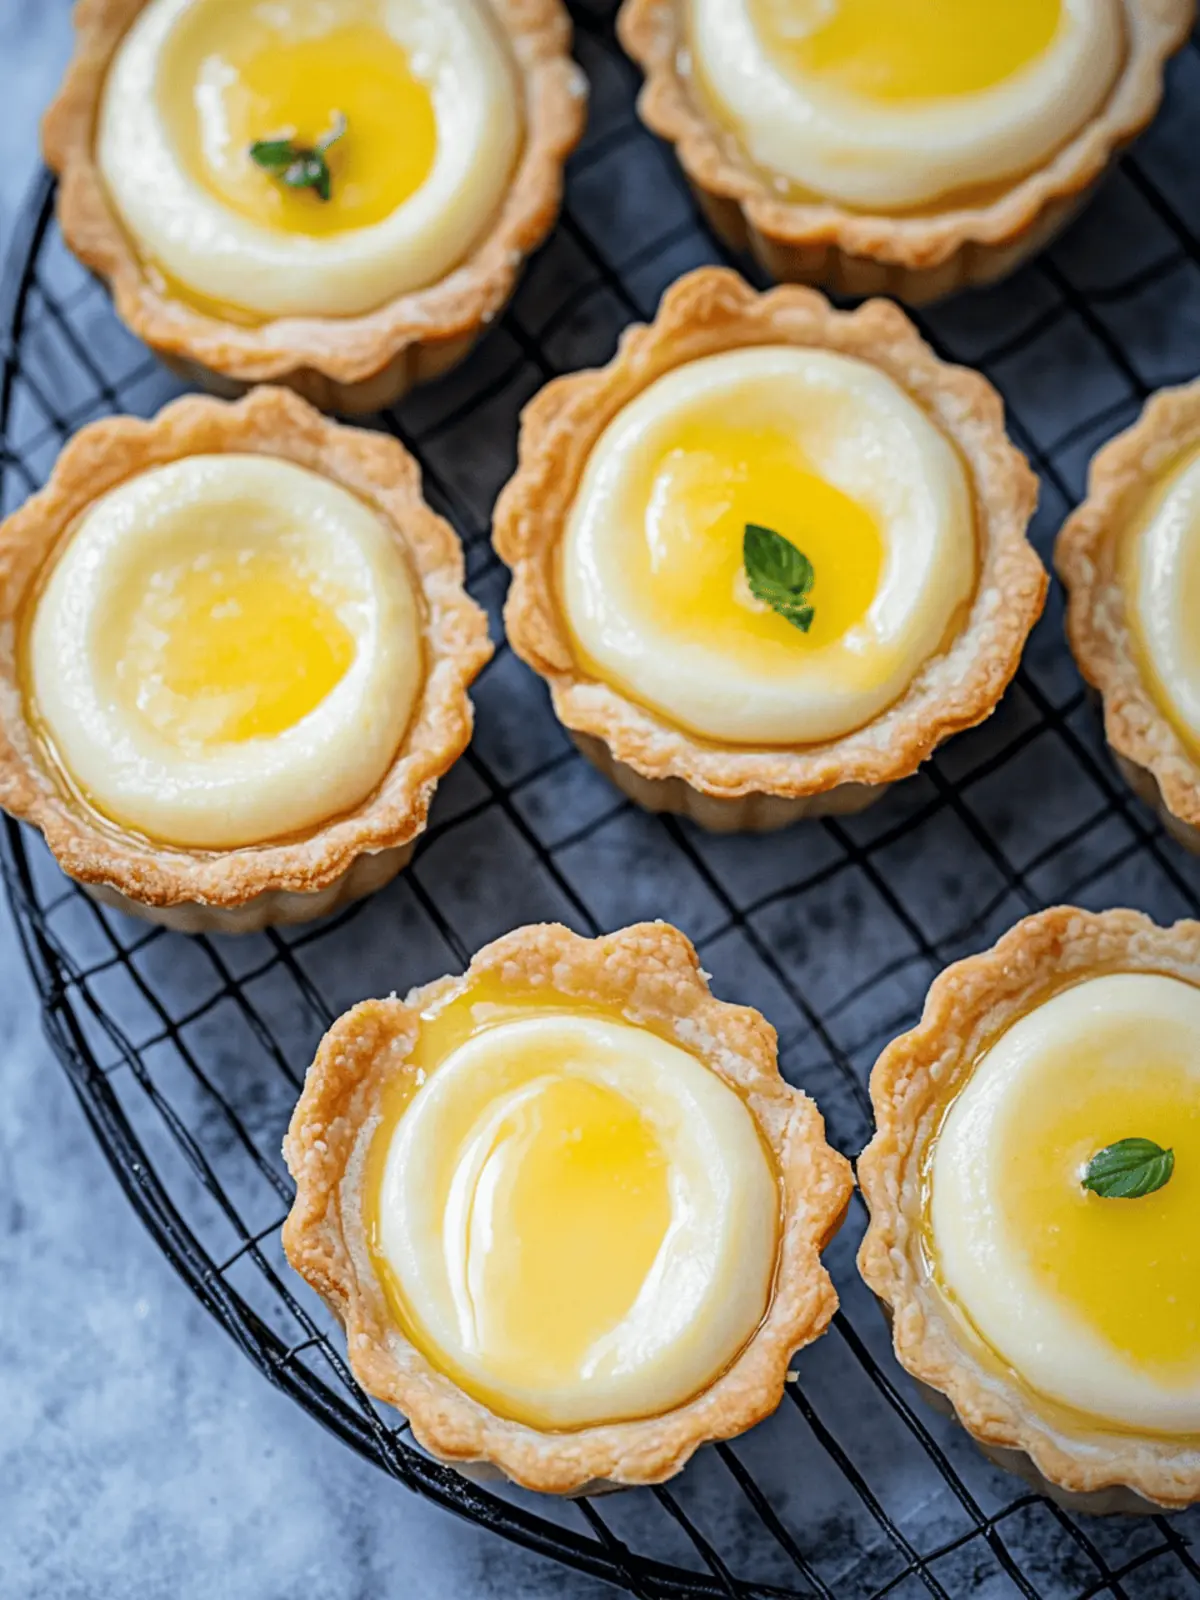
There’s a certain warmth that envelops your kitchen when you’re crafting a batch of Japanese cheese tarts. As the buttery aroma of freshly baked tart shells fills the air, memories of cozy afternoons spent with loved ones come rushing back. Picture this: a sweet, cream cheese filling spilling over the edges of golden crusts, beckoning you to take a bite.
You won’t believe how effortlessly these delightful tarts come together. Made with just a handful of ingredients, they are a perfect solution for those moments when fast food just won’t cut it. Whether you’re impressing guests at a gathering or treating yourself after a long day, these tarts shine as both a crowd-pleaser and a comforting indulgence. Join me in bringing a taste of Japan to your home with this delightful recipe that’s bound to tantalize your taste buds and spark smiles all around.
Why will you love Japanese Cheese Tarts?
Easy to Make: With simple steps, even beginners can master this recipe easily.
Decadent Filling: The smooth cream cheese blend pairs perfectly with the buttery crust for a feel-good treat.
Versatile Delight: Whether served warm or chilled, these tarts adapt beautifully to any occasion.
Impressive Presentation: Their beautiful golden color and appealing texture make them a showstopper at any gathering.
Family Favorite: A sweet indulgence that will have everyone asking for seconds!
Quick to Assemble: When time is limited, these tarts are a quick way to bake up some joy and save you from fast food.
Japanese Cheese Tart Ingredients
• Whip up these delightful treats with ease!
For the Tart Shells
- Unsalted butter – 8 1/2 tablespoons; use softened butter for a more pliable dough.
- All-purpose flour – 1 1/2 cups; sifted for a lighter texture in your crust.
- Powdered sugar – 1/2 cup; adds sweetness and tenderness to the tart shells.
- Egg yolk – 1; helps to bind the dough and give it richness.
For the Filling
- Cream cheese – 1 cup; ensure it’s at room temperature for a smooth blend.
- Powdered sugar – 3 tablespoons; sweetens the filling without graininess.
- Heavy whipping cream – 2/3 cup; whip until stiff peaks for a light, airy filling.
- Cornstarch – 1 teaspoon; stabilizes the filling and prevents it from becoming too runny.
- Milk or water – 1/2 tablespoon; this can be used to create your egg wash for a golden finish.
- Egg yolk – 1; contributes to a glossy top when brushed on the tarts.
Happy baking as you create these Japanese cheese tarts, a treat that combines convenience with mouthwatering satisfaction!
How to Make Japanese Cheese Tarts
-
Mix Ingredients: In a mixing bowl, combine the unsalted butter, all-purpose flour, powdered sugar, and egg yolk. Stir until a dough forms, bringing together all the delicious elements.
-
Shape Tart Shells: Roll out the dough on a floured surface and cut it into rounds. Place the rounds into a tart pan, pressing them gently into the edges to form lovely tart shells.
-
Bake Shells: Preheat your oven to 350°F and bake the tart shells for about 15-20 minutes, or until they’re beautifully golden brown. The aroma will fill your kitchen with warmth!
-
Prepare Filling: In a separate bowl, blend the cream cheese and powdered sugar until the mixture is silky smooth. This consistency is key for that melt-in-your-mouth tart experience.
-
Whip Cream: In another bowl, whip the heavy cream until stiff peaks form. This will add fluffiness to your filling; fold it gently into the cream cheese mixture along with the cornstarch.
-
Fill Tart Shells: Carefully spoon the luscious cream cheese filling into each baked tart shell, spreading it evenly to the edges for a perfect presentation.
-
Egg Wash: In a small bowl, whisk together milk or water with the egg yolk. Brush this mixture over the tops of the tarts to give them a beautiful, glossy finish.
-
Chill Tarts: Allow the filled tarts to set in the refrigerator for at least 1 hour, letting all the flavors meld together for the ultimate indulgence.
Optional: Top with fresh berries or a dusting of powdered sugar for a charming finish.
Exact quantities are listed in the recipe card below.
Make Ahead Options
These Japanese Cheese Tarts are perfect for meal prep enthusiasts! You can prepare the tart shells up to 24 hours in advance. Simply mix the ingredients, shape them into shells, and bake as instructed, then let them cool completely before storing them in an airtight container at room temperature. The cream cheese filling can be made ahead as well and refrigerated for up to 3 days—just mix the cream cheese with powdered sugar and store it in the fridge until you’re ready to fill the tarts. When you’re ready to serve, fill the cooled tart shells with the chilled filling and brush the tops with egg wash before giving them a quick bake for that fresh-out-of-the-oven taste. These make-ahead tips will save you valuable time during busy weeknights, while still ensuring your tarts are just as delicious!
What to Serve with Japanese Cheese Tarts?
Create a delightful dessert experience by pairing these luscious tarts with complementary flavors and textures.
- Fresh Berries: Topping the tarts with vibrant, juicy berries balances sweetness and adds a refreshing pop of color.
- Whipped Cream: A dollop of light whipped cream on top adds extra creaminess and makes each bite even more indulgent.
- Matcha Tea: The earthy notes of green tea harmonize beautifully with the sweetness of the tarts, offering a unique flavor experience.
- Chocolate Sauce: Drizzling a rich chocolate sauce over the tarts adds a decadent touch that chocolate lovers will appreciate.
- Lemon Sorbet: The bright, citrusy flavor of sorbet serves as a refreshing palate cleanser that pairs exquisitely with the creamy filling.
- Iced Coffee: A chilled cup of coffee elevates the dessert experience, as its slight bitterness contrasts with the sweetness of the tarts.
- Almond Biscotti: Crunchy, nutty biscotti provide a satisfying textural contrast and can be enjoyed alongside each tart for added enjoyment.
- Creamy Hot Chocolate: For a cozy twist, serve with a mug of rich hot chocolate, turning dessert into a warming delight.
How to Store and Freeze Japanese Cheese Tarts
Fridge: Store any leftover tarts in an airtight container in the fridge for up to 3 days. This keeps them fresh and the filling creamy.
Freezer: For longer storage, freeze the tarts without the cream filling for up to 2 months. Wrap each tart tightly in plastic wrap, then place them in a freezer-safe bag.
Thawing: To enjoy frozen tarts, thaw them in the fridge overnight before filling with the cream cheese mixture, ensuring a delightful texture.
Reheating: If you prefer warm tarts, reheat baked shells in a 350°F oven for about 5 minutes; fill with the cream cheese mixture just before serving for the best flavor.
Japanese Cheese Tart Variations
Feel free to let your creativity shine as you explore these delightful twists on the classic recipe!
-
Gluten-Free: Swap all-purpose flour with a gluten-free flour blend for a tart everyone can enjoy. Ensure the cream cheese is labeled gluten-free for perfect harmony.
-
Fruit-Infused: Fold in mashed ripe bananas or pureed strawberries into the cream cheese mixture for a fruity flair. This not only provides a burst of flavor but also adds a lovely color to your tarts.
-
Chocolate Lovers: Mix in cocoa powder or melted chocolate into the cream cheese filling for a chocolatey treat. This variation is rich and decadent, guaranteed to satisfy any sweet tooth!
-
Nutty Texture: Incorporate finely chopped nuts like hazelnuts or almonds into the crust for an extra crunch. This addition not only elevates the texture but also adds a beautiful nutty flavor.
-
Spiced Sensation: Add a pinch of cinnamon or nutmeg to the cream cheese mixture for a hint of warmth. These spices can transport your taste buds, making every bite feel like a hug.
-
Zesty Lemon: Stir in some fresh lemon zest or a splash of lemon juice into the filling for a refreshing tang. This brightens the flavor, making the tarts feel light and invigorating.
-
Caramel Drizzle: Drizzle warm caramel sauce over the assembled tarts for an indulgent finish. This sweet addition creates a delightful contrast between the creamy filling and the rich caramel.
-
Savory Twist: Try adding green onions and crumbled feta for a savory cheese tart option. This unique spin offers a tasty departure from traditional sweet dessert flavors.
Let your taste buds explore these variations, and enjoy the journey of making delicious Japanese cheese tarts!
Expert Tips for Japanese Cheese Tarts
-
Perfectly Rolled Dough: Roll the dough evenly to ensure consistent baking. A thick crust can lead to undercooked areas, so aim for about 1/4 inch thick.
-
Avoid Runny Filling: Make sure the cream cheese is at room temperature for easy mixing, preventing lumps and achieving a smooth cream cheese blend that won’t run.
-
Careful Whipping: Whip the heavy cream until just stiff peaks form. Over-whipping can make the cream grainy, affecting the smoothness of your Japanese cheese tarts.
-
Chill Time Matters: Don’t skip the refrigeration step! Setting the tarts helps the filling firm up, ensuring each slice holds together beautifully.
-
Watch Your Bake: Keep an eye on the tart shells as they bake; ovens vary and you don’t want them to overbake. Remove once they’re a golden brown for optimal texture.
Japanese Cheese Tarts Recipe FAQs
How do I select the right cream cheese for my Japanese Cheese Tarts?
Absolutely! For an optimal texture, choose a block-style cream cheese rather than spreadable varieties, as they contain additional moisture that can lead to a runny filling. Look for full-fat cream cheese for a richer flavor and creamier consistency.
What’s the best way to store leftover Japanese Cheese Tarts?
You can keep any leftover tarts in an airtight container in the refrigerator for up to 3 days. This way, they stay fresh and the filling remains creamy. If you notice them starting to dry out, just cover them tightly with plastic wrap before refrigerating.
Can I freeze Japanese Cheese Tarts?
Yes, indeed! To freeze, I recommend storing the tart shells separately from the filling. Wrap each baked tart shell tightly in plastic wrap, then place them in a freezer-safe bag. You can freeze them for up to 2 months. When you’re ready to enjoy, simply thaw them overnight in the fridge, then fill with the cream cheese mixture just before serving.
What if my cream cheese filling is too runny?
If you find your filling is too runny, it’s likely that the cream cheese wasn’t at room temperature when mixed or that it wasn’t whipped enough. To remedy this, chill the filling for about 20 minutes, then whip it again until it reaches a thicker consistency. You can also add an extra teaspoon of cornstarch, mixing well for stabilization.
Are there any dietary considerations for making Japanese Cheese Tarts?
If you’re accommodating allergies or dietary preferences, there are a few adjustments you can make. For a gluten-free version, substitute all-purpose flour with a 1:1 gluten-free baking mix. For a dairy-free option, use vegan cream cheese and coconut cream whipped to stiff peaks instead of heavy cream.
How do I know when my tart shells are perfectly baked?
Keep a close eye on your tart shells! They should be golden brown and firm to the touch. This usually takes about 15-20 minutes at 350°F. It’s a good idea to let them cool completely before filling to prevent the cream cheese mixture from melting. Trust your nose; the buttery aroma will fill your kitchen when they’re just right!

Irresistible Japanese Cheese Tarts for a Sweet Treat Adventure
Ingredients
Equipment
Method
- In a mixing bowl, combine the unsalted butter, all-purpose flour, powdered sugar, and egg yolk. Stir until a dough forms.
- Roll out the dough on a floured surface and cut it into rounds. Place the rounds into a tart pan, pressing them gently into the edges.
- Preheat your oven to 350°F and bake the tart shells for about 15-20 minutes, or until golden brown.
- In a separate bowl, blend the cream cheese and powdered sugar until silky smooth.
- In another bowl, whip the heavy cream until stiff peaks form. Fold into the cream cheese mixture with the cornstarch.
- Carefully spoon the cream cheese filling into each tart shell, spreading it evenly.
- Whisk together milk or water with the egg yolk. Brush over the tops of the tarts.
- Allow the filled tarts to set in the refrigerator for at least 1 hour.


