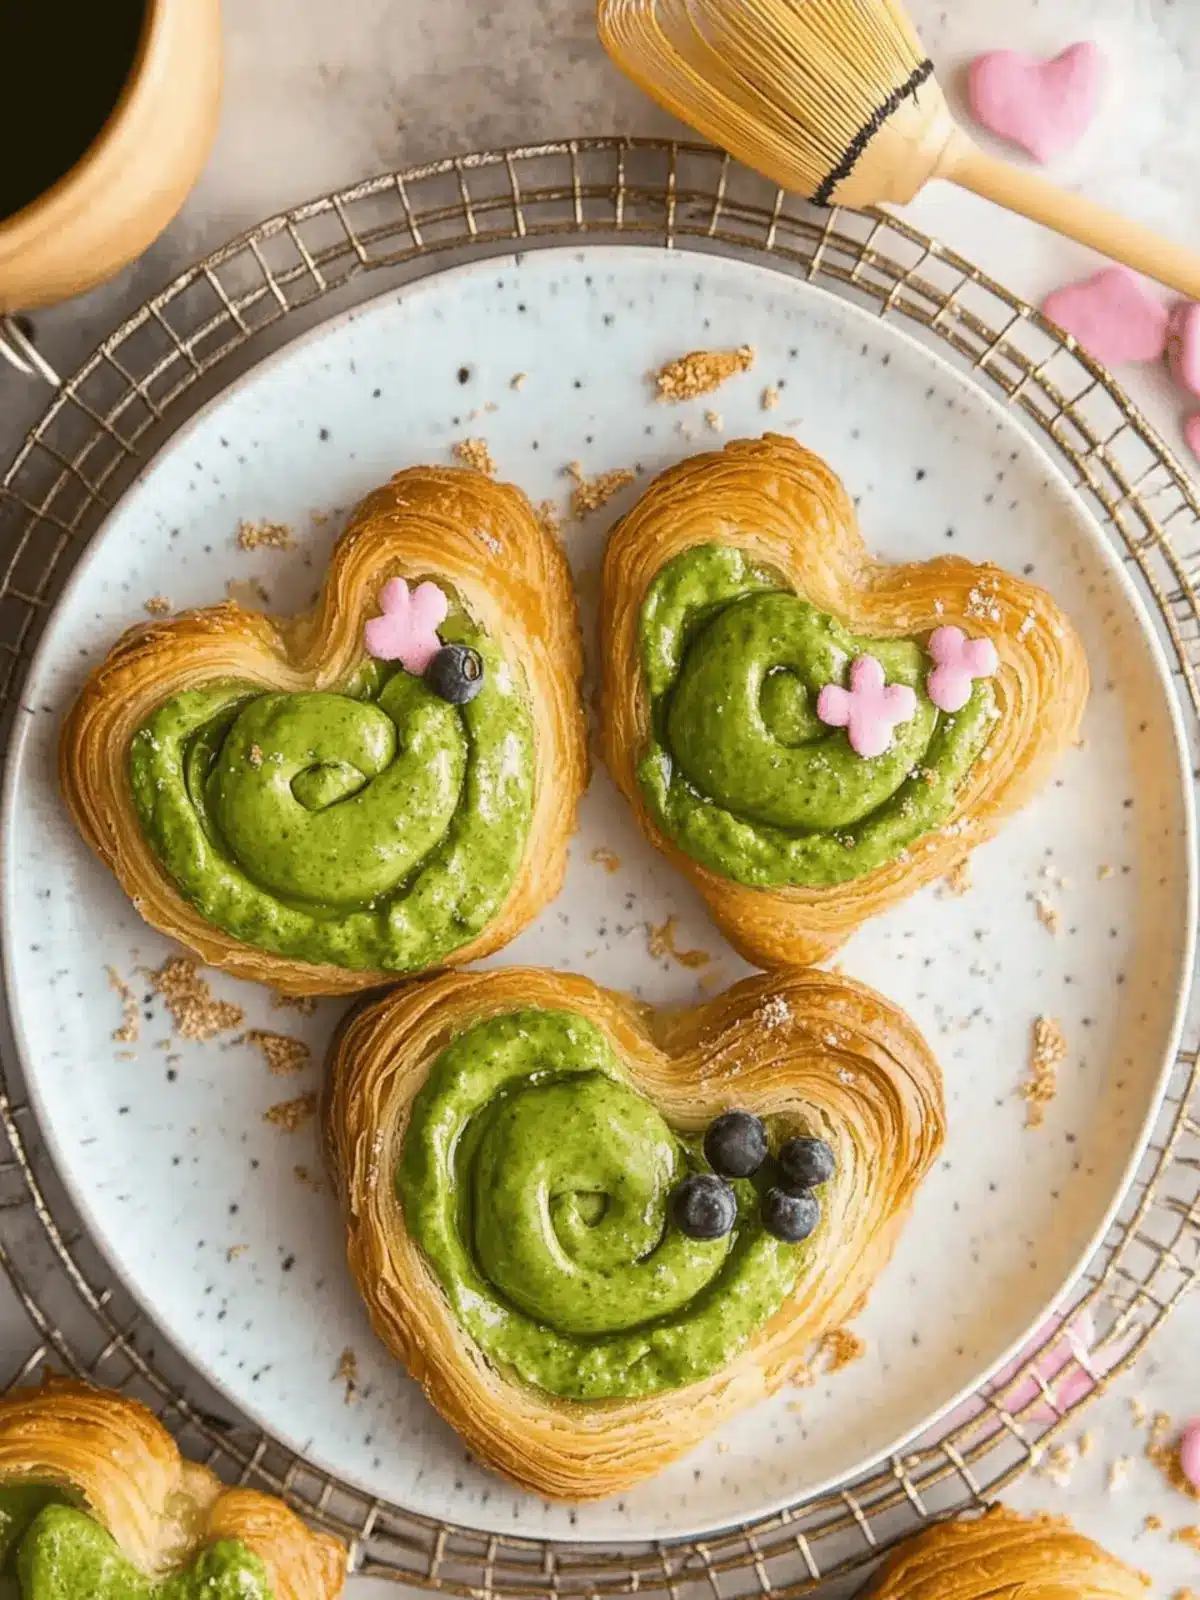
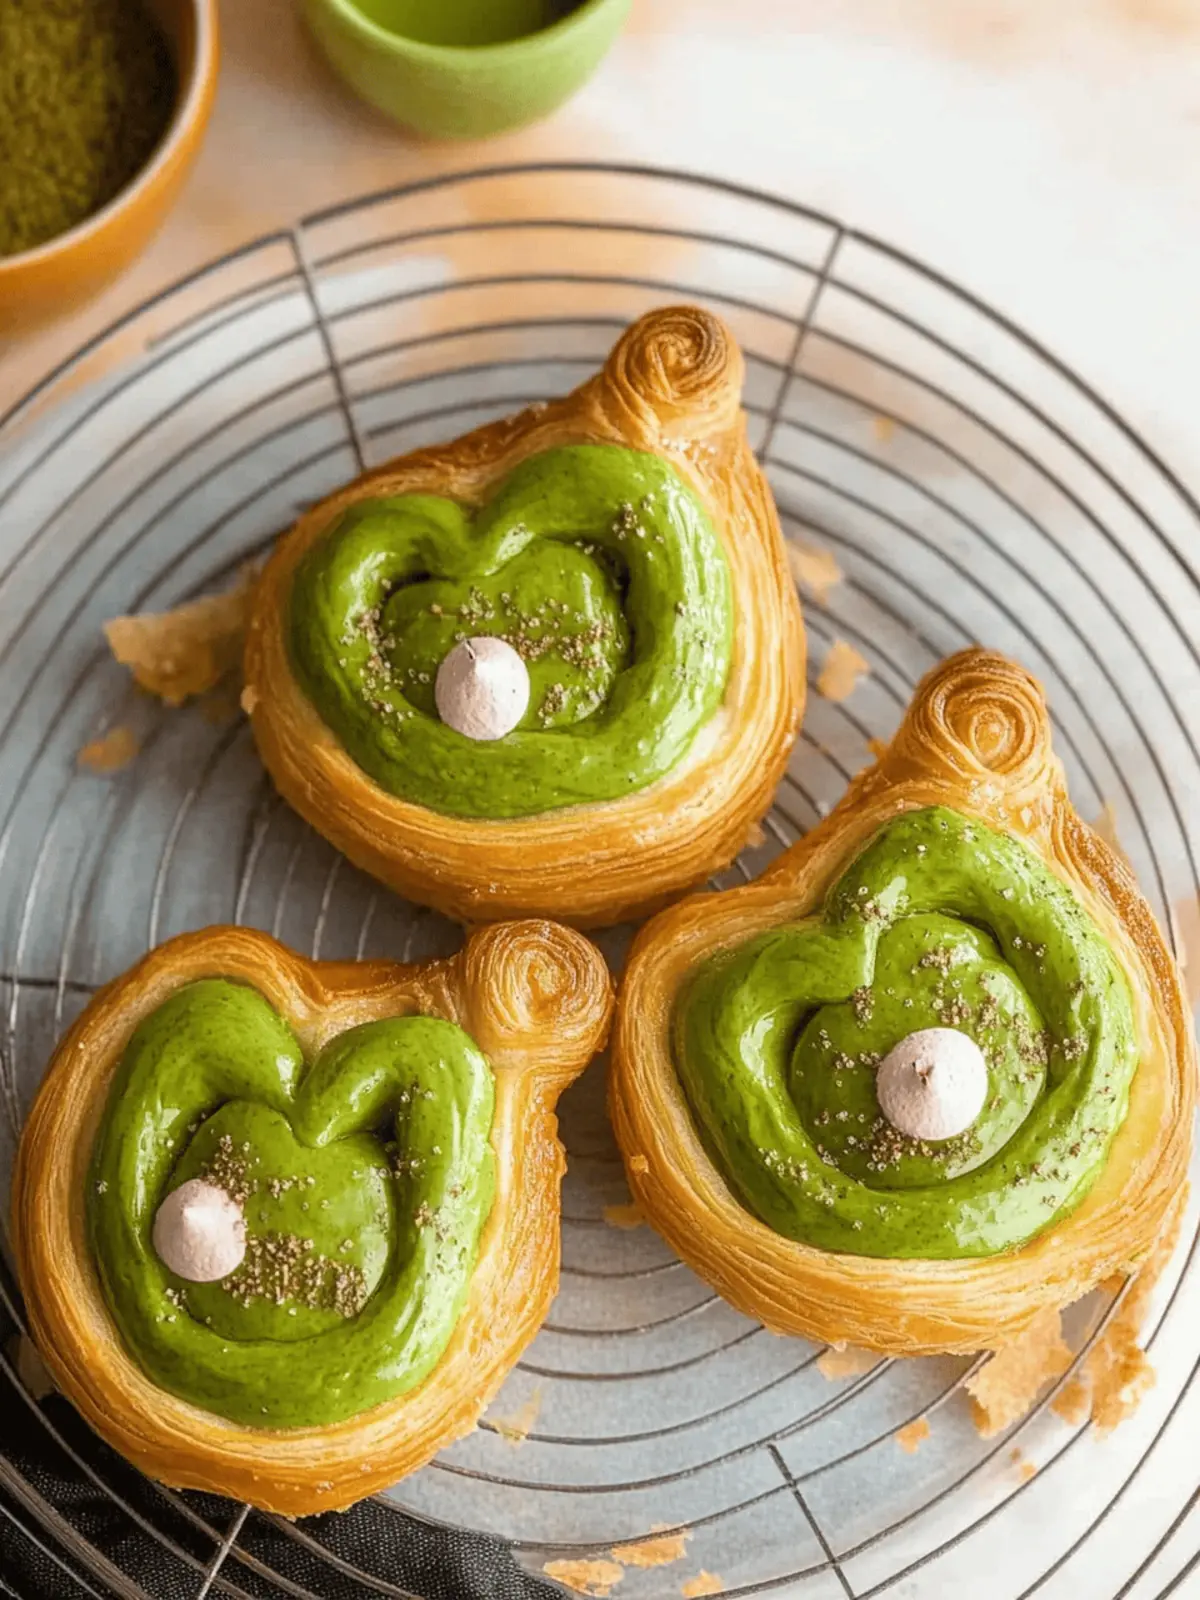
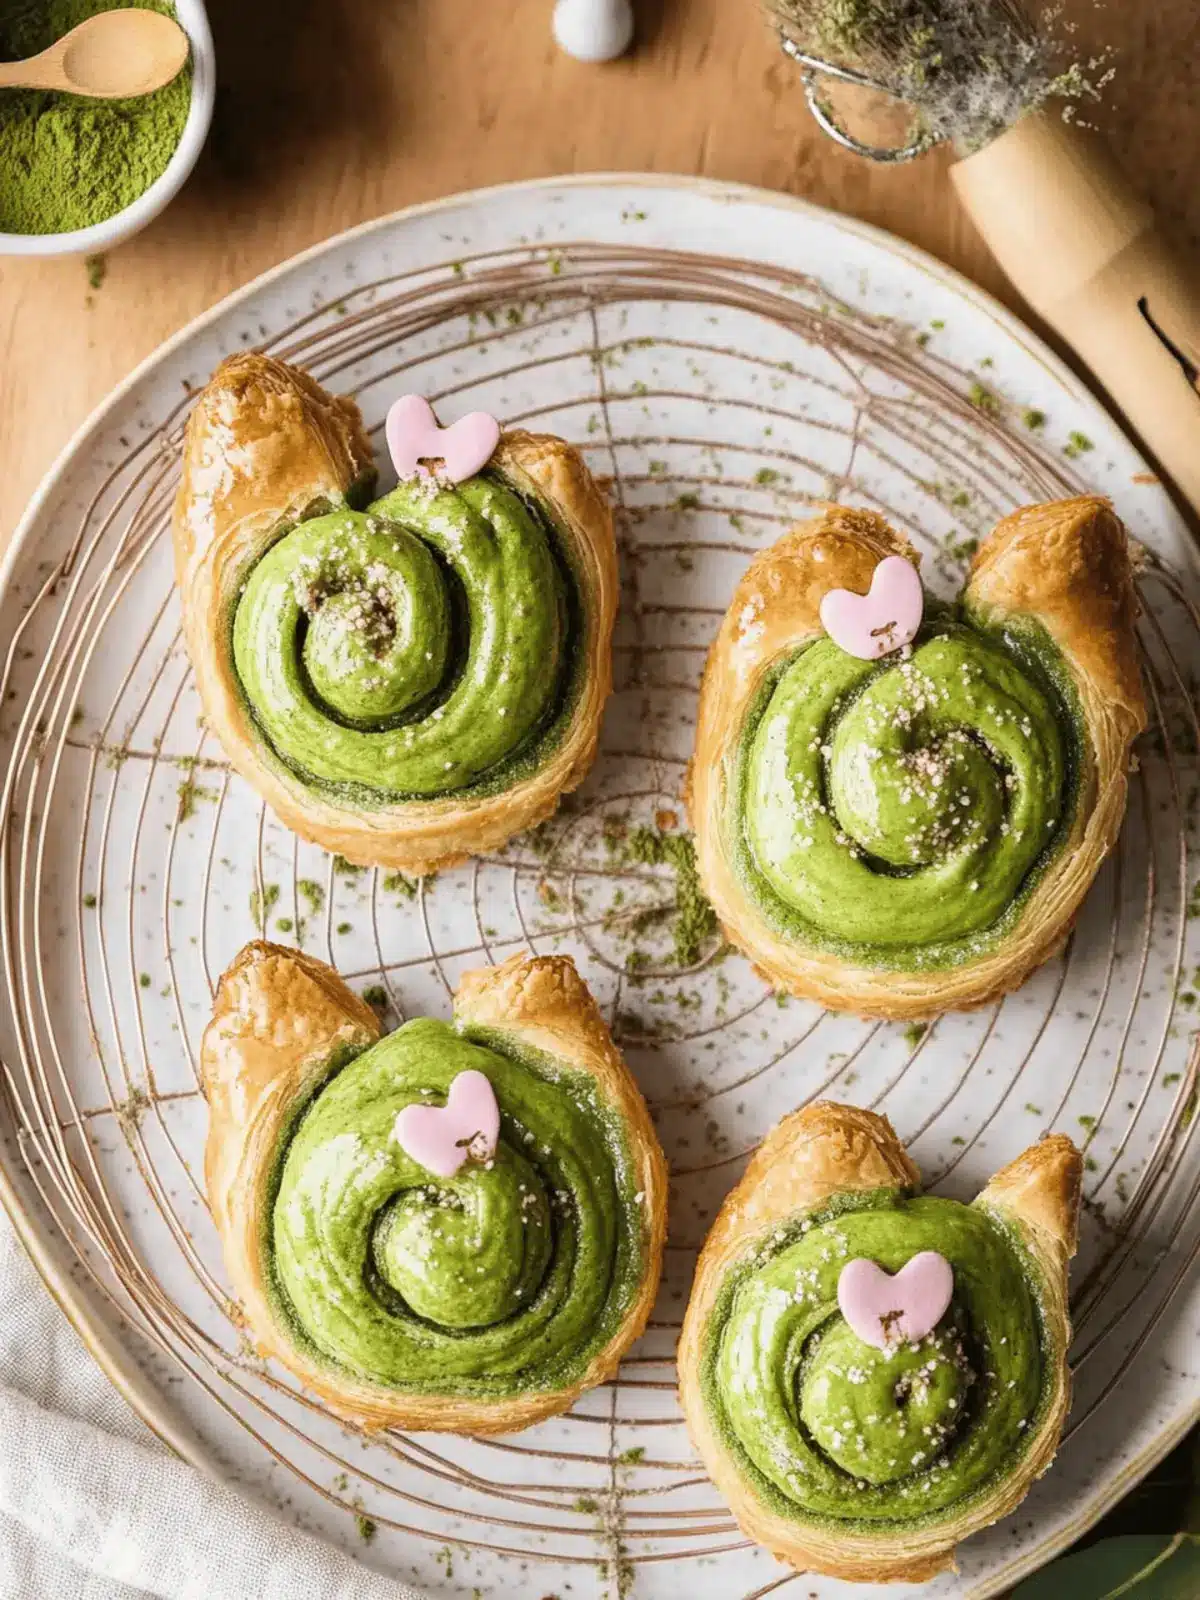
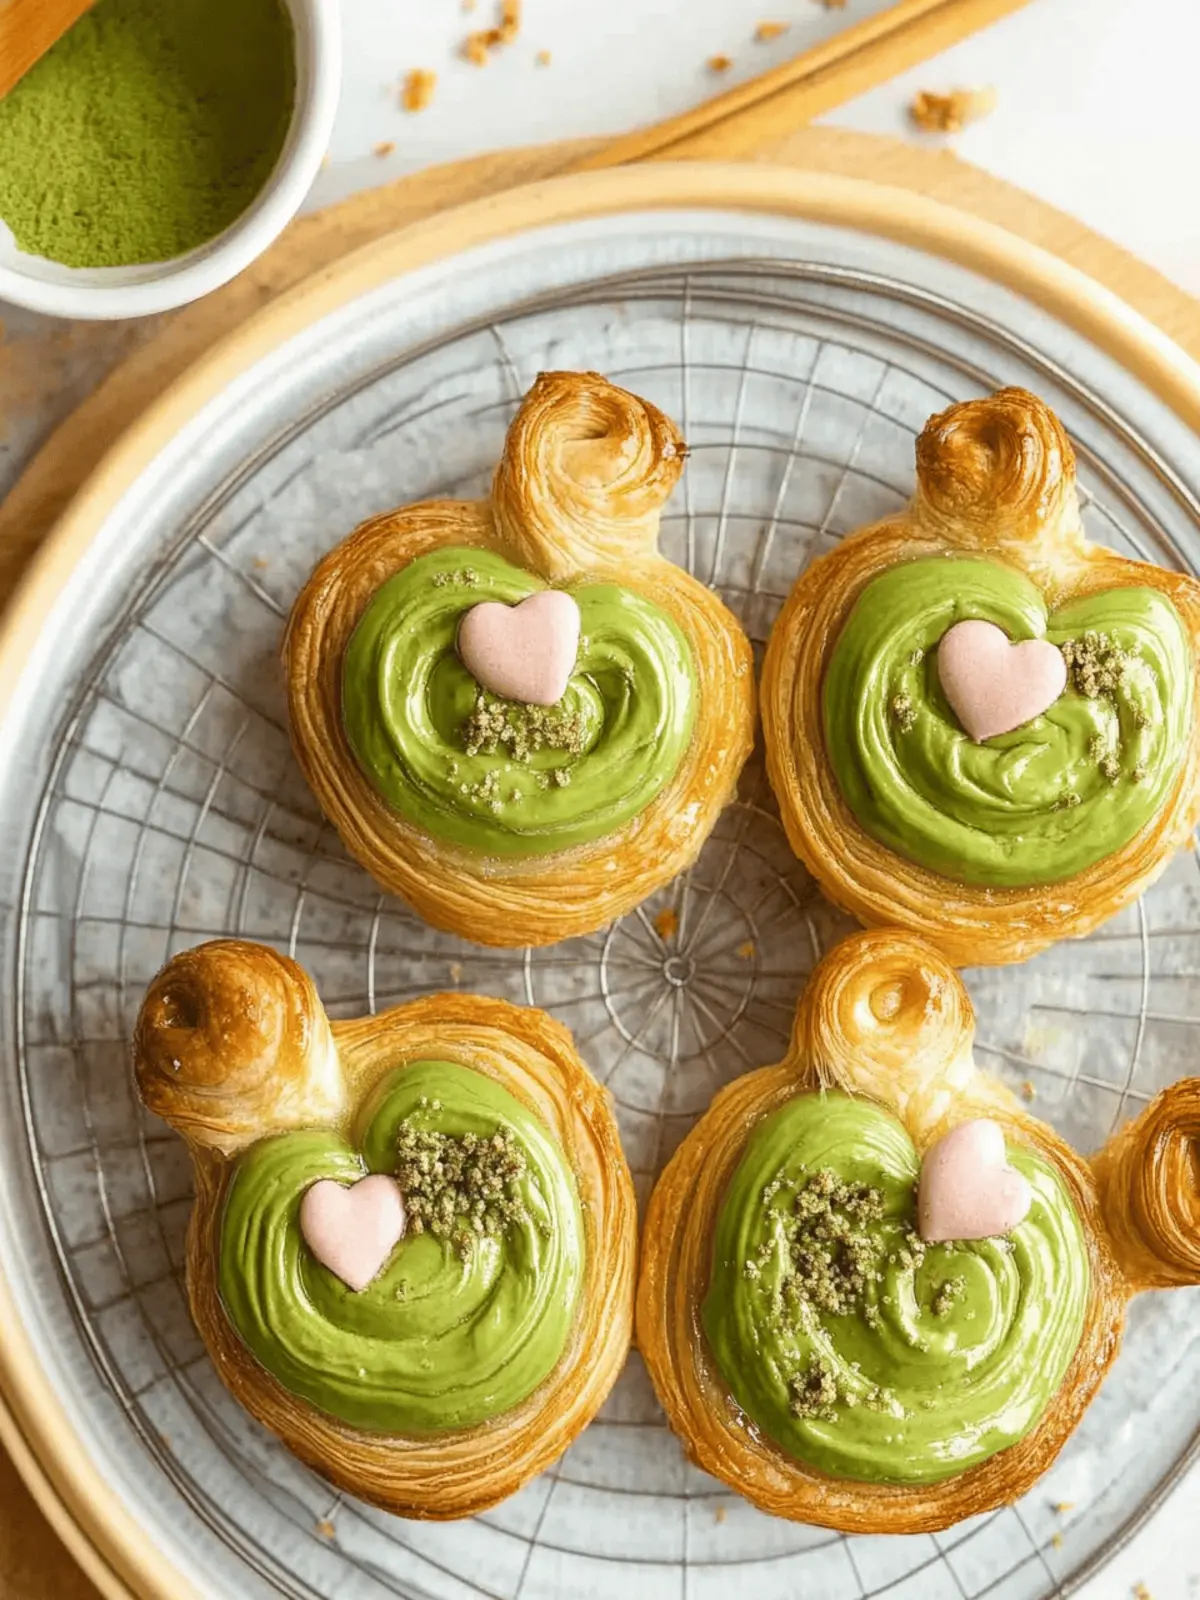
It was during a quiet afternoon when I found myself enchanted by the vibrant green hue of matcha staring back at me from the pantry shelf. Inspiration struck, and the idea of crafting Easy Matcha Danishes began to bubble to the surface. These delightful pastries embody everything I adore about baking: buttery, flaky layers enveloping a rich and creamy filling.
The best part? You don’t need to be a pastry chef to whip these up! With store-bought puff pastry at your fingertips, you can have an impressive treat ready in no time. Whether you’re easing into your day with coffee or wrapping up a dinner gathering, these danishes deliver a unique flavor experience that beautifully marries earthy matcha and a hint of sweetness. Plus, they are wonderfully versatile—swap in your favorite fillings and decorations to make them your own. Get ready to impress friends and family with a homemade delight that looks fancy but is surprisingly simple to make!
Why You’ll Love These Matcha Danishes
Unmatched Flavor: The subtle, earthy taste of matcha pairs wonderfully with the creamy filling, providing a gourmet experience right at home.
Quick and Easy: With store-bought puff pastry, anyone can create these lovely pastries without the need for complex techniques.
Endless Customization: Feel free to experiment! From fruit to savory fillings, these danishes can be tailored to suit any palate.
Impressive Presentation: The beautiful green hue and flaky texture make these danishes a showstopper, perfect for brunch or special occasions.
Crowd-Pleaser: Whether enjoyed solo or shared with loved ones, these matcha danishes will surely delight everyone. Pair with tea or coffee for the ultimate experience!
Matcha Danishes Ingredients
For the Dough
• Puff Pastry Sheet – Use store-bought, thawed but cold for ease of preparation.
For the Filling
• Egg – Acts as a binder and gives a lovely golden color when brushed on top.
• Cream Cheese – Use softened for a smooth texture that blends well with matcha.
• Granulated Sugar – Adjust based on how sweet you want your filling; it’s versatile!
• Matcha Powder – Culinary-grade matcha provides the best flavor and vibrant green color.
• Heavy Cream – Adds creaminess to the filling, but you can substitute milk for a lighter version.
• Powdered Sugar – Sweetens the cream cheese mixture; adjust according to your taste.
For the Decoration
• Milk/Dark Chocolate Chips – Optional; ensure they’re melted if you decide to add them!
• White Chocolate Chips – Use for decoration, melting and mixing with food coloring can add fun designs.
• Pink Oil-Based Food Coloring – Optional, necessary for achieving bright colors without seizing chocolate.
How to Make Matcha Danishes
-
Prepare Filling: Whip the softened cream cheese in a mixing bowl until fluffy, making it airy and light. Gently fold in the sifted matcha powder, followed by heavy cream and powdered sugar to taste. Transfer the creamy mixture to a piping bag for easy filling.
-
Assemble Pastry: Preheat your oven to 400°F (204°C) and line a baking tray with parchment paper. Roll out the cold puff pastry sheet on a floured surface and cut it into rectangular shapes, perfect for filling.
-
Create Pastry Shape: Using a knife, lightly carve a border around each pastry rectangle, about half an inch from the edges. This step helps the pastry puff beautifully while creating a perfect spot to pipe in the creamy filling.
-
Egg Wash and Sprinkle: Brush the edges of each pastry rectangle with a beaten egg to promote golden brown coloring during baking. Sprinkle granulated sugar over the egg-washed edges for a sweet, crunchy finish.
-
Bake: Place the prepared pastries in the preheated oven and bake for 12-15 minutes or until they are golden brown and puffed. Once done, let them cool for about 5 minutes before transferring to a wire rack.
-
Decorate (optional): Melt your choice of chocolate chips, then use them for decorative facial details or accents on your danishes. If using food coloring, mix with melted white chocolate for a fun twist. Allow everything to set before serving!
Optional: Drizzle with additional melted chocolate for a touch of elegance.
Exact quantities are listed in the recipe card below.
What to Serve with Easy Matcha Danishes?
Indulge in a delightful meal experience complemented by these exquisite pastries, perfect for breakfast or dessert.
-
Fresh Berries: The juicy burst of seasonal berries beautifully balances the rich matcha flavor, adding a refreshing touch to each bite. They’re an artful, colorful addition to your plate.
-
Café Au Lait: This creamy coffee drink offers a smooth, rich pairing, elevating your matcha danishes to a gourmet experience. Sip and savor the delightful contrast of flavors!
-
Honey-Drizzled Yogurt: Adding a dollop of this creamy treat provides a tangy contrast to the sweetness of the danishes. A perfect blend of textures for a brunch spread.
-
Chai Tea: The warmth of chai spices brings a cozy warmth to your meal, harmonizing with the earthy flavor of matcha. Together, they create a comforting experience.
-
Chocolate Ganache: Drizzling this luscious mix over your danishes adds an extra level of decadence. A match made in dessert heaven that satisfies any sweet tooth!
-
Coconut Chia Pudding: The light and creamy pudding offers a refreshing, nutty flavor that enhances the overall flavor profile. A fun and healthy addition to the spread!
Expert Tips for Matcha Danishes
- Quality Matcha Matters: Use culinary-grade matcha for optimal flavor and vibrant color; avoid low-quality powders that can taste bitter.
- Check Puff Pastry: Ensure your puff pastry is cold for perfect layers; warm dough can prevent it from puffing properly during baking.
- Even Filling: Avoid overfilling your danishes; too much filling can ooze out while baking, disrupting their shape.
- Watch Baking Time: Keep an eye on your danishes as they bake; if they start to brown too quickly, reduce the oven temperature to keep the filling creamy.
- Creative Decorations: Don’t hesitate to mix and match fillings and decorations. You can customize your matcha danishes to match any occasion or personal taste!
Matcha Danishes Variations
Feel free to explore new flavor horizons with your matcha danishes by customizing fillings, textures, and even heat levels!
-
Berry Bliss: Swap matcha for mixed berry jam for a fruity, vibrant filling that’s truly refreshing.
-
Savory Spin: Add shredded cheese and finely chopped spinach for a deliciously creamy and savory twist.
-
Chocolate Indulgence: Mix in chocolate chips with the cream cheese filling for a decadent touch that satisfies your sweet tooth.
-
Citrus Zing: Incorporate lemon zest into the filling for a bright flavor boost that contrasts beautifully with the matcha.
-
Nutty Crunch: Sprinkle chopped nuts like almonds or walnuts into the filling for added texture and a delightful crunch.
-
Spiced Warmth: Stir in a pinch of cinnamon into your cream cheese mix for a cozy flavor that pairs beautifully with matcha.
-
Dairy-Free Delight: Use vegan cream cheese and almond milk to craft a delicious, dairy-free version of these delightful danishes.
-
Seasonal Touch: Customize your decorations: shape your danishes into hearts or leaves for special occasions like holidays or anniversaries.
How to Store and Freeze Matcha Danishes
Fridge: Store your matcha danishes in an airtight container for up to 3 days. This keeps them fresh and prevents them from drying out.
Freezer: For longer storage, freeze the danishes individually on a baking sheet, then transfer to a zip-top bag for up to 2 months.
Reheating: When you’re ready to enjoy a frozen danish, let it thaw in the fridge overnight. Reheat in a toaster oven at 350°F (175°C) for about 10 minutes until crisp.
Serving Freshness: Best enjoyed warm and fresh to retain the flaky texture; consider warming them briefly in the oven or microwave if already refrigerated.
Make Ahead Options
These Easy Matcha Danishes are perfect for meal prep, making your baking adventures both time-efficient and stress-free! You can prepare the matcha filling up to 24 hours in advance; simply whip the cream cheese with matcha and other ingredients, then refrigerate it in an airtight container. Additionally, you can shape the pastry and freeze the filled danishes for up to 3 days. When you’re ready to serve, all you need to do is brush them with egg wash and bake straight from the freezer, adding a few extra minutes to the baking time. This way, you’ll enjoy the same delightful flaky and creamy treat without sacrificing quality!
Easy Matcha Danishes Recipe FAQs
What type of matcha should I use for the danishes?
Absolutely! I recommend using culinary-grade matcha for the best flavor and color. Lower quality matcha can taste bitter and won’t give you the fantastic vibrant green hue you desire. Look for brands labeled specifically for culinary purposes, as they are typically of better quality and flavor for baking.
How should I store leftover matcha danishes?
The best way to store your matcha danishes is in an airtight container in the refrigerator, where they will stay fresh for up to 3 days. Just remember, to enjoy the flaky texture, you can reheat them briefly in a toaster oven or microwave before serving!
Can I freeze matcha danishes?
Very! To freeze your danishes, follow these steps: First, allow them to cool completely after baking. Then, place them individually on a baking sheet and freeze until firm (about 2 hours). Once frozen, transfer them into a zip-top freezer bag, and they can be stored for up to 2 months. For the best results, thaw them in the fridge overnight before reheating.
Why are my danishes not puffing up?
Oh no! This could be due to a few reasons. First, ensure your puff pastry is cold; warm dough won’t puff as well. Next, check that you’ve carved a border around each rectangle to create a space for the filling without overfilling. Lastly, keep an eye on the baking time—if your oven temperature is too high, the filling might begin to brown too quick, affecting the puff.
Are matcha danishes suitable for any dietary restrictions?
These flaky delights do contain gluten due to the store-bought puff pastry. If you’re gluten-free, you can try substituting the puff pastry with a gluten-free version available at many grocery stores. For those avoiding dairy, vegan cream cheese can be a suitable alternative for the filling, while also keeping in mind any allergies you may have with the chocolate decorations.

Irresistible Matcha Danishes – Flaky, Creamy, Homemade Joy
Ingredients
Equipment
Method
- Whip the softened cream cheese in a mixing bowl until fluffy, then fold in the sifted matcha powder, heavy cream, and powdered sugar. Transfer to a piping bag.
- Preheat your oven to 400°F (204°C) and line a baking tray with parchment paper. Roll out the cold puff pastry and cut into rectangles.
- Lightly carve a border around each pastry rectangle, about half an inch from the edges.
- Brush the edges of each rectangle with a beaten egg and sprinkle granulated sugar over the edges.
- Bake for 12-15 minutes or until golden brown. Let them cool for about 5 minutes before transferring to a wire rack.
- Melt your choice of chocolate chips for decoration; mix with food coloring for accents. Allow to set before serving.


