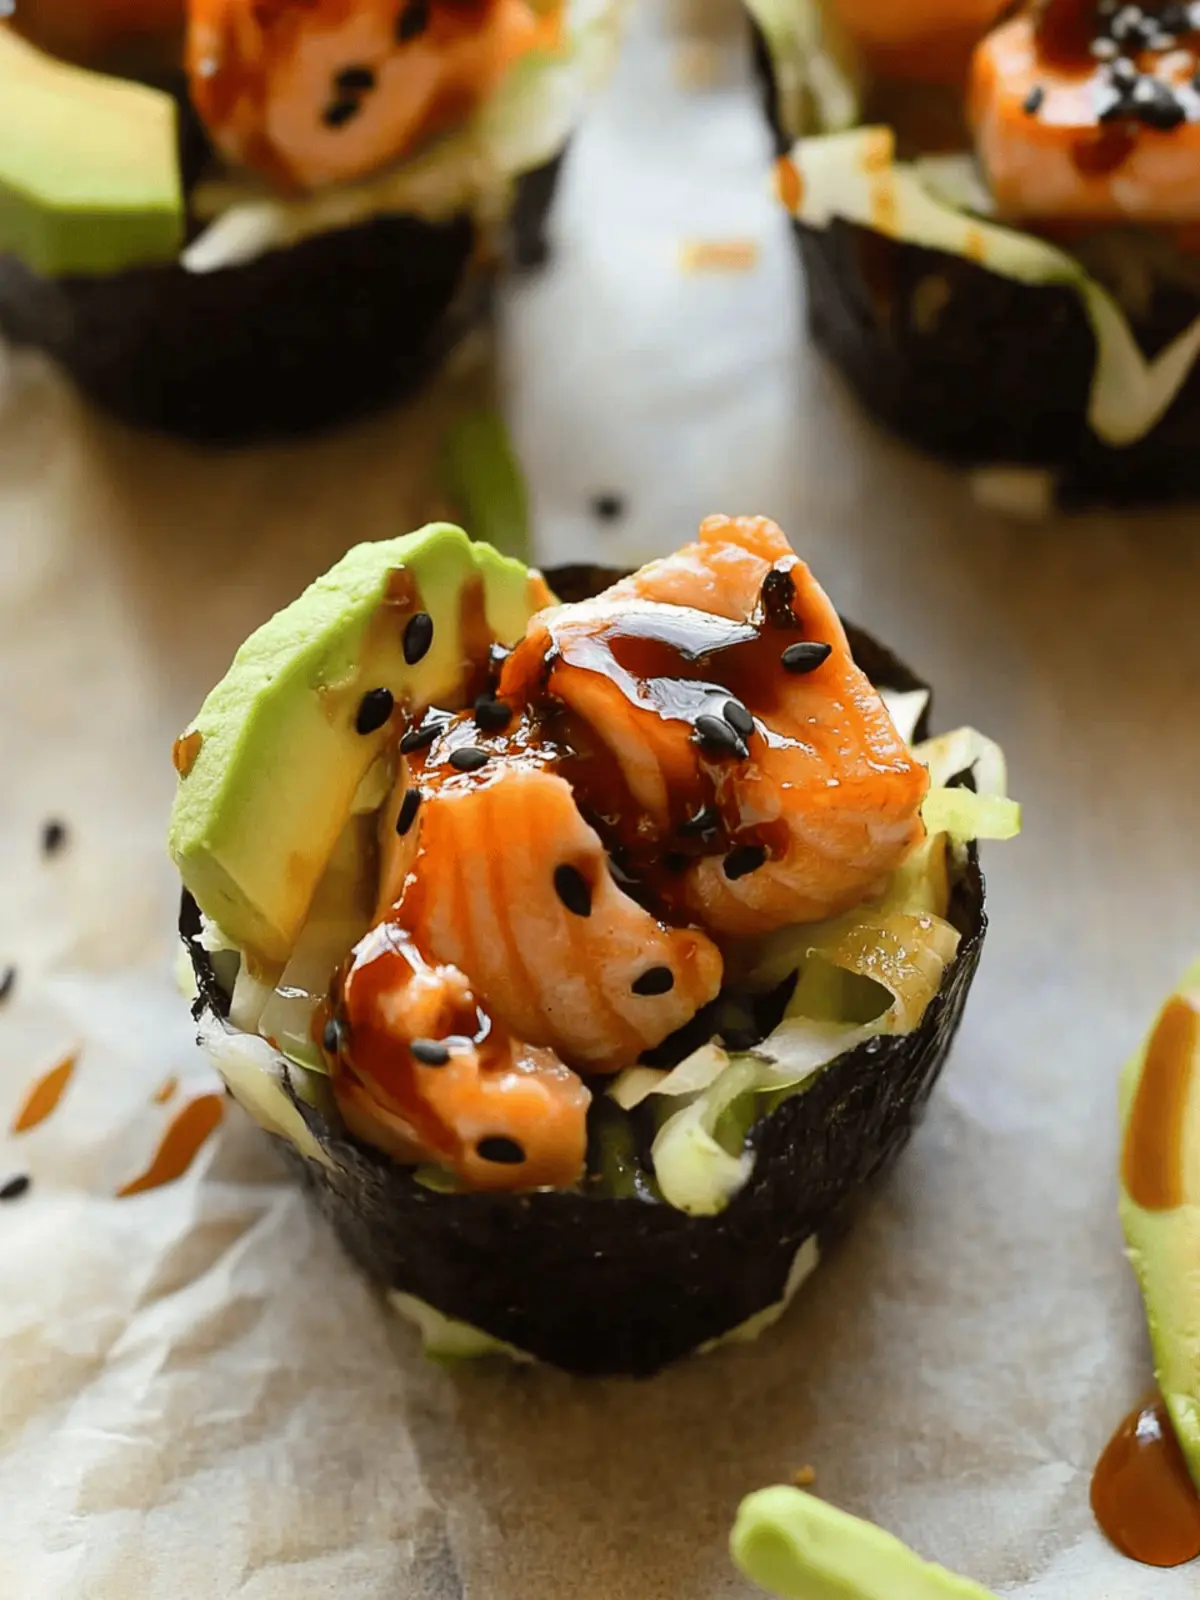
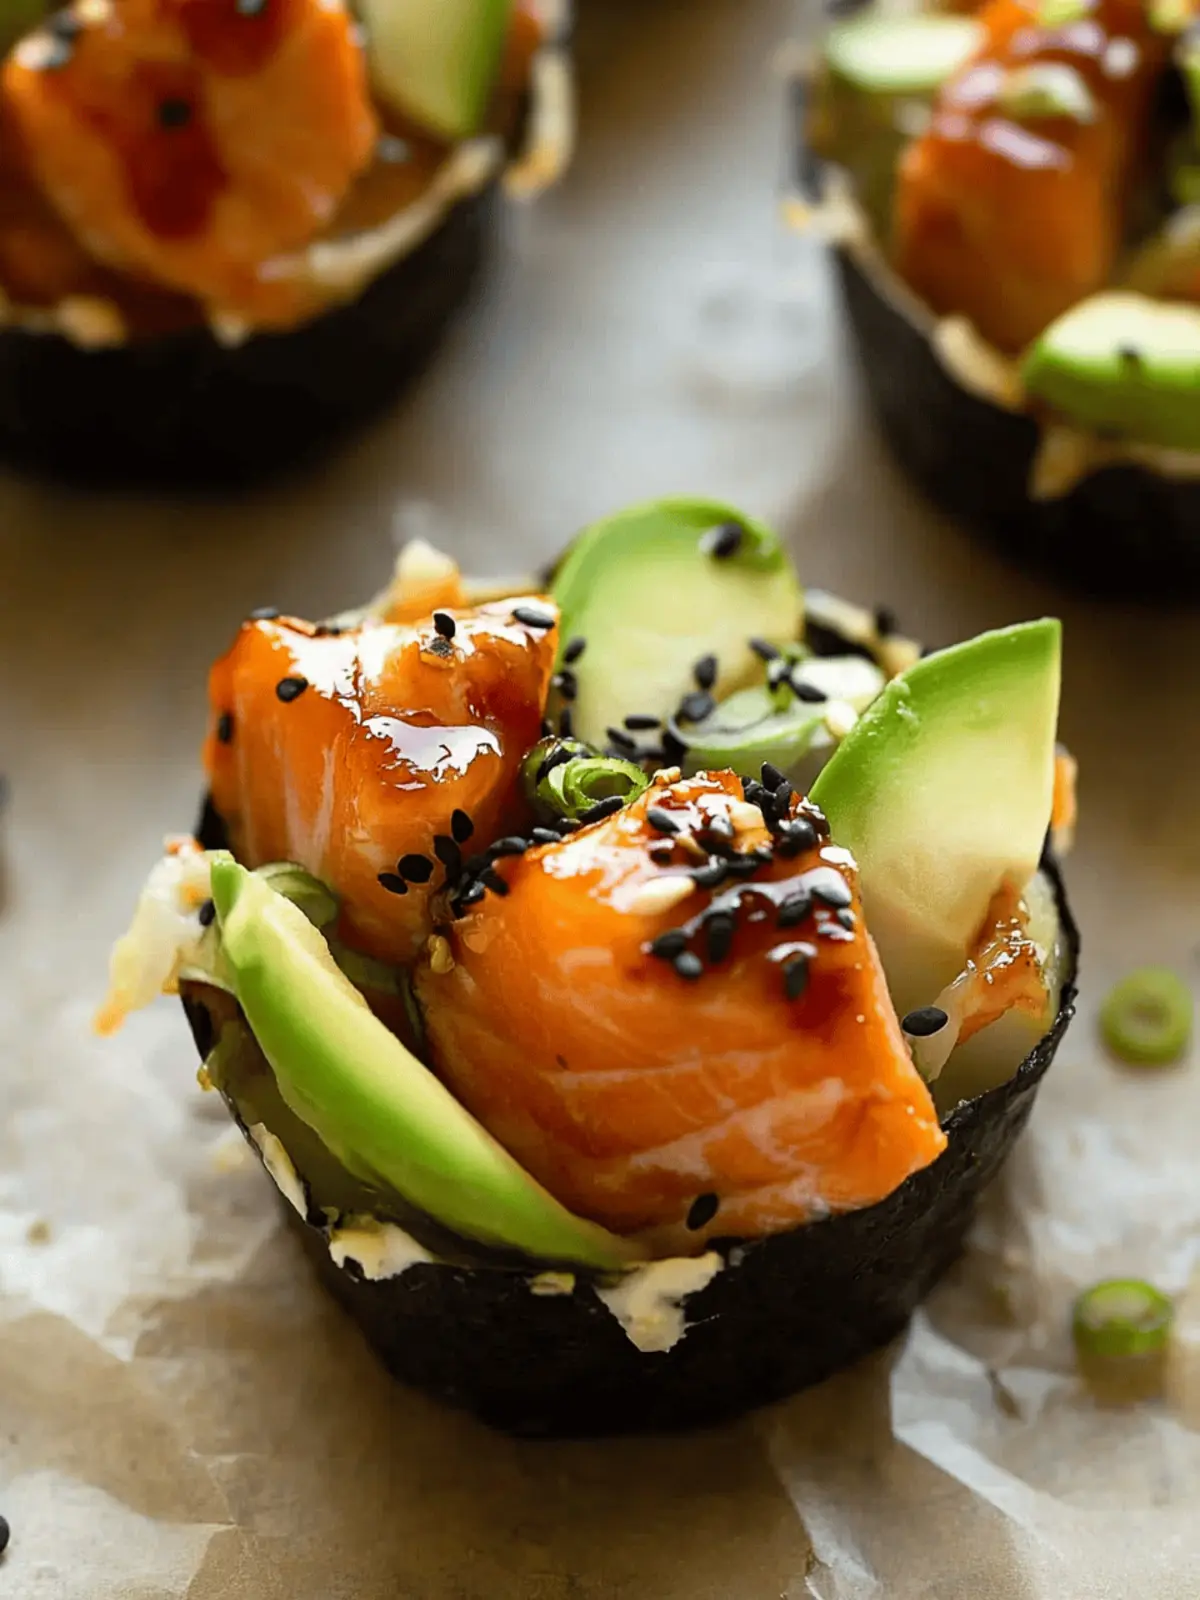
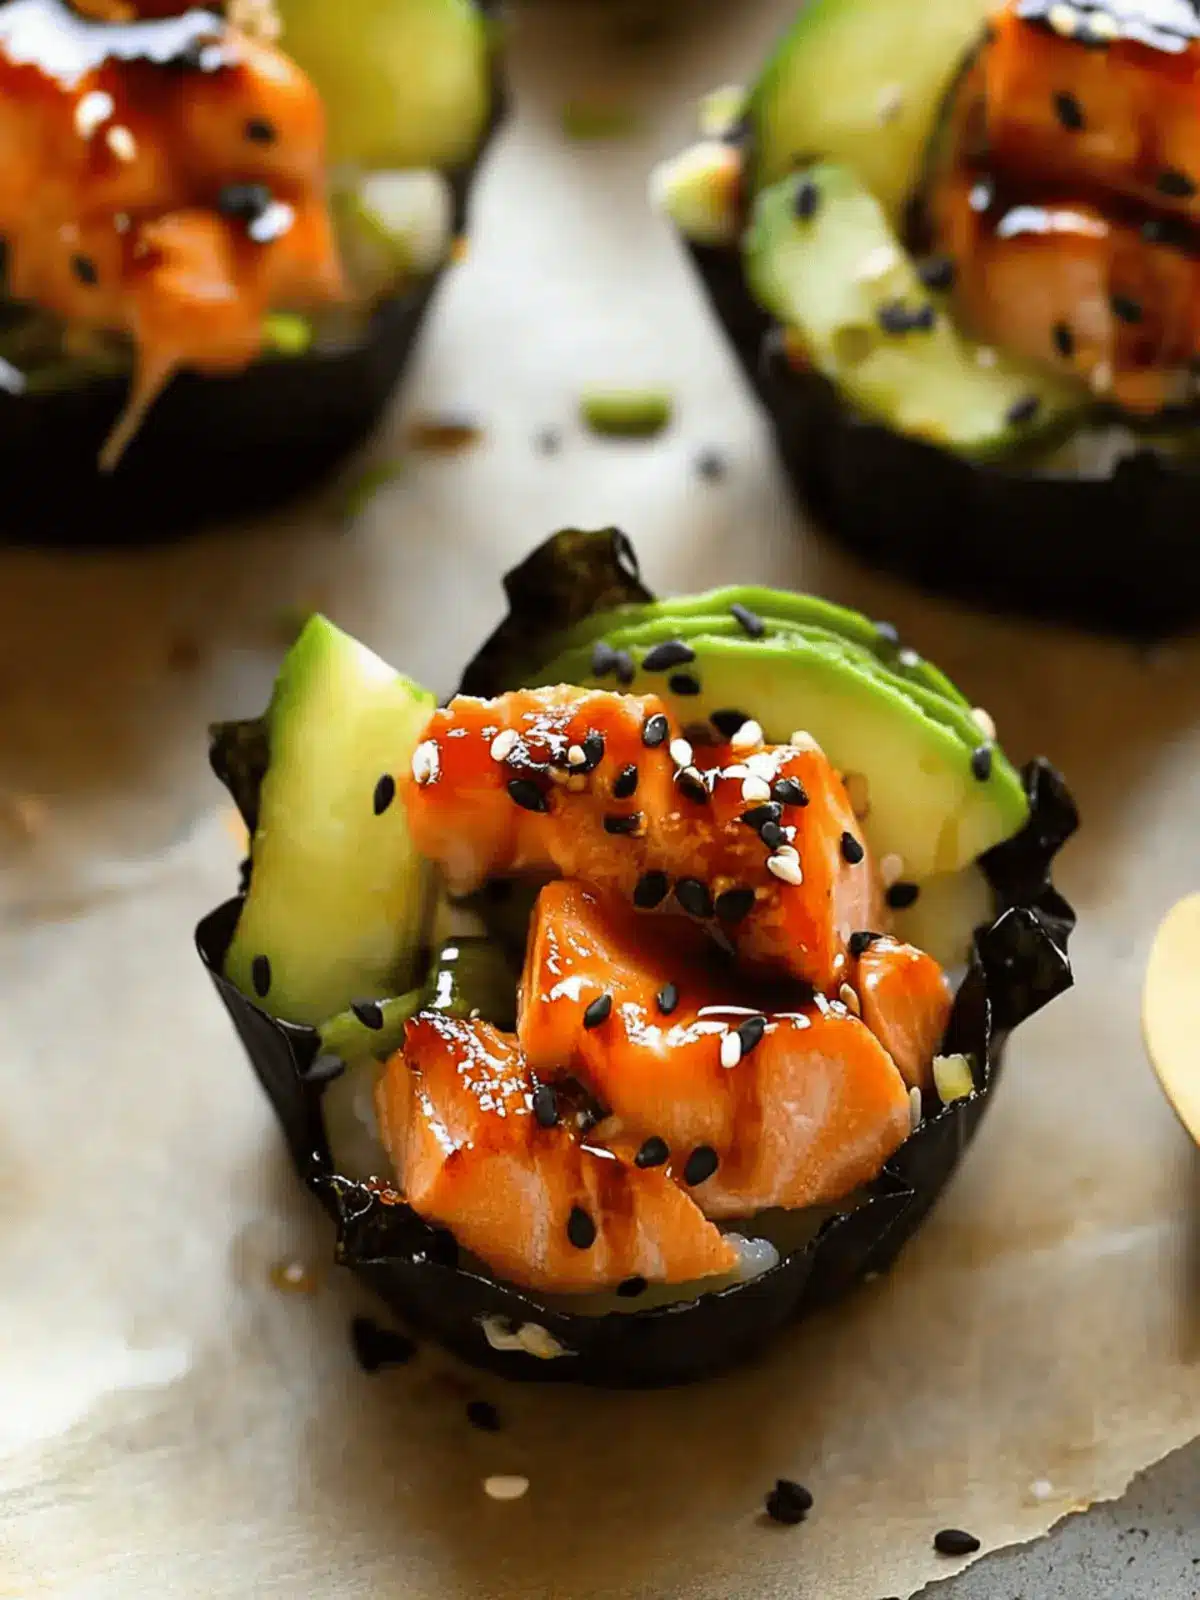
There’s nothing quite like the symphony of flavors in a heavenly sushi dish, but let’s be real—rolling sushi can be a bit intimidating, right? Enter these Baked Salmon Sushi Cups, a brilliant solution for those of us craving that sushi experience without the fuss. The moment you pop one of these cups in your mouth, the warm, creamy filling hugs the crispy nori base, igniting a burst of satisfaction.
Picture this: you’re winding down after a long day, and the last thing you want is to tackle complicated recipes or yet another fast-food run. Instead, spend just a few minutes prepping, and soon your oven will fill the air with the enticing aroma of savory salmon mingled with a hint of sriracha. Whether you’re hosting friends or treating yourself to a cozy night in, these easy and versatile sushi cups are bound to make you the star of any gathering. Grab your ingredients and let’s dive into this crowd-pleasing delight!
Why are Salmon Sushi Bake Cups a Must-Try?
Effortless Preparation: With just a few steps, you’ll have restaurant-quality sushi at home.
Savory Delight: The combination of creamy Kewpie mayo and rich salmon creates an unforgettable flavor burst.
Versatile Options: Customize your cups with different proteins or toppings to cater to every taste preference.
Crowd-Pleaser: Whether it’s a casual dinner or a party, these sushi cups are sure to impress your guests.
Wholesome Ingredients: Packed with protein and omega-3s, you can enjoy a delicious treat that’s also nutritious.
Feel free to explore variations like adding cream cheese or avocado for extra richness.
Salmon Sushi Bake Cups Ingredients
• Get ready to savor a deliciously easy recipe!
For the Sushi Base
- Cooked Sushi Rice – Provides structure and texture; you can substitute with short-grain rice like jasmine or Arborio for a similar taste and consistency.
- Rice Vinegar – Adds that perfect acidity to balance the flavors; apple cider vinegar or white wine vinegar works well as alternatives.
- Mirin – Sweetens the sushi rice beautifully; if you don’t have it, equal parts white wine or sherry mixed with a pinch of sugar will do the trick.
- Roasted Nori Seaweed – Forms the crisp “basket” for your sushi cups; you can use fresh lettuce leaves or thinly sliced cucumber for a lighter version.
For the Filling
- Salmon (skinless, cubed) – This is the main component that lends rich flavor and texture; for a twist, firm white fish like cod or halibut can be used, or even marinated tofu for a vegetarian option.
- Soy Sauce – Adds a delectable umami flavor to each bite; feel free to use tamari for gluten-free or coconut aminos for a soy-free choice.
- Kewpie Mayo – Provides that creamy richness you’ll crave; if you can’t find it, regular mayonnaise or homemade mayo can be substituted.
- Sriracha – Offers a lovely kick of heat; swap it out with any preferred hot sauce or chili oil if you desire.
For Serving & Garnishing
- Sesame Seeds – Sprinkle these on top for an extra crunch; they also enhance the presentation beautifully.
- Avocado – Adds creaminess and a fresh flavor; it can be diced or sliced and layered on top of the sushi cups.
- Green Onions – Finely chopped, they bring a burst of fresh flavor to the finished dish; feel free to add as much or as little as you like.
Each ingredient plays a role in crafting the unforgettable Salmon Sushi Bake Cups that are bound to make a splash at your next meal! Enjoy preparing them for a warm, satisfying dining experience.
How to Make Salmon Sushi Bake Cups
-
Prepare the Oven: Preheat your oven to 400°F (200°C) while you gather and prepare your ingredients. The hot oven will give your sushi cups a lovely, crisp base.
-
Marinate Salmon: In a mixing bowl, combine cubed salmon with soy sauce, Kewpie mayo, and sriracha. This flavor-packed mix will become the heart of your delicious cups. Let it sit while you prepare the next steps.
-
Flavor Sushi Rice: In another bowl, mix your warm cooked sushi rice with rice vinegar and mirin. This will give the rice that signature sushi flavor, making it the perfect base.
-
Assemble Sushi Cups: Line muffin tins with roasted nori sheets, filling each with a layer of sushi rice. Spoon your marinated salmon on top, ensuring each cup is stuffed generously.
-
Bake: Place the muffin tin in the preheated oven. Bake for about 12 minutes, until the salmon is just cooked through. For an extra crispy finish, broil for 1-2 minutes but keep an eye on it to prevent burning.
-
Garnish & Serve: Remove from the oven and let cool slightly. Top each cup with sesame seeds, diced avocado, and chopped green onions, along with an extra drizzle of Kewpie mayo and sriracha if desired.
Optional: Add a sprinkle of pickled ginger on the side for a zesty touch.
Exact quantities are listed in the recipe card below.
What to Serve with Baked Salmon Sushi Cups?
Elevate your dining experience with perfect pairings that complement the delightful flavors of your sushi cups.
- Crispy Edamame: These lightly salted green beans add a crunchy texture and a pop of color, acting as a light and healthy appetizer.
- Miso Soup: A warm, comforting bowl of miso soup brings umami flavors, making for an authentic sushi experience at home.
- Fresh Seaweed Salad: This zesty salad offers a refreshing balance to the richness of the salmon, enhancing the overall meal.
- Pickled Ginger: A classic side for sushi, its sharp tang cleanses the palate, enhancing the enjoyment of each sushi cup.
- Cucumber Slices with Rice Vinegar: Light and tangy, these slices provide a cool contrast to the warm, savory sushi cups.
- Sake: This traditional Japanese drink complements the savory flavors of the salmon and enhances the meal’s experience.
- Chilled Green Tea: A soothing beverage that pairs wonderfully, balancing the rich flavors without overpowering them.
- Chocolate Mochi: For dessert, the chewy sweetness of chocolate mochi offers a delightful ending to your sushi feast.
These pairings not only enhance the flavors of the Baked Salmon Sushi Cups but also create a well-rounded meal that feels special and satisfying.
Salmon Sushi Bake Cups Variations
Feel free to explore these creative twists that elevate your baking experience to new heights!
-
Dairy-Free: Replace Kewpie mayo with homemade cashew cream for a rich and creamy base without dairy.
-
Seafood Mix: Swap salmon for a mix of seafood like shrimp and crab, introducing an ocean of flavors into your cups.
-
Vegetarian Delight: Use marinated tofu instead of salmon for a fulfilling vegetarian option that still packs a punch in taste.
-
Spice It Up: Add diced jalapeños or red pepper flakes for an extra level of heat that spice lovers will adore.
-
Creamy Avocado: Mix mashed avocado into your salmon filling for added creaminess and a fresh flavor boost. It keeps things interesting!
-
Herb Infusion: Incorporate fresh herbs like cilantro or basil into the filling for a refreshing and fragrant twist that brightens every bite.
-
Zingy Citrus: Add orange or lime zest to the sushi rice for a citrusy brightness that complements the richness of salmon beautifully.
-
Crunch Factor: Top with panko breadcrumbs before baking for a crispy, golden crust that enhances the texture in each bite.
Storage Tips for Salmon Sushi Bake Cups
-
Fridge: Store leftover Salmon Sushi Bake Cups in an airtight container for up to 2 days. Make sure they are completely cooled before sealing to maintain freshness.
-
Freezer: If you want to keep them longer, freeze the cups tightly wrapped in plastic wrap and then in a freezer-safe bag for up to 3 months.
-
Reheating: To enjoy, reheat the sushi cups in the oven at 350°F (175°C) for about 10-15 minutes until heated through, ensuring the nori stays crispy.
-
Keep Garnishes Separate: Store any garnishes (like avocado or green onions) separately and add them after reheating to keep them fresh and flavorful.
Expert Tips for Salmon Sushi Bake Cups
-
Uniform Salmon Cuts: Ensure all salmon pieces are cut the same size for even cooking. Inconsistent sizes can lead to uneven textures in your Salmon Sushi Bake Cups.
-
Use Warm Rice: Mixing warm cooked sushi rice with rice vinegar is vital for flavor. Cold rice will not absorb the seasoning properly, affecting taste.
-
Don’t Overbake: Check your cups after 10 minutes. Salmon should be just cooked; overbaking can dry out the filling, turning your delicious cups into disappointments.
-
Crispy Nori: Use pre-roasted nori for that perfect crispiness. If using fresh, toast it lightly to prevent sogginess in your Salmon Sushi Bake Cups.
-
Experiment with Fillings: Feel free to add ingredients like cream cheese or different seafood varieties. Tailoring the filling to your preference makes the dish even more enjoyable!
Make Ahead Options
These Baked Salmon Sushi Cups are perfect for meal prep, allowing you to enjoy gourmet flavors while saving precious time! You can prepare the sushi rice and marinated salmon up to 24 hours in advance; simply refrigerate them in airtight containers. Additionally, you can assemble the sushi cups (without baking) and keep them in the fridge for up to 3 days. To maintain quality, be sure to cover them well to prevent the nori from becoming soggy. When ready to serve, just pop them in the oven, bake for approximately 12 minutes, and broil for that crispy finish. You’ll have a delicious and hassle-free meal ready to impress!
Salmon Sushi Bake Cups Recipe FAQs
How do I choose ripe salmon?
When selecting salmon, look for bright, vibrant colors without any discoloration. The flesh should be firm to the touch, and the smell should be fresh, not fishy. If you’re shopping at a fish market, ask if the salmon is sustainably sourced, which can enhance freshness and quality.
How should I store leftover Salmon Sushi Bake Cups?
Leftover cups can be stored in an airtight container in the refrigerator for up to 2 days. Make sure they have completely cooled before sealing to maintain their texture. If you find that they start to lose their crispiness, you can reheat them in the oven at 350°F (175°C) for about 10-15 minutes to restore some crunch.
Can I freeze Salmon Sushi Bake Cups?
Absolutely! To freeze, wrap each cup tightly in plastic wrap and then place them in a freezer-safe bag. They can be frozen for up to 3 months. To reheat, simply place the frozen cups in a preheated oven at 350°F (175°C) for 15-20 minutes to heat through, ensuring they stay crispy.
What should I do if my nori becomes soggy?
If your nori is absorbing too much moisture and becoming soggy, it’s important to bake the sushi cups right before serving. Additionally, avoid storing the cups for too long in an airtight container. To refresh crispy nori, you can briefly toast it in a dry skillet before assembling your cups.
Are Salmon Sushi Bake Cups safe for pets?
While salmon can be nutritious, it’s important to note that many toppings and ingredients, such as soy sauce and sriracha, can be harmful to pets. Therefore, it’s best to keep these sushi cups as a human-only treat! Always consult with your veterinarian for advice on safe human foods for your pets.
What substitutions can I use for dietary restrictions?
There are many great alternatives! For a gluten-free option, use tamari in place of soy sauce. If you’re vegetarian, try marinated tofu or firm white fish like cod or halibut instead of salmon. You can even adapt the garnishes using cucumber or avocado to match personal taste preferences or dietary needs.
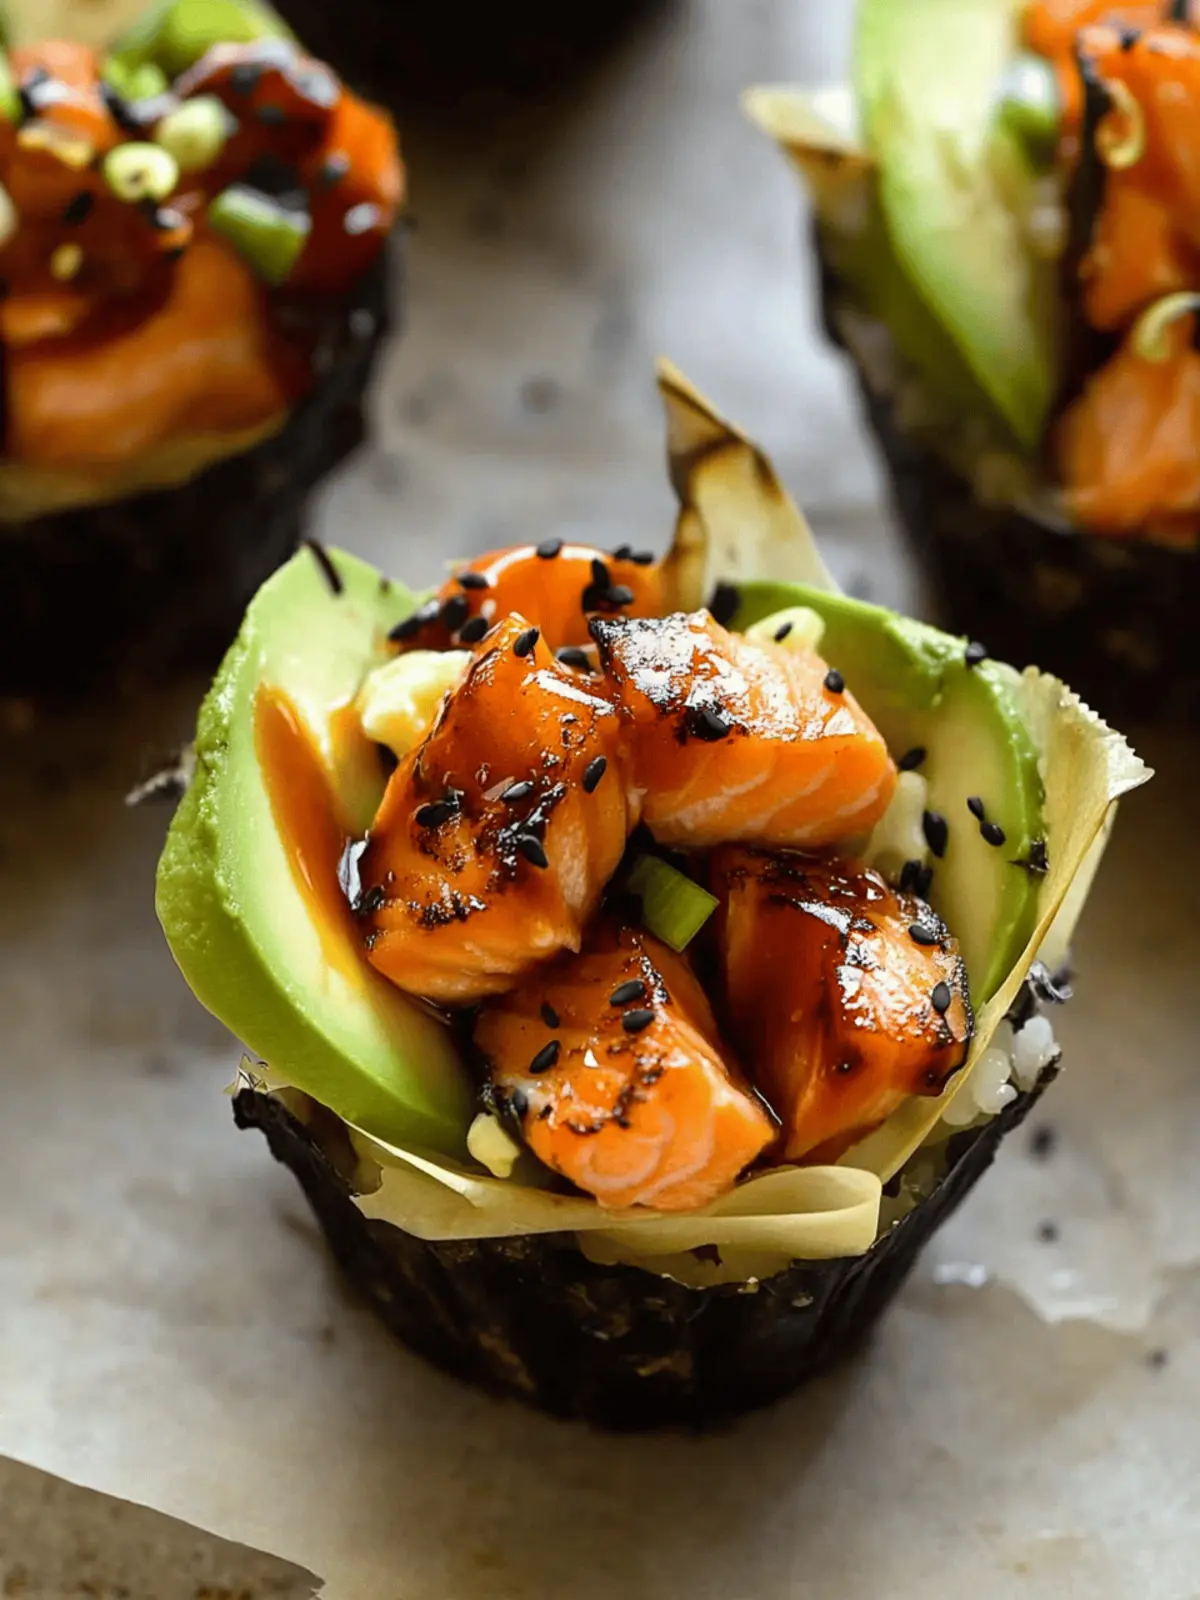
Savory Salmon Sushi Bake Cups You’ll Love Making at Home
Ingredients
Equipment
Method
- Preheat your oven to 400°F (200°C) while you gather and prepare your ingredients.
- In a mixing bowl, combine cubed salmon with soy sauce, Kewpie mayo, and sriracha. Let it sit.
- In another bowl, mix your warm cooked sushi rice with rice vinegar and mirin.
- Line muffin tins with roasted nori sheets, filling each with a layer of sushi rice. Spoon marinated salmon on top.
- Place the muffin tin in the preheated oven. Bake for about 12 minutes.
- Remove from the oven and let cool slightly. Top each cup with sesame seeds, diced avocado, and chopped green onions.

