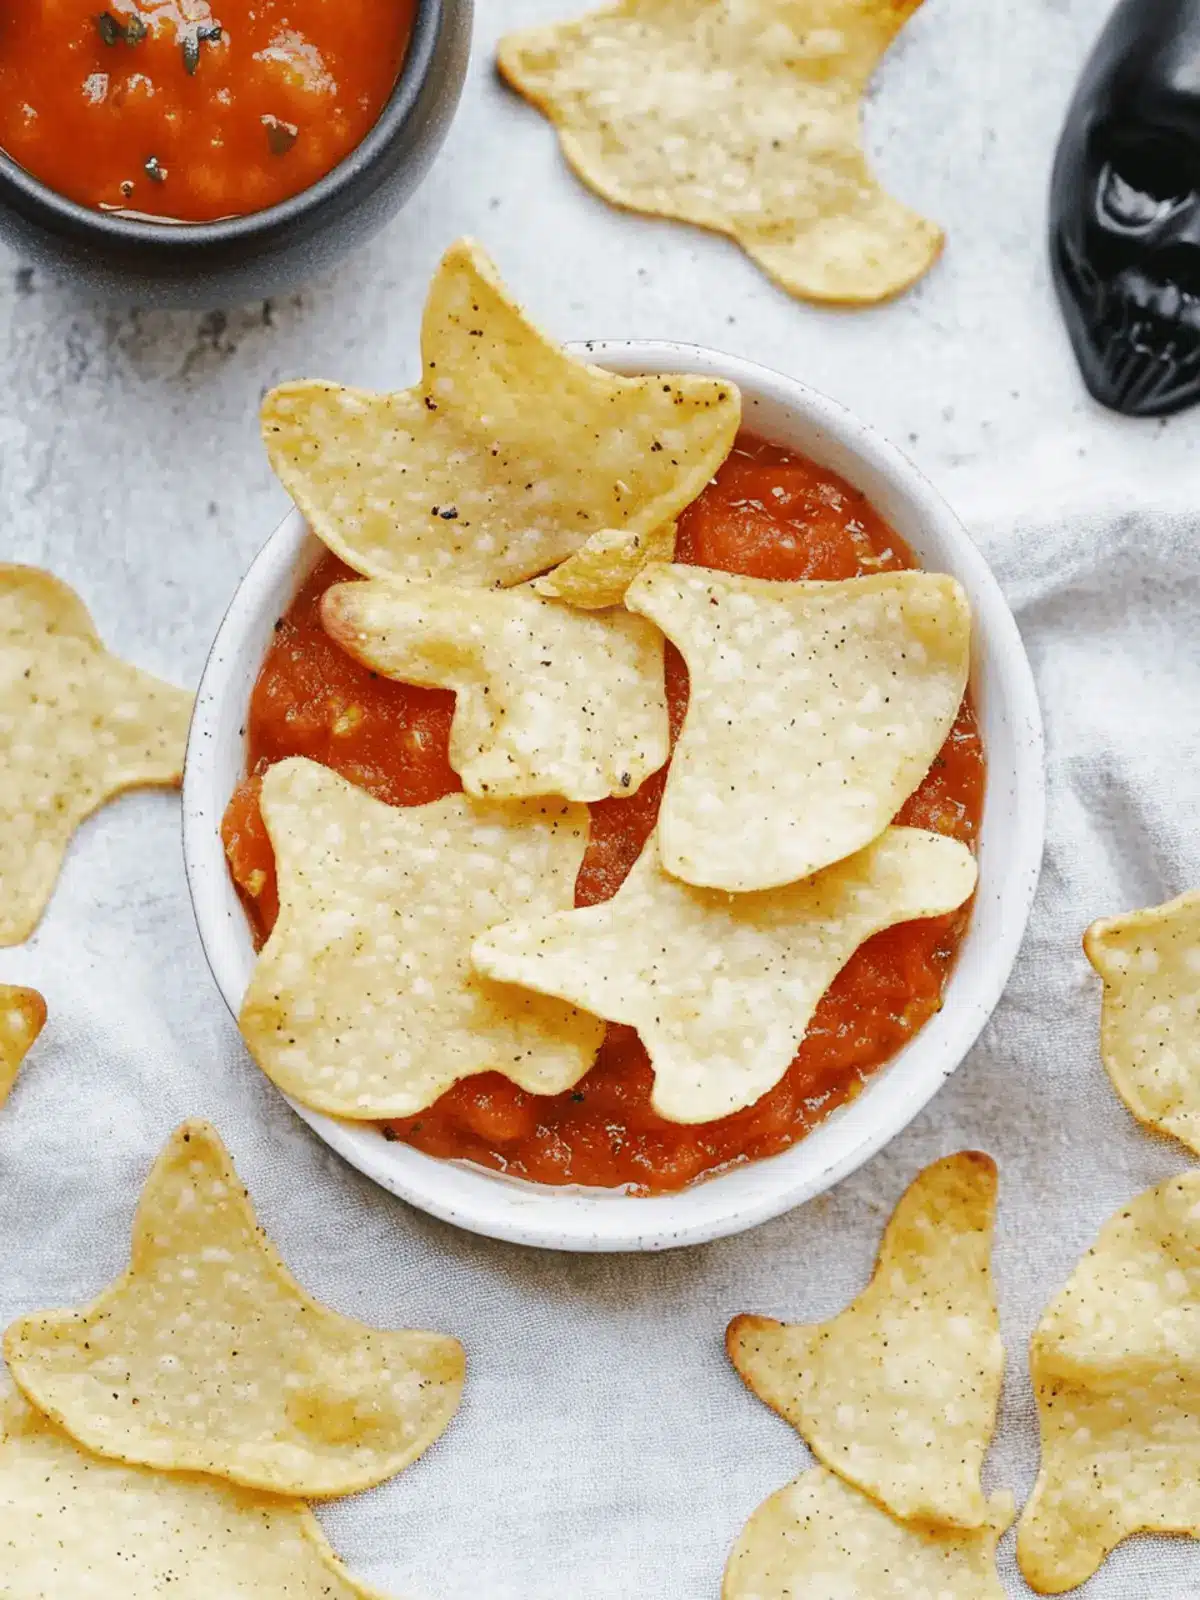
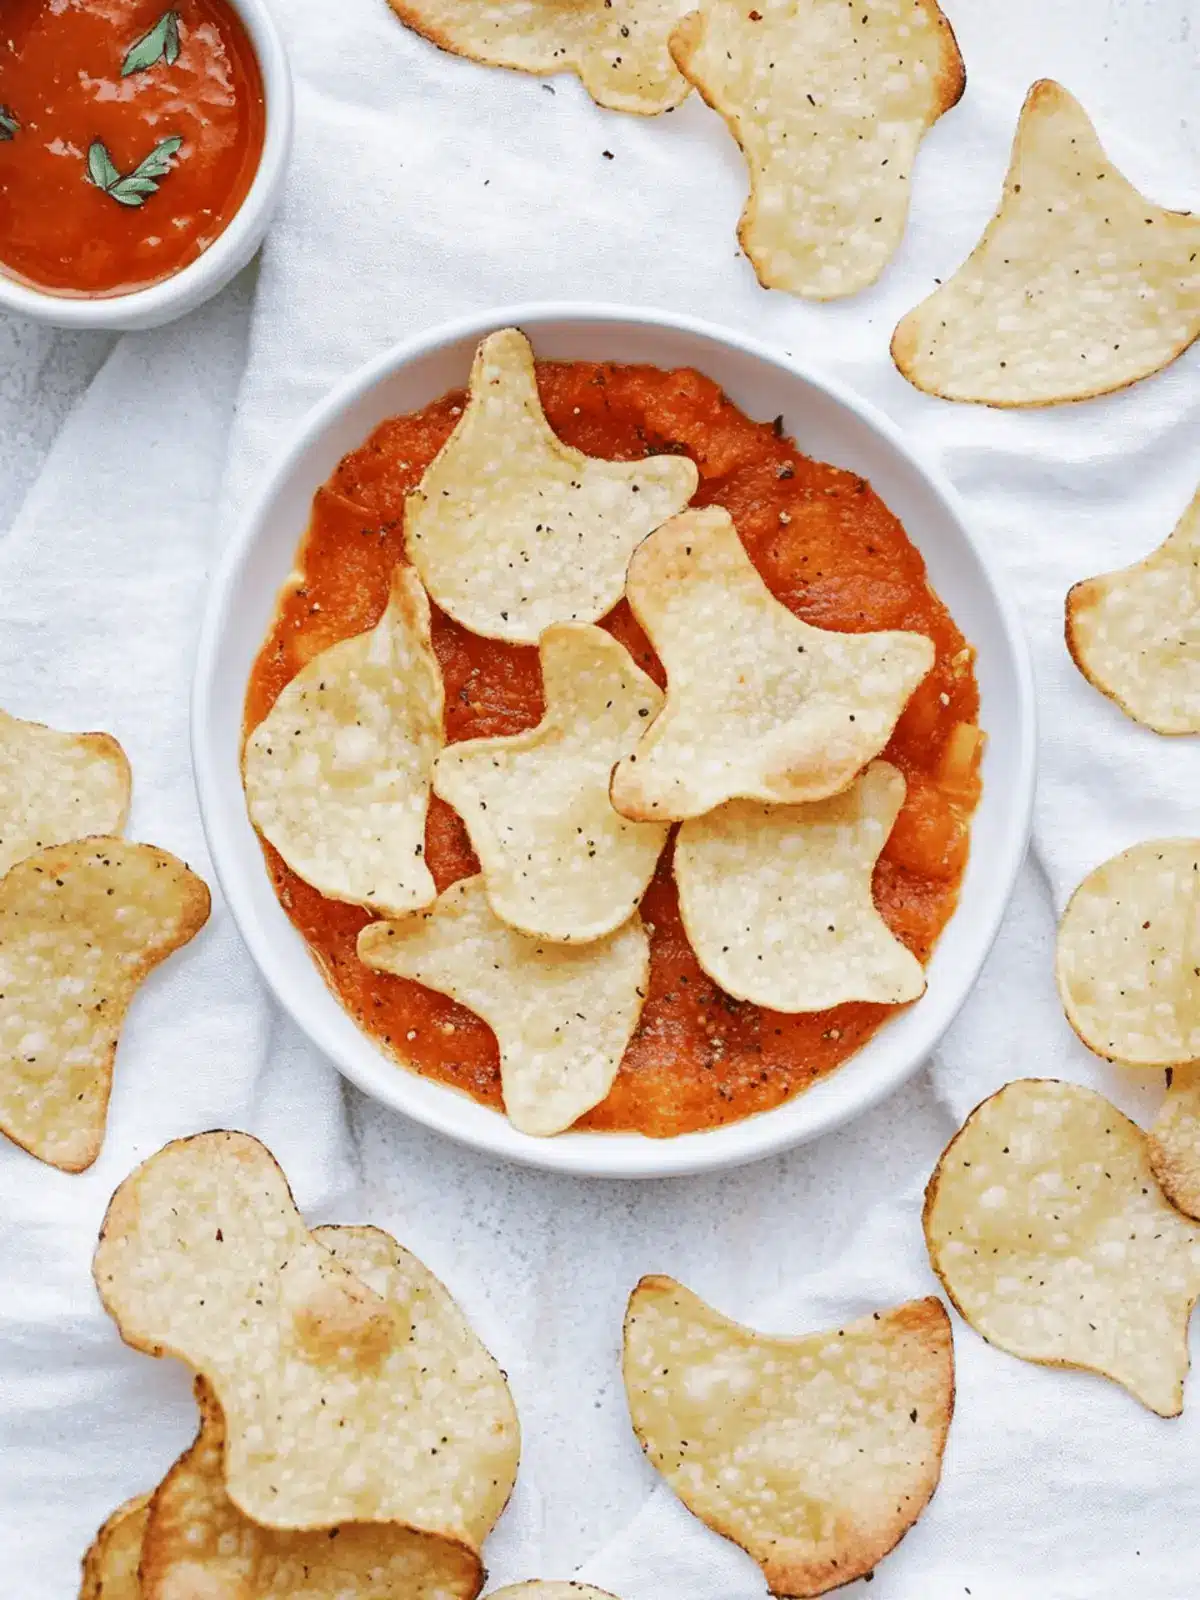
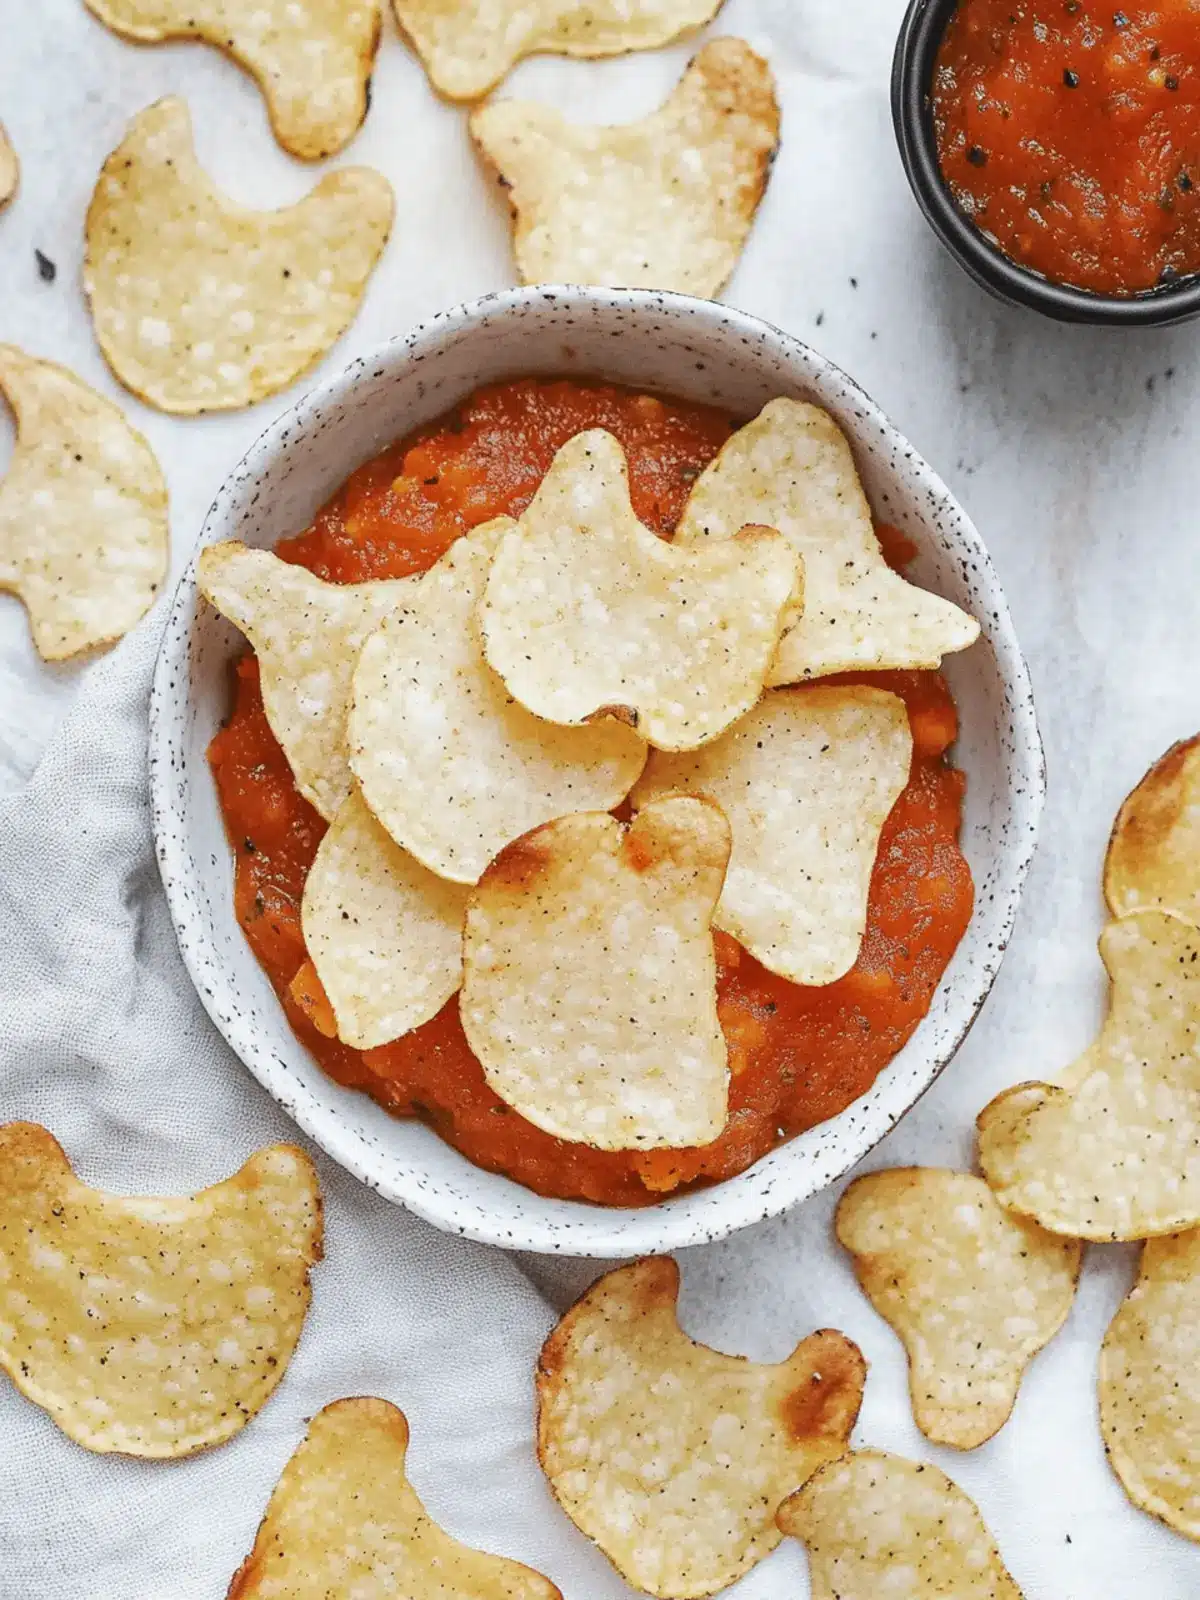
As the leaves begin to change and the air turns crisp, I can’t help but think of the playful spirit of Halloween. There’s something delightful about transforming an ordinary snack into a spooktacular treat, especially when it only takes 15 minutes and just three ingredients! Enter my Spooky Baked Halloween Chips – the perfect addition to your festive gatherings. These adorable ghost-shaped tortilla chips are not only gluten-free and paleo-friendly, but they also boast a satisfying crunch that will keep both kids and adults coming back for more.
Imagine the excitement at your Halloween party as these ghostly snacks make their debut, bringing a touch of whimsy to your treat table without any fuss. Whether you’re hosting a ghoulish gathering or just craving something fun and festive, this quick and easy recipe is sure to impress. Let’s dive into the simple steps to create this hauntingly delicious addition to your snack repertoire!
Why will you love Spooky Baked Halloween Chips?
Quick Preparation: With just 15 minutes of your time, you can whip up these delightful snacks—perfect for busy Halloween party prep!
Health-Conscious Snack: Enjoy a guilt-free treat that is gluten-free and paleo-friendly, ensuring everyone can indulge without worry.
Fun & Festive: Ghost-shaped chips add a playful twist to your spread, capturing the spirit of Halloween in every bite!
Versatile: These chips pair wonderfully with a variety of dips, making them a crowd-pleaser for any gathering.
Effortless Enjoyment: Using only three simple ingredients, this recipe simplifies festive cooking, allowing you to focus on fun while delighting your guests.
Spooky Baked Halloween Chips Ingredients
• Get ready to create these captivating treats!
For the Chips
- Tortillas – Use soft flour tortillas for a lighter texture or corn tortillas for a gluten-free option.
- Oil (e.g., avocado or olive oil) – This adds moisture and aids in achieving that perfect crispy bite.
- Salt – A pinch enhances the flavor; feel free to experiment with seasoning blends to kick it up a notch!
Now, let’s gather these few ingredients and prepare for a thrilling Halloween snack adventure!
How to Make Spooky Baked Halloween Chips
-
Preheat Oven: Start by setting your oven to 350°F (175°C). This temperature will help achieve that perfect crispiness while keeping our ghostly shapes intact!
-
Prepare Tortillas: Grab a ghost-shaped cookie cutter and cut out fun shapes from the tortillas. Feel free to get creative with the size—make them as big or small as you like!
-
Oil the Chips: Lightly spray or brush the tortilla cutouts with your favorite oil. Sprinkle them with salt to enhance the flavor—just enough to make your taste buds sing!
-
Bake: Line a baking sheet with your ghostly tortilla shapes and pop them in the oven. Bake for 5-7 minutes until they turn crispy and lightly browned, keeping an eye on them to avoid over-baking.
-
Cool: Once baked, let the chips cool slightly on the baking sheet. This will enhance their crunch and make them irresistibly delicious!
Optional: Serve with ghostly dips like guacamole or salsa for an extra touch of Halloween fun!
Exact quantities are listed in the recipe card below.
How to Store and Freeze Spooky Baked Halloween Chips
Room Temperature: Store leftover chips in an airtight container at room temperature for up to 2 days to maintain their crispiness and flavor.
Freezer: If you wish to keep the chips longer, freeze them in a single layer on a baking sheet, then transfer to a freezer bag for up to 2 months.
Reheating: To enjoy your frozen Spooky Baked Halloween Chips, simply reheat in the oven at 350°F (175°C) for about 5-7 minutes until crispy again.
Tip: For the best taste, it’s ideal to consume these ghostly treats fresh on the same day they’re made!
Make Ahead Options
These Spooky Baked Halloween Chips are an excellent option for meal prep, saving you time during your festive celebrations! You can cut the tortillas into ghost shapes and store them in an airtight container for up to 24 hours before baking. Just be sure to keep them in a cool, dry place to maintain their quality; this prevents the tortillas from getting soggy. When you’re ready to serve, simply pull them out, spray or brush them with oil, sprinkle with salt, and bake as instructed for crispy, fresh chips. Your guests will love these treats, and you’ll appreciate the time saved in your busy Halloween schedule!
What to Serve with Spooky Baked Halloween Chips?
As you’re preparing these fun ghost-shaped chips, consider what delightful accompaniments will make your Halloween spread even more festive!
- Guacamole: Creamy and rich, guacamole adds a smooth contrast to the crunchy chips, making each bite a flavor sensation.
- Salsa: Fresh and tangy, a classic salsa brings a burst of vibrant flavor that pairs perfectly with the salty crunch of the chips.
- Pumpkin Chili: This savory, fall-inspired dish offers a warming heartiness, creating a cozy balance with the lightness of the baked chips.
- Cheesy Nacho Dip: Indulgent and satisfying, a cheesy dip lures guests back for more, complementing the playful shapes of your spooky chips.
- Roasted Vegetable Platter: Liven up your snack table with colorful roasted vegetables for a fresh and crunchy element that contrasts deliciously with the chips.
- Apple Cider: For a refreshing drink, serve chilled apple cider alongside the chips, adding a hint of sweetness that enhances the fall ambiance.
- Spooky Sugar Cookies: Complete the festive feel with some decorated Halloween cookies as a sweet counterpart to the savory chips.
- Cranberry Salsa: This tart and sweet twist on traditional salsa mesmerizes guests and adds a seasonal flair to your spread.
- Chocolate-Covered Pretzels: For an unexpected treat, pair with sweet and salty chocolate-covered pretzels that create a delightful dessert experience.
Expert Tips for Spooky Baked Halloween Chips
-
Even Oil Coating: Ensure a light, even coating of oil on the tortilla cutouts to keep them crispy and avoid sogginess.
-
Baking Watch: Keep a close eye on the chips while baking; they can go from perfect to burnt in a matter of seconds.
-
Creative Shapes: Don’t limit yourself to ghosts! Use various cookie cutter shapes for themes or mix in sizes for fun visual appeal.
-
Utilize Scraps: Save any leftover tortilla scraps to create bonus chips; just bake them the same way and enjoy!
-
Dipping Suggestions: Pair these Spooky Baked Halloween Chips with a variety of dips to add depth to your snack table and elevate your Halloween experience.
Spooky Baked Halloween Chips Variations
Feel free to get creative and personalize your spooky chips with these fun twists!
-
Pumpkin Shapes: Use a pumpkin-shaped cookie cutter for a festive fall touch that’s perfect for Halloween gatherings.
-
Spicy Kick: Add a dash of cayenne pepper or chili powder to the salt for some heat. Your guests will enjoy the extra zing!
-
Cheesy Flavor: Sprinkle nutritional yeast or shredded cheese on the chips before baking for a savory cheesy flavor that pairs beautifully with dips.
-
Herbed Delight: Experiment with dried herbs like oregano or rosemary for a fragrant twist, giving your chips an aromatic edge.
-
Sweet Twist: Dust with cinnamon and a bit of sugar before baking for a sweet version that’s perfect for a dessert dip!
-
Colorful Fun: Brush the chips with beet juice or spinach puree for a fun twist that adds color and nutrition, making them visually appealing.
-
Pita Chip Variant: Swap tortillas for pita bread for a slightly thicker, heartier chip that holds up well with creamy dips.
-
Dippable Ideas: Offer a selection of dips such as pumpkin spice hummus or garlic-lime avocado dip to enhance the flavor experience of your chips!
Spooky Baked Halloween Chips Recipe FAQs
What type of tortillas should I use for these chips?
Absolutely! You can use soft flour tortillas for a lighter texture, or opt for corn tortillas if you’re looking for a gluten-free option. Both types work wonderfully, and each offers a slightly different texture and flavor to your spooky chips!
How should I store leftover Spooky Baked Halloween Chips?
It’s important to store your leftover chips in an airtight container at room temperature for up to 2 days. This helps maintain their crispiness and flavor. However, for the best taste and texture, I highly recommend enjoying them on the same day they’re made!
Can I freeze Spooky Baked Halloween Chips?
Yes, you can absolutely freeze these delightful treats! To do so, lay them out in a single layer on a baking sheet and place them in the freezer for about 1-2 hours, until fully frozen. Then, transfer them to a freezer-safe bag or container. They can be stored this way for up to 2 months. When you’re ready to enjoy, simply reheat them in the oven at 350°F (175°C) for about 5-7 minutes until they’re crispy again.
What should I do if my chips turn out too soggy?
Very good question! If your chips end up soggy, it could be due to too much oil or not baking them long enough. To avoid this issue, make sure to apply a light and even coating of oil and check the chips towards the end of the baking time. They should be just golden and crispy when done. If needed, you can put them back in the oven for a few additional minutes, just watch closely to prevent burning.
Are these chips safe for my pets?
While the Spooky Baked Halloween Chips are made from simple ingredients, it’s best to keep them away from your furry friends. Tortillas can be high in carbohydrates and not suitable as regular treats for pets. Always check with your vet for pet dietary concerns!
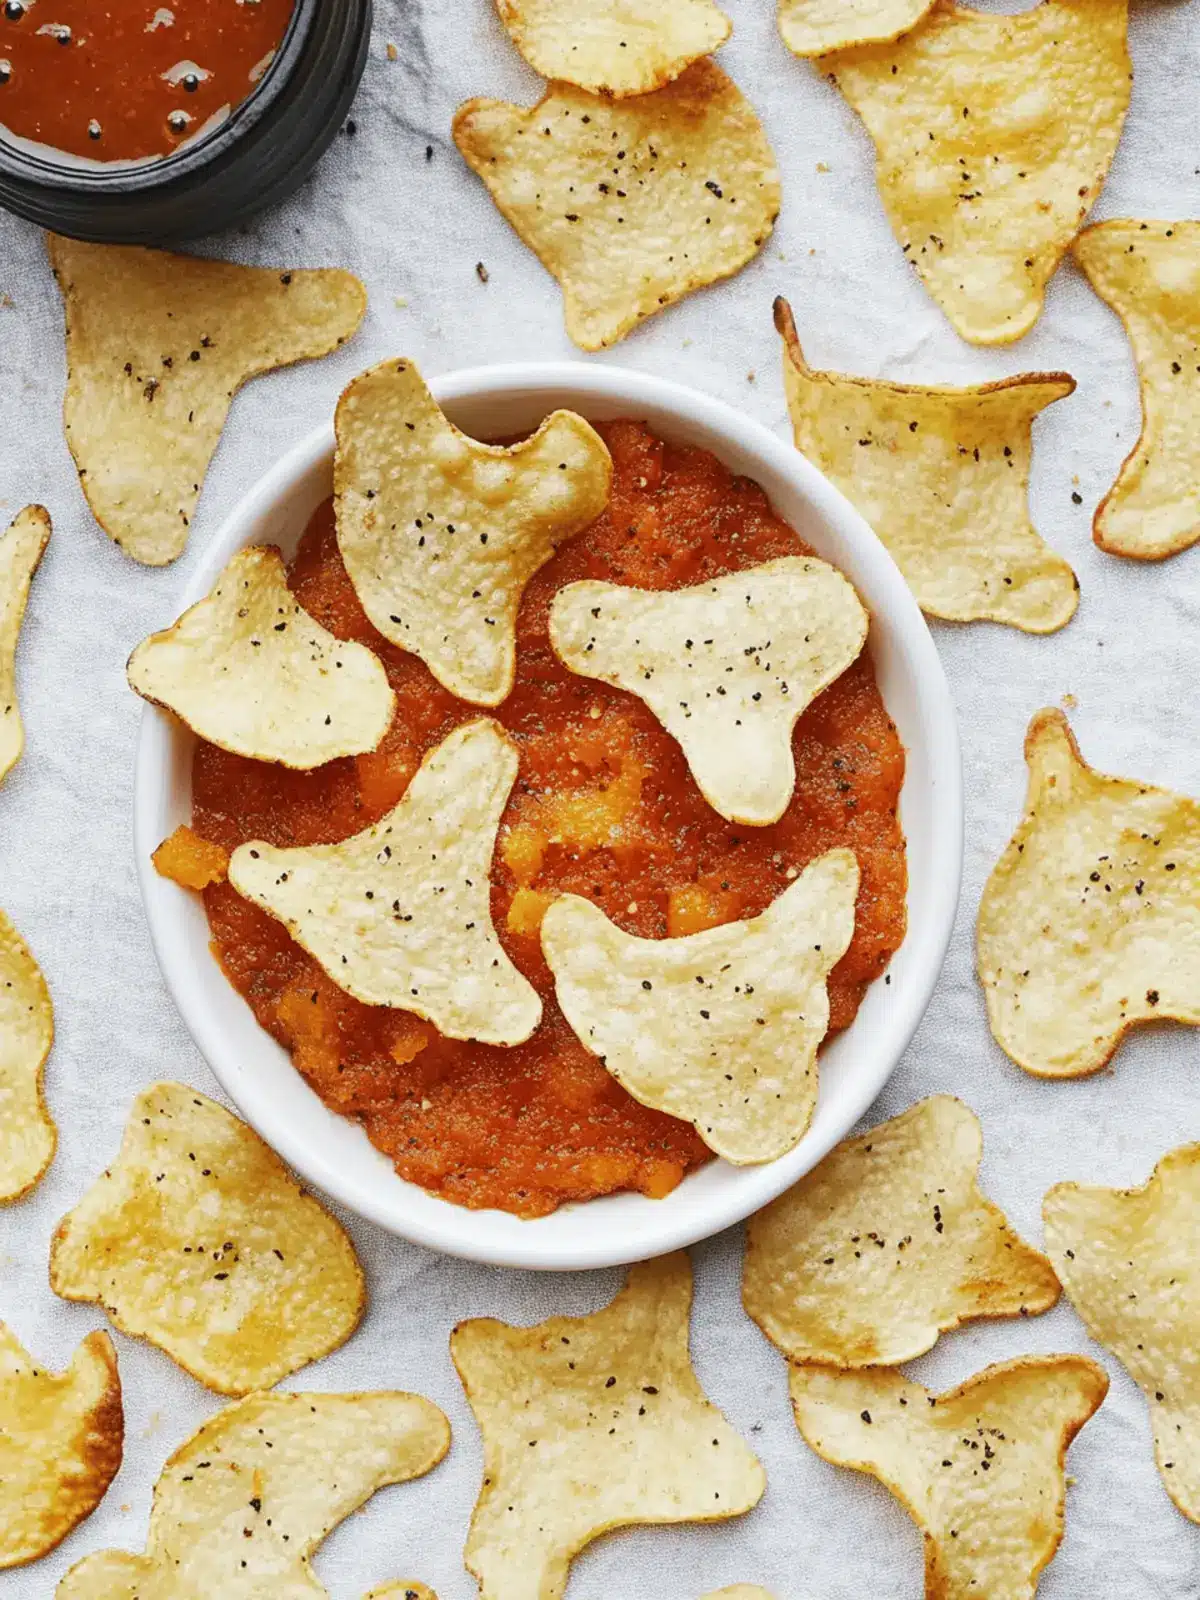
Spooky Baked Halloween Chips – Fun, Gluten-Free Treats!
Ingredients
Equipment
Method
- Preheat your oven to 350°F (175°C) to achieve perfect crispiness.
- Use a ghost-shaped cookie cutter to cut fun shapes from the tortillas.
- Lightly spray or brush the tortilla cutouts with oil and sprinkle with salt.
- Line a baking sheet with the ghostly tortilla shapes and bake for 5-7 minutes until crispy and lightly browned.
- Let the chips cool slightly on the baking sheet to enhance their crunch.
