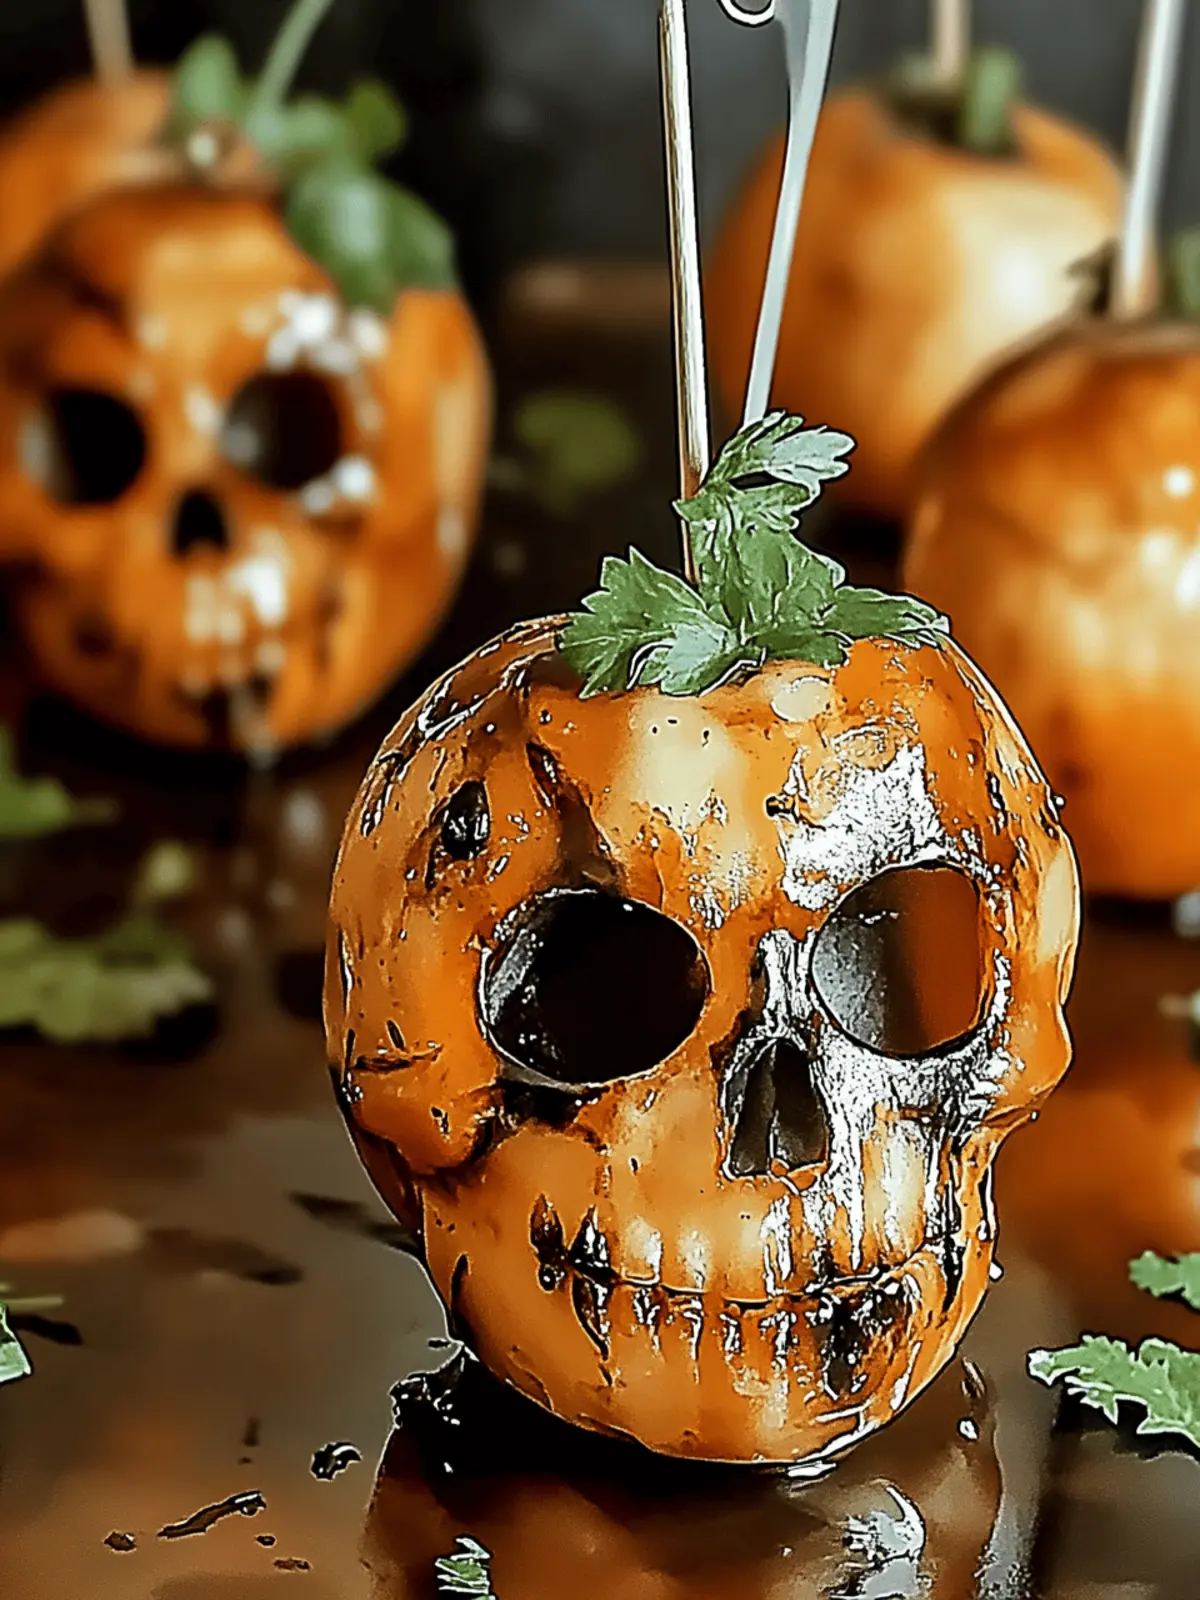
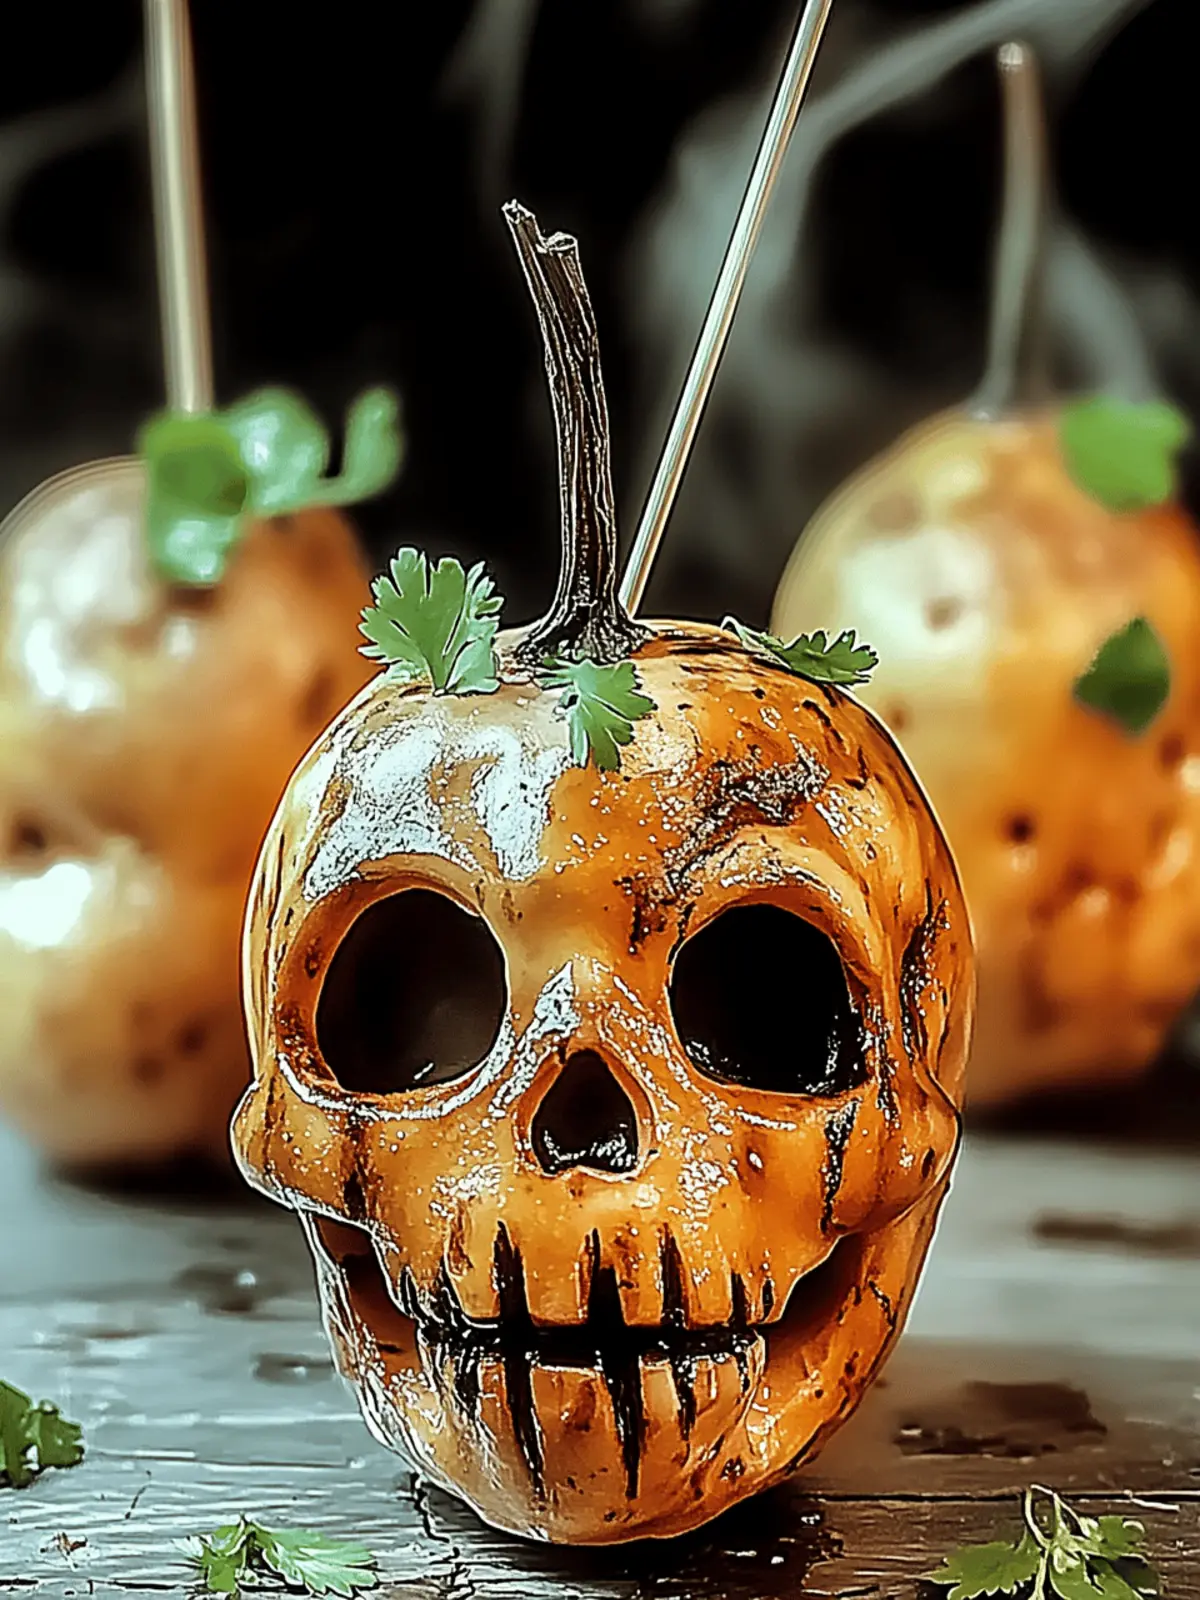
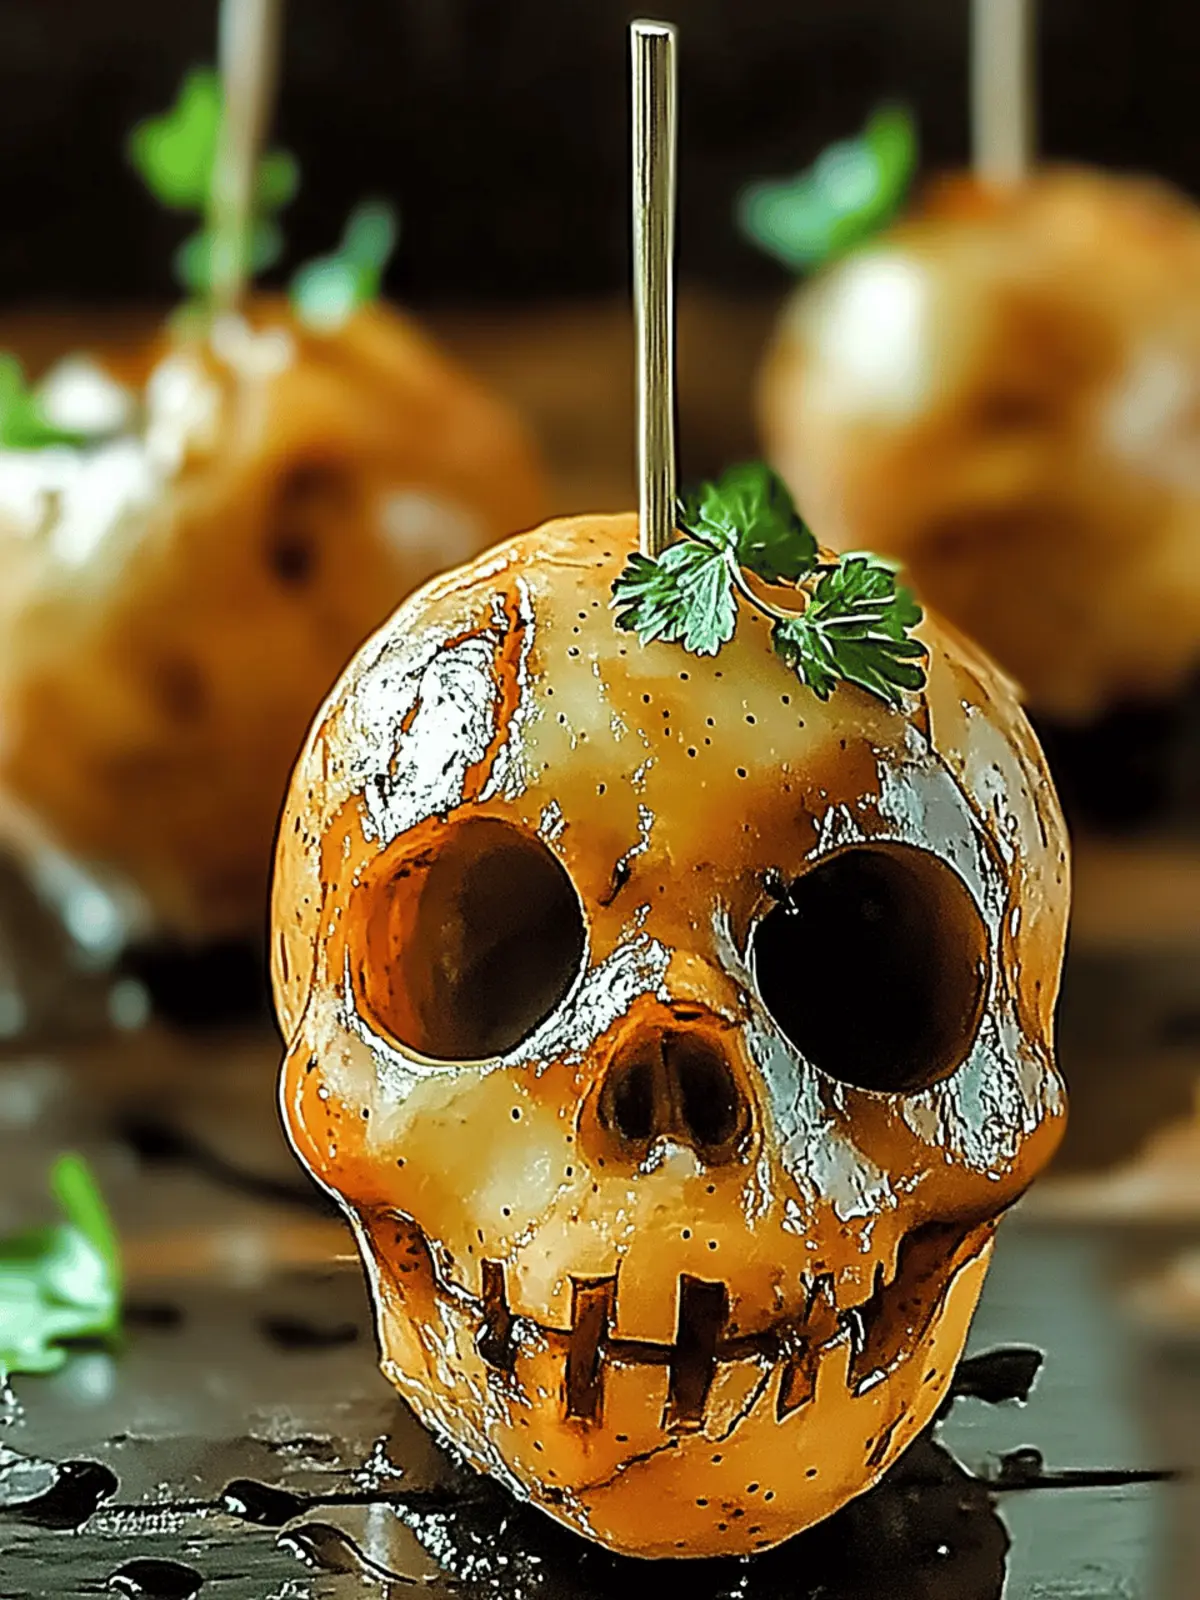
As the leaves turn and pumpkins start to appear on doorsteps, the excitement of Halloween fills the air. I remember hosting my first Halloween party; I wanted everything to be spooktacular, from the decorations to the treats on the table. That’s when I stumbled upon a delightful idea that made a lasting impression—Spooky Skull Potatoes! Imagine creamy, fluffy mashed potatoes, magically transformed into delightfully scary skull shapes. These playful and deliciously buttery bites are not only eye-catching, but they also bring a unique twist to your Halloween spread.
What I love about this recipe is its versatility; you can customize the flavors or decorations to suit your guests’ taste buds. Whether you’re making them dairy-free or adding a cheesy kick, these skulls will be the life of the party. Plus, they’re straightforward to whip up, making them a perfect addition to your festive gatherings. So let’s dive into this fun and creepy culinary adventure that’s bound to impress both kids and adults alike!
Why Are Spooky Skull Potatoes a Must-Make?
Halloween Fun: These Spooky Skull Potatoes are sure to be a conversation starter at any gathering!
Customizable Delights: Tailor the flavors with different herbs, spices, or toppings for a personal twist.
Easy Preparation: With just a few simple steps, you can create a show-stopping dish without stress.
Appealing Presentation: Their whimsical skull shapes not only taste great but look fantastic on the plate!
Make-Ahead Option: Prep ahead of time to enjoy more moments with your guests on the big night.
Kid-Friendly: Perfect for involving the little ones in the kitchen, making cooking a fun family activity!
Spooky Skull Potatoes Ingredients
For the Mashed Potatoes
• Russet Potatoes – The key ingredient for creamy texture; choose large, firm potatoes. Substitution: Other potato varieties may result in less creaminess.
• Heavy Cream – Adds richness and smoothness to the mash. Substitution: Use milk for a lighter version.
• Butter (melted) – Enhances flavor and provides a silky consistency. Substitution: Olive oil for a dairy-free option.
• Salt and Pepper – Essential for flavor enhancement. Note: Adjust to personal taste preferences.
For the Spooky Decorations
• Black Olives – Used for creating spooky eyes; visually appealing and add a fun element. Substitution: Roasted red peppers or edible googly eyes for variation.
• Fresh Chives or Green Onions (optional) – Adds a touch of color and mild flavor. Note: Optional if not desired.
How to Make Spooky Skull Potatoes
-
Prep Potatoes: Start by peeling and chopping the large russet potatoes into 2-inch chunks. Put them in a pot, cover with salted water, and bring to a boil. Cook for about 15-20 minutes until fork-tender.
-
Mash Potatoes: Once cooked, drain the potatoes and return them to the pot. Mix in the heavy cream, melted butter, salt, and pepper. Mash until you achieve a smooth and creamy consistency.
-
Shape Skulls: Pack the delicious mashed potatoes into a skull mold or shape them by hand to resemble skulls. Ensure each skull holds its form and is well-defined.
-
Decorate: Get creative! Use sliced black olives for the eyes and add optional green onions or chives for garnish, giving your skulls a fun personality!
-
Serve Warm: Present your Spooky Skull Potatoes warm as a festive side dish. They’re a delightful addition to any Halloween gathering, ready to impress your guests.
Optional: Serve with a drizzle of extra melted butter for an indulgent touch.
Exact quantities are listed in the recipe card below.
Storage Tips for Spooky Skull Potatoes
Fridge: Store leftovers in an airtight container for up to 3 days to maintain their creamy texture and flavor.
Freezer: For longer storage, freeze Spooky Skull Potatoes in a freezer-safe container for up to 2 months.
Reheating: When ready to enjoy, reheat in the oven at 350°F for 15-20 minutes, covered with foil to restore creaminess.
Make-Ahead: Prepare your skulls ahead of time and refrigerate, so they’re ready to be baked and served when guests arrive!
Make Ahead Options
These Spooky Skull Potatoes are perfect for meal prep, allowing you to enjoy more time with your guests on Halloween. You can prepare the mashed potatoes up to 24 hours in advance by following the first two steps: peel, chop, and cook the russet potatoes, then mash them with heavy cream, melted butter, salt, and pepper. Store the mashed mixture in an airtight container in the refrigerator. Additionally, shape the skulls a few hours ahead if desired; just make sure to refrigerate them until you’re ready to decorate. When it’s time to serve, simply reheat the spuds in the oven at 350°F for about 15-20 minutes, and garnish with olives and chives right before serving. By prepping ahead, you’ll have these delightful treats ready with minimal last-minute effort, ensuring they are just as delicious for your spooky celebration!
What to Serve with Spooky Skull Potatoes?
Imagine a magical Halloween feast where every dish plays its part in a whimsical narrative of flavors and textures. Complement these charming skulls with delightful sides that enhance their festive charm!
-
Crispy Roasted Brussels Sprouts:
These greens bring a satisfying crunch and a slight bitterness that contrasts beautifully with the creamy potatoes. -
Garlic Butter Green Beans:
Tender green beans sautéed in garlic and butter add freshness and vibrant color to your spooky spread. -
Sweet and Tangy Beet Salad:
Juicy beets combined with tangy dressing and nuts create a beautiful plate, serving as a refreshing palate cleanser. -
Pumpkin Soup:
A warm, velvety pumpkin soup can tie the meal together, offering a delightful fall flavor that welcomes guests with its comforting aroma. -
Cheesy Garlic Bread:
Indulgent and easy to share, cheesy garlic bread provides a hearty addition, perfect for scooping up any leftover mashed potatoes. -
Ghoulish Ghost Cupcakes:
Finish off with cupcakes topped with fluffy frosting and ghostly decorations for a sweet treat that keeps the festive spirit alive!
Expert Tips for Spooky Skull Potatoes
-
Choose the Right Potatoes: Opt for large, firm russet potatoes for a creamy texture; avoid waxy potatoes that may become gummy.
-
Perfectly Mash: After boiling, don’t rush the mashing process! Take your time to ensure a smooth and fluffy consistency in your Spooky Skull Potatoes.
-
Mold with Care: When packing the mashed potatoes into skull molds, press firmly but gently to prevent them from breaking apart when you release them.
-
Get Creative: Customize flavors by adding garlic powder, shredded cheese, or even colorful food coloring for a festive twist!
-
Make Ahead: Prepare the mashed potatoes a day in advance, refrigerating them. On Halloween, just shape and bake to save time while enjoying the festivities.
Spooky Skull Potatoes Variations & Substitutions
Feel free to unleash your creativity and customize these festive skulls to suit every taste!
- Dairy-Free: Swap heavy cream for coconut milk or cashew cream to make these potatoes vegan and still irresistibly creamy.
- Cheesy Addition: Incorporate shredded cheese like cheddar or pepper jack right into the mash for an extra layer of flavor that cheese lovers will appreciate.
- Experiment with Color: Use natural food coloring or pureed vegetables such as beet or spinach for a fun, vibrant look that adds an artistic flair.
- Shape Alternatives: Instead of skulls, use molds to create pumpkins or ghosts to mix up your Halloween theme while keeping the fun alive.
- Garlic Lovers: Add roasted garlic or garlic powder into the mash for a delightful savory kick that will enhance the comforting flavors.
- Spicy Kick: Mix in some diced jalapeños or a dash of hot sauce for a surprise heat that will elevate your skulls and thrill daring guests.
- Herb Infusion: Fold in fresh herbs like parsley, thyme, or rosemary for a fragrant twist that brightens up the classic mashed potato experience.
- Nutty Crunch: Top with toasted pine nuts or walnuts before serving to introduce a wonderful crunch that contrasts beautifully with the creamy texture.
Spooky Skull Potatoes Recipe FAQs
What type of potatoes should I use?
I recommend using large, firm russet potatoes for the creamiest texture in your Spooky Skull Potatoes. If you choose a waxy potato variety, the mash may become gummy rather than smooth and fluffy.
How do I store leftover Spooky Skull Potatoes?
Store any leftovers in an airtight container in the refrigerator for up to 3 days. Make sure they’re fully cooled before sealing to maintain their delicious creamy texture.
Can I freeze Spooky Skull Potatoes?
Absolutely! To freeze, place the shaped skulls in a single layer on a baking sheet until frozen solid, then transfer them to a freezer-safe container. They can be stored for up to 2 months. When you’re ready to serve, simply reheat in the oven.
How can I reheat the skull potatoes without losing creaminess?
To reheat effectively, place the frozen skulls in a preheated oven at 350°F. Cover them with foil to keep moisture in, and heat for about 15-20 minutes until warmed through. This method helps ensure they retain their creamy consistency.
Can I customize the flavors of the Spooky Skull Potatoes?
Yes! There are so many options for customization. You can stir in garlic powder, cheese, or even natural food coloring for a fun twist. Feel free to experiment according to your taste preferences!
Are Spooky Skull Potatoes suitable for dietary restrictions?
Absolutely! For a dairy-free version, substitute the heavy cream with coconut milk or use olive oil instead of butter. Ensure to check for any allergies with ingredients like black olives or green onions when serving to guests.
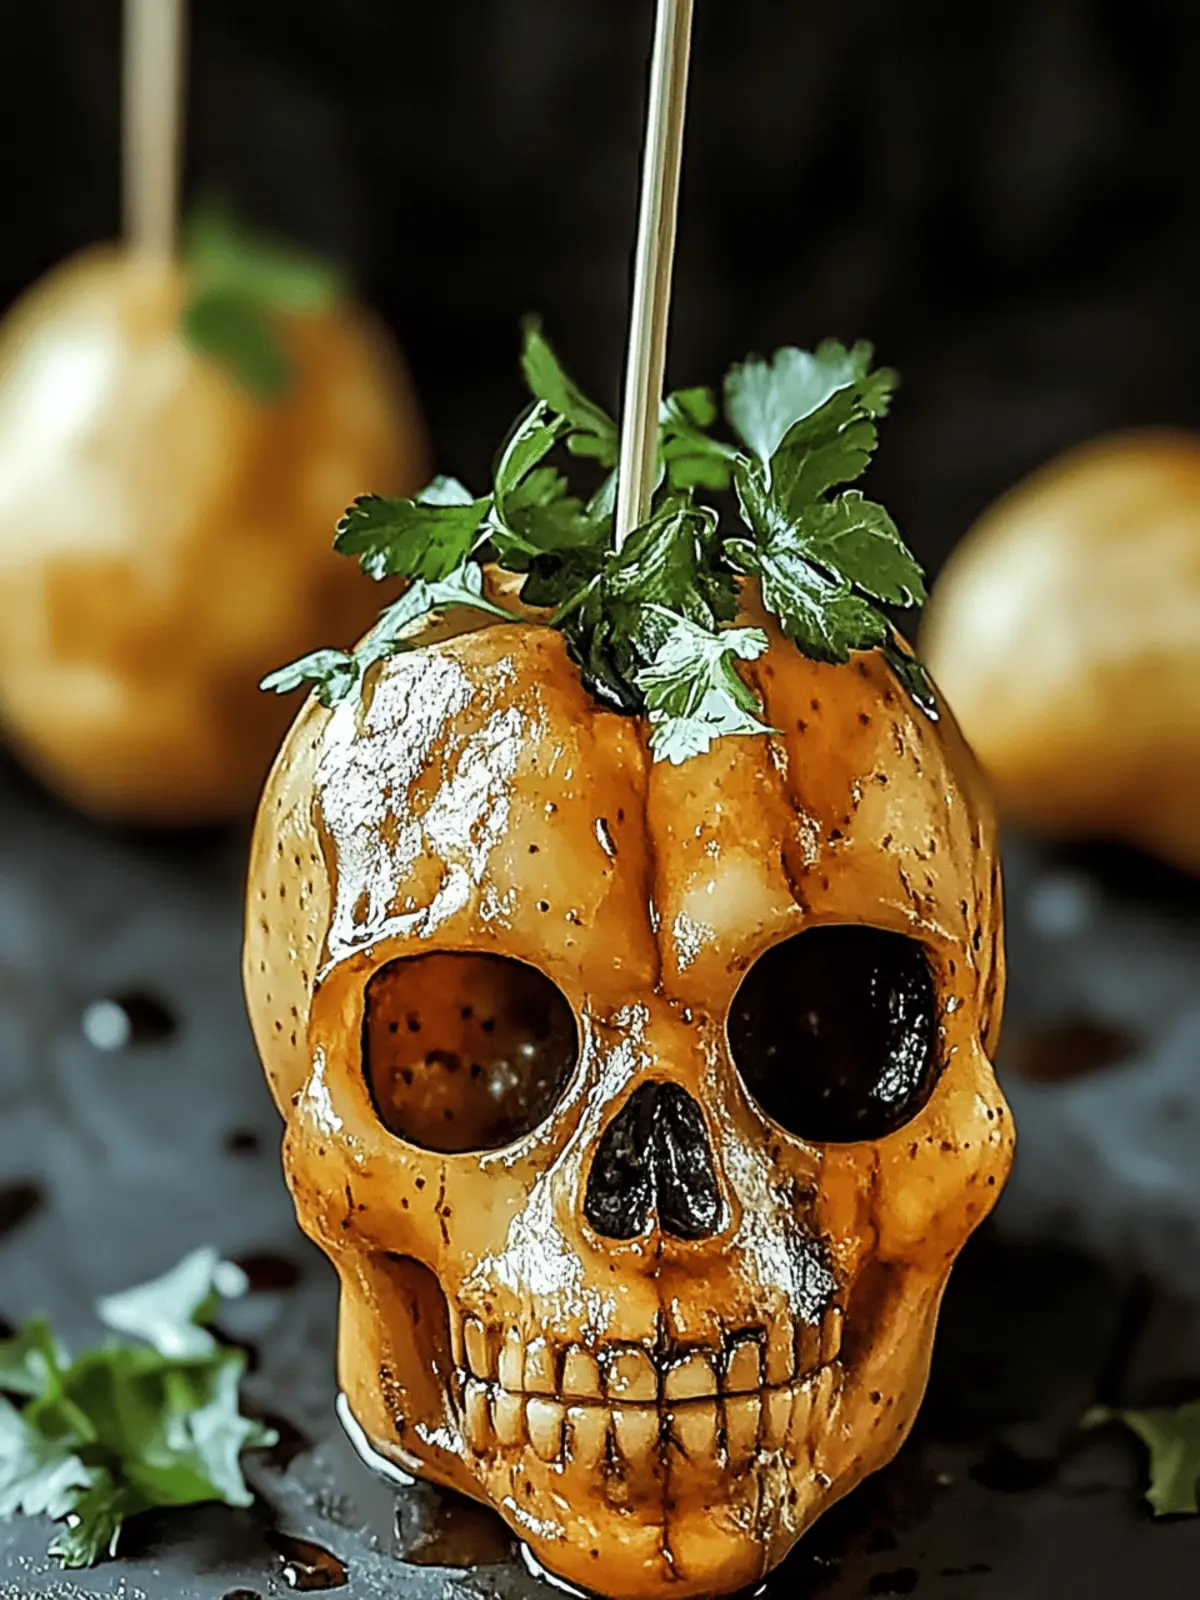
Spooky Skull Potatoes: A Whimsical Halloween Treat
Ingredients
Equipment
Method
- Start by peeling and chopping the large russet potatoes into 2-inch chunks. Put them in a pot, cover with salted water, and bring to a boil. Cook for about 15-20 minutes until fork-tender.
- Once cooked, drain the potatoes and return them to the pot. Mix in the heavy cream, melted butter, salt, and pepper. Mash until you achieve a smooth and creamy consistency.
- Pack the delicious mashed potatoes into a skull mold or shape them by hand to resemble skulls. Ensure each skull holds its form and is well-defined.
- Get creative! Use sliced black olives for the eyes and add optional green onions or chives for garnish, giving your skulls a fun personality!
- Present your Spooky Skull Potatoes warm as a festive side dish. They’re a delightful addition to any Halloween gathering, ready to impress your guests.
