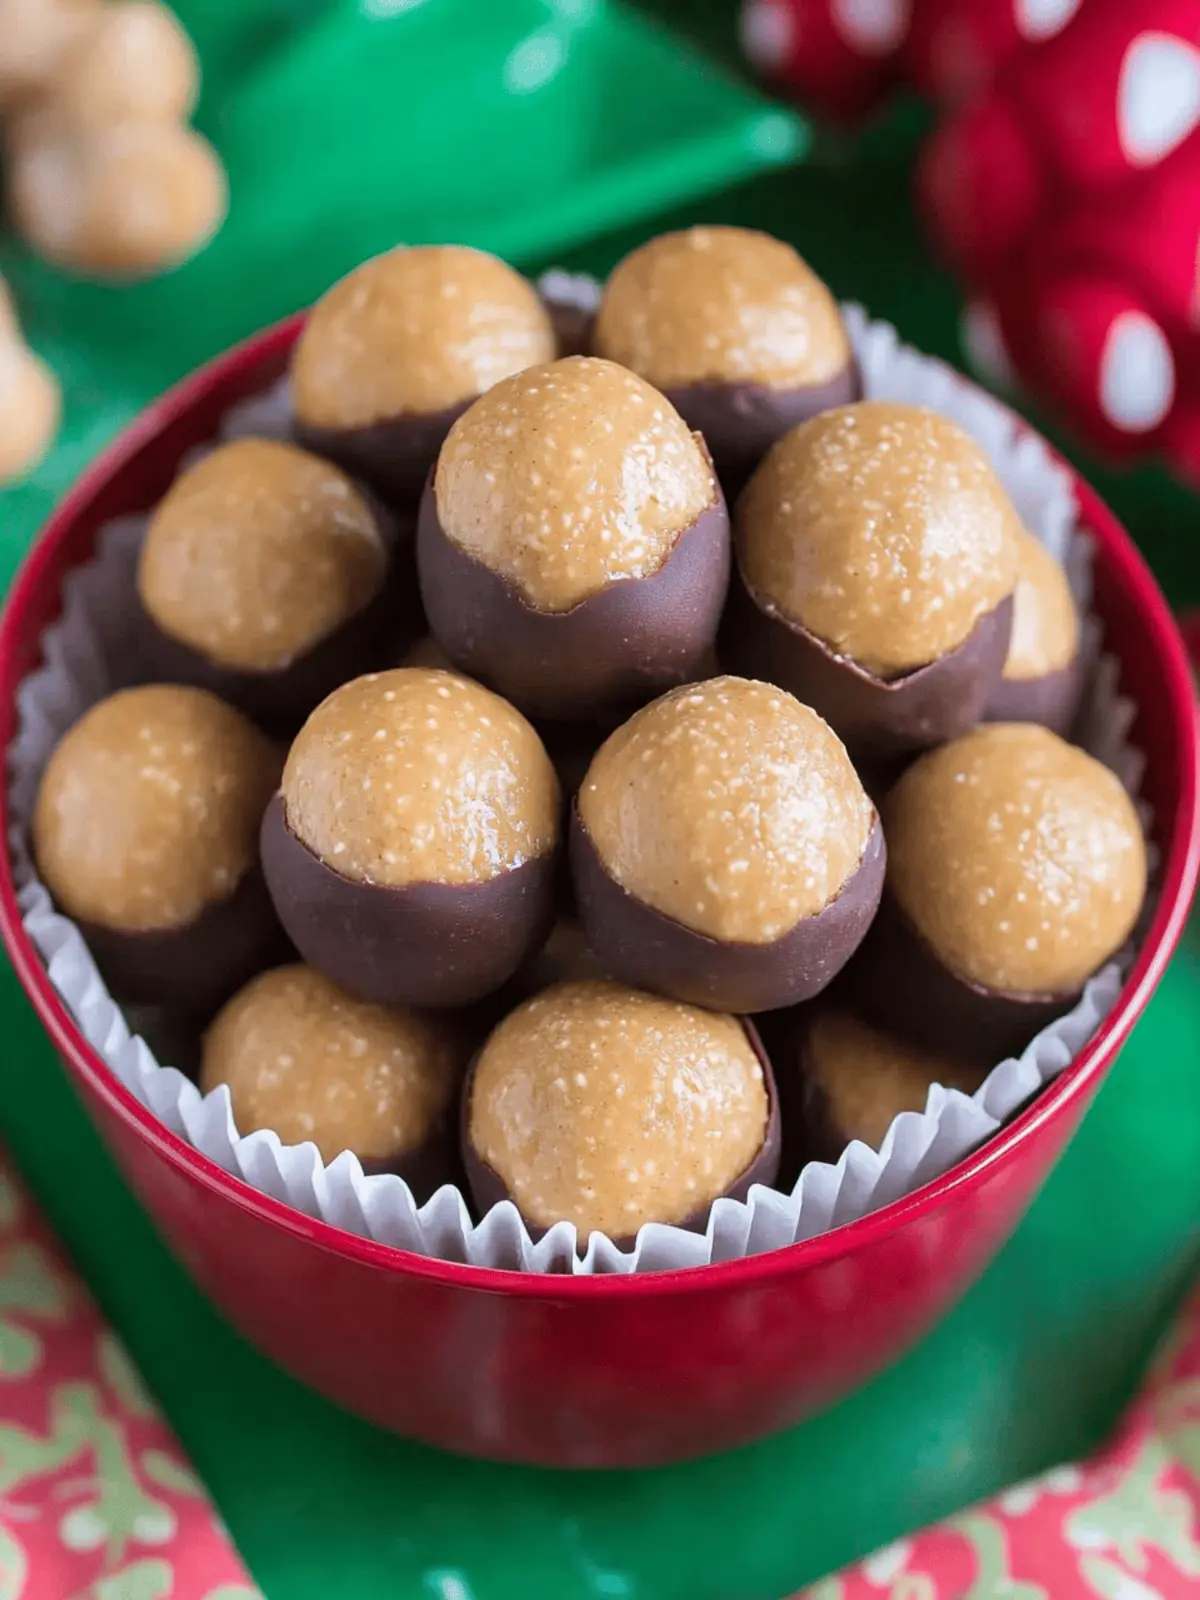
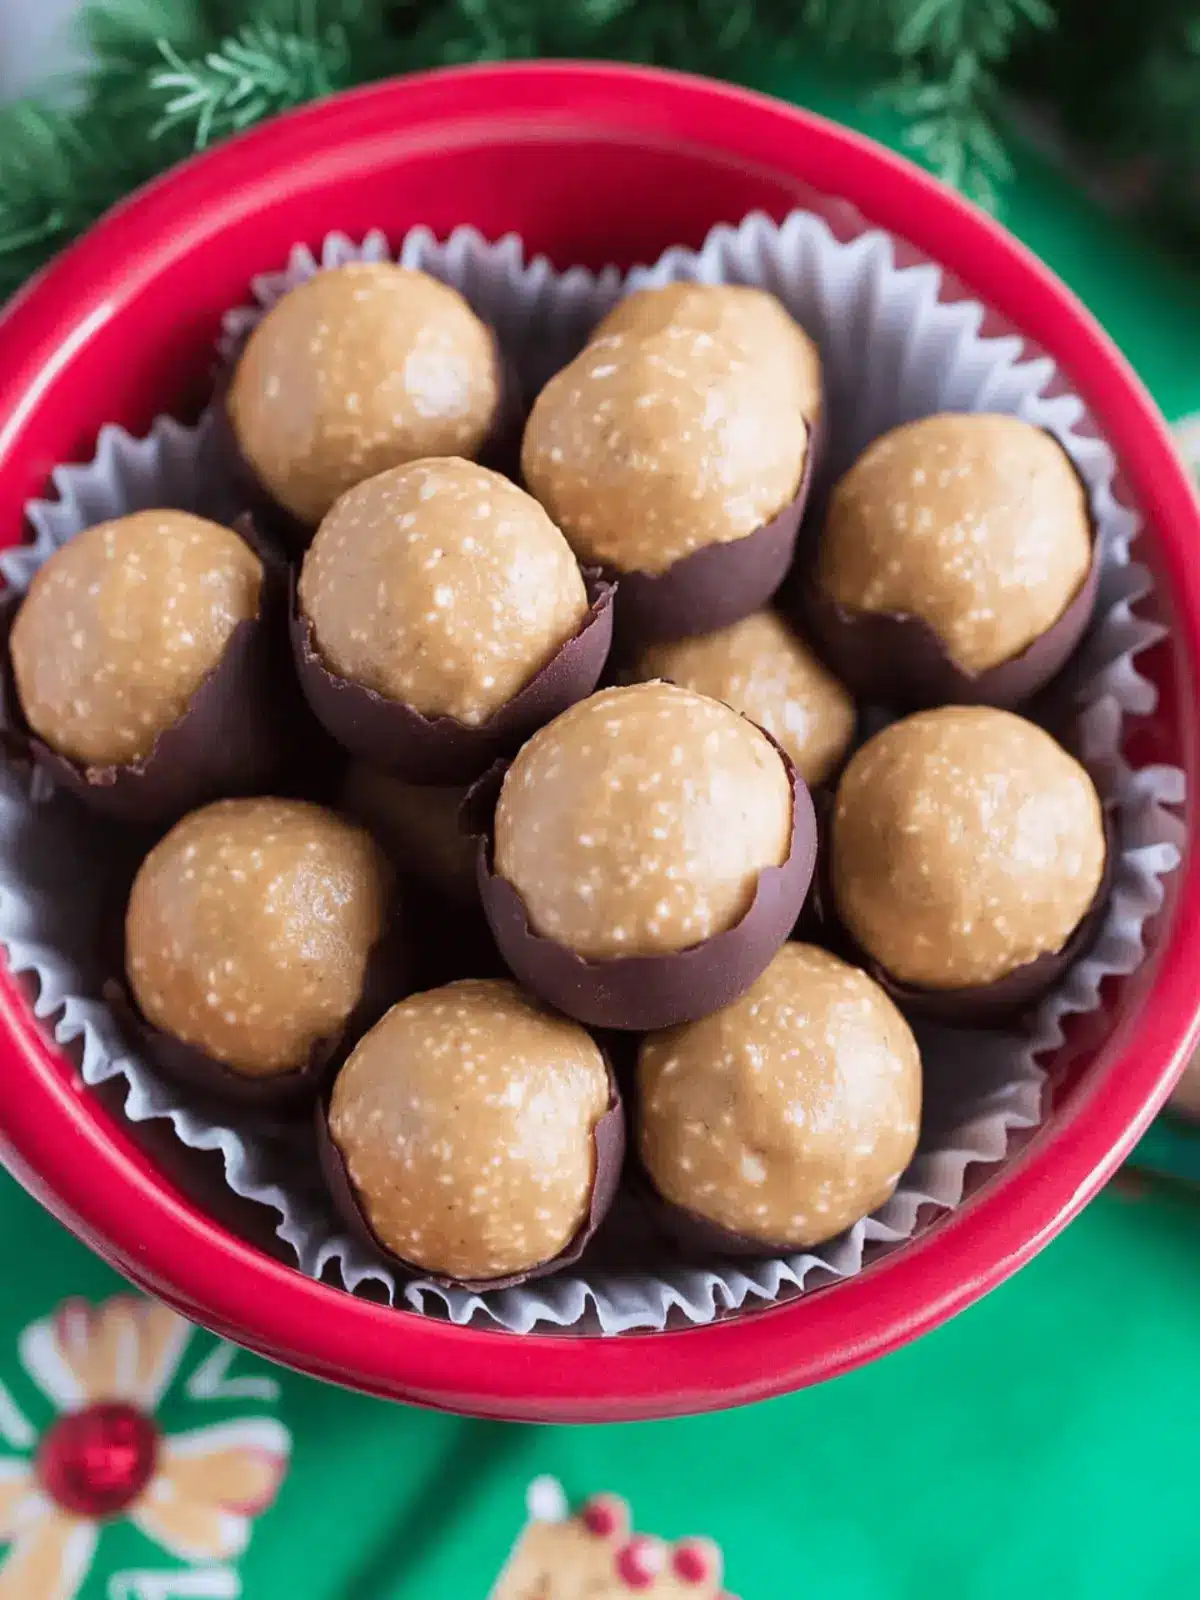
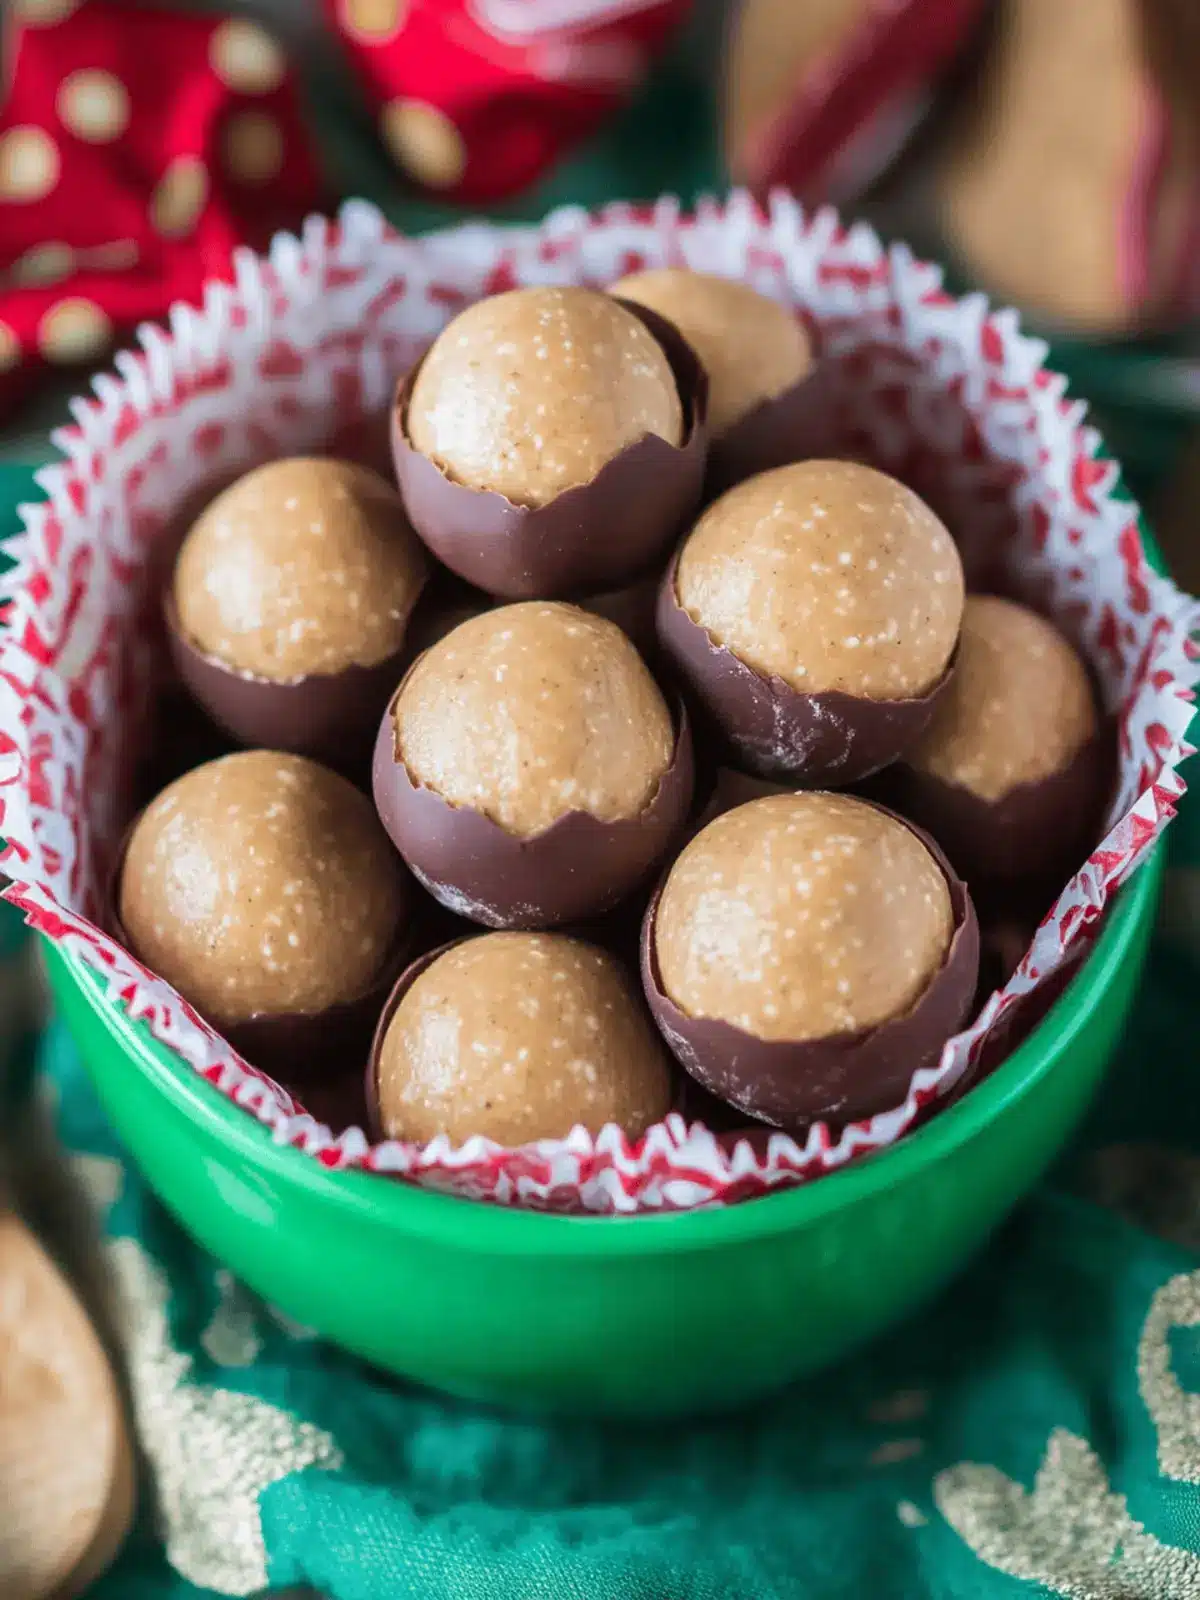
There’s a certain comfort in walking into a kitchen where warmth and sweetness greet you like an old friend. I remember the first time I tasted Homemade Peanut Butter Balls at a holiday gathering; those little bites of bliss stole my heart! Known affectionately as Buckeye Balls, these no-bake treats are simply irresistible and come together with ease. Imagine creamy peanut butter mingling with a rich chocolate coating, creating a texture that’s both smooth and satisfying.
Perfect for sharing during festive occasions or simply indulging on a cozy evening in, this recipe requires just six simple ingredients. Even if you’re a kitchen novice, you’ll be amazed at how effortless it is to make a crowd-pleaser that’s gluten-free, too! So grab your mixing bowl and let’s create a delightful treat that’s sure to elicit smiles from every lucky bite.
Why Are Homemade Peanut Butter Balls So Special?
Simplicity at its finest: This no-bake recipe requires just six ingredients, making it perfect for both beginners and seasoned bakers alike.
Velvety texture combined with crunchy chocolate: Experience the delightful contrast as you bite into these luscious treats.
Versatile and fun: Customize your peanut butter balls with different nut butters or coatings to suit your taste.
Crowd-pleaser guaranteed: Whether it’s a holiday party or a cozy gathering at home, these treats are sure to impress.
Make ahead strategy: Prepare these delicious bites in advance and store them for whenever you need a sweet fix.
Indulge in this scrumptious experience and elevate your dessert table with these delightful Homemade Peanut Butter Balls!
Homemade Peanut Butter Balls Ingredients
For the Base
- Unsalted Butter – Adds richness and a creamy texture. Keep softened for easy mixing.
- Creamy Peanut Butter – Provides the main flavor and smoothness. Chunky peanut butter can be used for added texture.
- Vanilla Extract – Enhances the flavor profile. Use pure vanilla for best results.
- Powdered Sugar – Sweetens the mixture and contributes to the thick, dough-like consistency. Do not pack down the sugar to avoid overly crumbly results.
For the Coating
- Semi-Sweet Chocolate Chips – Coating for the balls, brings a rich chocolate flavor. Substitute with milk or dark chocolate if preferred.
- Shortening (or Coconut Oil) – Used to thin the chocolate for easier dipping. Coconut oil can be a great alternative for a lighter taste.
These ingredients are the heart of the remarkable Homemade Peanut Butter Balls you’ll be whipping up!
How to Make Homemade Peanut Butter Balls
-
Mix Together: In a large mixing bowl, combine softened unsalted butter and creamy peanut butter. Mix on medium speed until smooth and well-blended, creating a luscious base for your balls.
-
Incorporate Flavors: Add vanilla extract and powdered sugar to your mixture, then mix on low until everything is fully combined. Don’t worry if it’s thick; use your hands to knead it if necessary!
-
Shape the Balls: Scoop out tablespoon-sized portions (about 2 tablespoons each) of the mixture. Roll them into balls between your palms, and if the mix gets sticky, rub a little butter on your hands for easier rolling.
-
Chill Them Out: Arrange the formed balls on a lined baking sheet and chill in the refrigerator for about 1 hour or freeze for 20 minutes until firm.
-
Melt the Chocolate: In a small pot, melt the semi-sweet chocolate chips and shortening over low heat. Stir until completely smooth, creating a perfect coating for your treats.
-
Dip for Delight: Take a few chilled balls from the fridge at a time. Insert a toothpick into each, dip into the melted chocolate, and gently shake off any excess for a beautiful finish.
-
Set the Coating: Place the dipped balls back onto the lined baking sheet and chill again for 30 minutes to allow the chocolate to set perfectly.
-
Serve and Enjoy: Once set, serve these delightful treats! Store any leftovers in an airtight container in the refrigerator or freeze for longer enjoyment.
Optional: Drizzle extra melted chocolate on top for a decorative touch.
Exact quantities are listed in the recipe card below.
Storage Tips for Homemade Peanut Butter Balls
-
Room Temperature: If you plan to enjoy them within a day, you can keep the Homemade Peanut Butter Balls covered at room temperature. Ensure they’re in a cool, dry place to maintain texture.
-
Fridge: Store in an airtight container in the refrigerator for up to 2 weeks. This keeps them fresh and preserves their delightful flavor, making them an inviting sweet snack anytime!
-
Freezer: For longer storage, freeze the peanut butter balls in an airtight container or freezer bag for up to 2 months. They can be enjoyed directly from the freezer for a refreshing treat!
-
Reheating: If you prefer them slightly softened, let them sit at room temperature for about 15-20 minutes before enjoying.
What to Serve with Homemade Peanut Butter Balls?
Transform your delightful peanut butter balls into a complete feast that will warm the heart and satisfy sweet cravings.
-
Creamy Vanilla Ice Cream: The cool creaminess of vanilla ice cream beautifully contrasts the sweet, rich flavors of the peanut butter balls, creating a heavenly combination.
-
Fresh Fruit Platter: A refreshing assortment of fruits like strawberries and oranges will cleanse the palate and balance the richness of the treats. Bright colors and natural sweetness enhance the dessert experience.
-
Chocolate Drizzle Cake: The indulgent flavors of a rich chocolate cake harmonize perfectly with the chocolate coating on the peanut butter balls, allowing for a decadent dessert tower that invites bites of bliss!
-
Coffee or Espresso: A warm mug of coffee or a bold espresso pairs wonderfully with these sweets, enhancing the nutty notes while delivering an energizing contrast to the treat’s sweetness.
-
Milk for Dipping: An old-school classic, serving a glass of cold milk encourages the nostalgic fun of dipping and combining flavors, making each bite an immersive experience.
-
Nutty Trail Mix: A crisp and crunchy nutty trail mix could add a delightful texture and additional nutty flavor that complements the Homemade Peanut Butter Balls wonderfully.
-
Malted Milkshakes: Creamy, thick malts add an extra sweetness and a classic touch, making each bite of your peanut butter balls even more blissful.
-
Chocolate-Covered Strawberries: A lovely pairing that echoes the chocolate element of the peanut butter balls and adds a fresh, fruity flair to your dessert spread.
-
Chilled Lemonade: A refreshing, zesty lemonade cuts through the richness, creating a delightful contrast that enhances the overall experience of enjoying these treats.
Expert Tips for Homemade Peanut Butter Balls
-
Chill for Success: Ensure your peanut butter balls are thoroughly chilled before dipping to prevent them from sticking to your hands or the chocolate.
-
Use Quality Ingredients: Opt for pure vanilla extract and good-quality chocolate chips to enhance the flavor of your Homemade Peanut Butter Balls.
-
Avoid Overpacking Sugar: Don’t pack down the powdered sugar when measuring; this helps maintain the right consistency for a smooth mixture.
-
Experiment with Fillings: For extra delight, consider mixing in crushed snacks like graham crackers or Rice Krispies for a unique texture experience.
-
Dipping Tips: Use a silicone mat or parchment paper to set the dipped balls, preventing any sticking and making clean-up easier.
Homemade Peanut Butter Balls Variations
Discover delightful ways to make these treats uniquely yours!
- Chunky Twist: Replace creamy peanut butter with chunky for extra texture that enhances each bite.
- White Chocolate Delight: Swap semi-sweet chocolate for white chocolate chips for a sweeter flavor profile that’s equally dreamy.
- Nutty Variation: Mix in crushed nuts or seeds into the peanut butter base for added crunch and nutrition.
- Flavorful Extracts: Incorporate different extracts, like almond or coconut, to create a new flavor dimension.
- Crispy Add-ins: Fold in crushed Rice Krispies for a delightful crunch that contrasts with the creamy base.
- Cookie Crumble Topping: After dipping in chocolate, sprinkle crushed cookies on top for a fun, textured finish.
- Spicy Kick: Add a pinch of cayenne or chili powder to the peanut butter for a surprising heat that plays beautifully with the sweetness.
- Dried Fruit Boost: Toss in bits of dried fruit like cranberries or golden raisins for a chewy texture and fruity burst.
Get creative and tailor these delicious Homemade Peanut Butter Balls to fit your taste and mood!
Make Ahead Options
These Homemade Peanut Butter Balls are perfect for meal prep enthusiasts! You can prepare the base mixture up to 24 hours in advance by combining the softened butter, creamy peanut butter, vanilla extract, and powdered sugar. Simply form the balls and chill them in the refrigerator. Once you’re ready to serve, dip them in melted chocolate as instructed. If you want to take it a step further, you can also freeze the uncoated balls for up to 3 months—just thaw in the fridge overnight before coating them. This ensures your treats are just as delicious and fresh, saving time on busy days!
Homemade Peanut Butter Balls Recipe FAQs
How do I select the best ingredients for my Homemade Peanut Butter Balls?
Absolutely! When choosing unsalted butter, look for one that’s creamy and soft, as it mixes more easily with peanut butter. For peanut butter, opt for a brand with minimal ingredients; creamy varieties create a smoother texture, while chunky can add delightful crunch. Always choose pure vanilla extract for the best taste, and check that your chocolate chips are made with high-quality cocoa.
How should I store my Homemade Peanut Butter Balls, and how long do they last?
You can store your Homemade Peanut Butter Balls in an airtight container. They’ll last up to 2 weeks in the refrigerator, maintaining their delicious flavor and texture. If you want to keep them longer, they freeze beautifully for up to 2 months. Just ensure you place them in a freezer-safe bag or container to prevent freezer burn.
Can I freeze Homemade Peanut Butter Balls? If so, how?
Absolutely! To freeze your Homemade Peanut Butter Balls, let them cool and set completely first. Place them in a single layer on a baking sheet and freeze for about 1 hour. Once frozen, transfer them to an airtight container or freezer bag, separating layers with parchment paper if stacking. They can be enjoyed straight from the freezer or left at room temperature for 15-20 minutes to soften slightly before indulging.
What should I do if my peanut butter mixture is too sticky or crumbly?
Very! If your peanut butter mixture is too sticky, lightly rubbing a bit of butter on your palms can help when rolling the balls; this will reduce sticking while forming the shape. If your mixture is crumbly, you might need to beat it a bit more to incorporate everything, or consider adding a touch more peanut butter or a teaspoon of water to help bind it together.
Are Homemade Peanut Butter Balls safe for people with allergies?
It’s essential to note that while the base ingredients in Homemade Peanut Butter Balls are generally safe for many, they do contain peanuts, making them unsuitable for individuals with peanut allergies. However, you can substitute peanut butter with sun butter or almond butter if desired, but always ensure to check for allergy-friendly alternatives that suit the dietary needs of all your guests!
Can I make these Homemade Peanut Butter Balls vegan-friendly?
Yes, yes, yes! To make your Homemade Peanut Butter Balls vegan, simply swap out the unsalted butter for coconut oil and use vegan chocolate chips for the coating. This way, you can indulge in these delightful no-bake treats while keeping them plant-based and equally delicious!
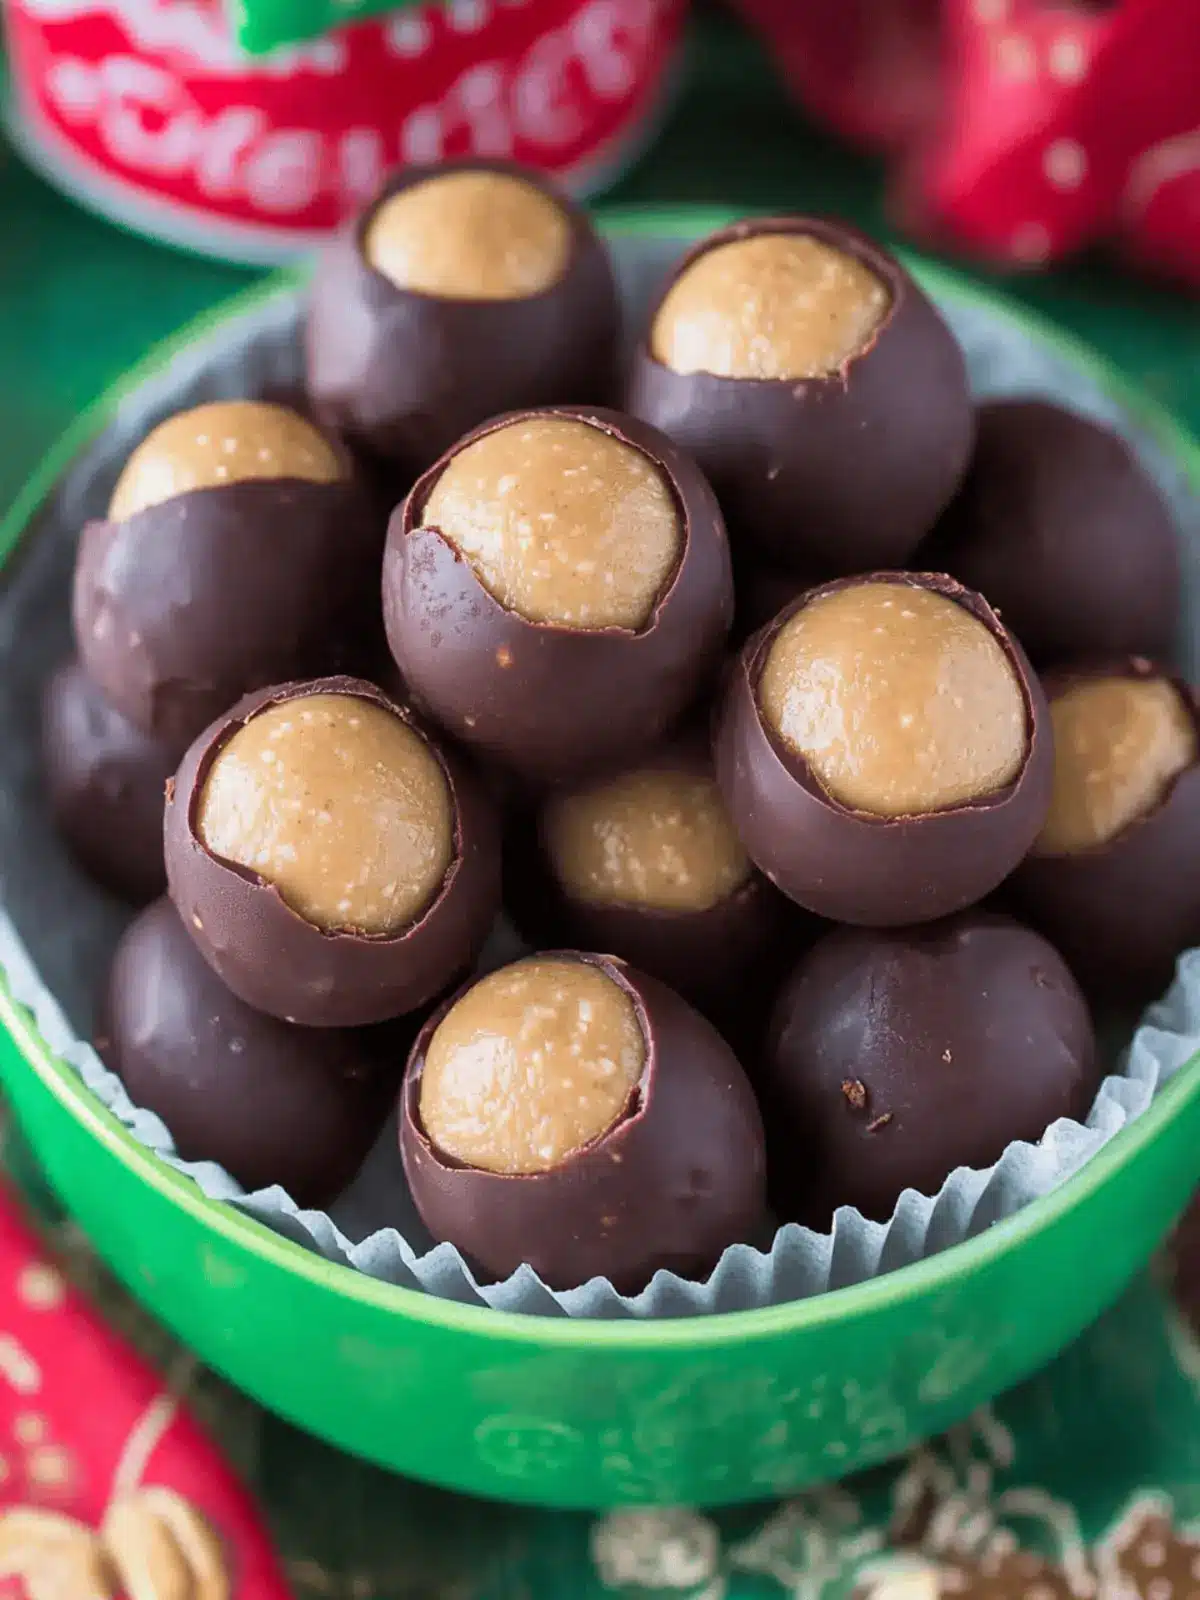
Homemade Peanut Butter Balls: Irresistible No-Bake Delights
Ingredients
Equipment
Method
- In a large mixing bowl, combine softened unsalted butter and creamy peanut butter. Mix on medium speed until smooth and well-blended.
- Add vanilla extract and powdered sugar to your mixture, then mix on low until everything is fully combined.
- Scoop out tablespoon-sized portions of the mixture and roll them into balls.
- Arrange the formed balls on a lined baking sheet and chill in the refrigerator for about 1 hour or freeze for 20 minutes.
- In a small pot, melt the semi-sweet chocolate chips and shortening over low heat until completely smooth.
- Take a few chilled balls and dip into the melted chocolate, shaking off any excess.
- Place the dipped balls back onto the lined baking sheet and chill again for 30 minutes to set the coating.
- Once set, serve these delightful treats!

